Sony FD TRINITRON KV-32FQ70K: Introducing and Using the Menu System
Introducing and Using the Menu System: Sony FD TRINITRON KV-32FQ70K
01GBKV28/32FQ70K.fm Page 9 Wednesday, January 15, 2003 7:38 PM
Introducing and Using the Menu System
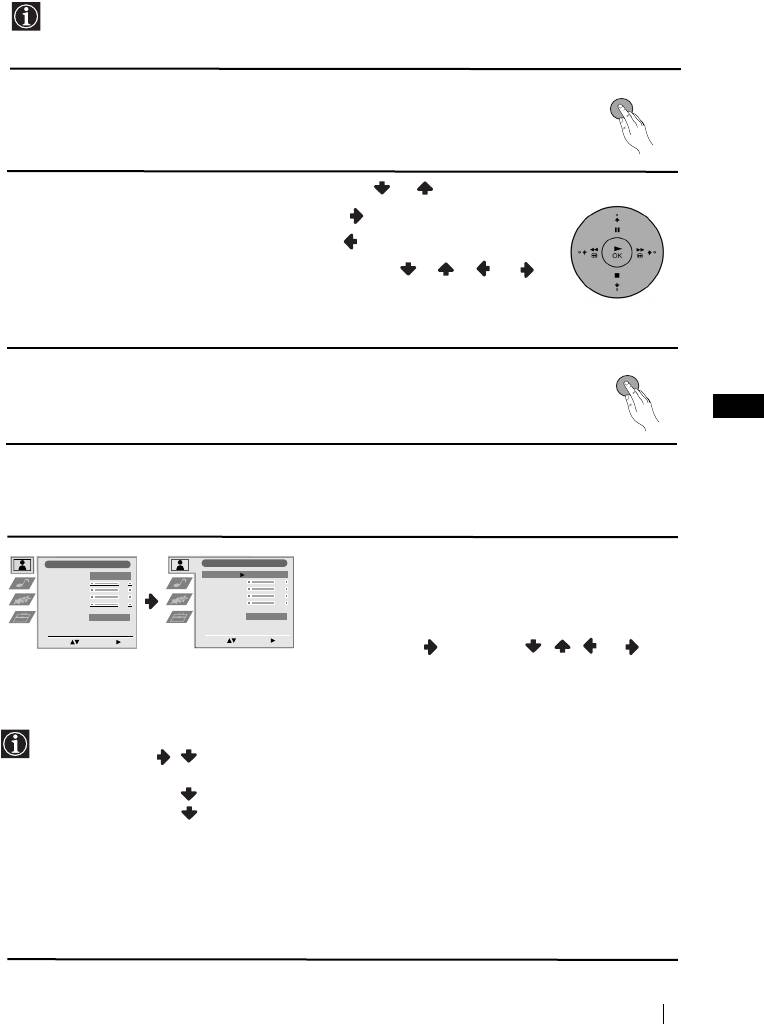
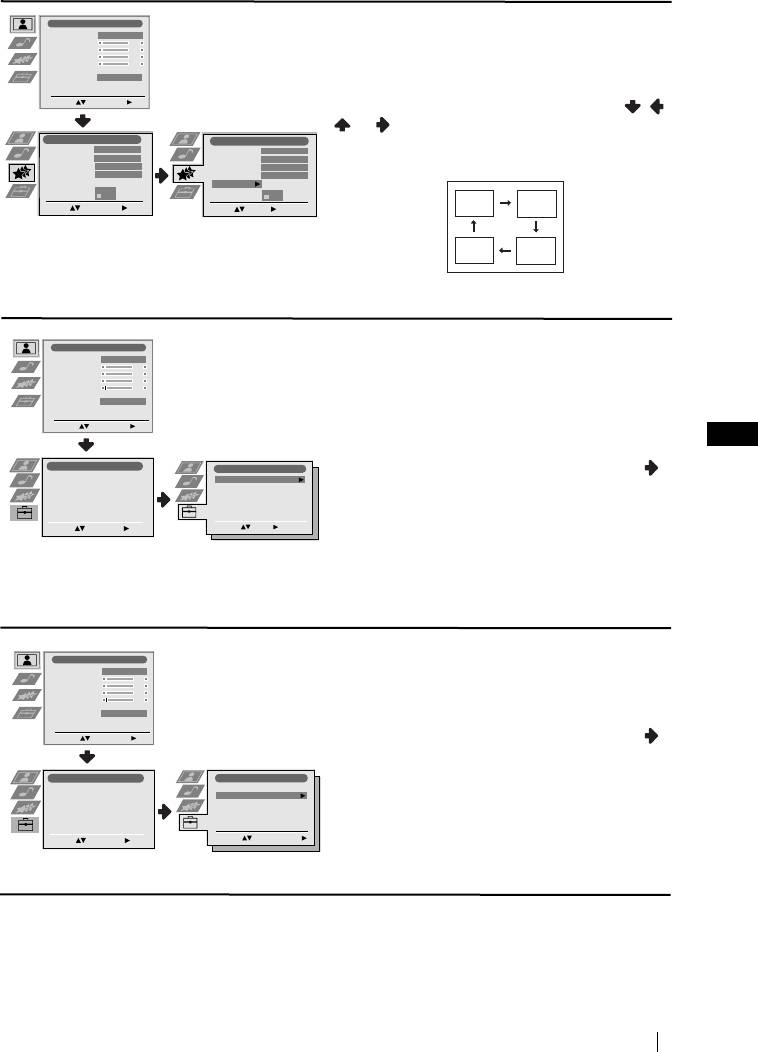
Your TV uses an on-screen menu system to guide you through the operations. Use the
following buttons on the Remote Control to operate the menu system:
MENU
1 Press the MENU button to switch the first level menu on
2 • To highlight the desired menu or option, press or .
• To enter the selected menu or option, press .
• To return to the last menu or option, press .
• To alter the settings of your selected option, press //or.
• To confirm and store your selection, press OK.
MENU
3 Press the MENU button to remove the menu from the screen.
GB
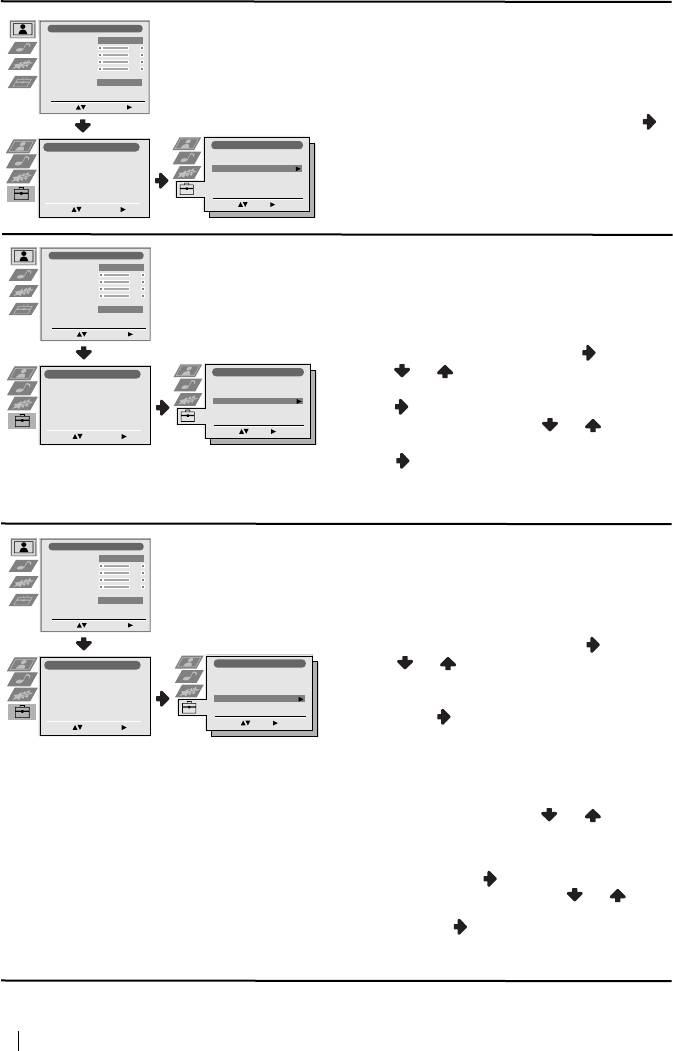
Menu Guide
Level 1 Level 2 Level 3 / Function
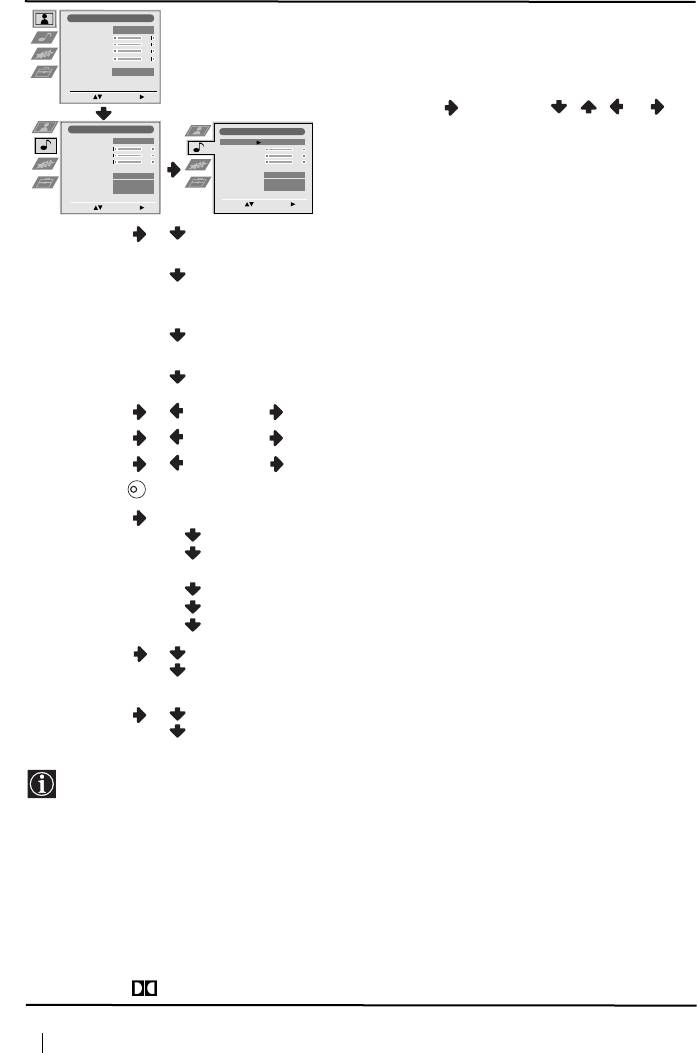
PICTURE ADJUSTMENT
Picture Adjustment
Picture Adjustment
Picture Mode
Personal
Picture Mode
Personal
The “Picture Adjustment” menu allows you to
Contrast
Contrast
Brightness
Brightness
Colour
Colour
alter the picture adjustments.
Sharpness
Sharpness
Reset
Reset
Noise Reduction
AUTO
Noise Reduction
AUTO
To do this: after selecting the item you want to
Select: Enter Menu:
Select: Enter:
alter press , then press / / or
repeatedly to adjust it and finally press OK to
store the new adjustment.
• This menu also allows you to customise the picture mode based on the programme you are watching:
Picture Mode Live (for live broadcast programmes, DVD and Digital Set Top Box
receivers).
Personal (for individual settings).
Movie (for films).
• Brightness, Colour and Sharpness can only be altered if “Personal” mode is selected.
• Hue is only available for NTSC colour signal (e.g: USA video tapes).
• Select Reset and press OK to reset the picture to the factory preset levels.
• The Noise Reduction option is set to AUTO to automatically reduce the picture noise visible in
the broadcast signal. To cancel this function, select “Off” instead of “AUTO”.
continued...
Menu System
9
01GBKV28/32FQ70K.fm Page 10 Wednesday, January 15, 2003 7:38 PM
Level 1 Level 2 Level 3 / Function
Picture Adjustment
SOUND ADJUSTMENT
Picture Mode
Personal
Contrast
The “Sound Adjustment” menu allows you to
Brightness
Colour
Sharpness
alter the sound adjustments.
Reset
Noise Reduction
AUTO
To do this: after selecting the item you want to
Select: Enter Menu:
alter, press . Then press / / or
Sound Adjustment
repeatedly to adjust it and finally press OK to
Sound Adjustment
Effect
Natural
Effect
Natural
Treble
Treble
store the new adjustment.
Bass
Bass
Balance
Balance
Reset
Reset
Dual Sound
Stereo
Dual Sound
Stereo
Auto Volume
Off
Auto Volume
Off
TV Speakers
On
TV Speakers
On
Select: Enter Menu:
Select: Enter:
Effect Natural: Enhances clarity, detail and presence of sound by using
“BBE High Definition Sound system”*.
Dynamic: “BBE High Definition Sound system”* intensifies clarity
and presence of sound for better intelligibility
and musical realism.
Dolby
**V: Dolby Virtual, simulates the sound effect of “Dolby
Surround Pro Logic”.
Off: Flat response.
Treble Less More
Bass Less More
Balance Left Right
Reset Resets the sound to the factory preset levels.
K
Dual Sound • For a stereo broadcast:
Mono.
Stereo.
• For a bilingual broadcast:
Mono (for mono channel if available).
A (for channel 1).
B (for channel 2).
Auto Volume Off: volume level changes according to the broadcast signal.
On: volume level of the channels will stay the same, independent of
the broadcast signal (e.g. in the case of advertisements).
TV Speakers On: to listen to the TV from the set speakers.
Off: to listen to the TV from an external amplifier connected to the
audio outputs on the rear of the TV set.
• If you are listening to the TV through headphones, the “Effect” option will automatically be
switched to “Off”.
• If you select “Dolby Virtual” on the “Effect” option, the “Auto Volume” option will
automatically be switched to “Off” and vice versa.
* The “BBE High Definition Sound system” is manufactured by Sony Corporation under license
from BBE Sound, Inc. It is covered by U.S. Patent No. 4,638,258 and No. 4,482,866. The word
“BBE” and BBE Symbol are trademarks of BBE Sound, Inc.
**This TV has been designed to create the “Dolby Surround” sound effect by simulating the sound
of four speakers with two speakers, when the broadcast audio signal is Dolby Surround encoded.
The sound effect can also be improved by connecting a suitable external amplifier (for details refer
to “Connecting to external audio Equipment” on page 21).
**Manufactured under license from Dolby Laboratories. “Dolby”, “Pro Logic” and the double-D
symbol are trademarks of Dolby Laboratories.
continued...
10
Menu System
01GBKV28/32FQ70K.fm Page 11 Wednesday, January 15, 2003 7:38 PM
Level 1 Level 2 Level 3 / Function
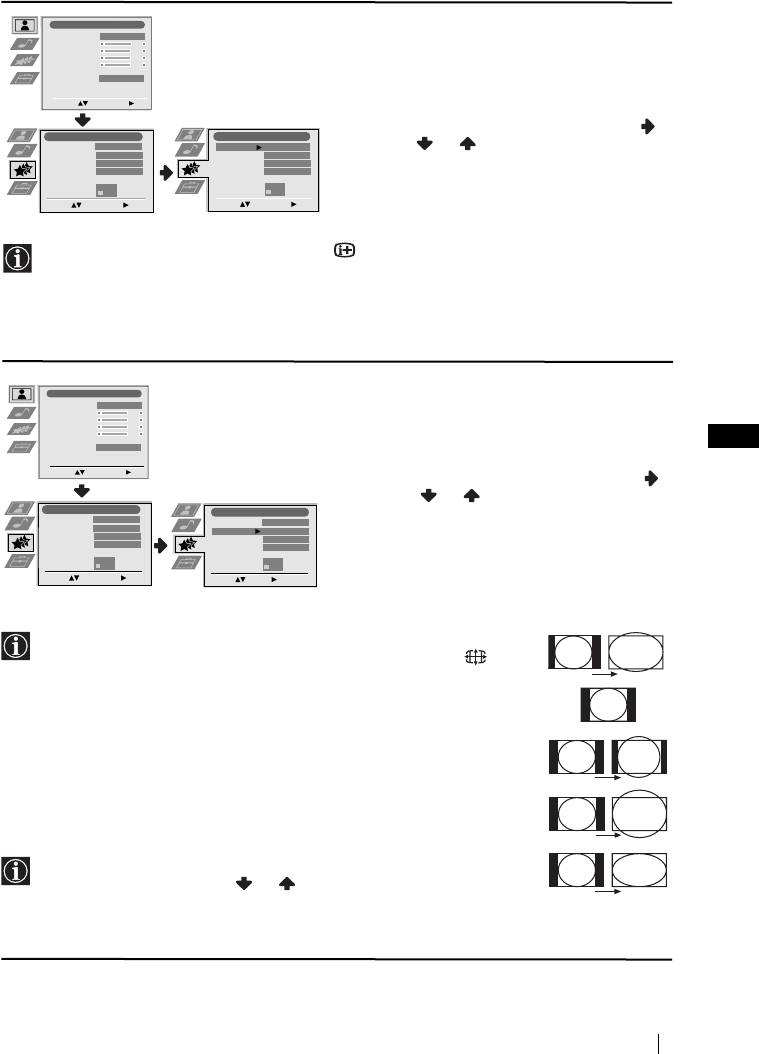
SLEEP TIMER
Picture Adjustment
Picture Mode
Personal
The “Sleep Timer” option in the “Features”
Contrast
Brightness
Colour
menu allows you to select a time period for the
Sharpness
Reset
TV to switch itself automatically into the
Noise Reduction
AUTO
standby mode.
Select: Enter Menu:
To do this: after selecting the option press ,
Features
Features
Sleep Timer
Off
Sleep Timer
Off
then press or to set the time period delay
Auto Format
On
Auto Format
On
AV3 Output
AUTO
AV3 Output
AUTO
(max. of 4 hours).
PIP Input
AV1
PIP Input
AV1
PIP Position
PIP Position
Select: Enter Menu:
Select: Enter:
• While watching the TV, you can press the button on the remote control to display the time
remaining.
• One minute before the TV switches itself into standby mode, the time remaining is displayed on
the TV screen automatically.
Picture Adjustment
AUTO FORMAT
Picture Mode
Personal
The “Auto Format” option in the “Features”
Contrast
Brightness
Colour
menu allows you to automatically change the
Sharpness
Reset
GB
Noise Reduction
AUTO
aspect ratio of the screen.
Select: Enter Menu:
To do this: after selecting the option, press .
Then press or to select On (if you wish
Features
Features
Off
the TV set to automatically switch the screen
Sleep Timer
Sleep Timer
Off
Auto Format
On
Auto Format
On
AV3 Output
AUTO
format according to the broadcast signal) or Off
AV3 Output
AUTO
PIP Input
AV1
PIP Input
AV1
PIP Position
PIP Position
(if you wish to keep your preference). Finally
press OK to store.
Select: Enter Menu:
Select: Enter:
Even if you have selected “On” or “Off” in the “Auto Format” option,
you can always modify the format of the screen by pressing
repeatedly on the remote control to select one of the following formats:
Smart
Smart: Imitation of wide screen effect for 4:3 broadcast.
4:3: Conventional 4:3 picture size, full picture information.
4:3
14:9: Compromise between 4:3 and 16:9 picture size.
14:9
Zoom: Widescreen format for letterbox movies.
Wide: For 16:9 broadcast. Full picture information.
Zoom
In “Smart”, “Zoom” and “14:9” modes, parts of the top and bottom of
the screen are cut off. Press or to adjust the position of the
image on the screen (e.g. to read subtitles).
Wide
continued...
Menu System
11
01GBKV28/32FQ70K.fm Page 12 Wednesday, January 15, 2003 7:38 PM
Level 1 Level 2 Level 3 / Function
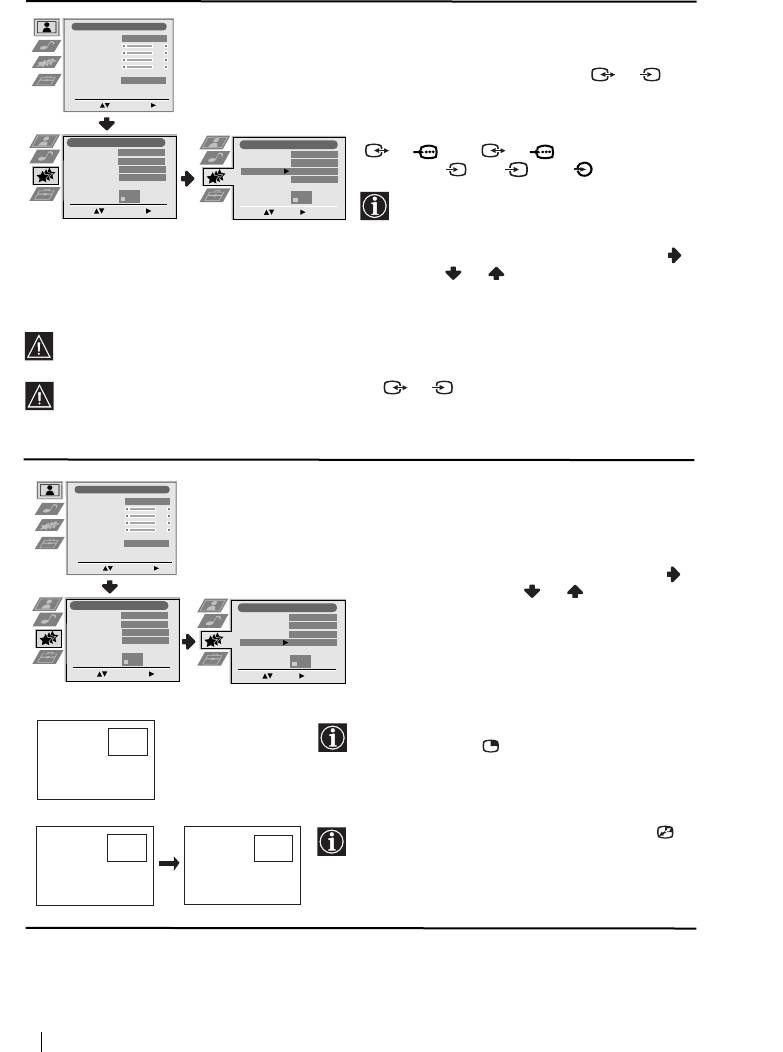
AV3 OUTPUT
Picture Adjustment
Picture Mode
Personal
The “AV3 Output” option in the “Features”
Contrast
Brightness
Colour
menu allows you to select the source to be
Sharpness
Reset
output from the Scart connector 3/ 3 so
S
Noise Reduction
AUTO
that you can record from this Scart any signal
Select: Enter Menu:
coming from the TV or from an external
equipment connected to the Scart connectors
Features
Features
Sleep Timer
Off
Sleep Timer
Off
1/ 1 or 2/ 2 or front
Auto Format
On
Auto Format
On
AV3 Output
AUTO
AV3 Output
AUTO
connectors 4 or 4 and 4.
S
PIP Input
AV1
PIP Input
AV1
PIP Position
PIP Position
If your VCR supports SmartLink, this
Select: Enter Menu:
Select: Enter:
procedure is not necessary.
To do this: after selecting the option, press .
Then press or to select the desired
output signal: TV, AV1, AV2, AV4, YC4 or
AUTO.
If you select “AUTO”, the output signal will always be the same one that is displayed on
the screen.
If you have connected a decoder to the Scart 3/ 3 or to a VCR connected to this
S
Scart, please remember to change back the “AV3 Output” to “AUTO” or “TV” for correct
unscrambling.
Picture Adjustment
PIP INPUT
Picture Mode
Personal
The “PIP Input” option in the “Features” menu
Contrast
Brightness
Colour
allows you to select the source you want to
Sharpness
Reset
Noise Reduction
AUTO
watch in the “PIP” screen.
Select: Enter Menu:
To do this: after selecting the option, press .
Then press repeatedly or to select the
Features
Features
Off
desired source AV1, AV2, AV3, AV4 or TV.
Sleep Timer
Sleep Timer
Off
Auto Format
On
Auto Format
On
AV3 Output
AUTO
Finally press OK to store.
AV3 Output
AUTO
PIP Input
AV1
PIP Input
AV1
PIP Position
PIP Position
Select: Enter Menu:
Select: Enter:
To watch the “PIP” screen with the selected
B
source, press the button on the remote control.
A
You can swap the screens by pressing the
B
A
button on the remote control.
A
BB
continued...
12
Menu System
01GBKV28/32FQ70K.fm Page 13 Wednesday, January 15, 2003 7:38 PM
Level 1 Level 2 Level 3 / Function
PIP POSITION
Picture Adjustment
Picture Mode
Personal
Contrast
The “PIP Position” option in the “Features”
Brightness
Colour
menu allows you to change the position of the
Sharpness
Reset
Noise Reduction
AUTO
“PIP” screen within the main screen.
Select: Enter Menu:
To do this: after selecting the option press , ,
or to select the desired position. Finally
Features
Features
press OK to store.
Sleep Timer
Off
Sleep Timer
Off
Auto Format
On
Auto Format
On
AV3 Output
AUTO
AV3 Output
AUTO
PIP Input
AV1
PIP Input
AV1
PIP Position
PIP Position
Select: Enter Menu:
Select: Enter:
LANGUAGE/COUNTRY
Picture Adjustment
Picture Mode
Personal
Contrast
The “Language/Country” option in the “Set
Brightness
Colour
Up” menu allows you to select the language
Sharpness
Reset
Noise Reduction
AUTO
that the menus are displayed in. It also allows
you to select the country in which you wish to
Select: Enter Menu:
operate the TV set.
GB
Set Up
Set Up
Set Up
Set Up
To do this: after selecting the option, press
Language/Country
Auto Tuning
Auto Tuning
Auto Tuning
Language/Country
Programme Sorting
Programme Sorting
Programme Sorting
Auto Tuning
and then proceed in the same way as in steps 2
Programme Labels
Select NexTView
Select NexTView
Programme Sorting
AV Preset
AV Preset
AV Preset
Programme Labels
AV Preset
Manual Programme Preset
Manual Set Up
Manual Set Up
Manual Programme Preset
and 3 of the section “Switching On the TV and
Detail Set Up
Detail Set Up
Automatically Tuning” on page 7.
Select:
Select:
Select:
Enter Menu:
Enter Menu:
Enter Menu:
Select:
Enter:
AUTO TUNING
Picture Adjustment
Picture Mode
Personal
The “Auto Tuning” option in the “Set Up”
Contrast
Brightness
Colour
menu allows you to automatically search for
Sharpness
Reset
and store all available TV channels.
Noise Reduction
AUTO
Select: Enter Menu:
To do this: after selecting the option, press
and then proceed in the same way as in the
steps 5 and 6 of the section “Switching On the
Set Up
Set Up
Set Up
Set Up
Language/Country
Auto Tuning
Auto Tuning
Language/Country
Auto Tuning
TV and Automatically Tuning” on page 8.
Programme Sorting
Programme Sorting
Auto Tuning
Programme Sorting
Programme Sorting
Programme Labels
Select NexTView
Select NexTView
Programme Labels
AV Preset
AV Preset
AV Preset
AV Preset
Manual Programme Preset
Manual Set Up
Manual Set Up
Manual Programme Preset
Detail Set Up
Detail Set Up
Select:
Select:
Select:
Enter Menu:
Enter Menu:
Enter Menu:
Select:
Start Auto Tuning:
continued...
Menu System
13
01GBKV28/32FQ70K.fm Page 14 Wednesday, January 15, 2003 7:38 PM
Level 1 Level 2 Level 3 / Function
PROGRAMME SORTING
Picture Adjustment
Picture Mode
Personal
The “Programme Sorting” option in the “Set
Contrast
Brightness
Up” menu allows you to change the order in
Colour
Sharpness
Reset
which the channels (TV Broadcast) appear on
Noise Reduction
AUTO
the screen.
Select: Enter Menu:
To do this: after selecting the option, press
Set Up
and then proceed in the same way as in step 7 b)
Set Up
Set Up
Set Up
Language/Country
Auto Tuning
Auto Tuning
Language/Country
Auto Tuning
of the section “Switching On the TV and
Auto Tuning
Programme Sorting
Programme Sorting
Programme Sorting
Programme Sorting
Programme Labels
Select NexTView
Select NexTView
Programme Labels
Automatically Tuning” on page 8.
AV Preset
AV Preset
AV Preset
AV Preset
Manual Programme Preset
Manual Set Up
Manual Set Up
Manual Programme Preset
Detail Set Up
Detail Set Up
Select:
Enter:
Select:
Select:
Select:
Enter Menu:
Enter Menu:
Enter Menu:
Picture Adjustment
PROGRAMME LABELS
Picture Mode
Personal
The “Programme Labels” option in the “Set
Contrast
Brightness
Colour
Up” menu allows you to name a channel using
Sharpness
Reset
up to five characters (letters or numbers).
Noise Reduction
AUTO
Select: Enter Menu:
To do this:
1 After selecting the option, press , then
Set Up
Set Up
Set Up
Set Up
press or to select the programme
Language/Country
Auto Tuning
Auto Tuning
Language/Country
Auto Tuning
Auto Tuning
Programme Sorting
Programme Sorting
number with the channel you wish to name.
Programme Sorting
Programme Sorting
Programme Labels
Select NexTView
Select NexTView
Programme Labels
AV Preset
AV Preset
AV Preset
AV Preset
2 Press . With the first element of the Label
Manual Programme Preset
Manual Set Up
Manual Set Up
Manual Programme Preset
Detail Set Up
Detail Set Up
column highlighted, press or to select
Select:
Enter:
Select:
Select:
Select:
Enter Menu:
Enter Menu:
Enter Menu:
a letter or number (select “-“ for a blank), then
press to confirm this character. Select the
other four characters in the same way. Finally
press OK to store.
AV PRESET
Picture Adjustment
Picture Mode
Personal
The “AV Preset” option in the “Set Up” menu
Contrast
Brightness
allows you to designate a name to the external
Colour
Sharpness
Reset
equipment you have connected to the input
Noise Reduction
AUTO
sockets of this TV.
Select: Enter Menu:
To do this:
1 After selecting the option, press , then
Set Up
Set Up
Set Up
Set Up
press or to select the input source you
Language/Country
Auto Tuning
Auto Tuning
Language/Country
Auto Tuning
Programme Sorting
Programme Sorting
Auto Tuning
Programme Sorting
wish to name (AV1, AV2 and AV3 are for the
Programme Sorting
Programme Labels
Select NexTView
Select NexTView
Programme Labels
AV Preset
AV Preset
AV Preset
AV Preset
Manual Set Up
Manual Set Up
Manual Programme Preset
rear Scarts and AV4 for side connectors).
Manual Programme Preset
Detail Set Up
Detail Set Up
Then press .
Select:
Enter:
Select:
Select:
Select:
Enter Menu:
Enter Menu:
Enter Menu:
2 A label automatically appears in the label
column:
a) If you want to use one of the 6 predefined
label (CABLE, GAME, CAM, DVD,
VIDEO or SAT), press or to select
the desired label and finally press OK to
store.
b) If you want to set a different label, select
Edit and press . Then with the first
element highlighted, press or to
select a letter, number or “-“ for a blank,
then press to confirm this character.
Select the other four characters in the same
way and finally press OK to store.
continued...
14
Menu System
01GBKV28/32FQ70K.fm Page 15 Wednesday, January 15, 2003 7:38 PM
Level 1 Level 2 Level 3 / Function
MANUAL PROGRAMME PRESET
Picture Adjustment
The “Manual Programme Preset” option in the
Picture Mode
Personal
Contrast
Brightness
“Set Up” menu allows you to:
Colour
Sharpness
Reset
Noise Reduction
AUTO
a) Preset channels or the VCR channel one by
one to the programme order of your choice.
Select: Enter Menu:
To do this:
1 After selecting the ”Manual Programme
Set Up
Set Up
Set Up
Set Up
Language/Country
Auto Tuning
Auto Tuning
Language/Country
Preset” option, press then with
Auto Tuning
Programme Sorting
Programme Sorting
Auto Tuning
Programme Sorting
Programme Sorting
Programme Labels
Select NexTView
Select NexTView
Programme Labels
AV Preset
AV Preset
AV Preset
AV Preset
Programme option highlighted press .
Manual Programme Preset
Manual Set Up
Manual Set Up
Manual Programme Preset
Detail Set Up
Detail Set Up
Press or to select which programme
Select:
Enter:
Select:
Select:
Select:
Enter Menu:
Enter Menu:
Enter Menu:
number you want to preset the channel on
(for VCR, select programme number “0”).
Then press .
2 The following option is only available depending on the country you have selected
in the “Language/Country” menu.
After selecting the System option, press .
Then press or to select the TV Broadcast system (B/G for western European
countries or D/K for eastern European countries). Then press .
3 After selecting the Channel option, press . Then press the number buttons to enter
directly the channel number of the TV Broadcast or the channel of the VCR signal. If you
do not know the channel number, press or to search for it. When you have tuned
the desired channel, press OK twice to store.
GB
Repeat all the above steps to tune and store more channels.
b) Label a channel using up to five characters.
To do this: Highlighting the Programme option, press the PROG +/- button to select the
programme number with the channel you wish to name. When the programme you want to
name appears on the screen, select the Label option and press . Next press or to
select a letter, number or “-“ for a blank. Press to confirm this character. Select the other
four characters in the same way. After selecting all the characters, press OK twice to store.
c) Fine tune the broadcast reception. Normally the automatic fine tuning (AFT) will give the
best possible picture, however you can manually fine tune the TV to obtain a better picture
reception in case the picture is distorted.
To do this: while watching the channel (TV Broadcast) you wish to fine tune, select the AFT
option and press . Next press or to adjust the fine tuning between -15 and +15.
Finally press OK twice to store.
d) Skip any unwanted programme numbers when they are selected with the PROG +/-
buttons.
To do this: Highlighting the Programme option, press the PROG +/- button to select the
programme number you want to skip. When the programme you want to skip
appears on the screen, select the Skip option and press . Next press or to select
Yes. Finally press OK twice to confirm and store.
To cancel this function afterwards, select “No” instead of “Yes” in the step above.
e) View and record scrambled channels when using a decoder connected to Scart
3/ 3 directly or through a VCR.
S
This option is only available depending on the country you have selected in the
“Language/Country” menu.
To do this: select the Decoder option and press . Next press or to select On. Finally
press OK twice to confirm and store.
To cancel this function afterwards, select “Off” instead of “On” in the step above.
continued...
Menu System
15
01GBKV28/32FQ70K.fm Page 16 Wednesday, January 15, 2003 7:38 PM
Level 1 Level 2 Level 3 / Function
Picture Adjustment
PICTURE ROTATION
Picture Mode
Personal
Because of the earth’s magnetism, the picture
Contrast
Brightness
Colour
may slant. If this is the case, you can correct the
Sharpness
Reset
Noise Reduction
AUTO
pictures slant by using the “Picture
Rotation” option in the “Detail Set Up” menu.
Select: Enter Menu:
To do this: after selecting the option, press .
Set Up
Set Up
Set Up
Language/Country
Auto Tuning
Auto Tuning
Detail Set Up
Then press or to correct any slant of the
Auto Tuning
Programme Sorting
Programme Sorting
Programme Sorting
Picture Rotation
0
Programme Labels
Select NexTView
Select NexTView
RGB Centring
0
picture between -5 and +5.
AV Preset
AV Preset
AV Preset
Manual Programme Preset
Manual Set Up
Manual Set Up
Detail Set Up
Select:
Select:
Select:
Enter Menu:
Enter Menu:
Enter Menu:
Select:
Enter:
RGB CENTRING
Picture Adjustment
Picture Mode
Personal
When connecting an RGB source, such as a
Contrast
Brightness
Colour
“PlayStation”, you may need to readjust the
Sharpness
Reset
AUTO
horizontal position of the picture. If this is the
Noise Reduction
case, you can adjust it through the “RGB
Select: Enter Menu:
Centring” option in the “Detail Set Up”.
Set Up
Set Up
Set Up
Detail Set Up
To do this: while watching an RGB source select
Language/Country
Auto Tuning
Auto Tuning
Auto Tuning
Programme Sorting
Programme Sorting
Picture Rotation
0
Programme Sorting
Select NexTView
Select NexTView
RGB Centring
0
the “RGB Centring” option and press . Then
Programme Labels
AV Preset
AV Preset
AV Preset
Manual Programme Preset
Manual Set Up
Manual Set Up
press or to adjust the centre of the
Detail Set Up
picture between –10 and +10. Finally press OK
Select:
Select:
Select:
Enter Menu:
Enter Menu:
Enter Menu:
Select:
Enter:
to confirm and store.
16
Menu System
Оглавление
- Introduction
- Safety Information
- Overview of Remote Control Buttons
- Overview of TV Buttons
- Switching On the TV and Automatically Tuning
- Introducing and Using the Menu System
- Teletext
- NexTView*
- Connecting Optional Equipment
- Using Optional Equipment
- Remote Control Configuration for VCR/DVD
- Specifications
- Troubleshooting
- Увод
- Техника на безопасност
- Основно описание на бутоните на дистанционното управление
- Основно описание на бутоните на телевизора
- Включване и автоматично настройване на телевизора
- Увод и боравене със системата от менюта
- Телетекст
- NexTView*
- Свързване на допълнителни апарати
- Боравене с допълнителни апарати
- Конфигуриране на пулта за дистанционно управление на DVD или Видео апарата
- Характеристики
- Отстраняване на неизправности
- Úvod
- Bezpečnostní opatření
- Všeobecný přehled tlačítek dálkového ovladače
- Všeobecný přehled tlačítek televizoru
- Zapnutí a automatické naladění TV
- Úvod a použití různých menu
- Teletext
- NexTView*
- Připojení přídavných zařízení
- Použití přídavných zařízení
- Instalace dálkového ovládání pro DVD nebo video
- Technické údaje
- Řešení problémů
- Bevezetés
- Biztonsági előírások
- A távvezérlő gombjainak áttekintése
- A televízió gombjainak általános leírása
- A TV bekapcsolása és automatikus hangolás
- Bevezetés a képernyő menürendszereibe és azok használata
- Teletext
- NexTView*
- Választható készülékek csatlakoztatása
- Választható készülékek használata
- A távvezérlő beállítása DVD-hez vagy videomagnóhoz
- Műszaki jellemzők
- Problémamegoldás
- Wprowadzenie
- Informacje dotyczące bezpieczeństwa
- Ogólny przegląd przycisków pilota
- Ogólny przegląd przycisków telewizora
- Włączanie telewizora i automatyczne programowanie
- Wprowadzenie do systemu menu na ekranie
- Telegazeta
- NexTView*
- Podłączanie dodatkowych urządzeń
- Zastosowanie dodatkowych urządzeń
- Konfigurowanie pilota do nastawiania DVD lub magnetowidu
- Dane techniczne
- Rozwiązywanie problemów
- Введение
- Общие правила техники безопасности
- Назначение кнопок на пульте дистанционного управления
- Общее описание кнопок телевизора
- Включение и автоматическая настройка телевизора
- Введение и работа с системой меню
- Телетекст
- NexTView*
- Подключение дополнительных устройств
- Использование дополнительных устройств
- Настройка пульта дистанционного управления для DVD или видеомагнитофона
- Спецификации
- Уcтpaнeниe нeпoлaдoк
