Sony KLV-23HR3: The Set Up Menu
The Set Up Menu: Sony KLV-23HR3
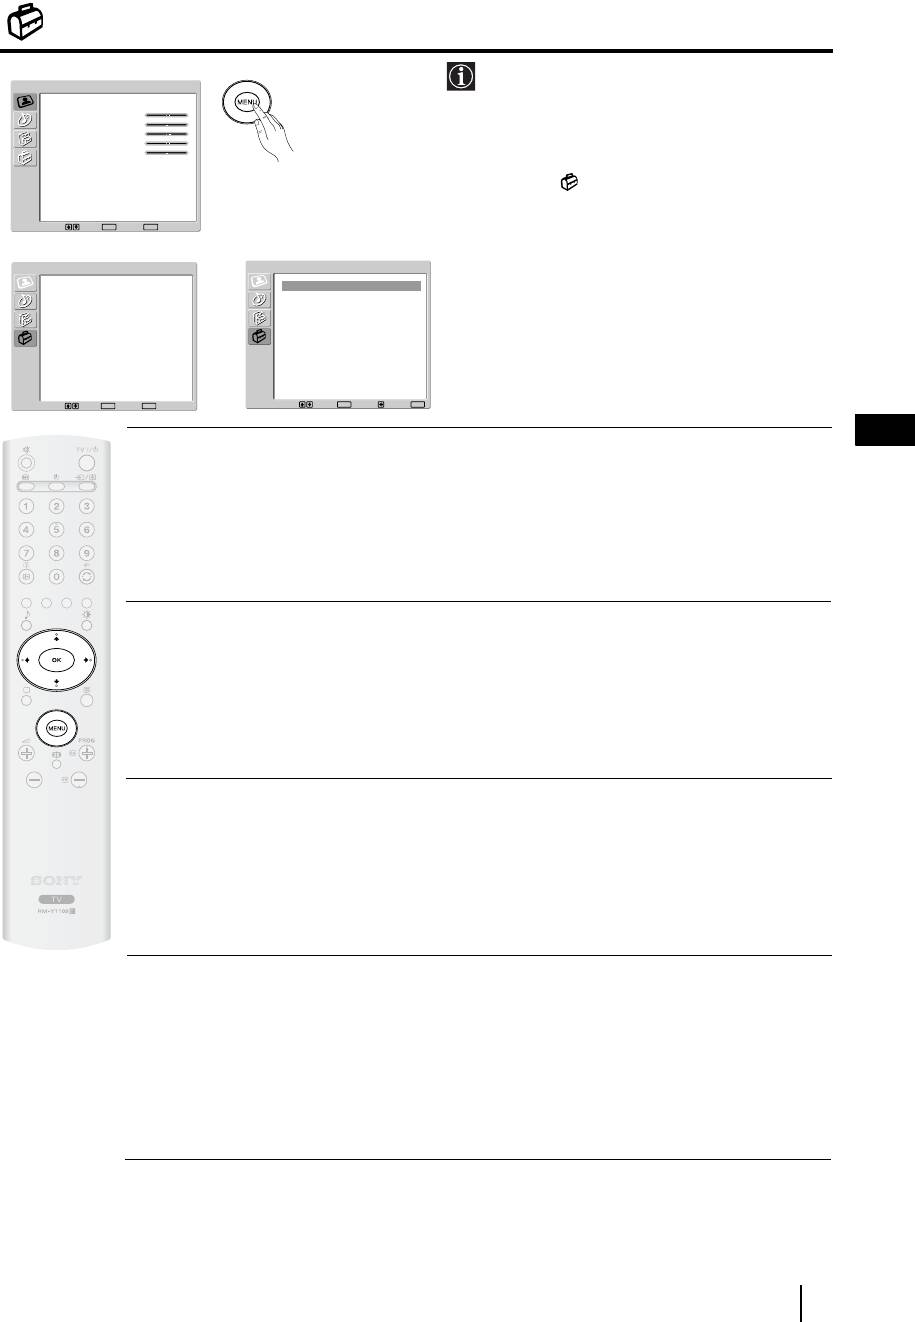
The Set Up Menu
The “Set Up” menu allows you to alter various
Picture Adjustment
options on this TV.
Picture Mode
Personal
Contrast
80
Brightness
50
Colour
50
Sharpness
50
To do this:
Backlight
70
Reset
Press the
MENU button and press
v
three times
Noise Reduction
Auto
Colour Tone
Normal
to select , then press OK to enter this menu.
Next, press
v
or
V
to select the desired option
Select: Set:
OK
End:
MENU
and press
OK. Finally, read below how to
m
operate into each option.
Set Up
Set Up
Language
English
Language
English
Country
United Kingdom
Country
United Kingdom
Auto Tuning
Auto Tuning
Programme Sorting
Programme Sorting
Programme Labels
Programme Labels
AV Preset
,
AV Preset
Manual Programme Preset
Manual Programme Preset
Select: Set:
OK
End:
MENU
Select: Set:
OK
Back:
End:
MENU
GB
LANGUAGE
This option allows you to select the language that menus are displayed in.
To do this:
After selecting the option, press
OK and then proceed in the same way as in step 3 of the section
"Switching On the TV and Automatically Tuning" on page 15.
COUNTRY
This option allows you to select the country in which you wish to operate the TV set.
To do this:
After selecting the option, press
OK and then proceed in the same way as in step 4 of the section
"Switching On the TV and Automatically Tuning" on page 15.
AUTO TUNING
This option allows you to automatically search for and store all available TV channels.
To do this:
After selecting the option, press
OK and then proceed in the same way as in the steps 5 and 6 of the
section “Switching On the TV and Automatically Tuning” on page 16.
PROGRAMME SORTING
This option allows you to change the order in which the channels (TV Broadcast) appear on the
screen.
To do this:
After selecting the option, press
OK and then proceed in the same way as in the step 7 of the section
“Switching On the TV and Automatically Tuning” on page 16.
continued...
TV Functions
23
PROGRAMME LABELS
This option allows you to name a channel using up to five characters (letters or numbers).
To do this:
1 Once you have entered the "Set Up" menu as it is explained in the previous page and after selecting this option,
press OK, then press v or V to select the programme number with the channel you wish to name. Next press OK.
2 With the first element of the Label column highlighted, press OK and
v
,
V
, B or b to select the letter, next
press
OK.
When you have finished, press
v
,
V
, B or b to select the word “End” on the screen and finally press OK to
turn off the menu from the screen.
• To correct a letter, select "
%" on the screen to go back and press OK.
• For a blank, select " " on the screen and press
OK.
AV PRESET
This option allows you to:
a) Designate a name to the external equipment you have connected to the input sockets of the TV set.
To do this:
1 Once you have entered the "Set Up" menu as it is explained in the previous page and after selecting this option,
press
OK, then press
v
or
V
to select the input source you wish to name: AV1 and AV2 for the rear Scarts
and AV3 for side connectors. Next press
OK twice.
2 A label automatically appears in the label column:
a) If you want to use one of the predefined labels, press
v or V to select the desired label and finally press OK.
The total predefined labels are: VIDEO, DVD, CABLE, GAME, CAM (camcorder) or SAT
(satellite).
b) If you want to set a different label, select Edit and press OK. Then, with the first element highlighted, press
v, V, B or b to select the letter, next press OK. When you have finished, press v, V, B or b to select
the word “End” on the screen and finally press
OK to turn off the menu from the screen.
• To correct the letter, select "
%" on the screen to go back and press OK.
• For a blank, select " " on the screen and press
OK.
b) Change the input sound level of the optional equipment connected.
To do this:
Once you have entered the "Set Up" menu as it is explained in the previous page and after selecting this option
press
OK, then press
v
or
V
to select the input source you want to alter the input sound level: AV1 and AV2
for the rear Scarts and AV3 for side connectors. Next press twice
b to highlight the Sound Offset column.
Finally press OK and
v
or
V
to alter the input sound level between -9 and +9.
24
TV Functions
Оглавление
- Introduction
- Safety Information
- Power Sources
- Installation and moving
- Precautions
- Overview & Installation
- Overview of Remote Control Buttons
- Overview of the TV Buttons and side Connectors
- Overview of the TV indicators
- Removing the Rear Cover
- Connecting the Aerial and VCR
- First Time Operation
- TV Functions
- The Picture Adjustment Menu
- The Sound Adjustment Menu
- The Features Menu
- The Set Up Menu
- The Manual Programme Preset Menu
- Other Functions
- Teletext
- Additional Information
- Viewing pictures from equipment connected to the TV
- Technical Specifications
- Troubleshooting
- Введение
- Общие правила техники безопасности
- Сеть питания
- Установка и переноска
- Меры предосторожности
- Описание и установка телевизора
- Описание кнопок пульта ДУ
- Описание кнопок телевизора и разъемов, находящихся сбоку от экрана
- Описание индикаторов телевизора
- Снятие задней крышки
- Подключение антенны и видеомагнитофона
- Первое включение
- Функции телевизора
- Меню "Настройка изображения"
- Меню "Настройка звука"
- Меню "Функции"
- Меню "Установка"
- Меню "Руч. настройка программ"
- Прочие функции
- Телетекст
- Дополнительные сведения
- Просмотр изображения с устройства, подключенного к телевизору
- Технические характеристики
- Поиск неисправностей
- Wprowadzenie
- Informacje bezpieczeństwa
- Zasilanie
- Instalacja i transport
- Zalecenia bezpieczeństwa
- Przegląd i instalacja
- Przegląd przycisków pilota
- Przegląd przycisków telewizora i gniazd bocznych
- Przegląd kontrolek telewizora
- Zdejmowanie osłony tylnej
- Podłączenie anteny i magnetowidu
- Uruchomienie telewizora po raz pierwszy
- Funkcje telewizora
- Menu "Regulacja obrazu"
- Menu "Regulacja dźwięku"
- Menu "Funkcje"
- Menu "Ustawianie"
- Menu "Programowanie ręczne"
- Inne funkcje
- Telegazeta
- Informacje dodatkowe
- Oglądanie obrazu z urządzeń podłączonych do telewizora
- Dane techniczne
- Problemy i ich usuwanie
- Introdução
- Informações de segurança
- Fontes de energia
- Instalação e transporte
- Precauções
- Descrição geral & Instalação
- Descrição geral dos botões do telecomando
- Descrição geral dos botões do televisor e das tomadas laterais
- Descrição geral dos indicadores do televisor
- Remoção da cobertura traseira
- Ligação da antena e do vídeo
- Primeira colocação em funcionamento
- Funções do Televisor
- Menú "Ajuste de Imagem"
- Menú "Ajuste do Som"
- Menú Especificações
- Menú Programar
- Menú "Sintonia Manual"
- Outras funções
- Teletexto
- Informação adicional
- Visualização de imagens de equipamentos opcionais
- Especificações Técnicas
- Solução de problemas
