Sony NEX-C3 – страница 7
Инструкция к Цифровому Фотоаппарату Sony NEX-C3
Using the control wheel and soft keys
The control wheel and soft keys allow you to use various functions of the
camera.
x
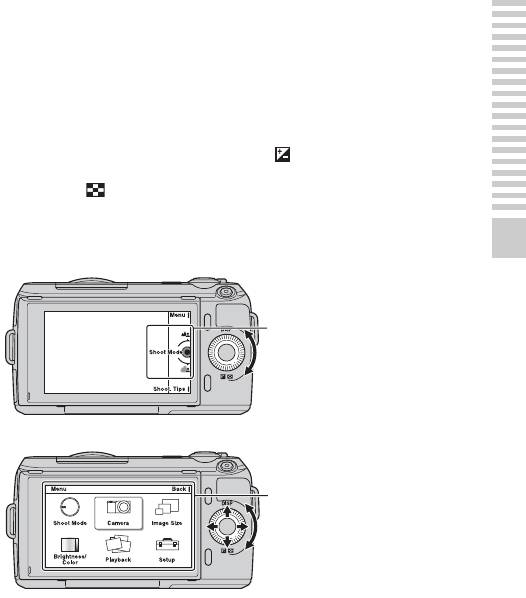
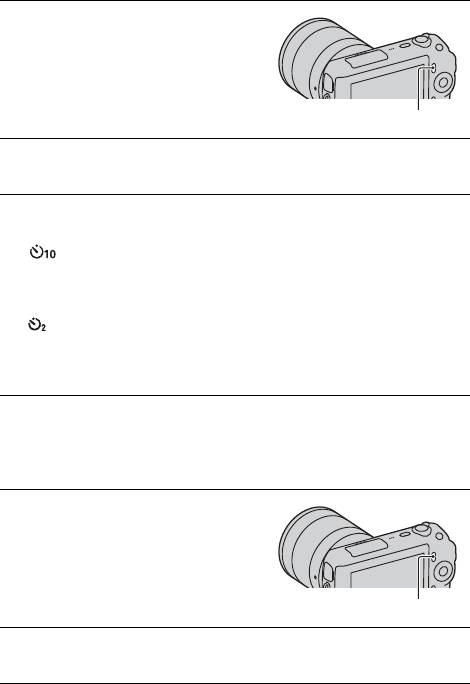
Control wheel
When shooting, DISP (Display Contents) and (Exposure Comp.) functions
are assigned to the control wheel. When playing back, DISP (Display
Contents) and (Image Index) functions are assigned to the control wheel.
When you turn or press the right/left/top/bottom parts of the control wheel
following the on-screen display, you can select setting items. Your selection is
determined when you press the center of the control wheel.
Mastering the basic operation
The arrow means you can turn the
control wheel.
When options are displayed on the
screen, you can browse through
them by turning or pressing the
top/bottom/left/right parts of the
control wheel. Press the center to
make your choice.
GB
29
x
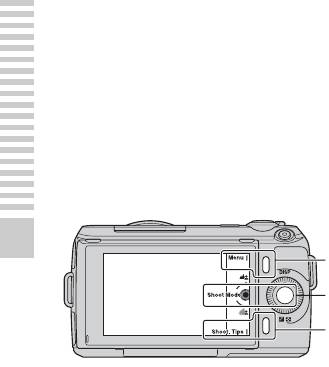
Soft keys
The soft keys have different roles, depending on the context.
The assigned role (function) of each soft key is shown on the screen.
To use the function shown at the upper right corner of the screen, press soft
key A. To use the function shown at the lower right corner of the screen, press
soft key B. To use the function shown at the center, press the center of the
control wheel (soft key C).
In this handbook, the soft keys are indicated by the icon or the function shown
on the screen.
Mastering the basic operation
A
In this case, soft key A
works as the [Menu] button,
C
and soft key B as the
[Shoot. Tips] button. Soft
key C works as the [Shoot
B
Mode] button.
GB
30
Using the guide function of the camera
The camera provides various “Help Guides” which explain the functions, and
“Shooting Tips” which introduce tips for better shooting. Use these guides to
make better use of the camera.
x
Help Guides
The camera displays the Help Guide to explain the selected function, when
you change the setting, etc.
You can hide the Help Guides by selecting [Menu] t [Setup] t [Help Guide
Display] t [Off].
Mastering the basic operation
x
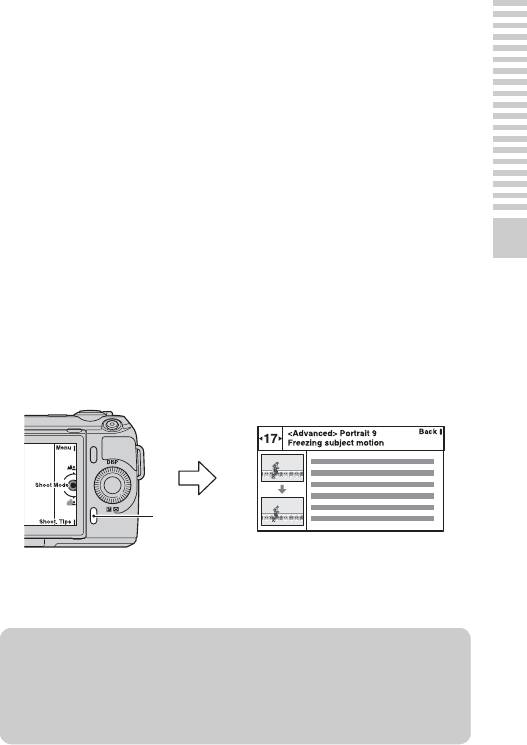
Shooting tips
The camera displays the shooting tips in accordance with the shooting mode
selected.
1 When [Shoot. Tips] is displayed at the right bottom corner of the screen,
press the button at the right bottom (page 30).
A shooting tip in accordance with the current subject appears
automatically.
[Shoot. Tips]
2 Press the left or right of the control wheel and search for the desired
shooting tip.
• Turn the control wheel to scroll the text up and down.
z To access all shooting tips
You can search through all shooting tips from the menu.
1[Menu] t [Camera] t [Shooting Tip List].
2Search for the desired shooting tips.
You can access a tip from the [Table of contents].
GB
31
Using the recording functions
Setting the function using Photo Creativity
You can operate the camera intuitively using Photo Creativity, since the screen
is designed more for intuitive operations than the normal screen. You can
shoot a subject with easy operations and obtain creative photos easily.
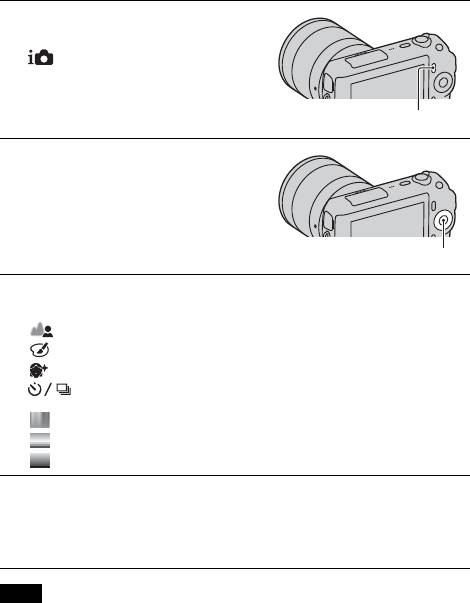
Press [Menu], then select
1
[Shoot Mode] t
(Intelligent Auto).
[Menu]
Press the center of the control
2
wheel.
The Photo Creativity screen appears.
Control wheel
Select the item you want to adjust by turning the control
3
wheel, then press the center of the control wheel.
(Bkground Defocus): Adjusts the blurring of the background.
(Picture Effect): Selects the desired effect filter for shooting.
(Soft Skin Effect): Adjusts the level of the Soft Skin Effect.
(Self-timer/Continuous Adv.): Sets the 10-second delay self-
timer/Shoots images continuously with high speed.
(Vividness): Adjusts the vividness.
(Color): Adjusts the color.
(Brightness): Adjusts the brightness.
Select the desired setting by turning the control wheel, then
4
press the center of the control wheel.
The screen returns to the Photo Creativity screen.
Repeat Steps 2 – 4 to combine the various functions.
Note
• The Photo Creativity function is only available when an E-mount lens is mounted.
GB
32
z Playing back in Photo Creativity mode
In Photo Creativity mode, pressing the button accesses the Photo Creativity
playback mode. Press [Back] to return to the shooting mode and you can shoot
with the same setting.
x
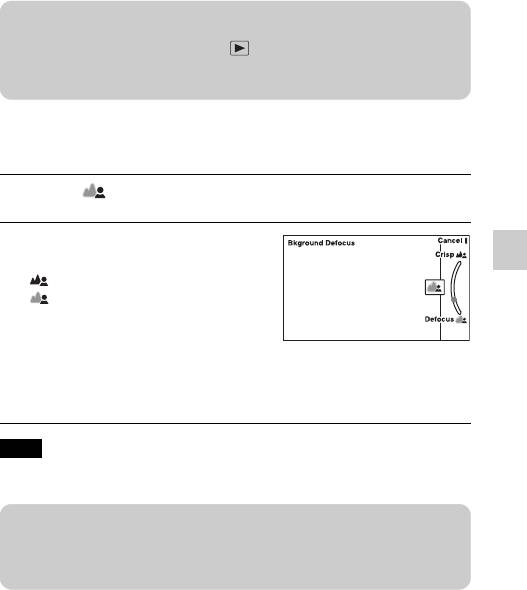
Defocusing the background easily (Background
Defocus Control)
Select (Bkground Defocus) (page 32).
1
Defocus the background by
2
turning the control wheel.
Using the recording functions
: Turn it clockwise to focus
: Turn it counterclockwise to
defocus
Press [Cancel] to restore the original
status.
• You can record a movie with a
value adjusted with the defocusing
effect.
Note
• The defocusing effect may not be noticeable, depending on the distance from the
subject or the lens used.
z For a better result of Background Defocus
• Move closer to the subject.
• Lengthen the distance between the subject and the background.
GB
33
x
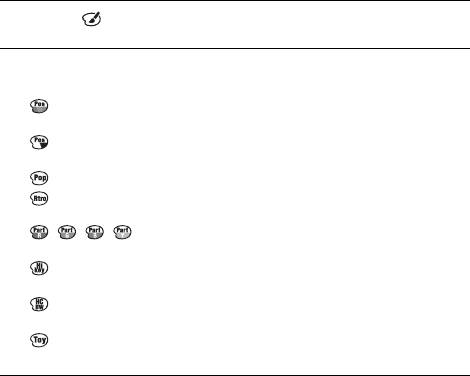
Picture Effect
Select (Picture Effect) (page 32).
1
Select the desired effect by turning the control wheel, then
2
press the center of the control wheel.
(Posterization (Color)): Creates a high contrast, abstract look by
heavily emphasizing primary colors.
(Posterization (B/W)): Creates a high contrast, abstract look in
black and white.
(Pop Color): Creates a vivid look by emphasizing color tones.
(Retro Photo): Creates the look of an aged photo with sepia color
tones and faded contrast.
(Partial Color): Creates an image which retains the
specified color, but converts others to black and white.
(High-key): Creates an image with the indicated atmosphere: bright,
transparent, ethereal, tender, soft.
(High Contrast Monochrome): Creates an image with high contrast
in black and white.
(Toy Camera): Creates the look of a Toy Camera photo with shaded
corners and pronounced colors.
GB
34
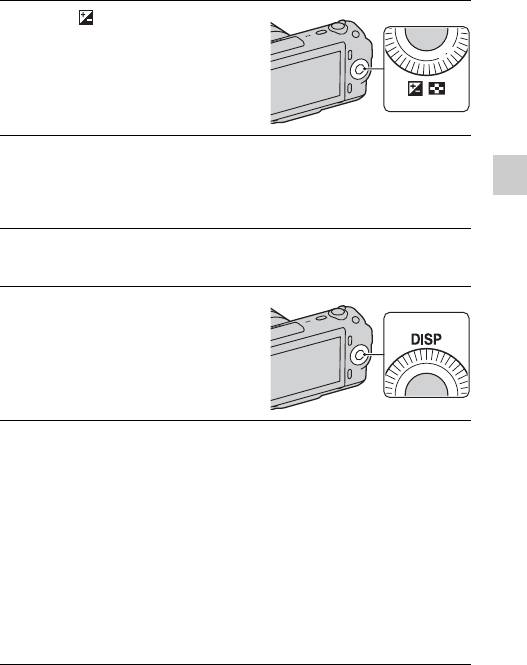
Adjusting the brightness of still images
(Exposure compensation)
You can adjust the exposure in 1/3 EV steps in a range of –2.0 EV to +2.0 EV.
Press (Exposure Comp.)
1
on the control wheel.
Turn the control wheel to select the desired value, and
2
press the center.
When the image is too bright, set [Exposure Comp.] toward –.
Using the recording functions
When the image is too dark, set [Exposure Comp.] toward +.
Changing the screen display (DISP)
Press DISP (Display
1
Contents) on the control
wheel.
Press DISP repeatedly to select the desired mode.
2
During shooting
Disp. Basic Info: Shows basic shooting information. Graphically shows
the shutter speed and aperture value, except for when [Shoot Mode] is set
to [Intelligent Auto] or [Sweep Panorama].
Display Info.: Shows recording information.
No Disp. Info.: Does not show recording information.
During playback
Display Info.: Shows recording information.
Histogram: Displays the luminance distribution graphically, in addition
to recording information.
No Disp. Info.: Does not show recording information.
GB
35
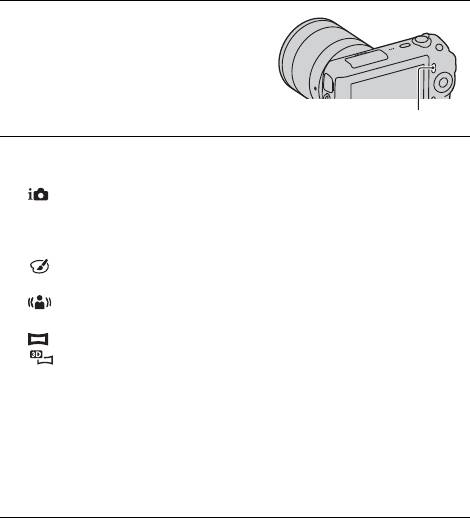
Shooting with various drive mode
Press [Menu].
1
[Menu]
Use the control wheel to select [Shoot Mode] t desired
2
mode, and press the center.
(Intelligent Auto): The camera evaluates the subject and makes the
proper settings.
SCN (Scene Selection): Shoots with preset settings according to the
subject or condition.
(Picture Effect): Shoots with the desired effects to express a unique
atmosphere.
(Anti Motion Blur): Reduces the camera shake when shooting a
slightly dark indoor scene or a telephoto.
(Sweep Panorama): Shoots with panoramic size.
(3D Sweep Panorama): Shoots 3D panoramic images used for
playback on a 3D compatible TV.
M (Manual Exposure): Adjusts the aperture and shutter speed.
S (Shutter Priority): Adjusts the shutter speed to express the movement
of the subject.
A (Aperture Priority): Adjusts the range in focus, or defocuses the
background.
P (Program Auto): Automatic shooting that allows you to customize
settings, except for the exposure (aperture and shutter speed).
GB
36
x
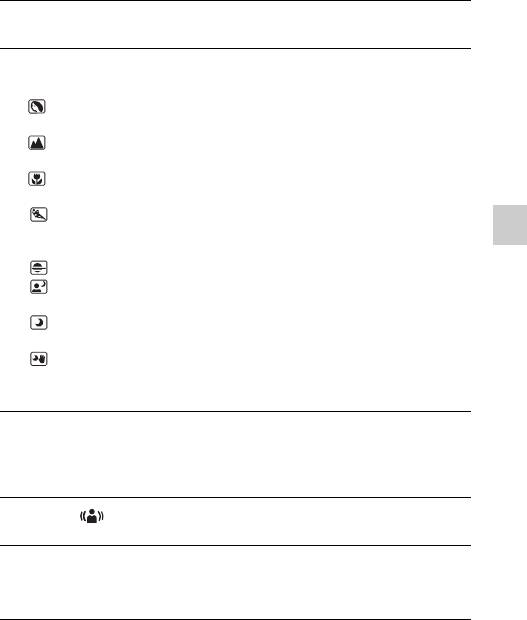
Scene Selection
Select SCN (Scene Selection) (page 36).
1
Turn the control wheel to select the desired mode, and
2
press the center.
(Portrait): Blurs away backgrounds and sharpens the subject.
Expresses skin tones softly.
(Landscape): Shoots the entire range of scenery in sharp focus with
vivid colors.
(Macro): Shoots close subjects such as flowers, insects, food, or small
items.
(Sports Action): Shoots a moving subject at a fast shutter speed so
that the subject looks as if it is standing still. The camera shoots images
continuously while the shutter button is pressed.
Using the recording functions
(Sunset): Shoots the red of the sunset beautifully.
(Night Portrait): Shoots portraits in night scenes. Attach and fire the
flash.
(Night View): Shoots night scenes without losing the dark
atmosphere.
(Hand-held Twilight): Shoots night scenes with less noise and blur
without using a tripod. A burst of shots are taken, and image processing is
applied to reduce subject blur, camera shake, and noise.
x
Anti Motion Blur
This is suitable for indoor shots without using the flash, to reduce the subject
blur.
Select (Anti Motion Blur) (page 36).
1
Shoot with the shutter button.
2
The camera combines six shots at high sensitivity into one still image, so
camera shake is reduced while preventing noise.
GB
37
x
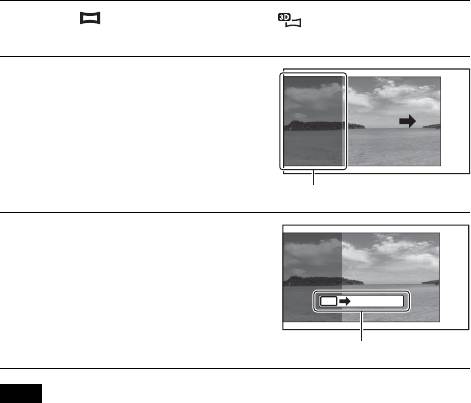
Sweep Panorama/3D Sweep Panorama
While you pan the camera, the camera shoots several images and composes
them into one panoramic image.
Select (Sweep Panorama) or (3D Sweep
1
Panorama) (page 36).
Point the camera at the edge
2
of the subject, then press the
shutter button fully down.
This part will not be taken.
Pan the camera to the end,
3
following the guidance on the
LCD monitor.
Guidance bar
Note
• The camera continues shooting during [Sweep Panorama] recording, and the
shutter keeps clicking until the end of the shooting.
GB
38

z Playing back scrolling panoramic images
You can scroll panoramic images from the beginning to the end by pressing the
center of the control wheel while panoramic images are being displayed. Press it
again to pause.
• Panoramic images are played back with the
supplied software “PMB” (page 61).
• Panoramic images shot with other cameras may
not be displayed or scrolled correctly.
Shows the displayed area
of the whole panoramic
image.
Using the recording functions
x
Shutter Priority
You can express the movement of a moving subject in various way by
adjusting the shutter speed, for example, at the instant of the movement with
high speed shutter, or as a trailing image with low speed shutter.
Select S (Shutter Priority) (page 36).
1
Turn the control wheel to select the desired value, and
2
press the center.
GB
39
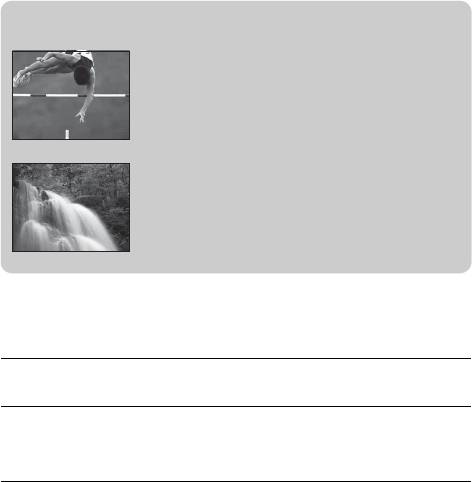
z Shutter speed
When a faster shutter speed is used, a moving
subject such as a running person, cars, and sea
spray appears as if they are stopped.
When a slower shutter speed is used, a trailing
image of the movement of the subject is captured
to make more natural and dynamic image.
x
Aperture Priority
You can adjust the range in focus, or defocuses the background.
Select A (Aperture Priority) (page 36).
1
Turn the control wheel to select the desired value, and
2
press the center.
• You can record a movie with a value adjusted with Aperture Priority.
GB
40
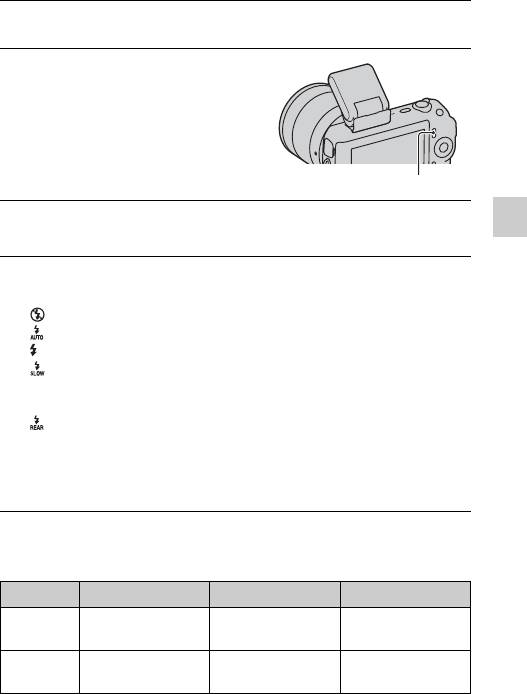
Selecting the flash mode
Attach the flash and raise it (page 20).
1
Press [Menu].
2
[Menu]
Use the control wheel to select [Camera] t [Flash Mode],
3
and press the center.
Using the recording functions
Turn the control wheel to select the desired mode, and
4
press the center.
(Flash Off): Does not fire even if the flash is raised.
(Autoflash): Fires if it is dark or against light.
(Fill-flash): Fires every time you trigger the shutter.
(Slow Sync.): Fires every time you trigger the shutter. Slow sync
shooting allows you to shoot a clear image of both the subject and the
background.
(Rear Sync.): Fires right before the exposure is completed every time
you trigger the shutter. A trailing image of the movement of the subject is
captured to make more natural image.
• The selectable items of the flash mode depends on the shooting mode
(page 58).
The flash range
The range of the supplied flash depends on the ISO sensitivity and aperture
value.
F2.8 F3.5 F5.6
ISO200 1 – 3.5 m (3.3 – 11.6
1 – 2.8 m (3.3 – 9.2
1 – 1.8 m (3.3 – 5.9
feet)
feet)
feet)
ISO1600 2.8 – 10 m (9.2 – 32
2.3 – 8 m (7.5 – 26.2
1.4 – 5 m (4.6 – 16
feet)
feet)
feet)
GB
41
Using the self-timer
Press [Menu].
1
[Menu]
Use the control wheel to select [Camera] t [Drive Mode]
2
t [Self-timer].
Press [Option], then turn the control wheel to select the
3
desired mode and press the center.
(Self-timer: 10 Sec): Sets the 10-second delay self-timer. Use this
when you want to include yourself in the picture.
When you press the shutter button, the self-timer lamp flashes and beeps
until the shutter operates.
(Self-timer: 2 Sec): Sets the 2-second delay self-timer. You can
prevent blur caused by camera shake that occurs when the shutter button
is pressed.
• To cancel the timer, set [Drive Mode] to [Single-shot Adv.].
Shooting still images continuously
The camera records images continuously while you press and hold down the
shutter button.
Press [Menu].
1
[Menu]
Use the control wheel to select [Camera] t [Drive Mode]
2
t [Continuous Adv.], and press the center.
GB
42

z To shoot continuously at a higher speed
Select (Speed Priority Cont.) from Drive Mode to shoot more images
continuously (max. 5.5 images per second). The focus and exposure of the first
shot are used for the following shots.
Using the recording functions
GB
43

Selecting the image size
The image size determines the size of the image file that is recorded when you
take an image.
The larger the image size, the more detail will be reproduced when the image
is printed on large format paper. The smaller the image size, the more images
can be recorded.
In the case of movies, the larger the image size, the higher the image quality.
Press [Menu].
1
[Menu]
Use the control wheel to select [Image Size] t [Image
2
Size], and press the center.
Turn the control wheel to select the desired mode, and
3
press the center.
Still
When [Aspect Ratio] is 3:2 Usage guidelines
(L: 16M) 4912 × 3264 pixels For prints up to A3+ size
(M: 8.4M) 3568 × 2368 pixels For prints up to A4 size
(S: 4.0M) 2448 × 1624 pixels For prints L/2L size
When [Aspect Ratio] is 16:9 Usage guidelines
(L: 14M) 4912 × 2760 pixels For viewing on a high-definition TV
(M: 7.1M) 3568 × 2000 pixels
(S: 3.4M) 2448 × 1376 pixels
GB
44
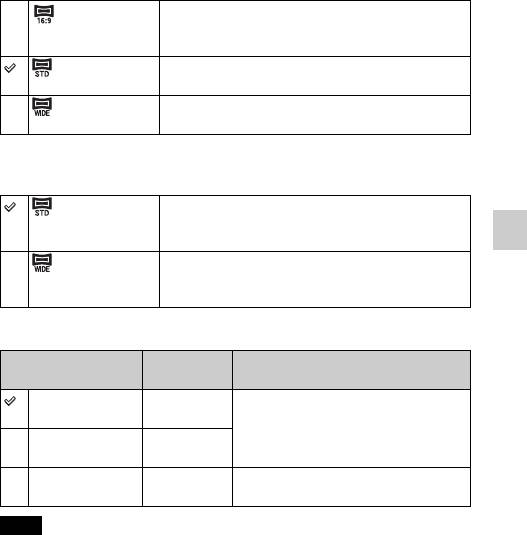
3D Sweep Panorama
(16:9) Shoots images using a size suitable for a high-
definition TV.
Horizontal: 1920 × 1080
(Standard) Shoots images using standard size.
Horizontal: 4912 × 1080
(Wide) Shoots images using wide size.
Horizontal: 7152 × 1080
Panorama
The image size varies depending on the shooting direction (page 51).
(Standard) Shoots images using standard size.
Vertical: 3872 × 2160
Horizontal: 8192 × 1856
Using the recording functions
(Wide) Shoots images using wide size.
Vertical: 5536 × 2160
Horizontal: 12416 × 1856
Movie
Image size Average
Usage guidelines
bit-rate
1280 × 720
9 Mbps Records with high image quality for
(Fine)
viewing on a high-definition TV.
1280 × 720
6 Mbps
(Standard)
VGA (640 × 480) 3 Mbps Records in the suitable size for WEB
uploads.
Note
• When you print still images recorded with 16:9 aspect ratio, and panoramic
images, both edges may be cut off.
GB
45
Using the playback functions
Enlarging the playback image (Enlarge
Image)
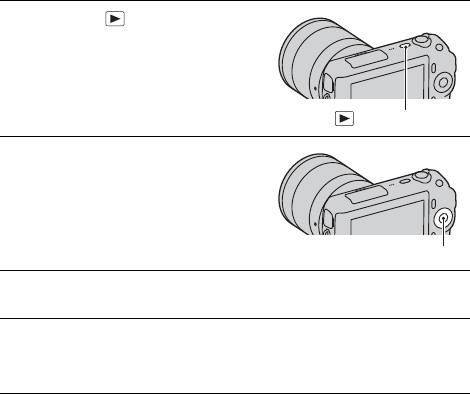
Press the (Playback)
1
button to enter the playback
mode.
(Playback) button
Display the image you want to
2
enlarge, then press [Enlarge]
(the center of the control
wheel).
Control wheel
Turn the control wheel to adjust the scaling.
3
Press the top/bottom/right/left of the control wheel to select
4
the portion you want to enlarge.
• To cancel the operation, press [Exit].
GB
46
Displaying the image list
Press the (Playback)
1
button to enter the playback
mode.
(Playback) button
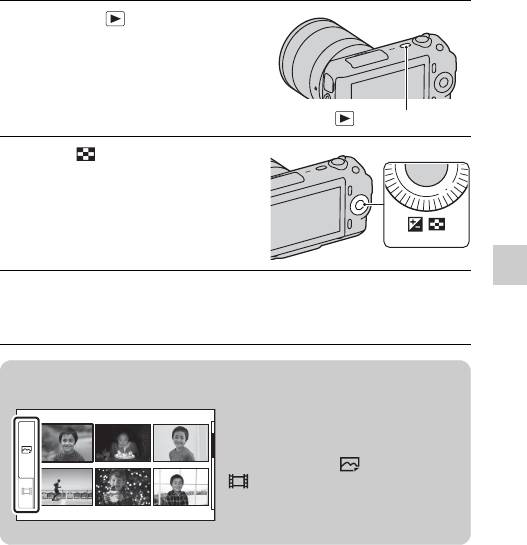
Press (Image Index) on
2
the control wheel.
Six images are displayed at a time.
Turn the control wheel to select an image.
Using the playback functions
3
• To return to the single-image screen, select the desired image, and press
the center.
z Switching between the still image and the movie
You can switch the image type on the
image index easily.
Press the left side of the control wheel
repeatedly to select
(still image) or
(movie), and press the center.
You cannot display still image and movie
on the same index screen.
GB
47
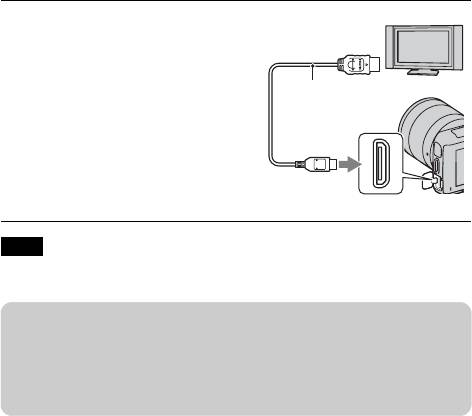
Viewing images on a TV
To view images recorded on the camera on a TV, an HDMI cable (sold
separately) and an HD TV equipped with an HDMI connector are required.
Connect the camera to the TV
To the HDMI
1
with an HDMI cable (sold
connector
separately).
HDMI cable
To the HDMI
terminal
Note
• Use an HDMI mini connector on one end (for the camera), and a plug suitable for
connecting your TV on the other end.
z Viewing 3D images on a 3D TV
You can view 3D images recorded with the camera on a 3D TV connected to the
camera using an HDMI cable (sold separately).
Select [Menu] t [Playback] t [3D Viewing].
• For details, refer to the operating instructions supplied with the TV.
GB
48

