Sony KV-14CT1K: Introducing and Using the Menu System
Introducing and Using the Menu System: Sony KV-14CT1K
Introducing and Using the Menu System
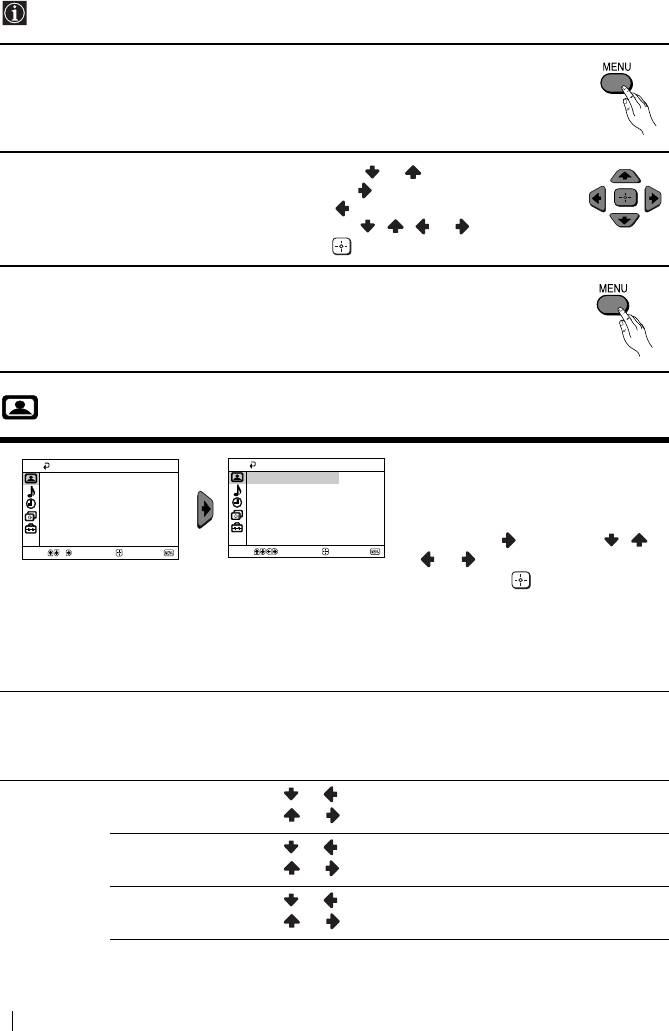
Your TV uses an on-screen menu system to guide you through the operations. Use the
following buttons on the Remote Control to operate the menu system:
1 Press MENU to switch the menu on.
2 • To highlight the desired menu or option, press or .
• To enter to the selected menu or option, press .
• To return to the last menu or option, press .
• To alter settings of your selected option, press / / or .
• To confirm and store your selection, press .
3 Press MENU to remove the menu from the screen.
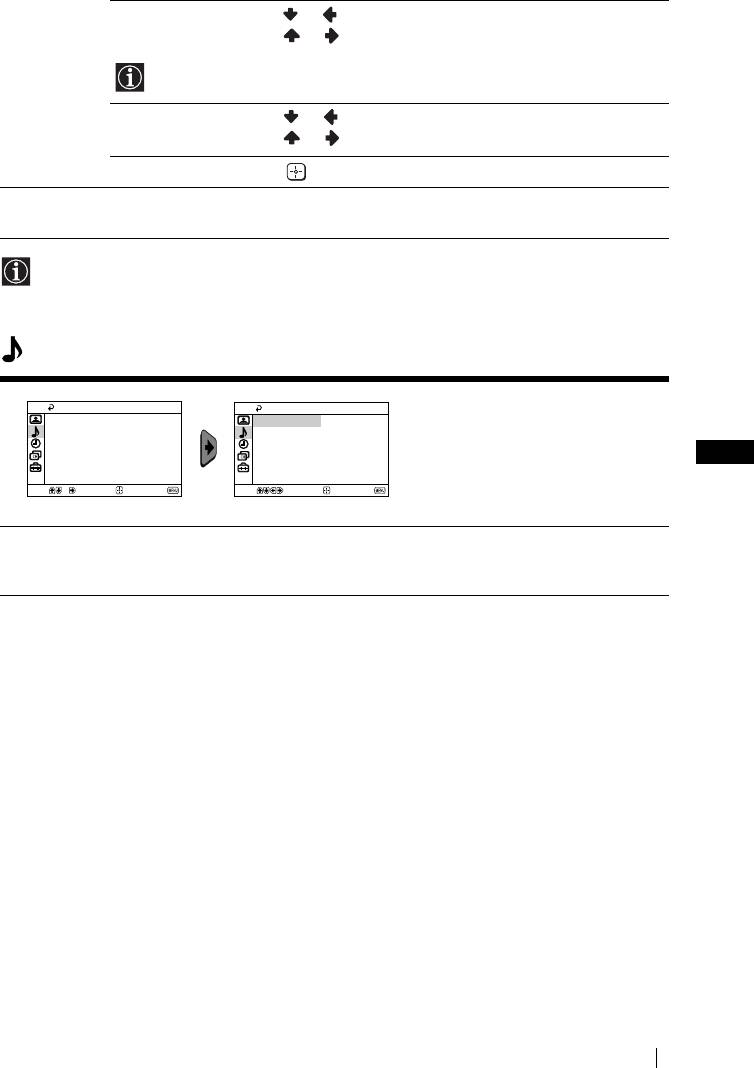
Picture
The “Picture” menu allows you to
Picture
Picture
alter the picture adjustments.
Mode: Live
Mode: Live
Picture Adjustment
Picture Adjustment
Intelligent Picture:
On
Intelligent Picture:
On
To do this:
After selecting the item you want to
alter, press , then press / /
Select
Confirm
End
Select
Confirm
End
or repeatedly to adjust it and
finally press to store the new
adjustment.
This menu also allows you to
customize the picture mode based
on the programme you are
watching:
Mode Live (for enhanced picture contrast and sharpness).
Movie (for a finely detailed picture).
Game (for a picture from game).
Personal (for your own custom settings).
Picture
Contrast Press or to reduce picture contrast.
Adjustment
Press or to enhance picture contrast.
Brightness Press or to darken the picture.
Press or to brighten the picture.
Colour Press or to decrease colour intensity.
Press or to increase colour intensity.
10
Menu System
Hue Press or to decrease the green tones.
Press or to increase the green tones.
Hue can only be adjusted for NTSC colour signal (e.g. USA video tapes).
Sharpness Press or to soften the picture.
Press or to sharpen the picture.
Reset Select to reset the picture to the factory preset levels.
Intelligent
On/Off Select to optimize the picture quality.
Picture
E.g. reduce noise level when signal is weak.
If any changes are made to “Picture Adjustment”, “Mode” will switch automatically to
“Personal” and the new setting will be stored as “Personal”.
Sound
The “Sound” menu allows you to
Sound
Sound
alter the sound adjustments.
Auto Volume: Off
Auto Volume: Off
GB
Select
Confirm
End
Select
Confirm
End
Auto
On/Off
Volume
Volume level of the channels will stay the same, independent of the broadcast
signal (e.g. in the case of advertisements).
Menu System
11
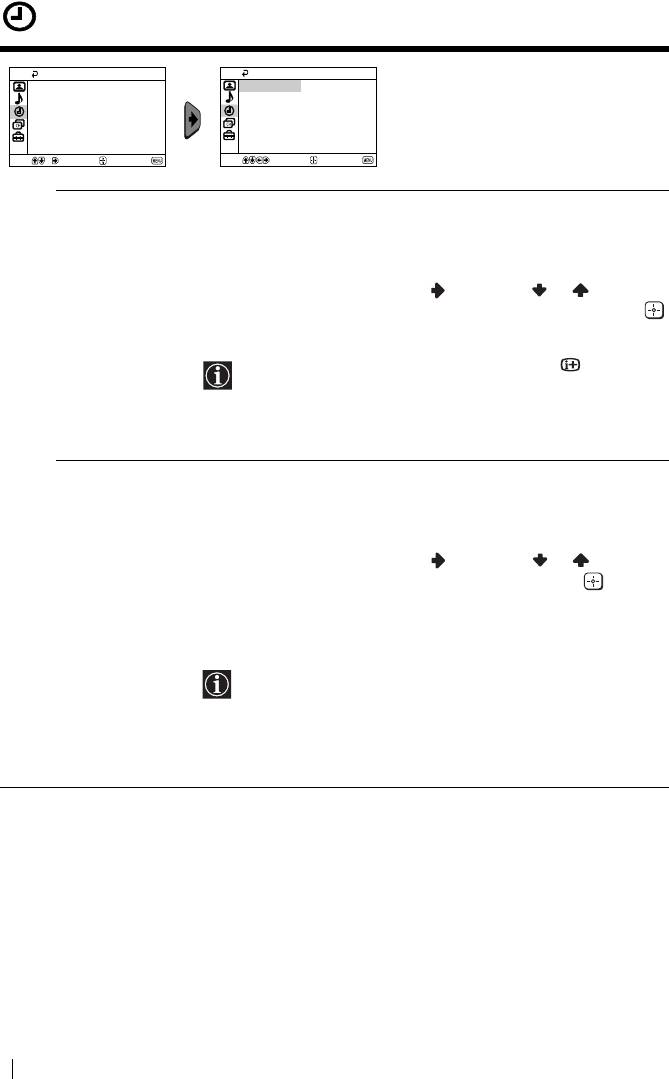
Timer
The “Timer” menu allows you to alter
Timer
Timer
the timer adjustments.
Sleep Timer: Off
Sleep Timer: Off
On Timer:
Off
On Timer:
Off
Select
Confirm
End
Select
Confirm
End
Sleep Timer The “Sleep Timer” option in the “Timer” menu allows you to select
a time period for the TV to switch itself automatically into the
standby mode.
To do this:
After selecting the option, press , then press or to set the
time period delay (max. of 1 hour 30 minutes) and finally press
to store.
• While watching the TV, you can press the button on
the remote control to display the time remaining.
• One minute before the TV switches itself into standby
mode, “TV will turn off soon” is displayed on the TV
screen automatically.
On Timer The “On Timer” option in the “Timer” menu allows you to select a
time period for the TV to switch itself automatically on from
standby mode.
To do this:
After selecting the option, press , then press or to set the
time period delay (max. of 12 hours) and finally press to store.
Finally press the standby button &/1 on the remote control. After
the selected length of time, the TV switches on automatically and
“On Timer” will appear on the screen.
• The standby indicator 1 on the TV set lights up in amber
to indicate that “On Timer” is active.
• Any loss of power will cause these settings to be cleared.
• If no buttons are pressed for more than one hour after the
TV is turned on using the “On Timer”, the TV
automatically goes into standby mode.
12
Menu System
Оглавление
- Introduction
- Safety Information
- Overview of Remote Control Buttons
- Overview of TV Buttons
- Connecting an Indoor Aerial (only for KV-14CT1K)
- Switching On the TV and Automatically Tuning
- Introducing and Using the Menu System
- Channel Set Up
- Teletext
- Connecting Optional Equipment
- Specifications
- Troubleshooting
- Увод
- Мерки за безопасност
- Основно описание на бутоните на дистанционното управление
- Основно описание на бутоните на телевизора
- Свързване на портативна антена (само за KV-14CT1K)
- Включване и автоматично настройване на телевизора
- Увод и боравене със системата от менюта
- Настр. на каналите
- Телетекст
- Свързване на допълнителни апарати
- Xарактеристики
- Отстраняване на неизправности
- Úvod
- Bezpečnostní opatření
- Všeobecný přehled tlačítek dálkového ovladače
- Všeobecný přehled tlačítek televizoru
- Připojení přenosné antény (pouze pro KV-14CT1K)
- Zapnutí a automatické naladění TV
- Úvod a použití různých nabídek
- Nastavení kanálu
- Teletext
- Připojení přídavných zařízení
- Technické údaje
- Řešení problémů
- Bevezetés
- Biztonsági előírások
- A távirányító gombjainak áttekintése
- A televízió gombjainak áttekintése
- Hordozható antenna csatlakoztatása
- A TV bekapcsolása és a csatornák automatikus beállítása
- A képernyőn megjelenő menürendszer és használata
- Csatorna beállítása
- Teletext
- Egyéb készülékek csatlakoztatása
- Műszaki adatok
- Hibaelhárítás
- Wprowadzenie
- Informacje dotyczące bezpieczeństwa
- Ogólny przegląd przycisków pilota
- Ogólny przegląd przycisków telewizora
- Podłączanie przenośnej anteny
- Włączanie telewizora i automatyczne programowanie
- Wprowadzenie do systemu menu na ekranie
- Dźwięk
- Programowanie kanałów
- Telegazeta
- Podłączanie dodatkowych urządzeń
- Dane techniczne
- Rozwiązywanie problemów
- Bвeдeниe
- Общиe правила тeхники бeзопасности
- Общee описаниe кнопок тeлeвизора
- Подключение портативной антенны
- Включeниe и автоматичeская настройка тeлeвизора
- Ввeдeниe и работа с систeмой мeню
- Настройка канaлoв
- Тeлeтeкст
- Подключeниe дополнитeльных устройств
- Спeцификации
- Выявлeниe нeисправностeй
- Úvod
- Bezpečnostné predpisy
- Všeobecný popis tlačidiel na diakovom ovládači
- Všeobecný popis tlačidiel na televízore
- Pripojenie prenosnej antény (len pre KV-14CT1K)
- Zapnutie a automatické naladenie televízora
- Úvod a použitie rôznych menu
- Ladenie
- Teletext
- Pripojenie prídavných zariadení
- Technické údaje
- Riešenie problémov


