Sony Grand Wega KF-50SX100K: Using the Demo Mode
Using the Demo Mode: Sony Grand Wega KF-50SX100K
Menu System
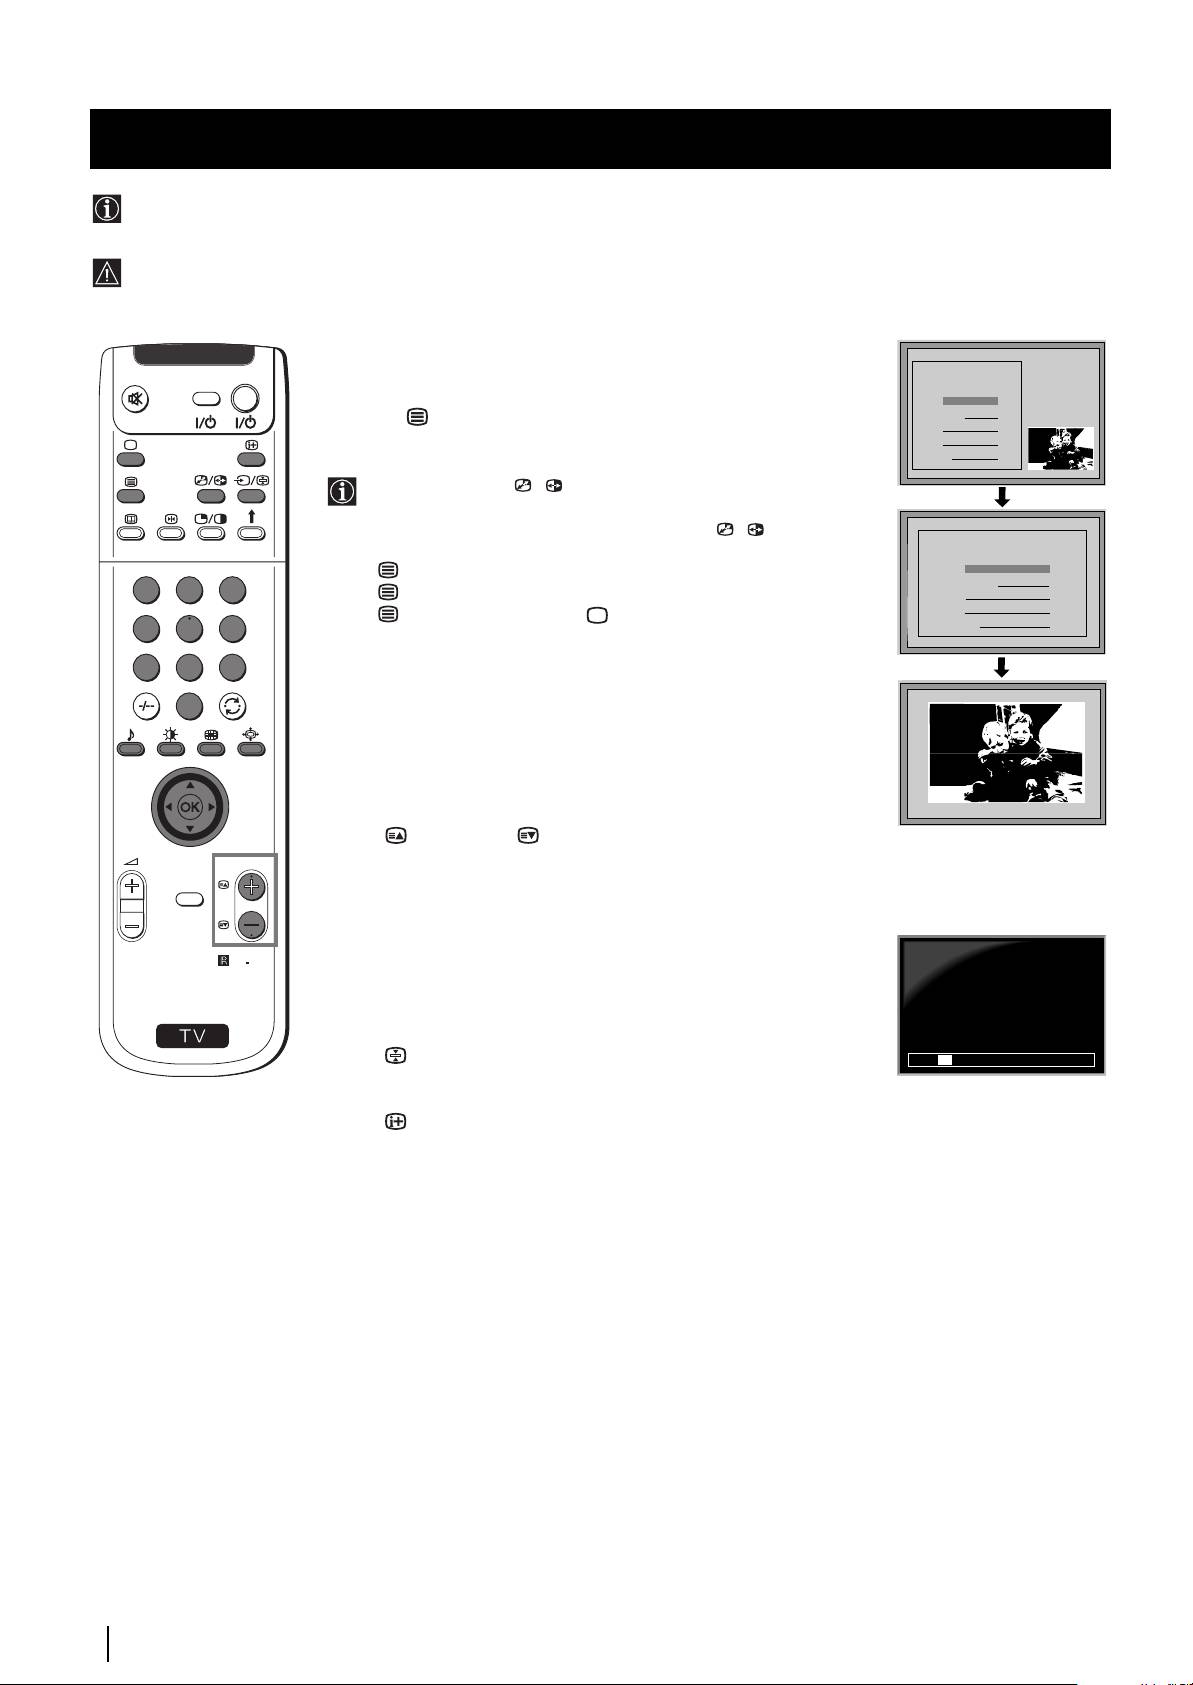
Using the Demo Mode
This function provides an overview of some of the features available on this set.
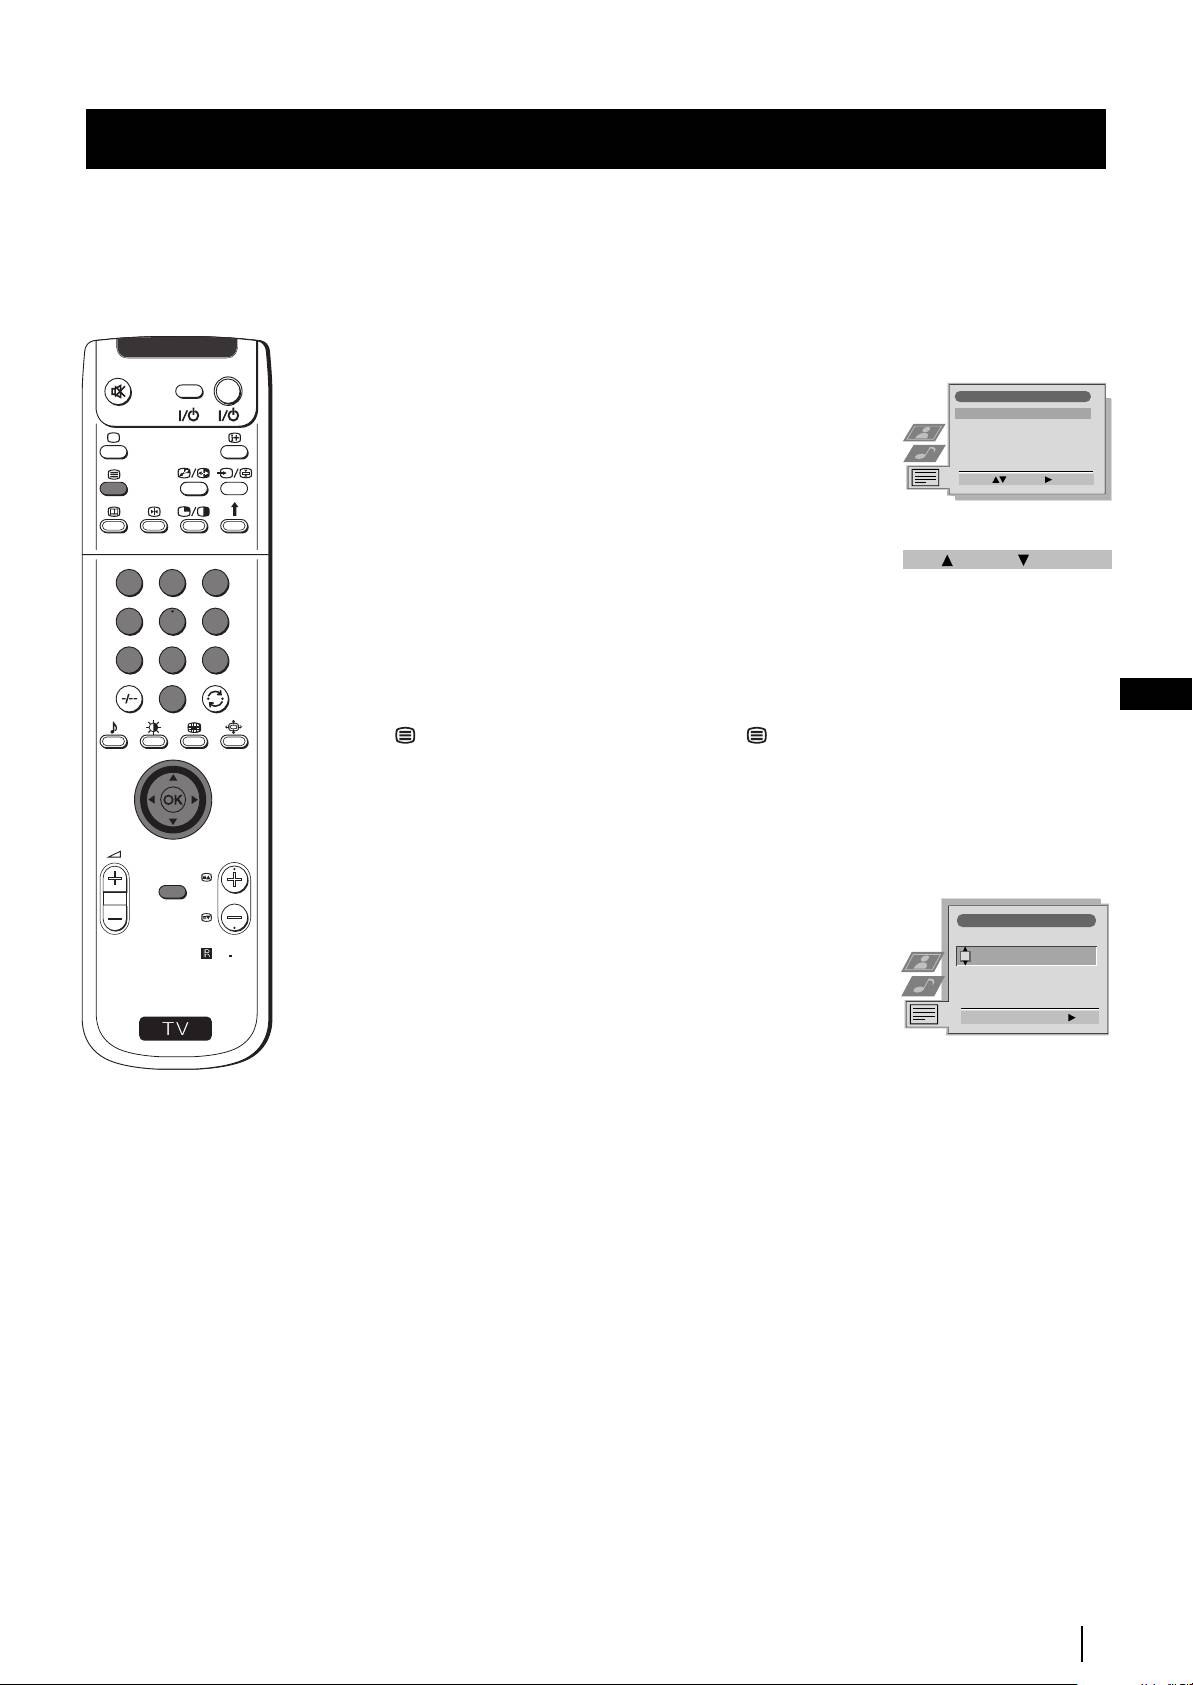
1 Press the MENU button on the remote control to display the menu
Picture Adjustment
V
I
D
E
O
TV
Picture Mode
Personal
on the screen.
Contrast
Brightness
Colour
Sharpness
Reset
AI
On
Noise Reduction
Off
Colour Tone
Normal
Select: Enter Menu:
Set Up
2 Push the joystick to $ to select the symbol, then push to z to
Auto Tuning
Start
Programme Sorting
enter the Set Up menu.
Select NexTView
- - - - - - -
AV Preset
Manual Set Up
1
2
3
Select:
Start Auto Tuning
4
5
6
Set Up
3 Push the joystick to $ or 4 to select Manual Set Up, then push to z.
Auto Tuning
7
8
9
Programme Sorting
Select NexTView
- - - - - - -
AV Preset
Manual Set Up
0
Select:
Enter:
Manual Set Up
4 Push to $ or 4 to select Demo, then push to z to enter and start
Language/Country
Manual Programme Preset
the demonstration.
Further Programme Preset
RGB Set Up
Personal ID
- - - - - - -
Demo Start
PROGR
Select: Enter:
MENU
The set starts the demonstration and shows most of the
available picture functions.
RM
903
Note:
S
Press the button on the remote control to stop the Demo mode
and return to the normal TV screen.
20
Menu System
Menu System
Adjusting the H Centre picture for an RGB source
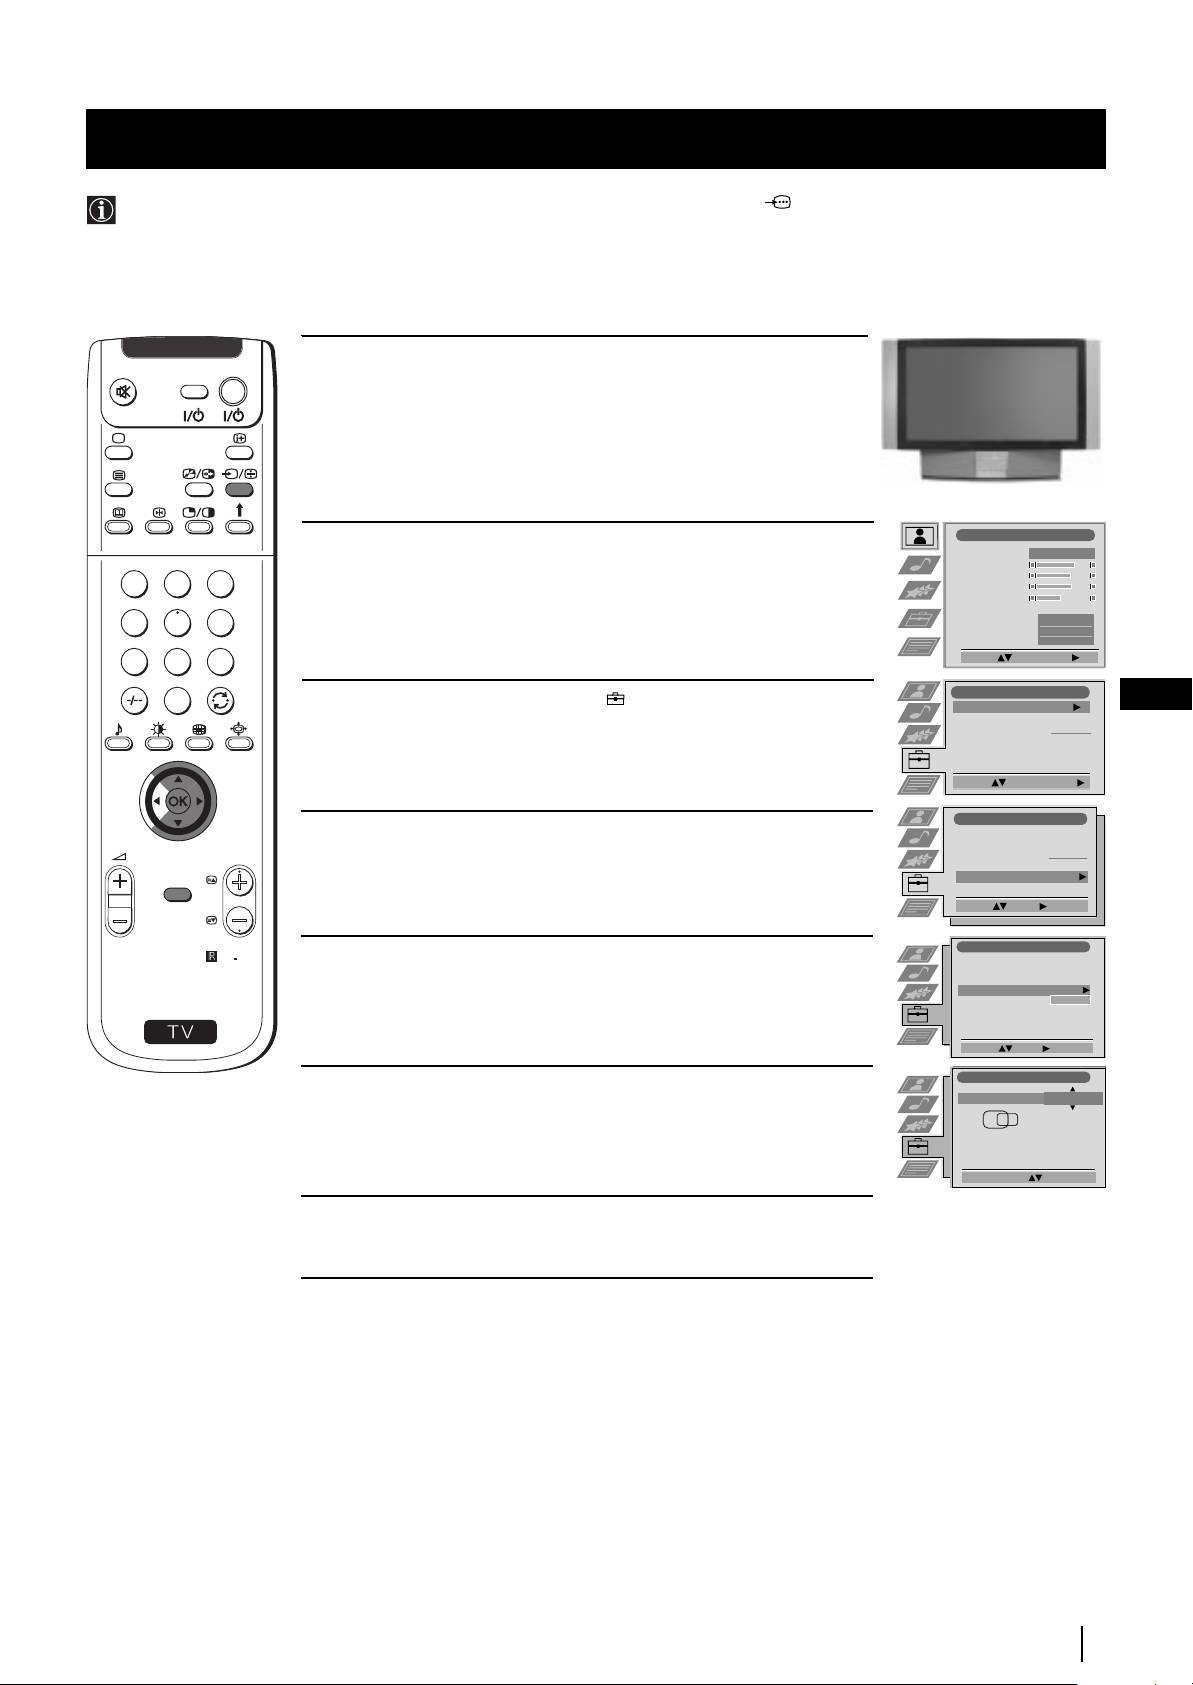
When connecting an RGB source, such as a DVD player, to the Scart connector :1/ you may need to readjust the H Centre
of the picture.
1 Press the … button repeatedly on the remote control until the
… 1
V
I
D
E
O
TV
symbol …1 appears on the screen.
Picture Adjustment
2 Push the MENU button to display the menu on the screen.
Picture Mode
Personal
Contrast
Brightness
1
2
3
Colour
Sharpness
Reset
AI
4
5
6
On
Noise Reduction
Off
Colour Tone
Normal
Select: Enter Menu:
7
8
9
Set Up
3 Push the joystick to $ to select the symbol, then push to z to
GB
0
Auto Tuning
Start
Programme Sorting
enter the Set Up menu.
Select NexTView
- - - - - - -
AV Preset
Manual Set Up
Select:
Start Auto Tuning
Set Up
4 Push to $ or 4 to select Manual Set Up then push to z to enter.
Auto Tuning
Programme Sorting
Select NexTView
- - - - - - -
PROGR
AV Preset
Manual Set Up
MENU
Select:
Enter:
Manual Set Up
RM
903
5 Push the joystick to $ or 4 to select RGB Set Up then push to z.
Language/Country
Manual Programme Preset
Further Programme Preset
RGB Set Up
Personal ID
- - - - - - -
S
Demo
Select: Enter:
RGB Set Up
6 Push the joystick to z to enter H Centre, then push to $ or 4 to
H Centre
O
adjust the centre of the picture over a range of -10 to +10. Press
the OK button to store.
Adjust Position: Confirm: OK
RGB Set Up
7 Press the MENU button to exit and return to the normal TV screen.
Menu System
21
Menu System
Labelling and Selecting the screen format of Input Sources
This function enables you to select the size of the picture coming from the input source as well as designate a name to the optional
equipment you have connected to the sockets of this set. This name can contain up to 5 characters (letters or numbers).
1 Press the MENU button on the remote control to display the menu
Picture Adjustment
V
I
D
E
O
TV
Picture Mode
Personal
on the screen.
Contrast
Brightness
Colour
Sharpness
Reset
AI
On
Noise Reduction
Off
Colour Tone
Normal
Select: Enter Menu:
Set Up
2 Push the joystick to $ to select the symbol, then push to z to
Auto Tuning
Start
enter the Set Up menu.
Programme Sorting
Select NexTView
- - - - - - -
AV Preset
Manual Set Up
1
2
3
Select:
Start Auto Tuning
4
5
6
Set Up
3 Push the joystick to $ or 4 to select AV Preset, then push to z.
7
8
9
Auto Tuning
Programme Sorting
Select NexTView
- - - - - - -
AV Preset
0
Manual Set Up
Select:
Enter:
AV Preset
4 Push the joystick to $ or 4 to select the input source. Then push to z .
INPUT LABEL
AUTO FORMAT
AV1
Off
VIDEO
AV2
Off
PROGR
AV3
Normal
VIDEO
AV4
Full
VIDEO
MENU
Select: Enter:
5 Push the joystick to $ or 4 to select:
AV Preset
$ Off (size of picture is not automatically adjusted).
RM
903
Normal (size of picture is automatically adjusted according to the
INPUT LABEL
AUTO FORMAT
AV1
Off
VIDEO
broadcaster information).
AV2
Off
AV3
Normal
VIDEO
AV4
Full
S
VIDEO
4 Full (The set automatically adjusts the picture size to eliminate
Select: Next: Confirm: OK
any dark areas on the TV picture (as shown on the section
AV Preset
“Changing the Screen Format”).
Next push to z .
INPUT LABEL
AUTO FORMAT
AV1
Off
IDEO
AV2
Off
V
AV3
Normal
VIDEO
AV4
Normal
VIDEO
6 With the first element of the LABEL column highlighted, push the
Select A-Z, 0-9: Confirm: OK
joystick to $ or 4 to select a letter, number, "+" or blank;
then push to z to confirm this character. Select the other four
characters in the same way.
7 After selecting all the characters, press the OK button.
8 Repeat steps 4 to 7 if you wish to select the picture size or label other
input sources.
9 Press the MENU button to exit and return to the normal TV screen.
Whenever the equipment with the labeled input is selected for use, the name
appears for a few seconds on the screen
22
Menu System
Menu System
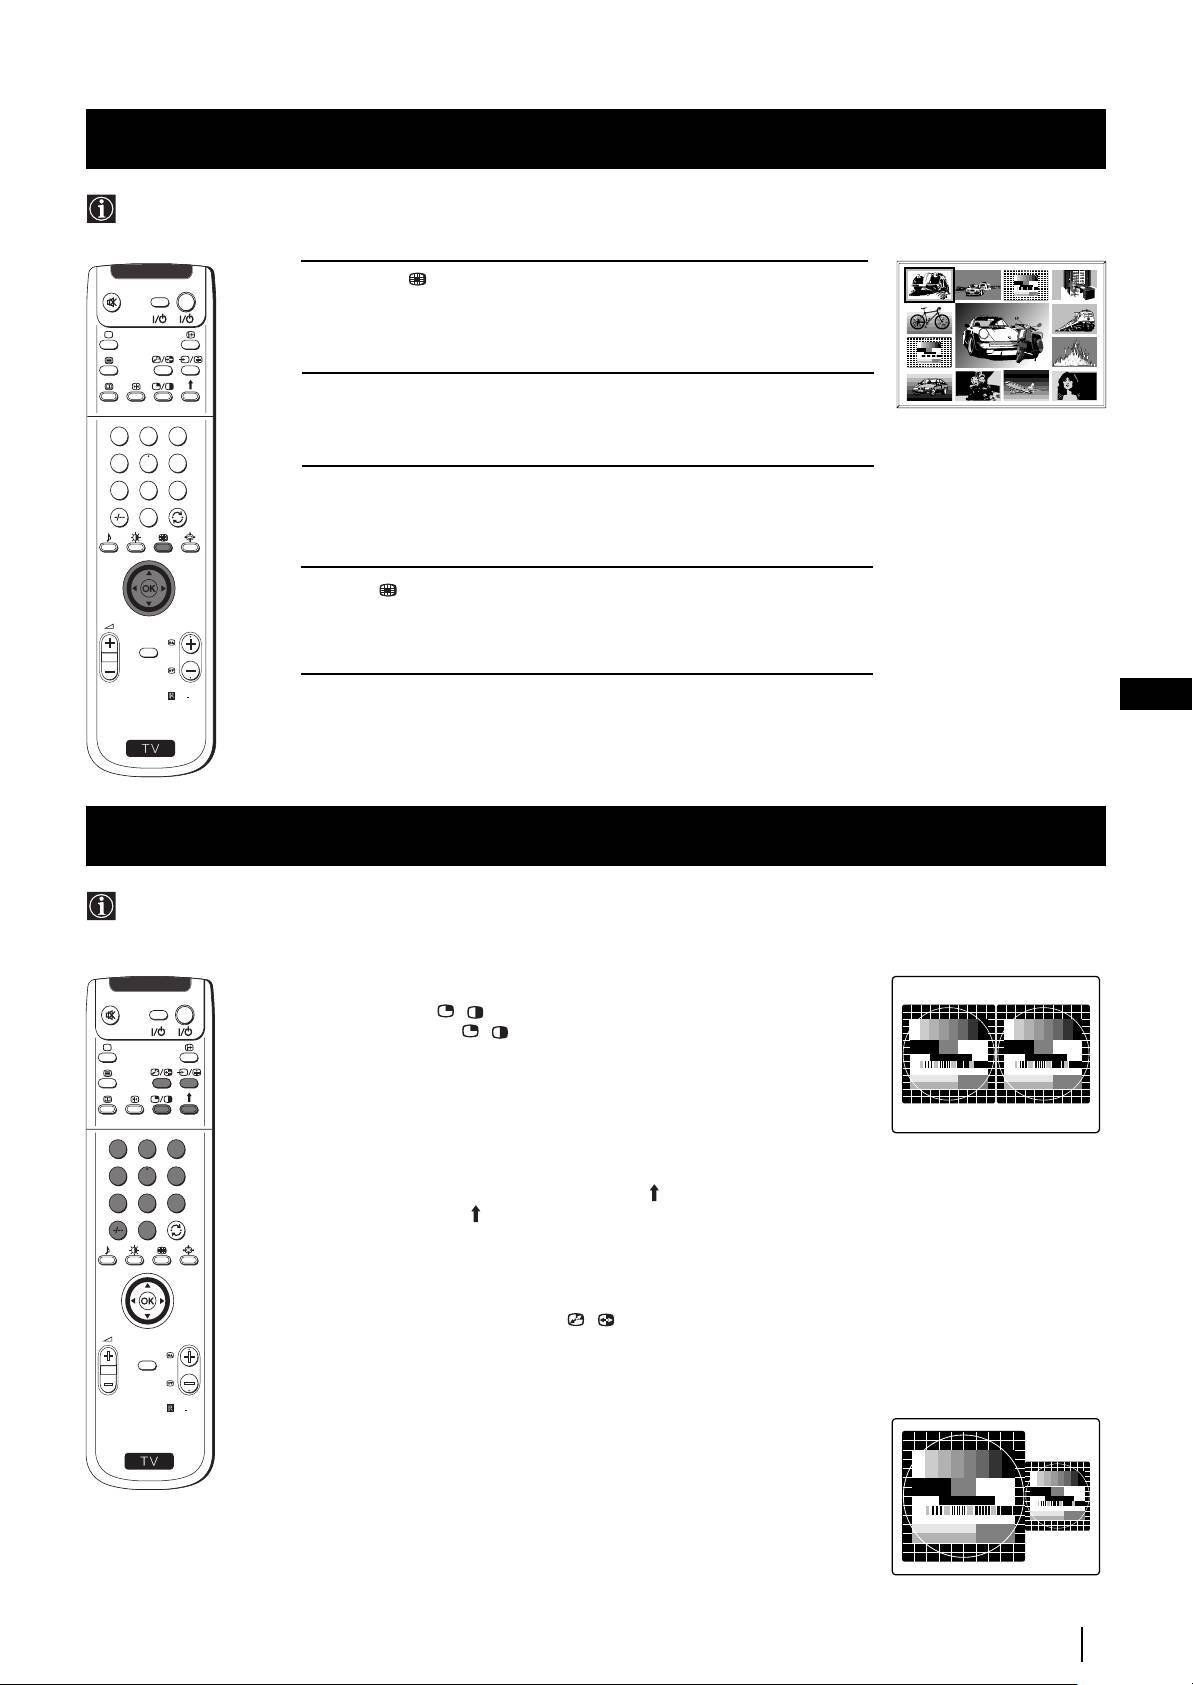
Using Multi PIP (Picture In Picture)
Multi PIP (Picture in Picture) mode displays a succession of 12 still pictures and a 13th that is live. You can manually select which
channel you wish to watch, either full-screen or in the PIP.
03 05
04
02
V
I
D
E
O
TV
1 Press the button on the remote control to select the PIP mode.
Now 13 programme positions appear on the screen, with the current
13
01 06
channel in the centre.
12
07
11 09 08
10
2 Push the joystick to $, 4, Z or z to move within the 13 displayed
channels.
1
2
3
4
5
6
7
8
9
3 Press the OK button to select the framed channel. The selected
0
channel moves to the centre.
4 Press to return to the normal TV mode.
PROGR
MENU
RM
903
GB
S
Using PAP (Picture And Picture)
PAP divides the screen into two for watching two channels simultaneously. One of the pictures can be selected to come from a
video source.
The sound of the left screen comes through the set loudspeakers, the sound of the right screen is selectable via
headphones.
Switching PAP on and off
V
I
D
E
O
TV
Press the button / on the remote control to display the two screens
in format 4:3. Press / again to switch PAP off.
Selecting PAP source
1 To change the source of the left screen:
With PAP switched on, press the number buttons (to select a TV
channel) or press … (to select a video source).
1
2
3
4
5
6
2 To change the source of the right screen:
With PAP switched on, press the button on the remote control.
7
8
9
When the symbol appears at the bottom of the right screen,
0
press the number buttons (to select a TV channel) or press … (to
select a video source).
Swapping screens
With PAP switched on, press the / button on the remote control to
PROGR
swap the two screens.
MENU
Zooming the screens
RM
903
With PAP switched on, push the joystick repeatedly to Z or z to
change the size of the two screens.
S
Selecting the sound of the right screen
You can select the sound of the right screen via headphones. With
PAP switched on, refer to the "Adjusting the Sound" section of this
instruction manual and set the option "l Dual Sound" to "PAP".
Menu System
23
Teletext
Teletext
Most TV channels broadcast information via Teletext. The index page of the teletext service (usually page 100) gives you
information on how to use the service.
! Please use a TV channel with a strong signal, otherwise there may be Teletext errors.
Switching Teletext on and off
V
I
D
E
O
TV
1 Select the TV channel which carries the teletext service you want
TELETEXT
to view.
Index
Programme
25
2 Press the button once for Picture and Teletext (P&T). The screen
News
153
01
is divided in two, with the TV channel in the right corner and the
Sport
101
Weather
98
Teletext display on the left.
P&T mode: Press / then press PROGR +/- to change
the channel of the TV screen. Push the joystick to Z or z to
change the size of the TV screen then press / again to
resume normal teletext reception.
TELETEXT
TELETEXT
TELETEXT
TELETEXT
TELETEXT
TELETEXT
TELETEXT
TELETEXT
Index
Index
Index
Index
Index
Index
Index
Index
3 Press twice to get Teletext only.
Programme
Programme
Programme
Programme
Programme
Programme
Programme
Programme
25
25
25
25
25
25
25
25
1
2
3
4 Press three times for Mix mode.
News
News
News
News
News
News
News
News
153
153
153
153
153
153
153
153
Sport
Sport
Sport
Sport
Sport
Sport
Sport
Sport
101
101
101
101
101
101
101
101
5 Press a fourth time or press to switch off Teletext.
Weather
Weather
Weather
Weather
Weather
Weather
Weather
Weather
98
98
98
98
98
98
98
98
4
5
6
7
8
9
Selecting a Teletext page
Input three digits for the page number using the numbered buttons on
0
the control. If you make a mistake, type in any three digits then re-enter
TELETEXT
01
the correct page number.
Index
Programme
25
News
153
Using Other Teletext Functions
Sport
101
Weather
98
Selecting the next or preceding page
Press the (PROG+) or (PROGR-) buttons on the remote
PROGR
control to select the previous or next page.
MENU
Selecting a sub page
A teletext page may consist of several sub pages. In this case, after a
few seconds, an information line is displayed showing the number of
216-02
RM
903
subpages.
Select the sub page by pressing 4 or $.
S
To freeze a Teletext page
Press the button to freeze the page. Press again to cancel the freeze.
01 03 04 05 06 07 0802
Revealing the index page
Press the button to reveal the index page (normally page 100).
Fastext
(only available if the TV station broadcasts Fastext signals)
When the colour coded menu appears at the bottom of a teletext page,
press a coloured button on the remote control (red, green, yellow or blue)
to access the corresponding page.
Using the feature "Page Catching"
1 Press the numbered buttons on the remote control to select a teletext
page which has several page numbers on it (eg the index page).
2 Press the OK button.
3 Push the joystick to 4 or $ to select the desired page number
then press the OK buttons. The requested page is displayed after
some seconds.
continued...
24
Teletext
Teletext
Using the Teletext menu
V
I
D
E
O
TV
1 With Teletext switched on, press the MENU button on the remote
Teletext
control to display the teletext menu on the TV screen.
Top / Bottom / Full
2 Push the joystick to 4 or $ to select your chosen item, then push to z
Text Clear
Reveal
to display the relevant sub menu.
Time Page
Page Overview
3 To remove the teletext menu from the screen, press the MENU
Select: Enter:
button.
Top / Bottom / Full
The Top/Bottom/Full sub menu allows you to enlarge different
Top: Bottom: Full: OK
sections of the Teletext page. Push the joystick 4 to enlarge the
1
2
3
upper half of the screen, push to $ to enlarge the lower half. Press
4
5
6
the OK button to restore the page to normal size.
7
8
9
Text Clear
After having selected this function, you can watch a TV channel while
0
GB
waiting for a requested Teletext page. As soon as the page is available,
the symbol changes colour. To view the page, press .
Reveal
Some teletext pages contain hidden information (eg for a quiz),
which you can reveal. The hidden information appears on screen.
PROGR
MENU
Time Page
(depending on availability of teletext service)
Time Page
You can call up a time-coded page such as an alarm page at a time
PAGE TIME
RM
903
specified by you. After you have displayed the Time Page sub menu:
- - : - -– – –
S
1 Press the numbered buttons on the remote control to enter the
Select Page: 0-9 Next:
three digits of the desired page.
2 Press the numbered buttons again to enter the four digits of the
desired time.
3 Press the OK button to store the desired time. The time is displayed
in the top left corner of the screen. At the requested time the page is
displayed.
Page Overview
(depending on availability of teletext service)
In the Page Overview menu the block and group pages of TOP- Text
are sorted into two columns, so that the customer can easily select this
page. For each block page in the first column, the corresponding
group pages are shown in the second column. Push the joystick 4 or $
to select the desired block page, then push to z to enter to the group
pages column. Push to 4 or $ to select the desired group page .
Finally, press the OK button to display the page.
Teletext
25
Оглавление
- s
- Using the Demo Mode
- NexTView *
- Seřízení vodorovného centrování obrazu pro videozdroj RGB
- *
- *
- A készülék bekapcsolása és automatikus hangolás
- A képernyő formátumának változtatása
- Gyors útmutató a menükben való mozgáshoz
- A kép beállítása
- A hang beállítása
- A
- NexTView *
- Választható készülékek csatlakoztatása
- Választható készülékek használata
- Smartlink
- Optimális látószög
- Műszaki jellemzők
- Problémamegoldás
- Индивидуальная идентификация телевизионных станций
- NexTView *
- Индивидуална идентификация на излъчваните програми
- Използване на функцията «Настройване (Продължение)»
- NexTView *
- Дистанционно управление на други апарати Sony
