Sony KV-SR29: x Changing the Picture-in-Picture
x Changing the Picture-in-Picture: Sony KV-SR29
x Changing the Picture-in-Picture
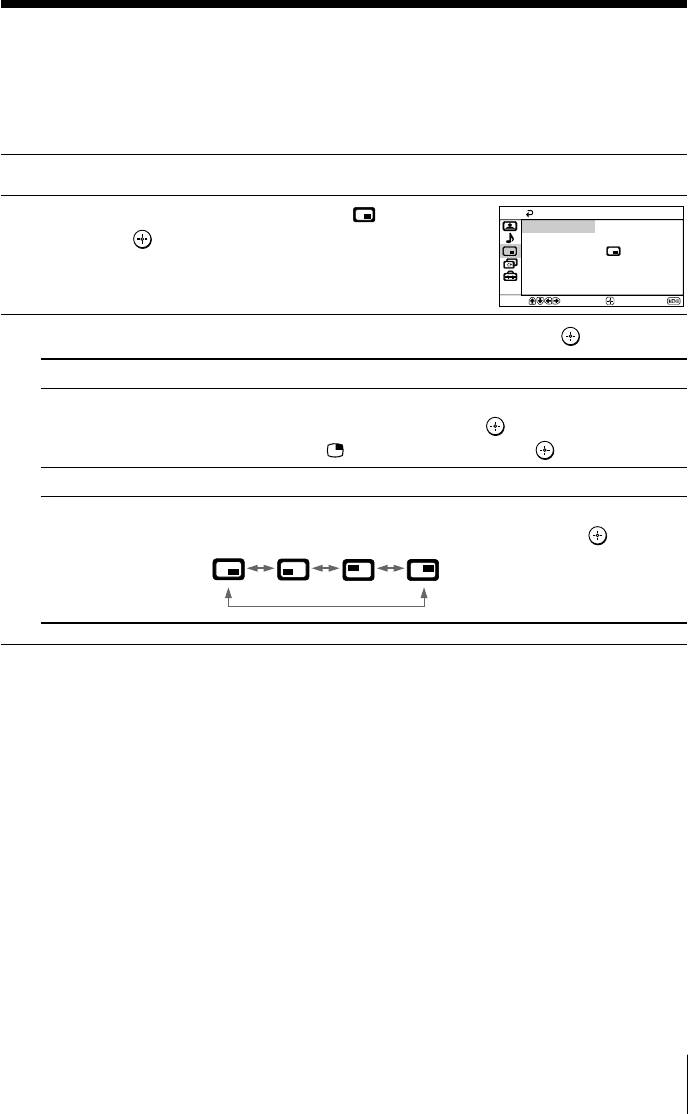
(“PIP”) setting
The “PIP” menu allows you to display a sub screen, exchange pictures between
the main and sub screens and change the sub screen position.
Press MENU.
1
PIP
Press V or v to select the “PIP” icon (
),
2
PIP:
Off
then press
.
Swap
Position:
Select
Confirm
End
Press V or v to select the desired item (e.g., “PIP”), then press
.
3
Select
To
“PIP”
display a sub screen.
Press V or v to select “On”, then press
.
To cancel, press or select “Off”, then press .
“Swap”
exchange pictures between the main screen and sub screen.
“Position”
change the position of the sub screen.
Press V or v to select the desired position, then press
.
Note
• “PIP” is not selectable when “Audio Input Fix” from “Party Mode Setup” is not set to “Off”.
Menu Adjustment
25
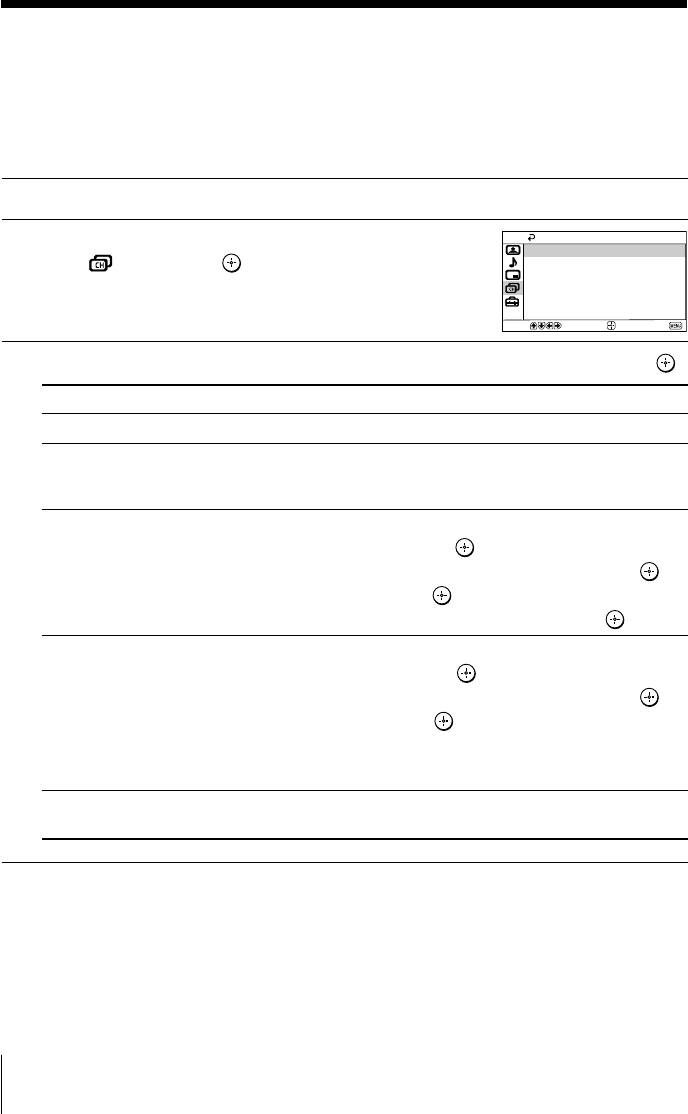
x C
hanging the “Channel Setup”
setting
The “Channel Setup” menu allows you to preset channels automatically,
manually preset channels, label the program number, block unwanted programs
and change the order of TV channels that appear on the screen.
Press MENU.
1
Channel Setup
Press V or v to select the “Channel Setup”
2
Auto Program
icon (
), then press .
Manual Program
Program Label
Program Block
Program Sorting
Select
Confirm
End
Press V or v to select the desired item (e.g., “Auto Program”), then press
.
3
Select To
“Auto Program” preset channels automatically.
“Manual Program” manually preset desired channels and channels that cannot be
preset automatically (see Presetting channels manually on
page 27).
“Program Label” label the program number.
(1) Select “Program” and press
.
Press V or v to select the program number, then press .
(2) Select “Label” and press . Press V or v to select
alphanumeric characters for the label, then press .
“Program Block” block unwanted programs.
(1) Select “Program” and press
.
Press V or v to select the program number, then press .
(2) Select “Block” and press , then press V or v to choose
either “On” or “Off”.
If you preset a blocked program number, that program number
will be unblocked automatically.
“Program Sorting” change the order in which the channels appear on the screen.
(see step 3 b) of the section “Intial Setup” in page 7).
Notes
• You may label the program numbers so that you can see the program labels in the “Program
Sorting” menu.
• If you sort a blocked program, that program will remain blocked.
26 Menu Adjustment
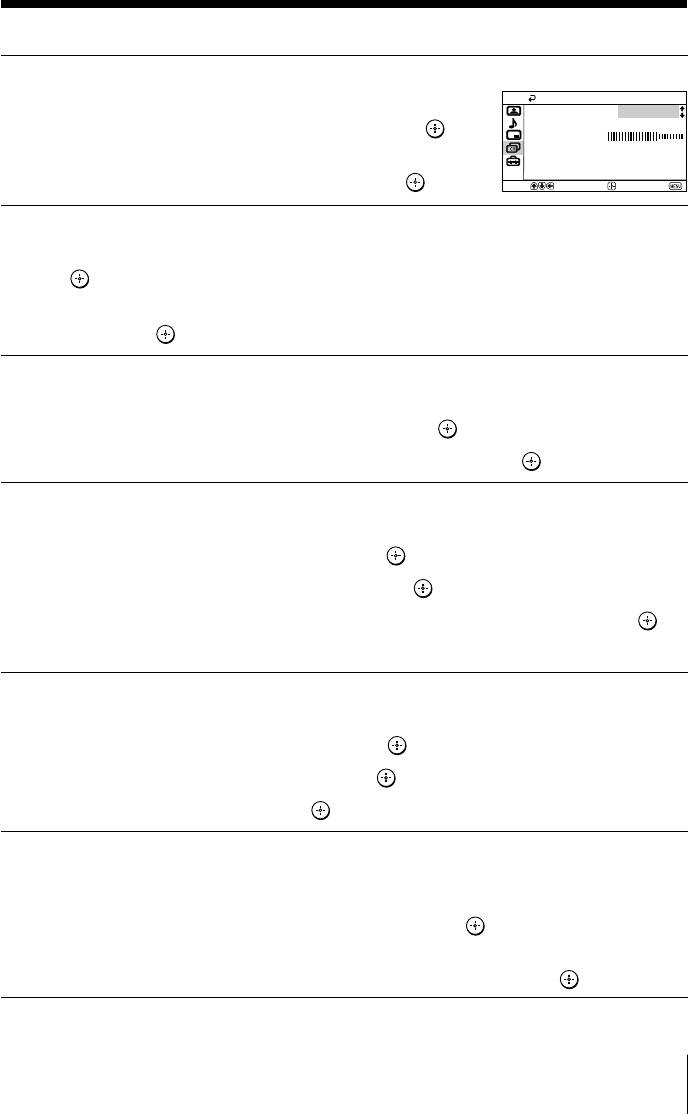
Presetting channels manually
After selecting “Manual Program”, select the program
1
number to which you want to preset a channel.
Manual Program
Program:
01
TV System:
D/K
(1) Make sure “Program” is selected, then press
.
VHF Low
Fine:
Auto
(2) Press V or v
until the program number you want
Skip:
Off
Signal Booster:
Auto
to preset appears on the menu, then press
.
Select
Confirm
End
Select the desired channel.
2
(1) Make sure either “VHF Low”, “VHF High” or “UHF” is selected, then press
.
(2) Press V or v until the desired channel’s broadcast appears on the TV screen,
then press
.
If the sound of the desired channel is abnormal, select the appropriate TV
3
system.
(1) Press V or v
to select “TV System”, then press .
(2) Press V or v
until the sound becomes normal, then press .
If you are not satisfied with the picture and sound quality, you may be able
4
to improve them by using the “Fine” tuning feature.
(1) Press V or v
to select “Fine”, then press .
(2) Press V or v
to select “Manual”, then press .
(3)
Press V,v,B or b until the picture and sound quality are optimal, then press .
The + or – icon on the menu flashes while tuning.
If you want to skip this program number when using PROG +/–, you can
5
select the “Skip” feature.
(1) Press V or v
to select “Skip”, then press .
(2) Press V or v
to select “On”, then press .
To cancel, select “Off”, then press .
If the TV signal is too strong (picture distorted; picture with lines; signal
6
interference) or weak (snowy picture), you may be able to improve the
picture quality by setting the “Signal Booster” feature.
(1) Press V or v
to select “Signal Booster”, then press .
(2) Press V or v
to select either “Off”(for picture distorted; picture with lines;
signal interference) or “Auto” (for snowy picture), then press
.
Menu Adjustment
27
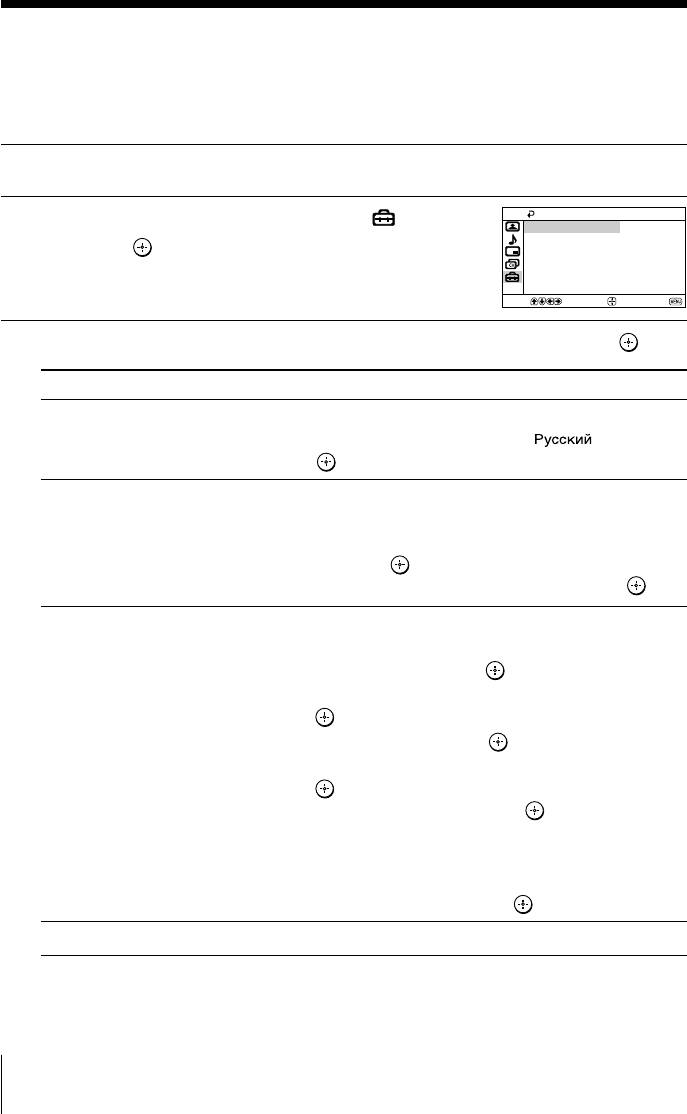
x Changing the “Setup” setting
The “Setup” menu allows you to change the menu language, adjust the picture
position, adjust your TV for Party Mode, change the picture size, label the
connected equipment and select the color system.
Press MENU.
1
Setup
Press V or v to select the “Setup” icon (
),
2
Language: English
Picture Position
then press
.
Party Mode Setup
Wide Mode:
Off
Video Label
Color System: Auto
Select
Confirm
End
Press V or v to select the desired item (e.g., “Language”), then press
.
3
Select To
“Language” change the menu language.
Press V or v to select either “English” or “
” (Russian),
then press
.
“Picture Position” adjust the picture position when it is not aligned with the TV
screen.
Press V or v to select “Picture Rotation” or “Picture V-
Position”, then press
.
Press V, v, B or b to adjust picture position, then press
.
“Party Mode Setup” adjust your TV to sing along or add narration with desired
favorite background music.
(1) Select “MIC Level” and press .
Press V or v to adjust the microphone volume, then
press .
(2) Select “Echo Level” and press
.
Press V or v to adjust echo of the microphone sound, then
press .
(3) Select “Audio Input Fix” and press
, then press V or v
to select the input connected to the audio equipment
which you want to hear the sound: “Video1”, “Video 2”,
“Video 3”, “Video 4” or “DVD”.
To cancel, select “Off”, then press
.
“Wide Mode” choose either “On” or “Off” (see page 10).
28 Menu Adjustment
Select To
“Video Label” label the connected equipment.
(1) Select “Video Input” and press
.
Press V or v to select the input you want to label, then
press
.
(2) Select “Label” and press
, then press V or v to select the
label options: ”Video 1/Video 2/Video 3/Video 4/ DVD”,
“VCR”, “SAT”, “Game” or “Edit”*.
* You may edit the video label. Press V or v to select
alphanumeric characters for the label, then press
.
“Color System” select the color system.
Press V or v to select “Auto”, “PAL”, “SECAM”, “NTSC3.58”
or “NTSC4.43”, then press
. Normally, set this to “Auto”.
Note
• “Audio Input Fix” is not selectable when PIP is on.
Menu Adjustment
29
Additional Information
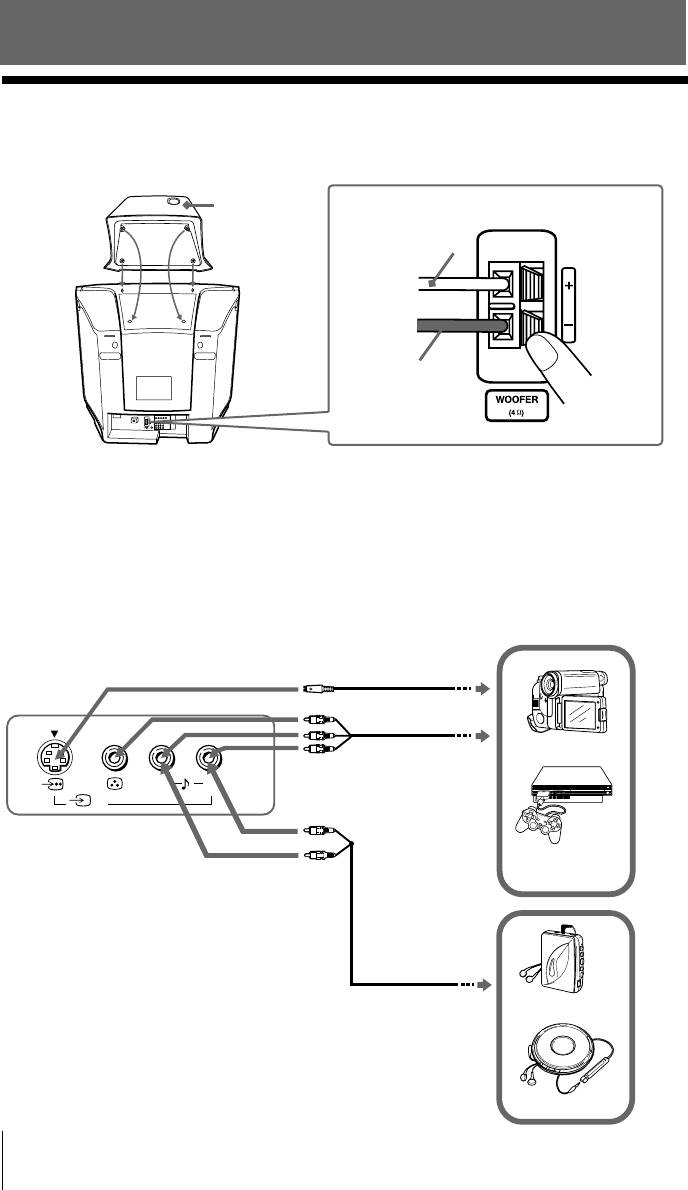
x Connecting the 3D WOOFER
You can enjoy high quality sound by connecting the 3D WOOFER as follows:
Step 1 Step 2
3D WOOFER
Red wire
Black wire
Notes
• Connect only the supplied 3D WOOFER; otherwise your TV may malfunction.
• Unplug your TV from the wall outlet when connecting the 3D WOOFER.
• To prevent a malfunction caused by a short circuit of the terminals, make sure that none of the 3D
WOOFER wire strands stick out, making contact with the neighbouring 3D WOOFER terminal.
x Connecting optional components
Connecting to the video input terminal ( t )
S Video cable
TV front panel
(not supplied)
Audio/Video cable
Camcorder
(not supplied)
L(MONO)
R
4
Video game
equipment
Audio cable
(not supplied)
Walkman
CD player
30 Additional Information
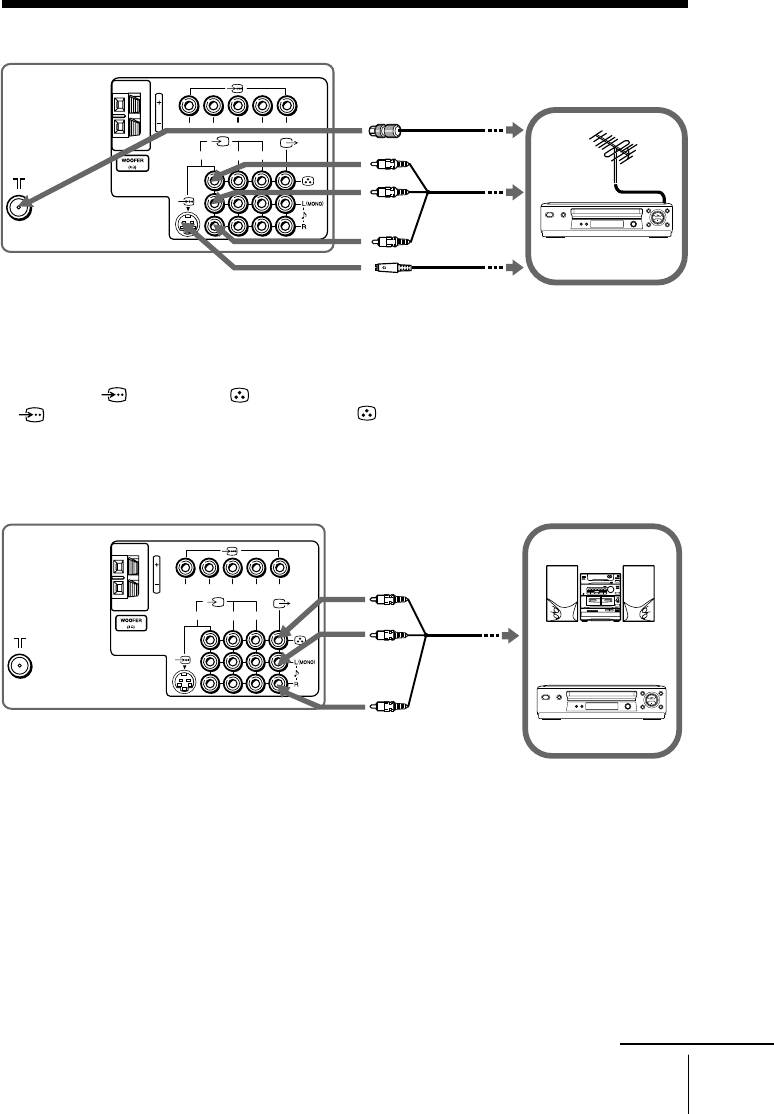
TV rear panel
Antenna cable
(not supplied)
RLY
C
B
C
R
Audio/Video
123
cable
(not supplied)
S Video cable
(not supplied)
VCR
Notes
• If you connect a VCR to 8 (antenna input), preset the signal output from the VCR to the
program number 0 on the TV (see page 27).
• When both (S video) and (video) for
t1
or
t4
are connected at the same time,
(S video) is automatically selected. To view (video), disconnect the S video cable.
Connecting to the monitor output terminal ( T )
TV rear panel
Audio/Video
RLY
C
B
CR
cable
123
(not supplied)
Audio system
VCR
continue
Additional Information
31
continued
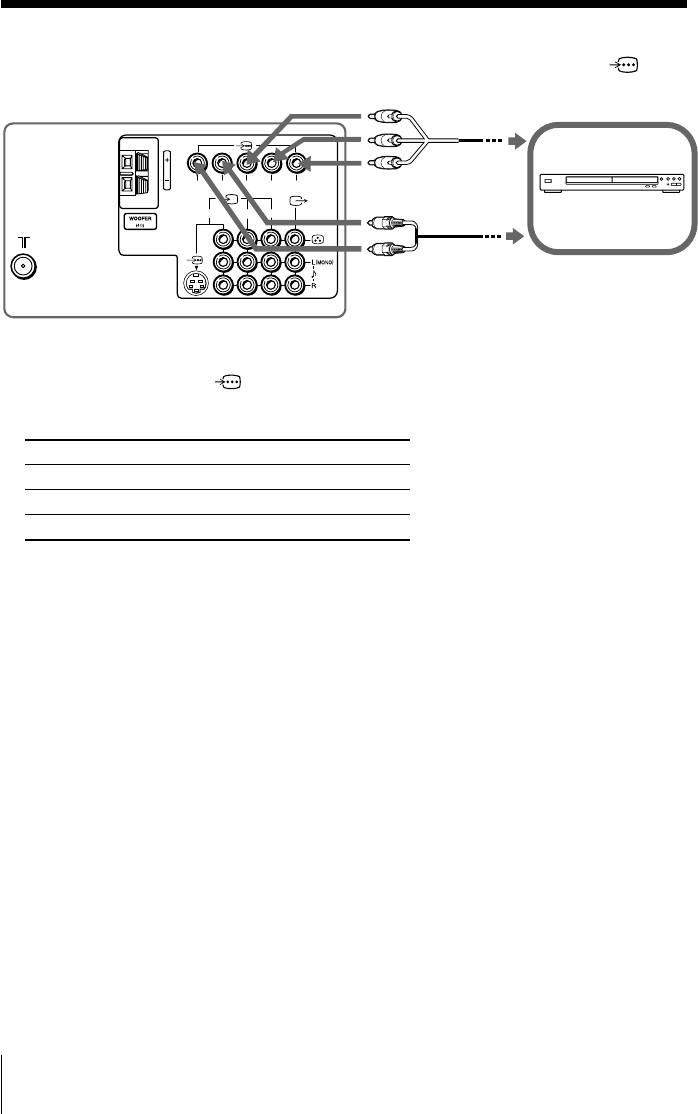
Connecting to the component video input terminal ( )
TV rear panel
Component
video cable
RLY
C
B
C
R
(not supplied)
DVD player
123
Audio cable
(not supplied)
Notes
• If your DVD player can output interlace and progressive mode signals, select the interlace
output when connecting to
(component video input) on your TV. Your TV can receive
either 525i/60Hz or 625i/50Hz interlace signals.
• Some DVD player terminals may be labeled differently:
Connect To (on the DVD player)
Y (green) Y
CB (blue) CB, PB, Cb or B-Y
CR (red) CR, PR, Cr or R-Y
• If you select “DVD” on your TV screen, the signal from the T (monitor output) jacks will not
be output properly. This does not indicate a malfunction.
32 Additional Information
Оглавление
- KV-SR29
- x TV front and rear panels
- x Using the remote control and basic
- x Selecting the picture and sound
- x Watching Picture-in-Picture (PIP)
- x Operating optional components
- x Changing the Picture-in-Picture
- x Troubleshooting
- x Specifications
- x Передняя и задняя панели
- x Использование пульта ДУ
- x Bыбор режимов воспроизведения
- x
- x Использование дополнительных
- x Изменение настройки функции
- x Технические характеристики


