Panasonic DMR-E65: 4 Press [ENTER].
4 Press [ENTER].: Panasonic DMR-E65
Timer recording
4 Press [ENTER].
DVD
TV
The settings are stored.
DIRECT TV REC
CH
VOLUME
AV
DVD
DVD
DRIVE SELECT
SD/PC
123
Numbered
CH
Repeat steps 1–4 to programme other recordings.
456
buttons
ShowView
78
9
ShowView
5 Press [F TIMER].
CANCEL
INPUT SELECT
MANUAL SKIP
¢ CANCEL
0
The unit turns off and “F” lights on the unit’s display to
SKIP
SLOW/SEARCH
indicate timer recording standby has been activated.
STOP
PAU SE
PLAY/x1.3
[RAM]
1
Even if the unit is in timer recording standby, play starts when you
DIRECT NAVIGATOR
FUNCTIONS
DIRECT
press [1] (PLAY) or [DIRECT NAVIGATOR]. Timer recording works
NAVIGATOR
even during play.
TOP MENU
3,4,2,1
ENTER
ENTER
SUB MENU
RETURN
PROG/CHECK
DISPLAY
STATUS
TIME SLIP
Recording
PROG/CHECK
TIMER
REC MODEERASE
REC
F TIMER
F
REC MODE
EXT LINK
CREATE
CHAPTER
AUDIO
EXT LINK
A B C
[RAM] [DVD-R]
You can enter up to 16 programmes up to a month in advance.
Using SHOWVIEW number to make timer
recordings
Entering S
HOWVIEW numbers is an easy way of timer recording. You
can find these numbers in TV listings in newspapers and magazines.
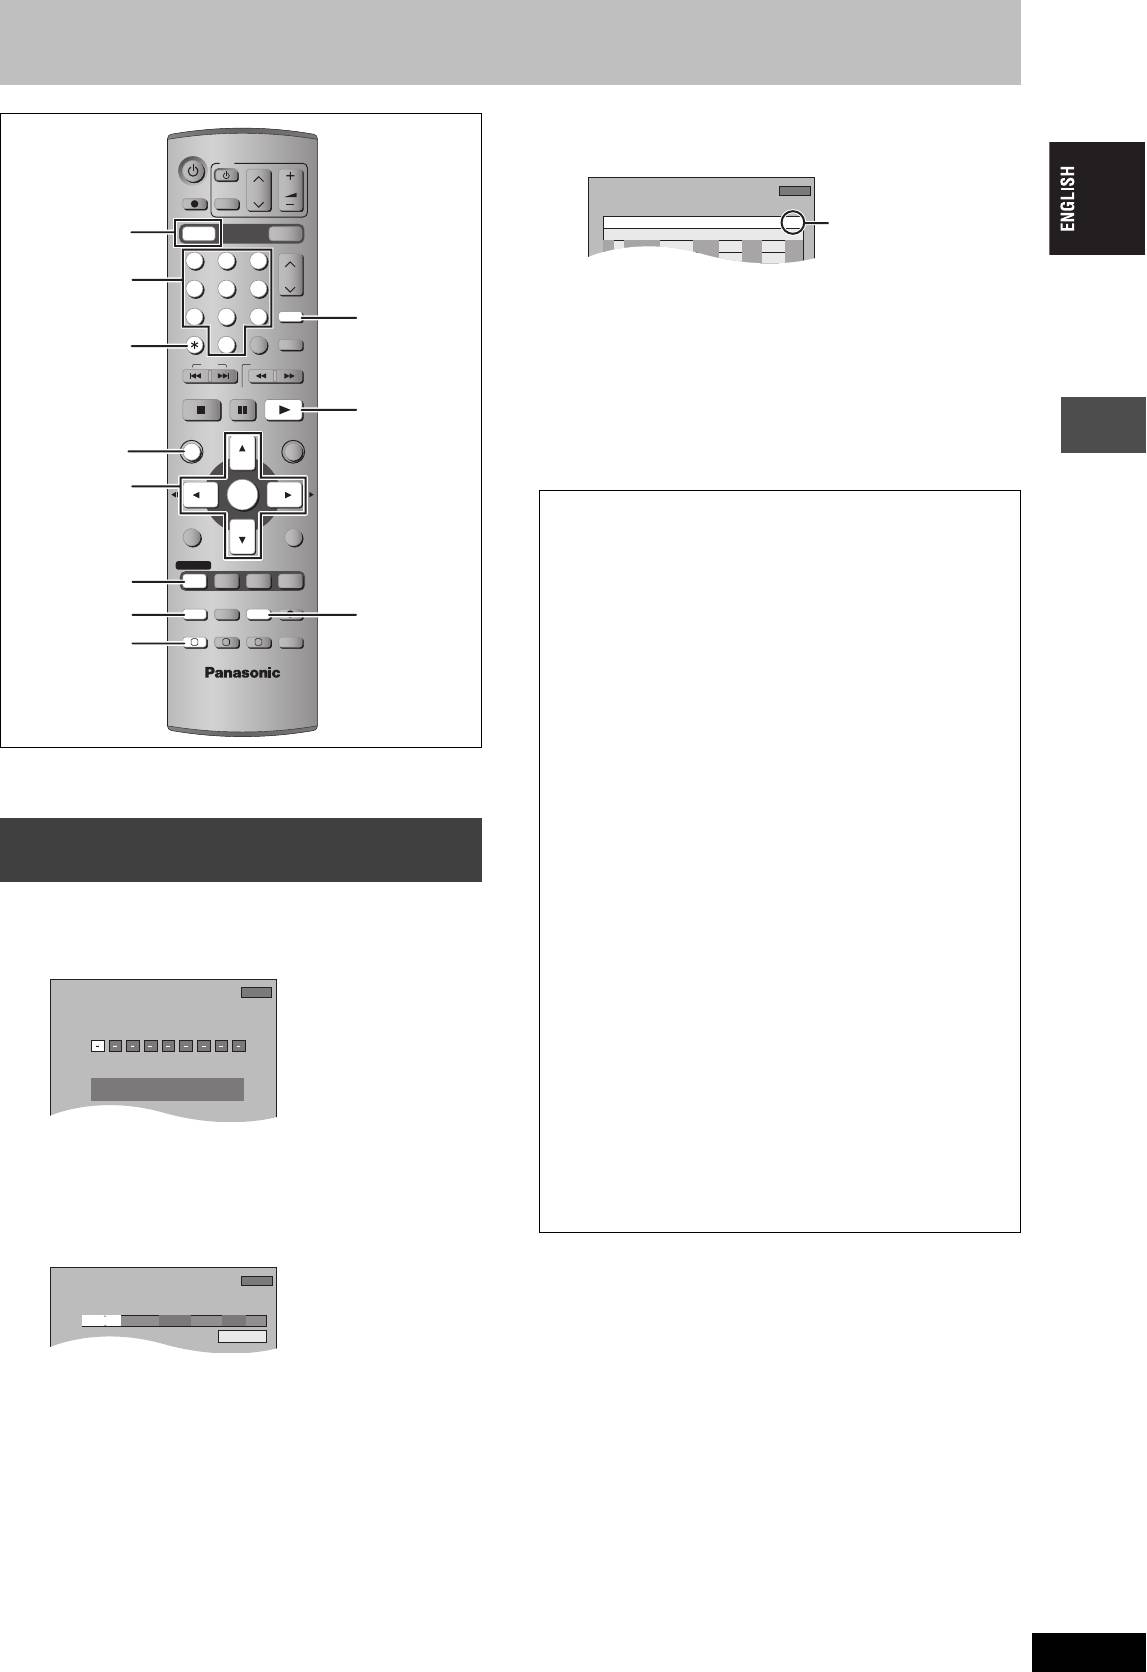
1 Press [ShowView].
2 Press the numbered buttons to enter
the SHOWVIEW number.
Press [2] to move back to correct a digit.
3 Press [ENTER].
≥Confirm the programme and make corrections if necessary
using [3, 4, 2, 1] (➡ page 20, step 3).
≥When “-- ---” appears in the “Name” column, you cannot set
timer recording. Press [3, 4] to select desired programme
position. After you have entered the information of a TV
station, it is kept in the unit’s memory.
≥You can also press [REC MODE] to change the recording
mode.
≥VPS/PDC (➡ right)
ON!)OFF (– – –)
≥Programme Name
Press [2, 1] to select “Programme Name” and press
[ENTER] (➡ page 40).
RQT7448
19
ShowView
Remain
1:58 SP
12:53:00 15. 7. TUE
Enter ShowView Number by using 0-9 key.
TIMER
RECORDING
Remain
1:58 SP
12:54:00 15. 7. TUE
Name
Date
StopStart
Mode
VPS
PDC
1 ARD
20:0019:0015/ 7 TUE SP
OFF
Programme Name
∫ To release the unit from recording standby
Press [F TIMER].
The unit turns on and “F” goes out.
≥Be sure to press [F TIMER] before the programme start time to
put the unit on recording standby. Timer recording will work only
if “F” is displayed.
∫ To cancel recording when recording has
already begun
Press [F TIMER].
≥You can also press and hold [∫] on the main unit for more than
3 seconds to stop recording.
[Note]
≥“F” flashes for about 5 seconds when the unit cannot go to
timer recording standby (e.g., a recordable disc is not in the
disc tray).
≥If the unit is not put in the timer recording standby mode at the
latest 10 minutes before the programmed timer recording
starting time, the “F” flashes on the unit display. In this case,
press [F TIMER] to put the unit in the timer recording standby
mode.
≥When you programme successive timer recordings to start
immediately one after the other, the unit cannot record the part
at the beginning of the later programmes (a few seconds when
recording with DVD-RAM and approximately 30 seconds when
recording with DVD-R).
∫ VPS/PDC function (➡ page 50)
As long as a VPS/PDC signal is being broadcast by the TV
station, even if the broadcast programme time changes, the
recording time automatically changes to match the new
broadcast time.
To activate the VPS/PDC function
In step 3 in the VPS/PDC column, press [3, 4] to select “ON”.
TIMER
RECORDING
Remain
1:58 SP
12:55:00 15. 7. TUE
Name
Date
StopStartNo.
Mode
VPS
PDC
space
Disc
20:0019:00ARD 15/ 7 TUE01
SP
OFF
OK
New Timer Programme
Check to make sure
“OK” is displayed
(➡ page 21).
19
Оглавление
- 1 Turn on the television and select the
- 1 Turn on the television and select the
- 3 Press [3, 4] to select “Connection”
- 1 While stopped
- 1 Press [DVD] to select the DVD drive.
- 1 Press [DIRECT NAVIGATOR].
- 1 Press [DVD] to select the DVD drive.
- 4 Press [ENTER].
- 1 Press [PROG/CHECK].
- 1∫
- 1 Press [1] while a track is highlighted
- 1 Press [DVD] or [SD/PC] to select the
- 1 Press [DISPLAY].
- 1 Press [DIRECT NAVIGATOR].
- 1 Press [ENTER] at the start point and end
- 2 Press [3, 4, 2, 1] to select “PLAY
- 1 Press [FUNCTIONS].
- 2 [RAM]
- 2 Press [REC MODE] to select the
- 5 Press [3, 4] to select “Set” and
- 1 While stopped
- 4 Press [2, 1] to select “Yes” and
- 1 While stopped 1 While stopped
- 1 Show Enter Name screen.
- 1 While stopped
- 5 Press [3, 4, 2, 1] 1 While stopped
- 1 While stopped
- 1 While stopped
- 1 Включите телевизор и выберите
- 1 Включите телевизор и выберите
- 3 Нажав кнопку [3, 4], выберите
- 1 В режиме остановки
- 1 Нажав кнопку [DVD], выберите
- 1 Нажмите кнопку
- 1 Нажав кнопку [DVD], выберите
- 4 Нажмите кнопку [ENTER].
- 1 Нажмите кнопку [PROG/CHECK].
- 1∫
- 1 Нажмите кнопку [1] при
- 1 Нажав кнопку [DVD] или [SD/PC],
- 1 Нажмите кнопку [DISPLAY].
- 2 Нажав кнопку [3, 4, 2, 1],
- 1 Нажмите кнопку [ENTER] в начальной и
- 2 Нажав кнопку [3, 4, 2, 1],
- 1 Нажмите кнопку [FUNCTIONS].
- 2 [RAM]
- 2 Нажав кнопку [REC MODE],
- 6 Нажав кнопку [3, 4], выберите 1 В режиме остановки
- 1 В режиме остановки
- 1 В режиме остановки
- 1 В режиме остановки 1 В режиме остановки
- 1 Отображение экрана Ввести титр
- 1 В режиме остановки
- 5 Нажав кнопку 1 В режиме остановки
- 1 В режиме остановки
- 1 В режиме остановки


