Panasonic DMR-E65: 1 Press [DVD] to select the DVD drive.
1 Press [DVD] to select the DVD drive.: Panasonic DMR-E65
Recording television programmes
Refer to the control reference on page 16.
Direct TV Recording
[RAM] [DVD-R]
When connected to a television that has the Q Link
function using a fully wired 21-pin Scart cable.
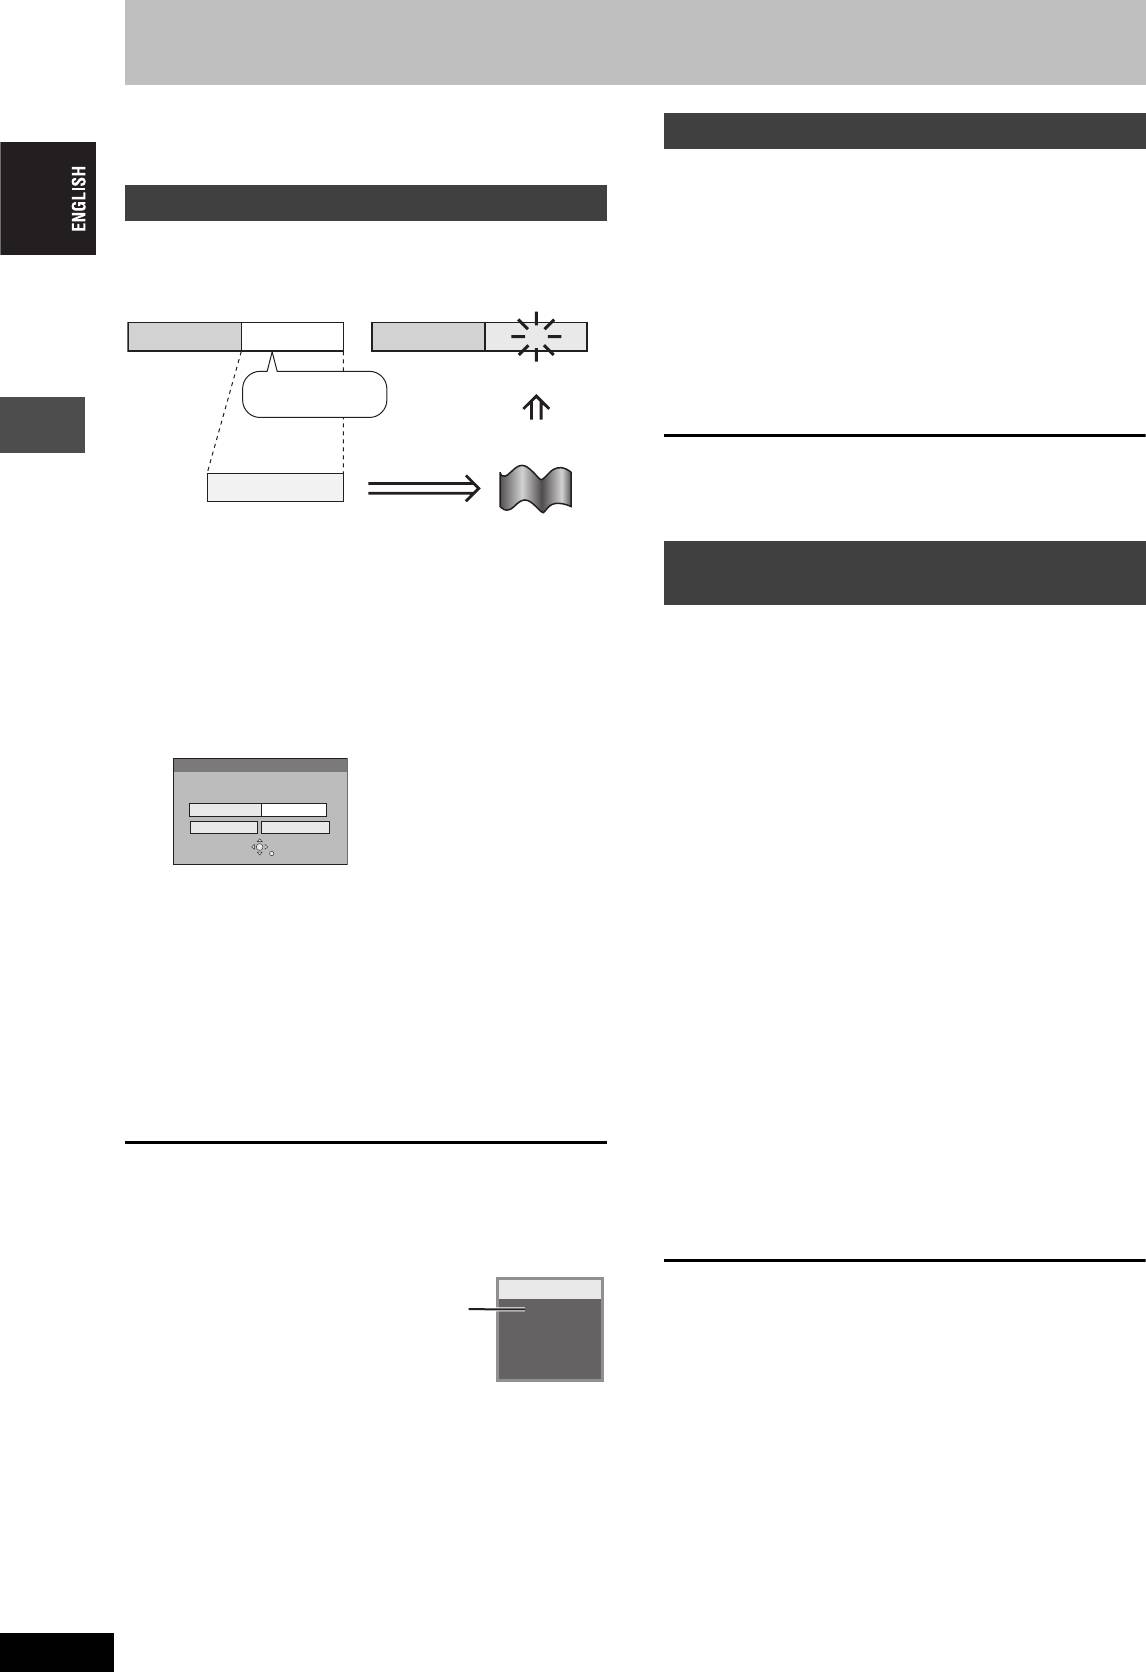
Flexible Recording
This function allows you to immediately start recording the
programme that you are viewing on the TV.
The unit sets the best possible picture quality that fits the recording
within the remaining disc space. The recording mode becomes FR
mode.
1 Press [DVD] to select the DVD drive.
e.g.,
The DVD indicator lights up on the unit.
Recorded
Remain
2 Insert a disc. (➡ page 16)
45 minutes in
Perfectly fit!
3 Press [¥ DIRECT TV REC].
SP mode
Recording starts.
Recording rate
between SP and LP
To stop recording
Press [∫].
60 minutes
Programme to be recorded
Preparation
Recording from satellite/digital receiver
Recording
Select the channel to record.
or decoder
Preparation
1 While stopped
≥Connect a satellite/digital receiver or decoder to this unit’s input
terminals (➡ page 9).
Press [FUNCTIONS].
≥When recording bilingual programmes
2 Press [3, 4, 2, 1] to select
[RAM]
When both M 1 and M 2 is selected on the connected equipment,
“FLEXIBLE REC” and press [ENTER].
you can select the audio type in playback.
FLEXIBLE REC
[DVD-R]
Recording in FR mode
Select either M 1 or M 2 on the connected equipment. (You cannot
Maximum rec. time
3 Hour 00 Min.
select the audio type in playback.)
Set rec. time
3 Hour 00 Min.
Start Cancel
≥When the output signal from the external equipment is NTSC,
SELECT
change the “TV System” to “NTSC” in the SETUP menu
RETURN
(➡ page 46).
≥Press [DVD] to select the DVD drive.
3 Press [2, 1] to select “Hour” and
“Min.” and press [3, 4] to set the
1 While stopped
recording time.
Press [INPUT SELECT] to select the
≥You can also set the recording time with the numbered
input channel for the equipment you
buttons.
have connected.
4 When you want to start recording
e.g., If you have connected to AV2 input terminals, select “AV2”.
Press [3, 4, 2, 1] to select “Start”
2 Press [REC MODE] to select the
and press [ENTER].
recording mode.
Recording starts.
3 Select the channel on the other
To exit the screen without recording
equipment.
Press [RETURN].
4 Press [¥ REC].
To stop recording partway
Press [∫].
Recording starts.
To show the remaining time
To skip unwanted parts
DVD-RAM
Press [STATUS].
Press [;] to pause recording. (Press again to restart recording.)
Remaining
REC 59
time
ARD
To stop recording
Press [∫].
L R
RQT7448
18
18
Оглавление
- 1 Turn on the television and select the
- 1 Turn on the television and select the
- 3 Press [3, 4] to select “Connection”
- 1 While stopped
- 1 Press [DVD] to select the DVD drive.
- 1 Press [DIRECT NAVIGATOR].
- 1 Press [DVD] to select the DVD drive.
- 4 Press [ENTER].
- 1 Press [PROG/CHECK].
- 1∫
- 1 Press [1] while a track is highlighted
- 1 Press [DVD] or [SD/PC] to select the
- 1 Press [DISPLAY].
- 1 Press [DIRECT NAVIGATOR].
- 1 Press [ENTER] at the start point and end
- 2 Press [3, 4, 2, 1] to select “PLAY
- 1 Press [FUNCTIONS].
- 2 [RAM]
- 2 Press [REC MODE] to select the
- 5 Press [3, 4] to select “Set” and
- 1 While stopped
- 4 Press [2, 1] to select “Yes” and
- 1 While stopped 1 While stopped
- 1 Show Enter Name screen.
- 1 While stopped
- 5 Press [3, 4, 2, 1] 1 While stopped
- 1 While stopped
- 1 While stopped
- 1 Включите телевизор и выберите
- 1 Включите телевизор и выберите
- 3 Нажав кнопку [3, 4], выберите
- 1 В режиме остановки
- 1 Нажав кнопку [DVD], выберите
- 1 Нажмите кнопку
- 1 Нажав кнопку [DVD], выберите
- 4 Нажмите кнопку [ENTER].
- 1 Нажмите кнопку [PROG/CHECK].
- 1∫
- 1 Нажмите кнопку [1] при
- 1 Нажав кнопку [DVD] или [SD/PC],
- 1 Нажмите кнопку [DISPLAY].
- 2 Нажав кнопку [3, 4, 2, 1],
- 1 Нажмите кнопку [ENTER] в начальной и
- 2 Нажав кнопку [3, 4, 2, 1],
- 1 Нажмите кнопку [FUNCTIONS].
- 2 [RAM]
- 2 Нажав кнопку [REC MODE],
- 6 Нажав кнопку [3, 4], выберите 1 В режиме остановки
- 1 В режиме остановки
- 1 В режиме остановки
- 1 В режиме остановки 1 В режиме остановки
- 1 Отображение экрана Ввести титр
- 1 В режиме остановки
- 5 Нажав кнопку 1 В режиме остановки
- 1 В режиме остановки
- 1 В режиме остановки


