Pioneer VSX-920-K: Control with HDMI function
Control with HDMI function: Pioneer VSX-920-K
VSX-1020_SYXCN.book 63 ページ 2010年3月12日 金曜日 午前9時10分
Control with HDMI function 07
Chapter 7:
English
Control with HDMI function
Synchronized operations below with a Control
with HDMI-compatible Pioneer TV or Blu-ray
Making Control with HDMI
Deutsch
disc player or with a component of another
connections
make that supports the Control with HDMI
You can use synchronized operation for a
functions are possible when the component is
connected TV and up to six (VSX-1020/VSX-1025
connected to the receiver using an HDMI
model: BD, HDMI 1 to 5 (front panel))/four
cable.
(VSX-920 model: BD, HDMI 1 to 3) other
Français
• The receiver’s volume can be set and the
components.
sound can be muted using the TV’s remote
Be sure to connect the TV’s audio cable to the
control.
audio input of this unit.
• The receiver’s input switches over
For details, see Connecting your TV and
automatically when the TV’s channel is
playback components on page 25.
changed or a Control with HDMI-
Italiano
compatible component is played.
Important
• The receiver’s power is also set to standby,
when the TV’s power is set to standby.
• When connecting this system or changing
connections, be sure to switch the power
off and disconnect the power cord from
Nederlands
Important
the wall socket.
• With Pioneer devices, Control with HDMI
After completing all connections, connect
functions are referred to as “KURO LINK”.
the power cords to the wall socket.
• You cannot use this function with
• After this receiver is connected to an AC
components that do not support Control
outlet, a 2 second to 10 second HDMI
with HDMI.
initialization process begins. You cannot
Español
• We do not guarantee this receiver will work
carry out any operations during
with Pioneer Control with HDMI-
initialization. The HDMI indicator on the
compatible components or components of
display unit blinks during initialization,
other makes that support the Control with
and you can turn this receiver on once it
HDMI function. We do not guarantee that
has stopped blinking.
all synchronized operations will work with
• To get the most out of this function, we
components of other makes that support
recommend that you connect your HDMI
the Control with HDMI function.
component not to a TV but rather directly to
®
• Use a High Speed HDMI
cable when you
the HDMI terminal on this receiver.
want to use the Control with HDMI
• While the receiver is equipped with six (VSX-
function. The Control with HDMI function
1020/VSX-1025 model: BD, HDMI 1 to 5
may not work properly if a different type of
(front panel))/four (VSX-920 model: BD,
HDMI cable is used.
HDMI 1 to 3) HDMI inputs, the Control
• For details about concrete operations,
with HDMI function can only be used with
settings, etc., refer to also the operating
up to three DVD or Blu-ray disc players or
instructions for each component.
up to three DVD or Blu-ray disc recorders.
63
En
Control with HDMI function07
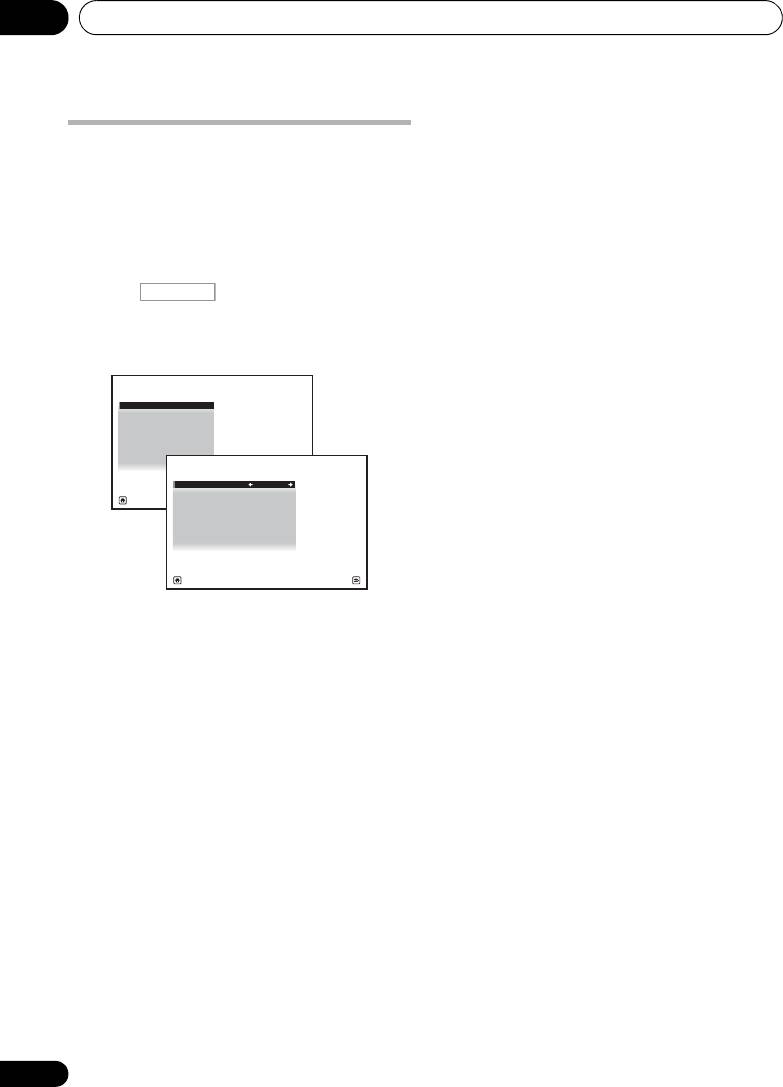
6 Select the ‘
Control Mode
’ setting you
HDMI Setup
want.
Choose whether you want to enable HDMI
You must adjust the settings of this receiver as
for all linked functions or the PQLS function
well as the connected Control with HDMI-
only. However, Display Power Off will
compatible components in order to make use
activate the settings set forth in step 7 below.
of the Control with HDMI function. For more
information see the operating instructions for
• ALL – Enabled for all linked functions.
each component.
• PQLS – Enabled only for the PQLS
1 Press , then press
Home Menu
.
function. When PQLS is selected, link
functions other than the PQLS function
2 Select ‘
System Setup
’, then press
ENTER
.
may not work properly. If you wish to use
3 Select ‘
Other Setup
’, then press
ENTER
.
all link functions, select ALL.
7 Select the ‘
Display Power Off
’ setting
you want.
If the TV’s power is turned off while using the
Control with HDMI function, the receiver’s
power is also turned off (all power off
function). This function can be disabled.
• YES – The all power off function is enabled.
The receiver’s power turns off together with
the TV’s power.
This function only works when the input
for a component connected to the
receiver by Control with HDMI is
4 Select ‘
HDMI Setup
’, then press
ENTER
.
selected or when watching the TV.
5 Select the ‘
Control
’ setting you want.
• NO – The all power off function is disabled.
Choose whether to set this unit’s Control with
The receiver’s power is not affected when
HDMI function ON or OFF. You will need to set
the TV’s power is turned off.
it to ON to use the Control with HDMI
function.
8 When you’re finished, press
HOME MENU
.
You will return to the Home Menu.
When using a component that does not
support the Control with HDMI function, set
this to OFF.
• ON – Enables the Control with HDMI
function. When this unit’s power is turned
off and you have a supported source begin
playback while using the Control with
HDMI function, the audio and video
outputs from the HDMI connection are
output from the TV.
• OFF – The Control with HDMI is disabled.
Synchronized operations cannot be used.
When this unit’s power is turned off, audio
and video of sources connected via HDMI
are not output.
64
En
RECEIVER
4e.Other Setup
A/V RECEIVER
1. HDMI Setup
2. Volume Setup
3.
Remote Control Mode Setup
4.
Flicker Reduction Setup
5. Pairing Bluetooth Device
Exit Return
4e1.HDMI Setup
A/V RECEIVER
Control : ON
Control mode : ALL
Display Power Off : YES
Exit Finish
VSX-1020_SYXCN.book 64 ページ 2010年3月12日 金曜日 午前9時10分

VSX-1020_SYXCN.book 65 ページ 2010年3月12日 金曜日 午前9時10分
Control with HDMI function 07
• When in the synchronized amp mode, the
English
Before using synchronization
synchronized amp mode is canceled if an
operation that produces sound from the TV
Once you have finished all connections and
is performed from the TV’s menu screen,
settings, you must:
etc.
1 Put all components into standby mode.
• When the TV’s power is set to standby, the
Deutsch
2 Turn the power on for all components,
receiver’s power is also set to standby.
with the power for the TV being turned on
(Only when the input for a component
last.
connected to the receiver by HDMI
connection is selected or when watching
3 Choose the HDMI input to which the TV is
the TV.)
connected to this receiver, and see if video
• The receiver’s input switches
Français
output from connected components displays
automatically when the Control with
properly on the screen or not.
HDMI-compatible component is played.
4 Check whether the components
• The receiver’s input switches
connected to all HDMI inputs are properly
automatically when the TV’s channel is
displayed.
switched.
Italiano
• The synchronized amp mode remains in
About synchronized
effect even if the receiver’s input is
switched to a component other than one
operations
connected by HDMI.
The Control with HDMI-compatible
The operations below can also be used on
Nederlands
component connected to the receiver operates
Pioneer Control with HDMI-compatible TVs.
in sync as described below.
• When the receiver’s volume is adjusted or
• From the menu screen of the Control with
the sound is muted, the volume status is
HDMI-compatible TV, set audio to be
displayed on the TV’s screen.
played through this receiver, and the
receiver will switch to the synchronized
• When the OSD language is switched on
Español
amp mode.
the TV, the receiver’s language setting also
switches accordingly.
• When in the synchronized amp mode, you
can adjust the receiver’s volume or mute
the sound using the TV’s remote control.
• When in the synchronized amp mode, the
synchronized amp mode is canceled when
the receiver’s power is turned off. To turn
the synchronized amp mode back on, set
audio to be played through the receiver
from the TV’s menu screen, etc. This
receiver will power up and switch to the
synchronized amp mode.
• When the synchronized amp mode is
canceled, the receiver’s power turns off if
you were viewing an HDMI input or a TV
program on the TV.
65
En

Control with HDMI function07
About connections with a product of
Setting the PQLS function
a different brand that supports the
PQLS (Precision Quartz Lock System) is a
Control with HDMI function
digital audio signal transfer control technology
The synchronized operations below can be
using the Control with HDMI function. It offers
used when the receiver’s Control with HDMI
higher-quality audio playback by controlling
function is connected to a TV of a brand other
audio signals from the receiver to a PQLS
than Pioneer that supports the Control with
compatible player, etc. This enables removing
HDMI function. (Depending on the TV,
jitter that has a negative effect on the quality of
however, some of the Control with HDMI
the sound and is generated upon
functions may not work.)
transmission.
• When the TV’s power is set to standby, the
This receiver supports the “PQLS 2 ch Audio”
receiver’s power is also set to standby.
that is only activated when playing an audio CD
(Only when the input for a component
(CD-DA).
connected to the receiver by HDMI
connection is selected or when watching
This function is activated when Control is set
1
the TV.)
to ON.
• The sound of TV programs or an external
• Press , then press
PQLS
to
input connected to the TV can also be
select the PQLS setting.
output from the speakers connected to the
The setting is displayed on the front panel
receiver. (This requires connection of an
display.
optical digital cable, etc., in addition to the
• PQLS
AUTO – PQLS is enabled. A
HDMI cable.)
precision quartz controller in this receiver
The synchronized operations below can be
eliminates distortion caused by timing
used when the receiver’s Control with HDMI
errors (jitter), giving you the best possible
function is connected to a player or recorder of
digital-to-analog conversion from audio CD
a brand other than Pioneer that supports the
sources when you use the HDMI interface.
Control with HDMI function.
This is valid as an HDMI function for PQLS-
• When playback starts on the player or
compatible players.
recorder, the receiver’s input switches to
• PQLS
OFF – PQLS is disabled.
the HDMI input to which that component is
connected.
See the Pioneer website for the latest
information on the models of non-Pioneer
brands and products that support the Control
with HDMI function.
66
En
Note
1 • If a listening mode other than AUTO SURROUND, ALC, DIRECT, PURE DIRECT or STEREO is selected while the
PQLS effect is enabled, the PQLS effect is disabled.
• When this receiver is connected by HDMI cable to a Pioneer player that is compatible with the PQLS function via
HDMI connection and a CD is played or HDMI reauthentication is performed (the HDMI indicator blinks), the PQLS
effect is enabled and the listening mode is set to AUTO SURROUND if a listening mode other than AUTO
SURROUND, ALC, DIRECT, PURE DIRECT or STEREO is selected.
RECEIVER
VSX-1020_SYXCN.book 66 ページ 2010年3月12日 金曜日 午前9時10分

VSX-1020_SYXCN.book 67 ページ 2010年3月12日 金曜日 午前9時10分
Control with HDMI function 07
English
Cautions on the Control with
HDMI function
• Connect the TV directly to this receiver.
Interrupting a direct connection with other
amps or an AV converter (such as an HDMI
Deutsch
switch) can cause operational errors.
• Only connect components (Blu-ray disc
player, etc.) you intend to use as a source
to the HDMI input of this receiver.
Interrupting a direct connection with other
Français
amps or an AV converter (such as an HDMI
switch) can cause operational errors.
• When Control is set to ON, the HDMI Input
in The Input Setup menu on page 42 is
automatically set to OFF.
Italiano
• When the receiver’s Control is turned ON,
even if the receiver’s power is in the
standby mode, it is possible to output the
audio and video signals from a player via
HDMI to the TV without producing sound
from the receiver, but only when a Control
Nederlands
with HDMI-compatible component (Blu-ray
disc player, etc.) and compatible TV are
connected. In this case, the receiver’s
power turns on and the power and HDMI
indicators light.
Español
67
En
Оглавление
- Contents
- Flow of settings on the receiver
- Before you start
- Controls and displays
- Connecting your equipment
- Basic Setup
- Basic playback
- Listening to your system
- Control with HDMI function
- Using other functions
- Controlling the rest of your system
- The Advanced MCACC menu
- The System Setup and Other Setup menus
- Additional information
- Table des matières
- Organigramme des réglages sur le récepteur
- Avant de commencer
- Commandes et affichages
- Raccordement de votre équipement
- Configuration de base
- Lecture de base
- Écoute de sources à l’aide de votre système
- Fonction Control HDMI
- Utilisation d’autres fonctions
- Commander le reste de votre système
- Le menu MCACC avancé
- Configuration du système et autres réglages
- Informations complémentaires
- Содержание
- Порядок выполнения настроек на ресивере
- Перед началом работы
- Органы управления и индикаторы
- Подключение оборудования
- Основная настройка
- Основные операции воспроизведения
- Прослушивание системы
- Функция Управление по HDMI
- Использование других функций
- Управление остальными частями системы
- Меню Advanced MCACC
- Меню System Setup (Настройка системы) и Other Setup (Другие настройки)
- Дополнительная информация
