Pioneer MVH-150UBG: инструкция
Раздел: Авто, мото оборудование и транспорт
Тип: Автомагнитола
Характеристики, спецификации
Инструкция к Автомагнитоле Pioneer MVH-150UBG
Black plate (1,1)
RDS MEDIA CENTER RECEIVER
ЦИФРОВОЙ МЕДИА-РЕСИВЕР
English Русский
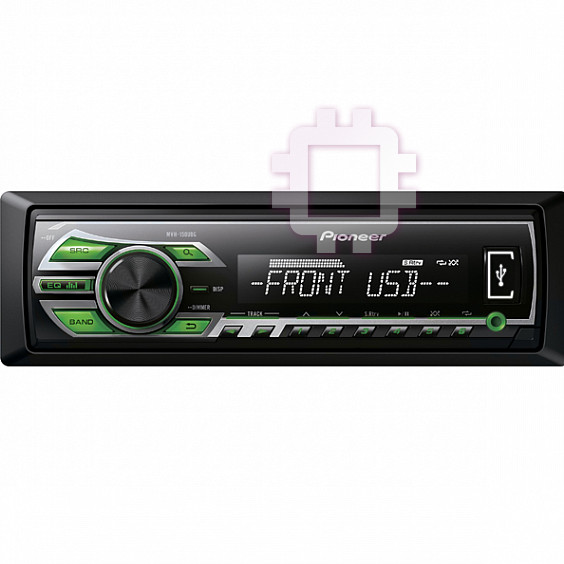
MVH-150UBG
Owner’s Manual
Руководство пользователя
<QRB3391-A>1
Black plate (2,1)
Thank you for purchasing this PIONEER
About this unit
Head unit
product
To ensure proper use, please read through this
The tuner frequencies on this unit are allocated
manual before using this product. It is especially
for use in Western Europe, Asia, the Middle
important that you read and observe WARN-
East, Africa and Oceania. Use in other areas
INGs and CAUTIONs in this manual. Please
may result in poor reception. The RDS (radio
keep the manual in a safe and accessible place for
data system) function only operates in areas
future reference.
with broadcasting RDS signals for FM stations.
CAUTION
! Do not allow this unit to come into contact
with liquids. Electrical shock could result.
Also, damage to this unit, smoke, and over-
heating could result from contact with
liquids.
If you want to dispose this product, do not
! The Pioneer CarStereo-Pass is for use only in
mix it with general household waste. There is
Germany.
a separate collection system for used elec-
! Always keep the volume low enough to hear
tronic products in accordance with legislation
outside sounds.
that requires proper treatment, recovery and
! Avoid exposure to moisture.
recycling.
! If the battery is disconnected or discharged,
any preset memory will be erased.
Private households in the member states of the
Note
EU, in Switzerland and Norway may return their
Function setting operations are completed even
used electronic products free of charge to desig-
if the menu is canceled before the operations
nated collection facilities or to a retailer (if you
are confirmed.
purchase a similar new one).
For countries not mentioned above, please con-
tact your local authorities for the correct method
About this manual
of disposal.
! In the following instructions, USB memories
By doing so you will ensure that your disposed
and USB audio players are collectively re-
product undergoes the necessary treatment, re-
ferred to as “USB storage device”.
covery and recycling and thus prevent potential
negative effects on the environment and human
health.
In case of trouble
Should this unit fail to operate properly, please
contact your dealer or nearest authorized
PIONEER Service Station.
a b
4
7
1 2 3 5
98c6
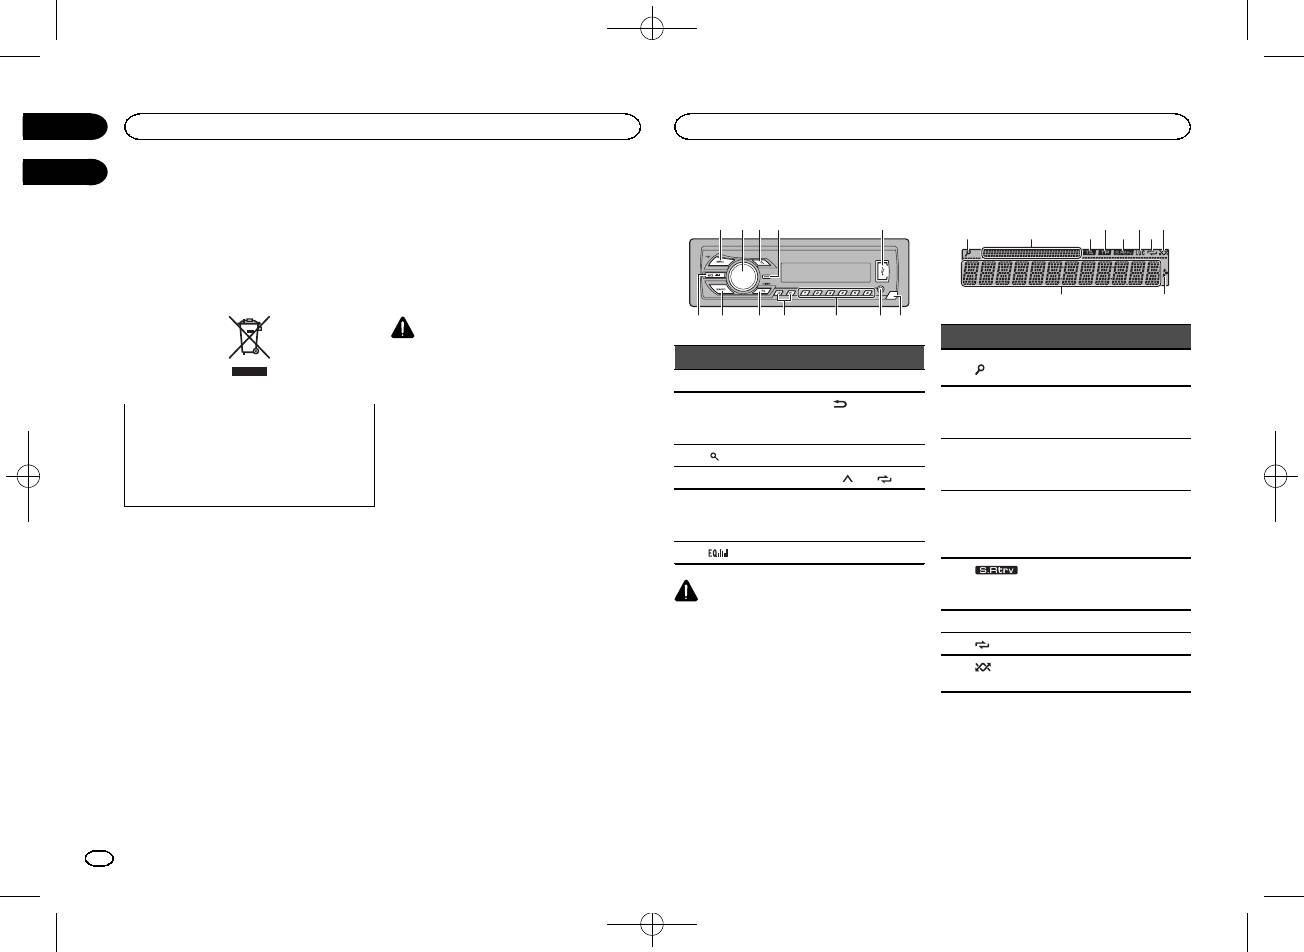
Display indication
21 3 75
Part Part
1 SRC/OFF 7 BAND
(back)/
MULTI-CONTROL
2
8
DIMMER
(M.C.)
(dimmer)
3
(list) 9 c/d
4 DISP a 1/
to 6/
AUX input jack
5 USB port b
(3.5 mm stereo
jack)
6
(equalizer) c Detach button
CAUTION
! Use an optional Pioneer USB cable (CD-
U50E) to connect the USB storage device as
any device connected directly to the unit will
protrude out from the unit, which could be
dangerous.
! Do not use unauthorized products.
9
Section
01
Before you start
Operating this unit
02
4 6 8
a
Indicator State
The list function is being oper-
1
(list)
ated.
Sub infor-
2
mation sec-
Sub information is displayed.
tion
TA (traffic
3
announce-
TA function is on.
ments)
TP (traffic
program
4
A TP station is tuned in.
identifica-
tion)
The sound retriever function
5
(sound re-
is on.
triever)
6 LOC Local seek tuning is on.
7
(repeat) Track or folder repeat is on.
(ran-
8
Random play is on.
dom)
2
En
<QRB3391-A>2
Black plate (3,1)
Section
Operating this unit
Operating this unit
02
Notes
Indicator State
LANGUAGE (multi-language)
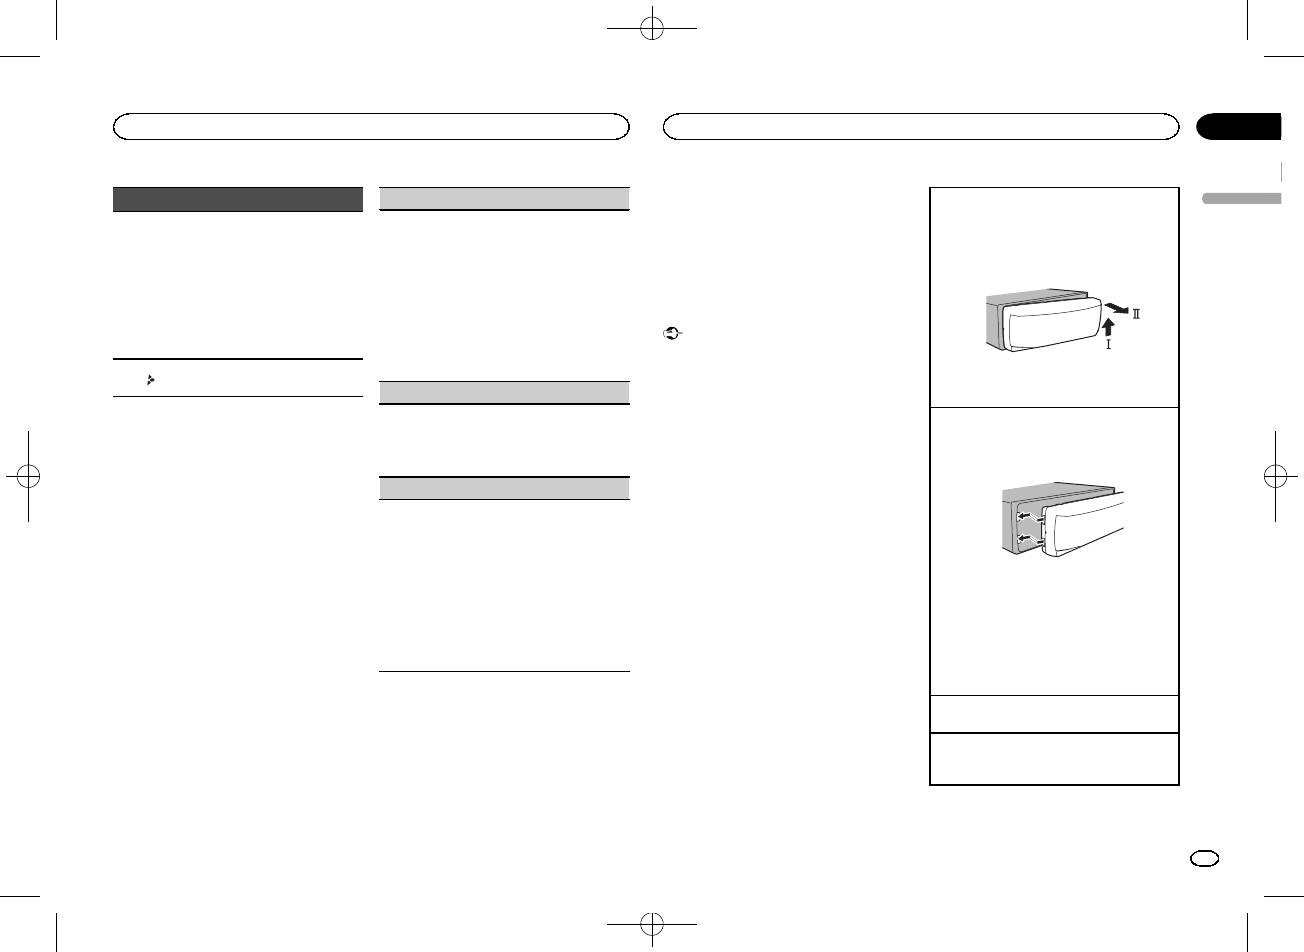
Removing the front panel to protect your unit from
! You can set up the menu options from the
English
theft
This unit can display the text information from a
! Tuner: band and fre-
system menu. For details about the settings,
1 Press the detach button to release the front
compressed audio file even for information em-
quency
refer to System menu on page 7.
panel.
bedded in English or Russian.
! RDS: program service
! You can cancel set up menu by pressing
2 Push the front panel upward (M) and then pull
Main infor-
! If the embedded language and the selected
name, PTY information
SRC/OFF.
it toward (N) you.
9
mation sec-
language setting are not the same, text infor-
and other literal informa-
tion
mation may not display properly.
tion
! Some characters may not be displayed prop-
Basic operations
! USB storage device:
erly.
elapsed playback time
Important
1 Turn M.C. to select the desired setting.
and text information
! Handle gently when removing or attaching
ENG (English)—РУС (Russian)
the front panel.
Appears when a lower tier of
2 Press M.C. to confirm the selection.
a
! Avoid subjecting the front panel to excessive
folder or menu exists.
3 Always keep the detached front panel in a pro-
CLOCK SET (setting the clock)
shock.
tection device such as a protection case.
! Keep the front panel out of direct sunlight
1 Turn M.C. to adjust hour.
and high temperatures.
Re-attaching the front panel
Set up menu
2 Press M.C. to select minute.
! To avoid damaging the device or vehicle inte-
1 Slide the front panel to the left .
3 Turn M.C. to adjust minute.
rior, remove any cables and devices attached
Make sure to insert the tabs on the left side of
When you turn the ignition switch to ON after in-
4 Press M.C. to confirm the selection.
the head unit into the slots on the front panel.
stallation, set up menu appears on the display.
to the front panel before detaching it.
You can set up the menu options below.
FM STEP (FM tuning step)
Normally, the FM tuning step employed by seek
1 After installation of this unit, turn the
tuning is 50 kHz. When AF or TA is on, the tuning
ignition switch to ON.
step automatically changes to 100 kHz. It may be
SET UP appears.
preferable to set the tuning step to 50 kHz when
AF is on.
2 Turn M.C. to switch to YES.
! The tuning step remains at 50 kHz during man-
2 Press the right side of the front panel until it is
# If you do not operate for 30 seconds, the set up
ual tuning.
firmly seated.
menu will not be displayed.
1 Turn M.C. to select the FM tuning step.
If you cannot attach the front panel to the
# If you prefer not to set up at this time, turn M.C.
50 (50 kHz)—100 (100 kHz)
head unit successfully, make sure that you are
to switch to NO. Press to select.
2 Press M.C. to confirm the selection.
placing the front panel onto the head unit cor-
If you select NO, you cannot set up in the set up
QUIT appears.
rectly. Forcing the front panel into place may
menu.
result in damage to the front panel or head
unit.
3 Press M.C. to select.
5 To finish your settings, turn M.C. to select
Turning the unit on
YES.
4 Perform the following procedures to set
1 Press SRC/OFF to turn the unit on.
# If you prefer to change your setting again, turn
the menu.
M.C. to switch to NO. Press to select.
Turning the unit off
To proceed to the next menu option, you need to
1 Press and hold SRC/OFF until the unit turns
confirm your selection.
6 Press M.C. to select.
off.
En
3
<QRB3391-A>3
Оглавление
- About this unit Head unit
- Operating this unit Operating this unit
- Operating this unit Operating this unit
- Operating this unit Operating this unit
- Operating this unit Operating this unit
- Operating this unit Operating this unit
- Using an AUX source Connections
- Installation
- Installation Additional information
- Additional information Additional information
- Additional information Additional information
- Additional information Specifications
- Перед началом эксплуатации Перед началом эксплуатации
- Основное устройство
- Управление данным устройством Управление данным устройством
- Управление данным устройством Управление данным устройством
- Управление данным устройством Управление данным устройством
- Управление данным устройством Управление данным устройством
- Управление данным устройством Управление данным устройством
- Управление данным устройством Управление данным устройством
- Соединения
- Установка
- Установка Дополнительная информация
- Дополнительная информация Дополнительная информация
- Последовательность
- Дополнительная информация Дополнительная информация Авторское право и Серийный номер товарные знаки
- Дополнительная информация Дополнительная информация Технические характеристики
")


