Pioneer PD-D6MK2-K: инструкция
Раздел: Бытовая, кухонная техника, электроника и оборудование
Тип: Домашний кинотеатр
Инструкция к Домашнему кинотеатру Pioneer PD-D6MK2-K

PD-D6MK2-
K
D6
Super Audio CD Player
Lecteur Super Audio CD
Super Audio CD-Spieler
Super-Audio CD-speler
Lettore CD Super Audio
Reproductor de Super Audio CD
Discover the benefits of registering your product online at
http://www.pioneer.co.uk (or http://www.pioneer.eu).
Découvrez les nombreux avantages offerts en enregistrant votre
produit en ligne maintenant sur
http://www.pioneer.fr (ou
http://www.pioneer.eu).
Bitte nutzen Sie die Möglichkeit zur Registrierung Ihres Produktes
unter
http://www.pioneer.de (oder http://www.pioneer.eu)
Ontdek nu de voordelen van online registratie! Registreer uw Pioneer
product via
http://www.pioneer.nl - http://www.pioneer.be
(of http://www.pioneer.eu).
Registra il tuo prodotto su
http://www.pioneer.it
(o http://www.pioneer.eu) e scopri subito quali vantaggi puoi ottenere!
Registre su producto en
http://www.pioneer.es
(o en http://www.pioneer.eu) Descubra los beneficios de registrarse
on-line:
Зарегистрируйте Baшe изделие на
http://www.pioneer-rus.ru
(или http://www.pioneer.eu). Oзнакомьтесь с преимуществами
регистрации в Интернет
Operating Instructions | Mode d’emploi | Bedienungsanleitung |
Handleiding | Istruzioni per I’uso | Manual de instrucciones |
Инструкции по эксплуатации
PD-D6MK2_en_SYXJ5.book 1 ページ 2009年4月15日 水曜日 午後5時23分
PD-D6MK2_en_SYXJ5.book 2 ページ 2009年4月15日 水曜日 午後5時23分
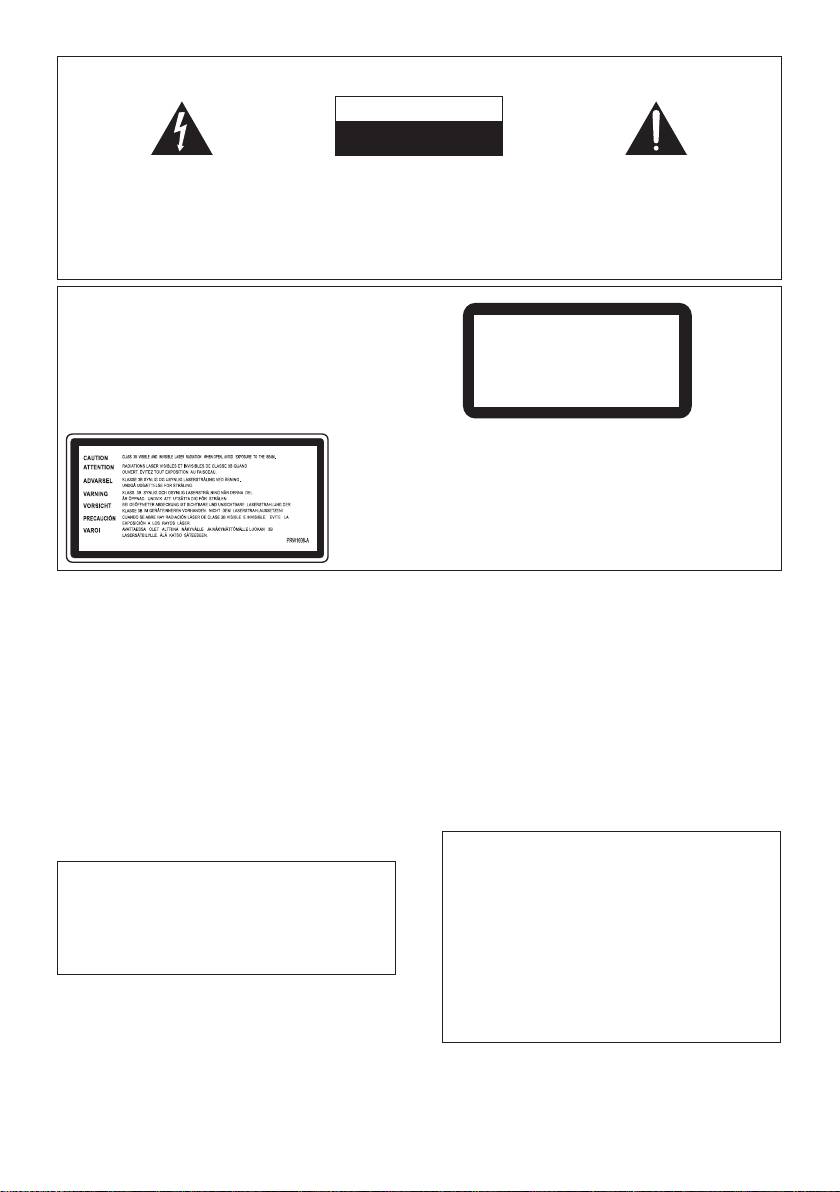
IMPORTANT
CAUTION
RISK OF ELECTRIC SHOCK
DO NOT OPEN
The lightning flash with arrowhead symbol,
CAUTION:
The exclamation point within an equilateral
within an equilateral triangle, is intended to
TO PREVENT THE RISK OF ELECTRIC
triangle is intended to alert the user to the
alert the user to the presence of uninsulated
SHOCK, DO NOT REMOVE COVER (OR
presence of important operating and
“dangerous voltage” within the product’s
BACK). NO USER-SERVICEABLE PARTS
maintenance (servicing) instructions in the
enclosure that may be of sufficient
INSIDE. REFER SERVICING TO QUALIFIED
literature accompanying the appliance.
magnitude to constitute a risk of electric
SERVICE PERSONNEL.
shock to persons.
D3-4-2-1-1_A1_En
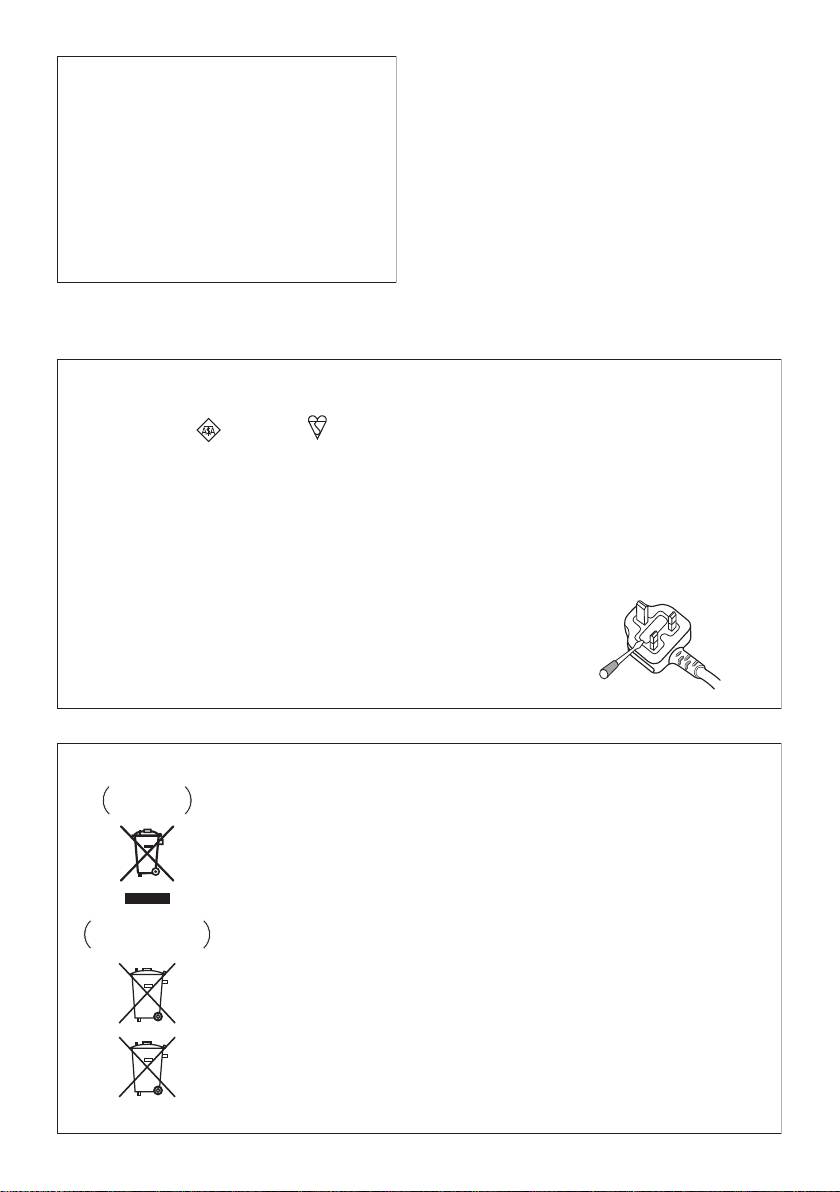
CAUTION
This product is a class 1 laser product, but this
product contains a laser diode higher than Class 1.
To ensure continued safety, do not remove any covers
CLASS 1
or attempt to gain access to the inside of the product.
LASER PRODUCT
Refer all servicing to qualified personnel.
The following caution label appears on your unit.
Location: top of the unit
D3-4-2-1-8*_C_En
VENTILATION CAUTION
&$(# !'&!"'*'%#%"""#%)!'%
When installing this unit, make sure to leave space
"%&"-%"!"'#!,"!'!%
around the unit for ventilation to improve heat
*'$(!%'&$(# !'&(&)&"%
radiation (at least 5 cm at top, 10 cm at rear, and
"*%#"'"%+#"&''"%##!&#&!%!
5 cm at each side).
"% "&'(%
!
WARNING
Slots and openings in the cabinet are provided for
ventilation to ensure reliable operation of the
Operating Environment
product, and to protect it from overheating. To
Operating environment temperature and humidity:
prevent fire hazard, the openings should never be
+5 °C to +35 °C (+41 °F to +95 °F); less than 85 %RH
blocked or covered with items (such as newspapers,
(cooling vents not blocked)
table-cloths, curtains) or by operating the
Do not install this unit in a poorly ventilated area, or in
equipment on thick carpet or a bed.
D3-4-2-1-7b_A_En
locations exposed to high humidity or direct sunlight (or
strong artificial light)
D3-4-2-1-7c*_A1_En
CAUTION
The POWER switch on this unit will not completely
shut off all power from the AC outlet. Since the
power cord serves as the main disconnect device for
the unit, you will need to unplug it from the AC outlet
to shut down all power. Therefore, make sure the
unit has been installed so that the power cord can
be easily unplugged from the AC outlet in case of an
accident. T
o avoid fire hazard, the power cord should
also be unplugged from the AC outlet when left
unused for a long period of time (for example, when
on vacation).
D3-4-2-2-2a_A_En
+$!)$)+ !!%$,'(*%%!- '(
$' #)$$*#)'-$'' $#(*')))
%$,'(*%%!-+$!)$)',') (*# )
"#%)!'%+%"!"'#!*!
, !!*(")()'&* '+$!)
&"(%&&(&'!"!'
$',' ))#$#)''%#!
#
$(# !'
!
PD-D6MK2_en_SYXJ5.book 3 ページ 2009年4月15日 水曜日 午後5時23分
POWER-CORD CAUTION
If the AC plug of this unit does not match the AC
Handle the power cord by the plug. Do not pull out the
outlet you want to use, the plug must be removed
plug by tugging the cord and never touch the power
and appropriate one fitted. Replacement and
cord when your hands are wet as this could cause a
mounting of an AC plug on the power supply cord of
short circuit or electric shock. Do not place the unit, a
this unit should be performed only by qualified
piece of furniture, etc., on the power cord, or pinch the
service personnel. If connected to an AC outlet, the
cord. Never make a knot in the cord or tie it with other
cut-off plug can cause severe electrical shock. Make
cords. The power cords should be routed such that they
sure it is properly disposed of after removal.
are not likely to be stepped on. A damaged power cord
The equipment should be disconnected by removing
can cause a fire or give you an electrical shock. Check
the mains plug from the wall socket when left unused
the power cord once in a while. When you find it
for a long period of time (for example, when on
damaged, ask your nearest PIONEER authorized
vacation).
D3-4-2-2-1a_A1_En
service center or your dealer for a replacement.
S002*_En
Replacement and mounting of an AC plug on the power supply cord of this unit should be performed only by qualified
service personnel.
IMPORTANT: THE MOULDED PLUG
This appliance is supplied with a moulded three pin mains plug for your safety and convenience. A 10 amp fuse is fitted in this plug. Should
the
fuse need to be replaced, please ensure that the replacement fuse has a rating of 10 amps and that it is approved by ASTA or BSI to BS1362.
Check for the ASTA mark or the BSI mark on the body of the fuse.
If the plug contains a removable fuse cover, you must ensure that it is refitted when the fuse is replaced. If you lose the fuse cover the plug
must not be used until a replacement cover is obtained. A replacement fuse cover can be obtained from your local dealer.
If the fitted moulded plug is unsuitable for your socket outlet, then the fuse shall be removed and the plug cut off and disposed of
safely. There is a danger of severe electrical shock if the cut off plug is inserted into any 13 amp socket.
If a new plug is to be fitted, please observe the wiring code as shown below. If in any doubt, please consult a qualified electrician.
IMPORTANT: The wires in this mains lead are coloured in accordance with the following code:
Blue : Neutral Brown : Live
As the colours of the wires in the mains lead of this appliance may not correspond with the coloured markings identifying the terminals in
your plug, proceed as follows ;
The wire which is coloured BLUE must be connected to the terminal which is marked with the
letter N or coloured BLACK.
The wire which is coloured BROWN must be connected to the terminal which is marked with the
letter L or coloured RED.
How to replace the fuse: Open the fuse compartment with a screwdriver and replace the fuse.
D3-4-2-1-2-2_B_En
Information for users on collection and disposal of old equipment and used batteries
Symbol for
These symbols on the products, packaging, and/or accompanying documents mean
equipment
that used electrical and electronic products and batteries should not be mixed with
general household waste.
For proper treatment, recovery and recycling of old products and used batteries,
please take them to applicable collection points in accordance with your national
legislation.
By disposing of these products and batteries correctly, you will help to save valuable
Symbol examples
resources and prevent any potential negative effects on human health and the
for batteries
environment which could otherwise arise from inappropriate waste handling.
For more information about collection and recycling of old products and batteries,
please contact your local municipality, your waste disposal service or the point of sale
where you purchased the items.
These symbols are only valid in the European Union.
For countries outside the European Union:
If you wish to discard these items, please contact your local authorities or dealer and
ask for the correct method of disposal.
Pb
K058a_A1_En

PD-D6MK2_en_SYXJ5.book 4 ページ 2009年4月15日 水曜日 午後5時23分
Thank you for buying this Pioneer product.
Please read through these operating instructions so that you will know how to operate your
model properly. After you have finished reading the instructions, put them in a safe place for
future reference.
Contents
01 Before you start
04 Getting started
Features. . . . . . . . . . . . . . . . . . . . . . . . . . . 5
Switching on . . . . . . . . . . . . . . . . . . . . . . . 12
What’s in the box . . . . . . . . . . . . . . . . . . . . 6
Playing discs. . . . . . . . . . . . . . . . . . . . . . . 12
Inserting the battery. . . . . . . . . . . . . . . . . . 6
Other playback features . . . . . . . . . . . . . . 13
Disc/content format playback
compatibility . . . . . . . . . . . . . . . . . . . . . . . 7
05 Other settings and features
Listening to Pure Audio. . . . . . . . . . . . . . . 14
02 Connecting up
Using the SACD/CD . . . . . . . . . . . . . . . . . 14
Connecting to an amplifier. . . . . . . . . . . . . 8
Using Legato Link Pro . . . . . . . . . . . . . . . . 14
Using the remote sensor of another
Dimming the display . . . . . . . . . . . . . . . . . 14
Pioneer component . . . . . . . . . . . . . . . . . . 8
Displaying disc information. . . . . . . . . . . . 14
Plugging in . . . . . . . . . . . . . . . . . . . . . . . . 9
06 Additional information
03 Controls and displays
Hints on installation . . . . . . . . . . . . . . . . . 15
Front panel. . . . . . . . . . . . . . . . . . . . . . . . 10
Taking care of your player and discs . . . . . 15
Display. . . . . . . . . . . . . . . . . . . . . . . . . . . 10
Troubleshooting . . . . . . . . . . . . . . . . . . . . 17
Remote control . . . . . . . . . . . . . . . . . . . . 11
Glossary . . . . . . . . . . . . . . . . . . . . . . . . . . 18
Specifications . . . . . . . . . . . . . . . . . . . . . . 18
4
En
PD-D6MK2_en_SYXJ5.book 5 ページ 2009年4月15日 水曜日 午後5時23分
Before you start 01
Chapter 1
English
Before you start
• Fine-tuned to world-class standards
Features
With the cooperation of the world-class studio
engineers at AIR Studios, this player has been
• Quick response power supply circuit
AIR Studios certified.
The superior power supply circuit adopted by
this unit achieves vastly improved response by
employing ‘no feedback’ circuitry and low
Deutsch Italiano EspañolFrançais
impedance parallel main capacitors
characteristicly used in professional audio
monitoring.
• High-precision low-jitter master clock
For more accurate digital transmission, the
Nederlands
crystal oscillator used is the same type found in
commercial communications devices
demanding high-precision time-keeping.
• Legato Link Conversion Pro and Hi-Bit
Pioneer’s unique Legato Link Conversion
system restores high-frequency dynamics lost
in the digital recording process, to fully
reproduce all the shading and detail of the
original musical performance. This results in a
minimum amount of phase shift across the
entire hearable audio spectrum.
• Twin D/A converter 192 kHz/24-bit
The on-board Twin Burr Brown 192 kHz/24-bit
DAC means that this player is fully capable of
delivering exceptional sound quality in terms of
dynamic range, low-level resolution and high-
frequency detail.
• Pure Audio listening
The Pure Audio feature allows you to listen to
analog audio sources with the digital outputs
disabled, and the front panel display switched
off.
5
En
PD-D6MK2_en_SYXJ5.book 6 ページ 2009年4月15日 水曜日 午後5時23分
Before you start01
What’s in the box
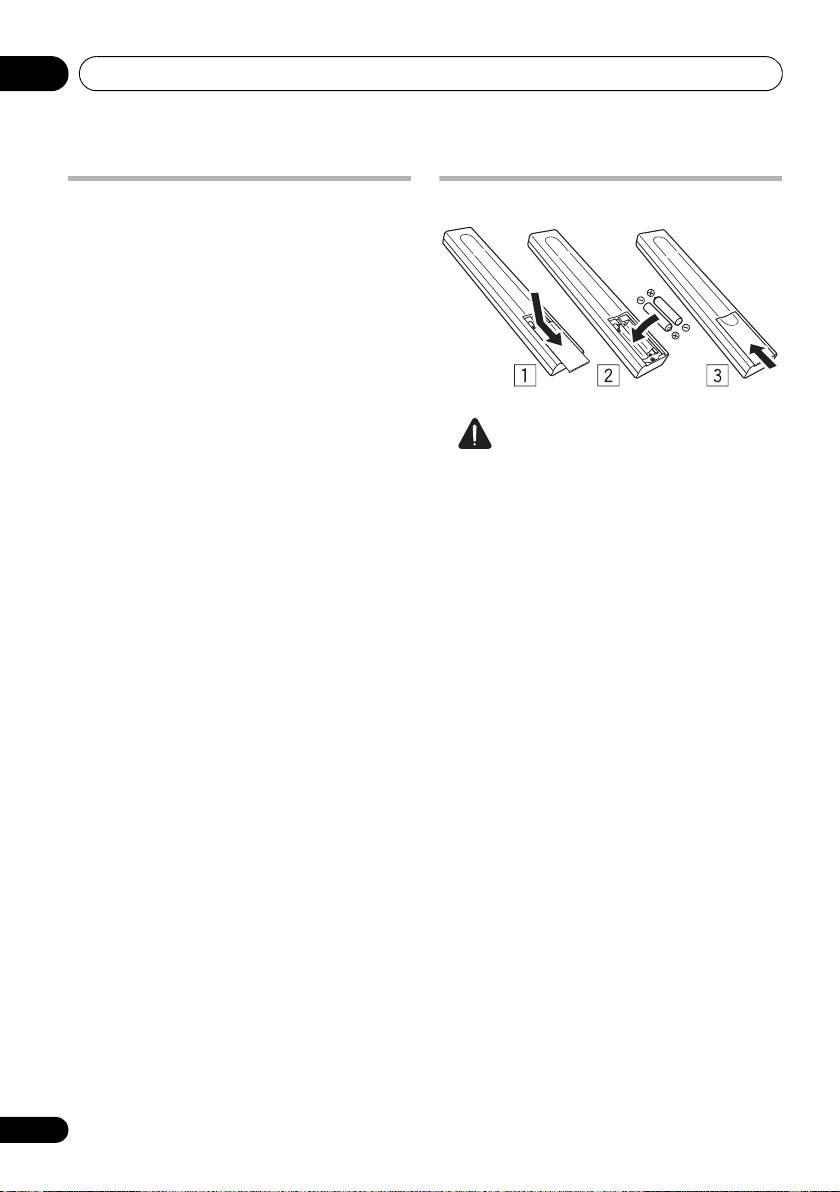
Inserting the battery
Please confirm that the following accessories
are in the box when you open it.
• Remote control
• AAA/IEC R03 dry cell batteries x2
• RCA audio cable (red/white plugs)
• SR control cable
• Power cable
• Operating instructions (This document)
• Warranty card
Caution
Incorrect use of batteries may result in such
hazards as leakage and bursting. Observe the
following precautions:
• Never use new and old batteries together.
• Insert the plus and minus sides of the
batteries properly according to the marks
in the battery case.
• Batteries with the same shape may have
different voltages. Do not use different
batteries together.
• When disposing of used batteries, please
comply with governmental regulations or
environmental public institution’s rules
that apply in your country or area.
• WARNING
Do not use or store batteries in direct
sunlight or other excessively hot place,
such as inside a car or near a heater. This
can cause batteries to leak, overheat,
explode or catch fire. It can also reduce the
life or performance of batteries.
6
En
Before you start 01
English
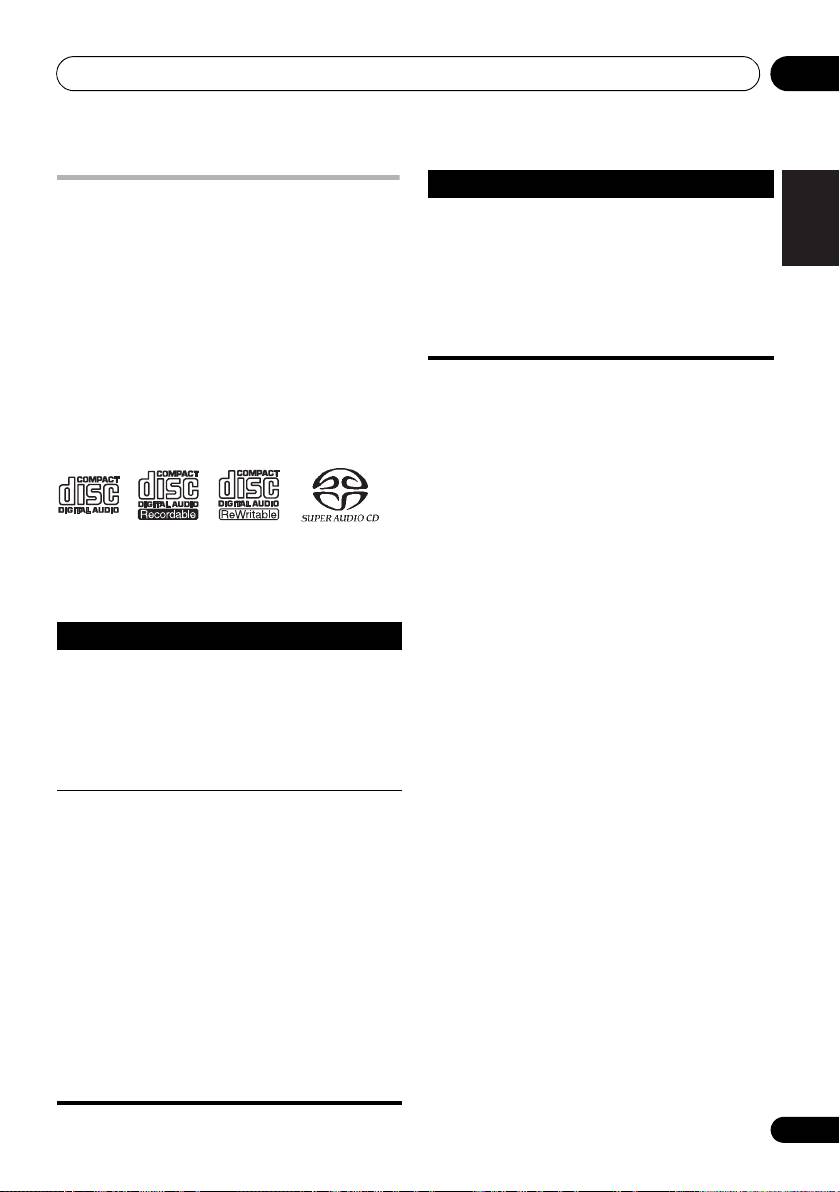
Disc/content format playback
compatibility
This player is compatible with a wide range of
audio disc types and media formats. Playable
discs will generally feature one of the following
logos on the disc and/or disc packaging. Note
however that some disc types, such as
recordable CDs, may be in an unplayable
format — see the Disc compatibility table below
for further compatibility information.
About WMA
Deutsch Italiano EspañolFrançais
This player can playback Windows Media
Please also note that recordable discs cannot be
Audio content.
recorded using this player.
WMA is an acronym for Windows Media Audio
and refers to an audio compression technology
developed by Microsoft Corporation. WMA files
®
Nederlands
can be encoded by using Windows Media
®
Player 7 or later version, Windows Media
®
®
Player for Windows
XP, or Windows Media
*“Super Audio CD” is a registered trademark.
Player 9 series, or later version.
Disc compatibility table
Windows Media is either a registered trademark
or trademark of Microsoft Corporation in the
Media Compatible formats
United States and/or other countries.
CD-R/-RW • CD-Audio, ISO 9660 CD-ROM*
This product includes technology owned by
* ISO 9660 Level 1 or 2 compliant. CD
Microsoft Corporation and cannot be used or
physical format: Mode1, Mode2 XA
distributed without a license from Microsoft
Form1. Romeo and Joliet file systems
Licensing, Inc.
are both compatible.
• Multi-session playback: No
About DualDisc playback
• Unfinalized disc playback: No
A DualDisc is a new two-sided disc, one side of
Compressed
• MPEG-1 Audio Layer 3 (MP3),
which contains DVD content video, audio, etc.
audio
Windows Media Audio (WMA)
while the other side contains non-DVD content
• Sampling rates: 44.1 kHz
such as digital audio material. The non-DVD,
• Bit-rates: Any (128 kbps or higher
audio side of the disc is not compliant with the
recommended)
CD Audio specification and therefore may not
• VBR (variable bit rate) playback: No
play. For more detailed information on the
• WMA lossless encoding: No
DualDisc specification, please refer to the disc
• DRM (Digital Rights Management)
manufacturer or disc retailer.
compatible: Yes (DRM-protected audio
files will not play in this player.)
• File extensions: .mp3, .wma
(these
must be used for the player to recognize
MP3/WMA files)
• File structure (may differ): Up to 299
folders on a disc; up to 648 folders and
files (combined) within each folder
7
En
Audio CD CD-R CD-RW
Super Audio CD*
01_before_start.fm 7 ページ 2009年4月16日 木曜日 午前11時53分
Media Compatible formats
PC-created
• Discs recorded using a PC may not
disc
be playable due to the setting of the
software used to create the disc. In
these instances, check the software
manual or disc boxes for more on
compatibility.
• Discs recorded in packet write mode
are not compatible.
Оглавление
- Contents
- Before you start
- Connecting up
- Controls and displays
- Getting started
- Other settings and features
- Additional information
- Sommaire
- Avant de commencer
- Connexions
- Commandes et écrans
- Démarrage
- Autres réglages et fonctions
- Informations complémentaires
- Inhalt
- Bevor Sie beginnen
- Anschluss
- Bedienelemente und Anzeigen
- Die ersten Schritte
- Weitere Einstellungen und Funktionen
- Zusätzliche Informationen
- Inhoud
- Voordat u begint
- Aansluitingen
- Bedieningsorganen en display-aanduidingen
- Aan de slag
- Overige instellingen en functies
- Extra informatie
- Indice
- Prima di iniziare
- Collegamento
- Controlli e display
- Come iniziare
- Altre impostazioni e caratteristiche
- Informazioni aggiuntive
- Contenido
- Antes de comenzar
- Conexión
- Controles y visualizadores
- Operaciones a realizar
- Otros ajustes y funciones
- Información adicional
- Содержание
- Подготовка к использованию
- Подключение
- Органы управления и индикации
- Начало работы
- Прочие настройки и функции
- Дополнительная информация
