Pioneer VSX-519V-K: Listening to your system
Listening to your system: Pioneer VSX-519V-K
Listening to your system05
Chapter 5:
Listening to your system
Important
Listening in surround sound
• The listening modes and many features
Using this receiver, you can listen to any
described in this section may not be
source in surround sound. However, the
available depending on the current source,
options available will depend on your speaker
settings and status of the receiver.
setup and the type of source you’re listening to.
Auto playback
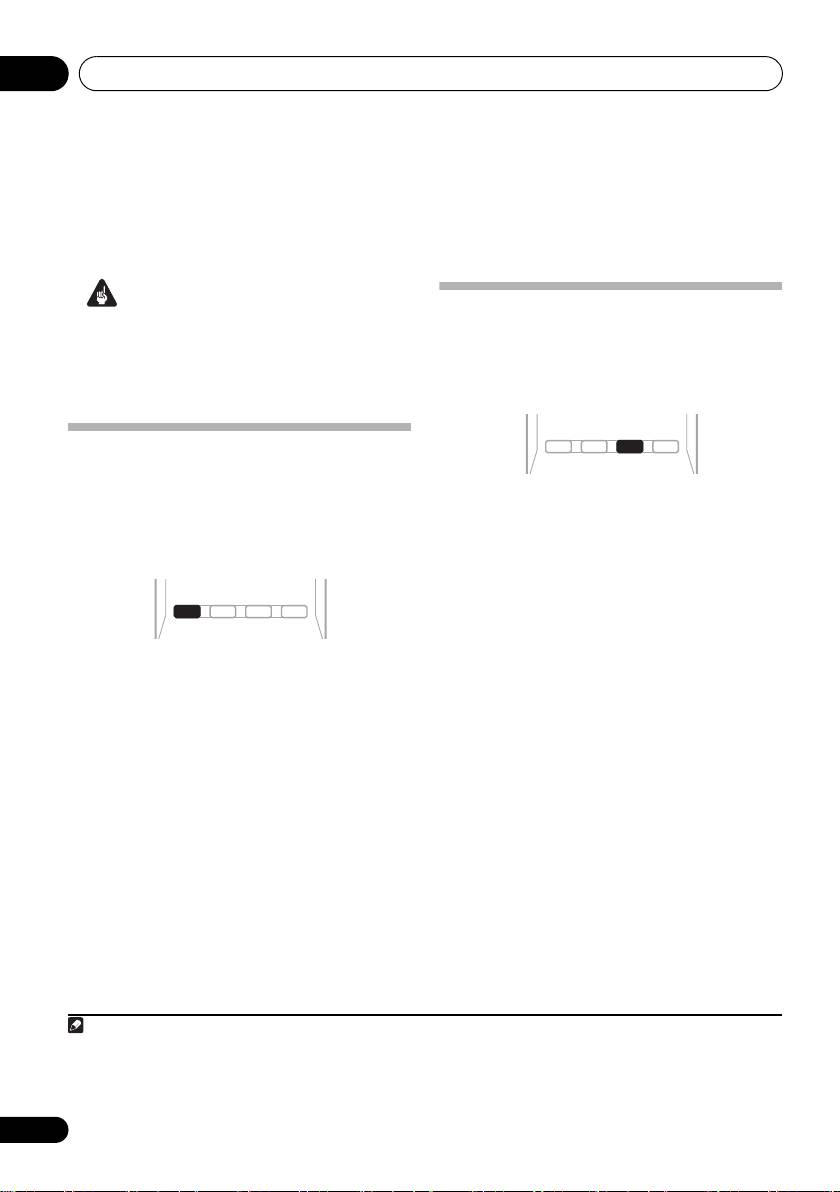
The simplest, most direct listening option is the
Auto Surround feature. With this, the receiver
• While listening to a source, press
automatically detects what kind of source
STANDARD
.
you’re playing and selects multichannel or
If the source is Dolby Digital, DTS, or Dolby
1
stereo playback as necessary.
Surround encoded, the proper decoding
format will automatically be selected and
shows in the display.
With two channel sources, press STANDARD
repeatedly to select from:
• While listening to a source, press
• DOLBY PLII MOVIE – Up to 5.1 channel
2
AUTO/DIRECT
for auto playback of a
sound, especially suited to movie sources
source.
3
Press repeatedly until AUTO SURROUND
• DOLBY PLII MUSIC
– Up to 5.1 channel
shows briefly in the display (it will then show
sound, especially suited to music sources
the decoding or playback format). Check the
• DOLBY PLII GAME – Up to 5.1 channel
digital format indicators in the display to see
sound, especially suited for video games
how the source is being processed.
• DOLBY PRO LOGIC – 4.1 channel
surround sound
26
En
Note
1Stereo surround (matrix) formats are decoded accordingly using DOLBY PLII MOVIE (see Listening in surround sound above
for more on these decoding formats).
2For more options using this button, see Using Stream Direct on page 28.
AUTO/
AUTO/
STEREO/
DIRECT
DIRECT
A.L.C.
STANDARD
ADV SURR
AUDIO
TUNER EDIT
MASTER
3 When listening to 2-channel sources in DOLBY PLII MUSIC mode, there are three further parameters you can adjust:
C.WIDTH, DIMEN., and PNRM.. See Setting the Audio options on page 30 to adjust them.
AUTO/
STEREO/
DIRECT
A.L.C.
STANDARD
STANDARD
ADV SURR
AUDIO
TUNER EDIT
MASTER
VSX_519V_MY.book 26 ページ 2009年1月16日 金曜日 午後7時32分

Listening to your system 05
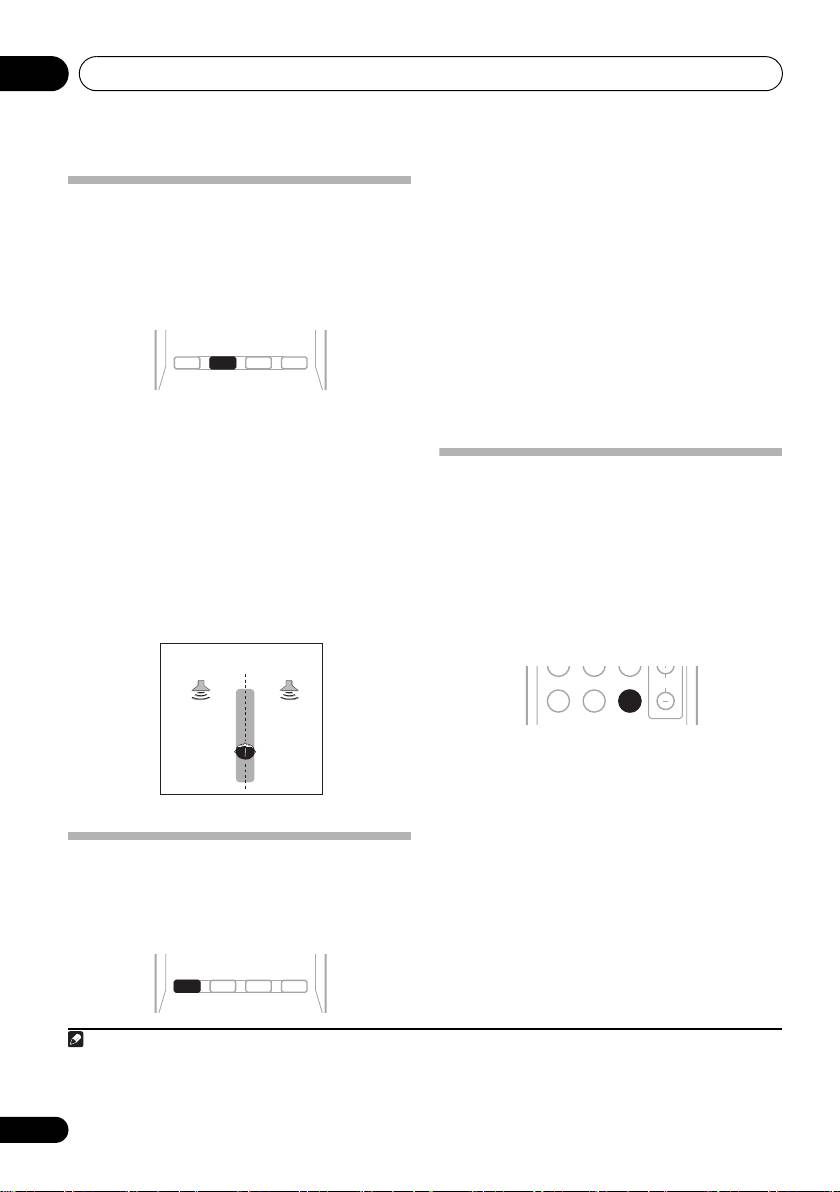
Using the Advanced surround effects
English
The Advanced surround feature creates a
Listening in stereo
variety of surround effects. Try different modes
When you select STEREO you will hear the
with various soundtracks to see which you like.
source through just the front left and right
speakers (and possibly your subwoofer
depending on your speaker settings). Dolby
Français
Digital or DTS multichannel sources are
downmixed to stereo.
• Press
ADV SURR
repeatedly to select a
In the Auto level control stereo mode (A.L.C.),
listening mode.
this unit equalizes playback sound levels if
• ACTION – Designed for action movies with
each sound level varies with the music source
dynamic soundtracks.
recorded in a portable audio player.
• DRAMA – Designed for movies with lots of
dialog.
• ENT.SHOW – Suitable for musical sources.
• ADVANCED GAME – Suitable for video
• While listening to a source, press
Italiano
games.
STEREO/A.L.C.
for stereo playback.
• SPORTS – Suitable for sports programs.
Press repeatedly to switch between:
• CLASSICAL – Gives a large concert hall-
• STEREO – The audio is heard with your
type sound.
surround settings and you can still use the
• ROCK/POP – Creates a live concert sound
Midnight, Loudness, Phase Control,
Nederlands
for rock and/or pop music.
Sound Retriever and Tone functions.
• UNPLUGGED – Suitable for acoustic
• A.L.C. – Listening in Auto level control
music sources.
stereo mode.
• EXT.STEREO – Gives multichannel sound
• F.S.S.ADVANCE – See Using Front Stage
to a stereo source, using all of your
Surround Advance on page 28 for more on
Español
speakers.
this.
Deutsch
27
En
AUTO/
STEREO/
DIRECT
A.L.C.
STANDARD
ADV SURR
ADV SURR
AUDIO
TUNER EDIT
MASTER
AUTO/
STEREO/
STEREO/
DIRECT
A.L.C.
A.L.C.
STANDARD
ADV SURR
AUDIO
TUNER EDIT
MASTER
VSX_519V_MY.book 27 ページ 2009年1月16日 金曜日 午後7時32分
Listening to your system05
• While listening to a source, press
AUTO/
DIRECT
to select Stream Direct mode.
Using Front Stage Surround
• AUTO SURROUND – See Auto playback on
Advance
page 26.
The Front Stage Surround Advance function
• DIRECT – Sources are heard according to
allows you to create natural surround sound
the settings made in the Surround Setup
effects using just the front speakers and the
(speaker setting, channel level, speaker
subwoofer.
distance), as well as with dual mono
1
settings.
You will hear sources according
to the number of channels in the signal.
• PURE DIRECT – Analog and PCM sources
2
• While listening to a source, press
STEREO/
are heard without any digital processing.
A.L.C.
to select Front Stage Surround Advance
modes.
• STEREO – See Listening in stereo on
Using the Sound Retriever
page 27 for more on this.
When audio data is removed during the
• A.L.C. – See Listening in stereo on page 27
compression process, sound quality often
for more on this.
suffers from an uneven sound image. The
• F.S.S.ADVANCE – Use to provide a rich
Sound Retriever feature employs new DSP
surround sound effect directed to the
technology that helps bring CD quality sound
center of wher e the front left and right
back to compressed 2-channel audio by
speakers sound projection area converges.
restoring sound pressure and smoothing
3
jagged artifacts left over after compression.
• Press
S.RETRIEVER to switch the sound
retriever on or off.
Using Stream Direct
Use the Stream Direct modes when you want
to hear the truest possible reproduction of a
source. All unnecessary signal processing is
bypassed.
28
En
AUTO/
STEREO/
STEREO/
DIRECT
A.L.C.
A.L.C.
STANDARD
ADV SURR
AUDIO
TUNER EDIT
MASTER
F.S.S.ADVANCE position.
Front left
Front right
speaker
speaker
AUTO/
STEREO/
DIRECT
A.L.C.
STANDARD
ADV SURR
AUDIO
TUNER EDIT
MASTER
AUTO/
DIRECT
Note
1In the DIRECT mode, Phase Control, Sound Delay, LFE Attenuate and Auto Delay functions are available.
2There are cases where a brief noise is heard before playback of sources other than PCM. Please select AUTO SURROUND or
DIRECT if this is a problem.
3 The Sound Retriever is only applicable to 2-channel sources.
MIDNIGHT
PHASE
S.RETRIEVER
S.RETRIEVER
VOL
BD MENU
VSX_519V_MY.book 28 ページ 2009年1月16日 金曜日 午後7時32分

Listening to your system 05
English
Using Phase Control
This receiver’s Phase Control feature uses
phase correction measures to make sure your
sound source arrives at the listening position in
phase, preventing unwanted distortion and/or
Français
coloring of the sound (see illustration below).
During multichannel playback, LFE (Low-
Frequency Effects) signals as well as low-
frequency signals in each channel are
assigned to the subwoofer or other the
subwoofer and the most appropriate speaker.
At least in theory, however, this type of
processing involves a group delay that varies
with frequency, resulting in phase distortion
where the low-frequency sound is delayed or
muffled by the conflict with other ch
annels.
Wi
th the Phase Control mode switched on, this
Phase Control technology provides coherent
Italiano
receiver can reproduce powerful bass sound
sound reproduction through the use of phase
without deteriorating the quality of the original
1
matching
for an optimal sound image at your
sound (see illustration below).
listening position. The default setting is on
and we recommend leaving Phase Control
switched on for all sound sources.
Nederlands
•Press
PHASE
to switch on phase
correction.
Español
Deutsch
29
En
Note
P
H
Front speaker
Listening
A
S
position
E
C
?
O
N
T
R
O
L
O
Sound
F
F
source
Subwoofer
Front speaker
Listening
P
H
position
A
S
E
C
O
N
T
R
O
L
Sound
O
source
Subwoofer
N
1 Phase matching is a very important factor in achieving proper sound reproduction. If two waveforms are ‘in phase’, they crest
and trough together, resulting in increased amplitude, clarity and presence of the sound signal. If a crest of a wave meets a
trough (as shown in the upper section of the diagram above) then the sound will be ‘out of phase’ and an unreliable sound
image will be produced.
• If your subwoofer has a phase control switch, set it to the plus (+) sign (or 0°). However, the effect you can actually feel when
PHASE CONTROL is set to ON on this receiver depends on the type of your subwoofer. Set your subwoofer to maximize the effect.
It is also recommended you try changing the orientation or the place of
your subwoofer.
• Set
the built-in lowpass filter switch of your subwoofer to OFF. If this cannot be done on your subwoofer, set the cutoff
frequency to a higher value.
• If the speaker distance is not properly set, you may not have a maximized PHASE CONTROL effect.
• The PHASE CONTROL mode cannot be set to ON in the following cases:
– When the PURE DIRECT mode is switched on.
– When the MULTI IN input is selected.
MIDNIGHT
PHASE
PHASE
S.RETRIEVER
VOL
BD MENU
VSX_519V_MY.book 29 ページ 2009年1月16日 金曜日 午後7時32分
VSX_519V_MY.book 30 ページ 2009年1月16日 金曜日 午後7時32分
Listening to your system05
AUDIO
AUDIO
TUNER EDIT
MASTER
RECEIVER
INPUT SELECT
SOURCE
PARAMETER
PARAMETER
TOOLS
VOLUME
TOP
T
U
N
E
MENU
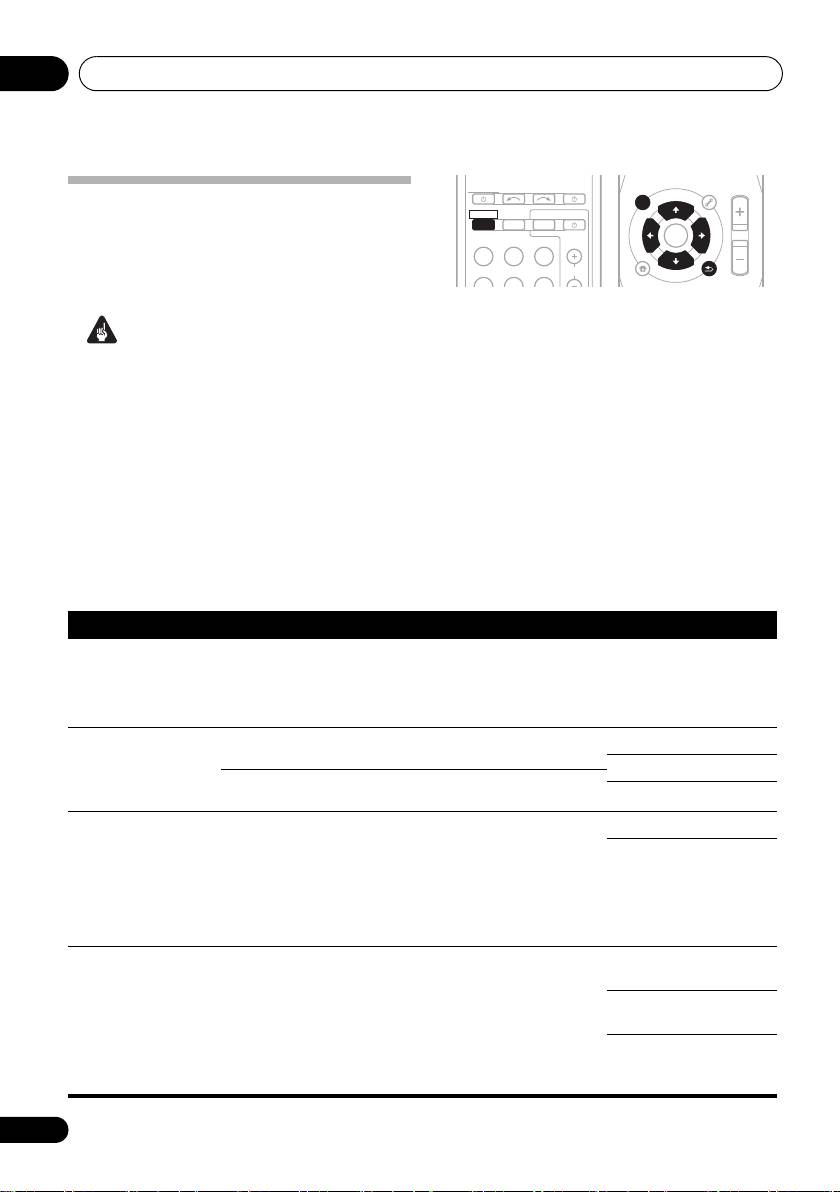
Setting the Audio options
MENU
ZONE 2
RECEIVER
ON/OFF
TV CONTROL
INPUT
T
P
E
R
There are a number of additional sound
E
E
S
ENTER
S
E
BD TV
DVR
P
R
T
settings you can make using the AUDIO
HOME
PARAMETER menu. The defaults, if not stated,
CD CD-R
TUNER
CH
MENU
T
U
N
E
BAND
SETUP
RETURN
RETURN
are listed in bold.
1 Press
RECEIVER
on the remote control,
Important
then press
AUDIO PARAMETER
button.
•The AUDIO PARAMETER menu is not
2Use
/
to select the setting you want to
available with MULTI IN input (see
adjust.
Selecting the multichannel analog inputs
Depending on the current status/mode of the
on page 32).
receiver, certain options may not be able to be
selected. Check the table below for notes on
• Note that if a setting doesn’t appear in the
this.
AUDIO PARAMETER menu, it is
unavailable due to the current source,
3Use
/
to set it as necessary.
settings and status of the receiver.
See the table below for the options available for
each setting.
4 Press
RETURN
to confirm and exit the
menu.
Setting What it does Option(s)
S.DELAY
Some monitors have a slight delay when showing video, so
0.0 to 9.0 (frames)
(Sound Delay)
the soundtrack will be slightly out of sync with the picture.
1 second = 25 frames
By adding a bit of delay, you can adjust the sound to match
(PAL)
the presentation of the video.
Default: 0.0
a
Allows you to hear effective surround sound of movies at
M/L OFF
MIDNIGHT
low volumes.
MIDNIGHT
a
Used to get good bass and treble from music sources at
LOUDNESS
low volumes.
LOUDNESS
b
When audio data is removed during the compression
OFF
S.RTV
process, sound quality often suffers from an uneven sound
(Sound Retriever)
ON
image. The Sound Retriever feature employs new DSP
technology that helps bring CD quality sound back to
compressed 2-channel audio by restoring sound pressure
and smoothing jagged artifacts left over after
compression.
c
Specifies how dual mono encoded Dolby Digital
CH1 –
DUAL MONO
soundtracks should be played.
Channel 1 is heard only
CH2 –
Channel 2 is heard only
CH1 CH2 –
Both channels heard
from front speakers
30
En

VSX_519V_MY.book 31 ページ 2009年1月16日 金曜日 午後7時32分
Listening to your system 05
Setting What it does Option(s)
English
DRC
Adjusts the level of dynamic range for movie soundtracks
OFF
(Dynamic Range
optimized for Dolby Digital and DTS (you may need to use
MAX
this feature when listening to surround sound at low
Control)
volumes).
MID
LFE ATT
Some Dolby Digital and DTS audio sources include ultra-
LFEATT 0 (0 dB)
Français
(LFE Attenuate)
low bass to
nes. Set the LFE attenuator as necessary to
LFEATT 10 (–10 dB)/
prevent the ultra-low bass tones from distorting the sound
LFEATT ** (OFF)
from the speakers.
The LFE is not limited when set to 0 dB, which is the
recommended value. When set to –10 dB, the LFE is
limited by the respective degree. When OFF is selected, no
sound is output from the LFE channel.
Specifies the routing of the HDMI audio signal out of this
AMP
HDMI
(HDMI Audio)
receiver (amp) or through to a TV or flat screen TV. When
THRU
THRU is selected, no sound is output from this receiver.
A.DLY
This feature automatically corrects the audio-to-video delay
OFF
(Auto Delay)
between components connected with an HDMI cable. The
Italiano
ON
audio delay time is set depending on the operational status
of the display connected with an HDMI cable. The video
delay time is automatically adjusted according to the audio
d
delay time.
e
Spreads the center channel between the front right and left
0 to 7
C.WIDTH
Nederlands
speakers, making it sound wider (higher settings) or
Default: 3
(Center Width)
narrower (lower settings).
(Applicable only when
using a center speaker)
e
Adjusts the surround sound balance from front to back,
–3 to +3
DIMEN.
making the sound more distant (minus settings), or more
(Dimension)
Default: 0
forward (positive settings).
Español
e
Extends the front stereo image to include surround
OFF
PNRM.
speakers for a ‘wraparound’ effect.
(Panorama)
ON
a. You can change the MIDNIGHT/LOUDNESS options at any time by using MIDNIGHT button.
b. You can change the Sound Retriever feature at any time by using S.RETRIEVER button.
c. This setting works only with dual mono encoded Dolby Digital and DTS soundtracks.
Deutsch
d. This feature is only available when the connected display supports the automatic audio/video
synchronizing capability (‘lip-sync’) for HDMI. If you find the automatically set delay time unsuitable, set
A.DLY to OFF and adjust the delay time manually. For more details about the lip-sync feature of your
display, contact the manufacturer directly.
e. Only available with 2-channel sources in DOLBY PLII MUSIC mode.
31
En

Listening to your system05
When set to DIGITAL or HDMI, 2 lights when
a Dolby Digital signal is input, and DTS lights
Playing other sources
when a DTS signal is input.
1 Turn on the power of the playback
When the HDMI is selected, the A and
component.
DIGITAL indicators are off (see page 21).
2 Turn on the power of the receiver.
3 Select the source you want to playback.
Selecting the multichannel
Use the MULTI CONTROL buttons (INPUT
analog inputs
SELECTOR).
If you have connected a decoder or a BD/DVD
4 Start playback of the component you
player with multichannel analog outputs to this
selected in step 1.
receiver (page 10), you must select the analog
3
multichannel inputs for surround sound.
• Press MULTI IN on the remote control.
Choosing the input signal
To cancel playback from the multichannel
On this receiver, it is possible to switch the
inputs, switches to the other input signal.
input signals for the different inputs as
1
described below.
1 Press SIGNAL SEL to select the input signal
Using the headphone
corresponding to the source component.
When DIGITAL (C1/O1/O2) or HDMI (H) is
1 Insert the headphone into the PHONE
selected and the selected audio input is not
jack.
provided, A (analog) is automatically selected.
2 Press
RECEIVER
then press the SPEAKERS
Each press cycles through the following:
button to select SP OFF.
• A – Selects the analog inputs.
The sound is heard from the headphone and no
• DIGITAL – Selects the digital inp ut. The
sound is heard from the speakers connected to
coaxial 1 input is selected for C1, and the
this receiver.
optical 1 or 2 audio input is selected for
The listening mode when the sound is heard
O1 or O2.
from the headphone can be selected only from
• HDMI – Selects an HDMI signal. H can be
STEREO or A.L.C..
selected for BD/DVD or TV/SAT input. For
2
other inputs, HDMI cannot be selected.
32
En
Note
VSX_519V_MY.book 32 ページ 2009年1月16日 金曜日 午後7時32分
1 • This receiver can only play back Dolby Digital, PCM (32 kHz to 96 kHz) and DTS (including DTS 96 kHz / 24 bit) digital signal
formats. The compatible signals via the HDMI terminals are: Dolby Digital, DTS, SACD (DSD 2 ch), DVD Audio (including 192
kHz), PCM (32 kHz to 192 kHz sampling frequencies). With other digital signal formats, set to A (analog) (the MULTI IN or
TUNER).
• You may get digital noise when a LD or CD player compatible with DTS is playing an analog signal. To prevent noise, make
the proper digital connections (page 9) and set the signal input to C1/O1/O2 (DIGITAL).
• Some DVD players don’t output DTS signals. For more details, refer to the instruction manual supplied with your DVD player.
2 • When the HDMI option in Setting the Audio options on page 30 is set to THRU, t
he sound will be heard t
hrough your TV, not
from this receiver.
3• During playback from the multichannel inputs, you can’t use any of the sound features/modes and only the volume and
channel levels can be set.
• Change the output settings of the systems with multichannel analog outputs according to the number of the speakers
connected to the receiver.
Оглавление
- Before you start
- 5 minute guide
- Connecting up
- Controls and displays
- Listening to your system
- The System Setup menu
- Using the MULTI-ZONE feature
- Using the tuner
- Making recordings
- Additional information
- Préparatifs
- Guide en 5 minutes
- Raccordements
- Commandes et affichages
- Écoute de sources à l’aide de votre système
- Menu de configuration du système
- Utilisation de la fonction MULTI-ZONE
- Utilisation du tuner
- Pour faire un enregistrement
- Information complémentaire
- Перед началом работы
- Краткое руководство
- Подключение
- Органы управления и индикаторы
- Прослушивание системы
- Меню System Setup (Настройка системы)
- Использование функции MULTI-ZONE
- Использование тюнера
- Выполнение записи на внешний источник
- Дополнительная информация
