AEG sr 4359 bt: English
English: AEG sr 4359 bt
46
English
11 ID3 button (ID3 tag Meta data on/ off)
Special safety information
12 FOLD./10/M. buttons (album/ respectively
10 select tracks/ stored radio stations)
13 LIGHT button (lighting effect)
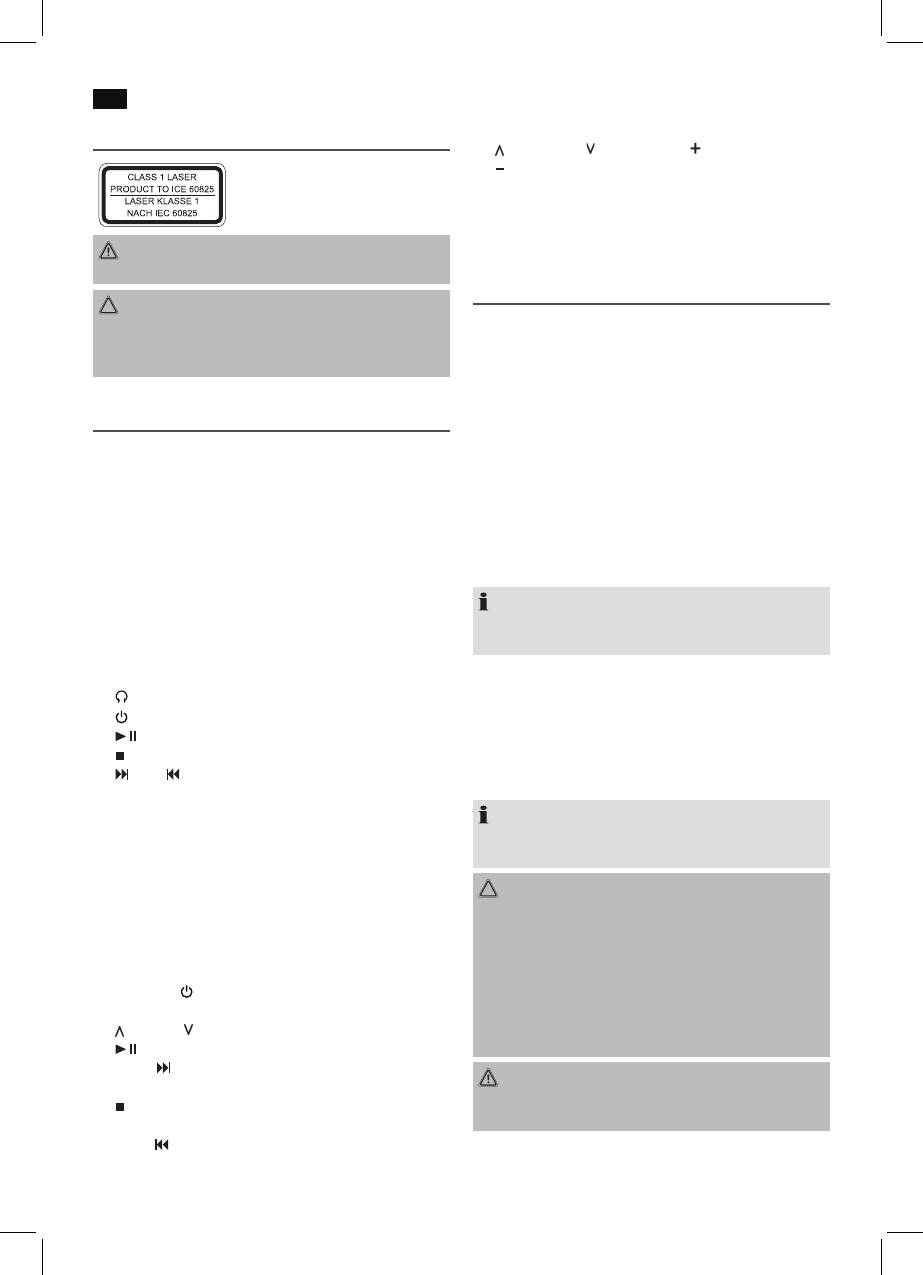
This device works with a class 1 laser.
14 MEM button (storing)
15 FUNC. button (function mode)
16 EQ button (equalizer)
WARNING:
Avoid damage to your hearing with volume that is too high.
Start-up of the device/introduction
CAUTION:
• Select a suitable location for the device, such as a dry,
Do not touch the loudspeaker membranes (7) with your
flat, non-slip surface on which it is easy to operate the
hands or with objects. The membranes can get damaged
machine.
that way.
• Ensure that the device is sufciently ventilated!
• Remove the protective lm from the display if it is still
Overview of the Components
present.
1 VOLUME control
Power Supply
2 Telescopic antenna
• Ensure that the voltage is the same as that indicated on
3 CD compartment
the model identification plate.
4 Carrying handle
• Connect the power cable supplied (see battery compart-
5 PUSH TO OPEN button (open CD tray)
ment if necessary) to a properly installed safety power
6 TUNING control
socket and the mains connector AC on the back of the
7 Loudspeaker membranes
machine.
8 PAIR/STANDBY control lamp (bluetooth/operating status)
9 IR sensor for the remote control
NOTE:
10 AUX-IN input
If the device is not used for a longer period of time, the
11 USB port
mains plug must be pulled from the socket.
12 Display
13 SD CARD card slot
Inserting the Batteries (not supplied)
14 headphone connection
1. Open the battery compartment lid on the rear.
15 button
2. Insert 8 batteries of type UM2/R14 1.5 V. Please ensure
16 /PAIR button
that the polarity is correct (see the floor of the battery
17 STOP button
compartment)!
18 /+10 / /-10 buttons
3. Then close the battery lid.
19 PROG/P-MODE button
20 EQ/LIGHT button (equalizer/lighting effect)
NOTE:
21 FUNC button
When a mains cable is connected the batteries are auto-
matically switched off.
Reverse (not shown)
CAUTION:
AC Mains connection
Battery compartment
• Batteries may leak and lose battery acid. If the device is
not used for a longer period of time, remove the bat-
Remote control
teries.
• Different battery types or new and used batteries must
1 MUTE button (mute)
not be used together.
2 STANDBY/
button (operational readiness)
• Batteries are not to be disposed of together with
3 MO/ST button (Mono/Stereo)
domestic wastes. Dispose of the used batteries at the
4 VOLUME buttons (volume)
relevant collection bin or at your dealer’s.
5 button (playback/ pause)
6 TUN+/ button (radio station search upward/ next track)
WARNING:
7 PAIR button (disconnect current Bluetooth connection)
The batteries shall not be exposed to excessive heat such
8 button (stop)
as sunshine, fire or the like. Danger of explosion!
9 P-MODE button (playback mode)
10 TUN-/ button (radio station search downward/
previous track)
Оглавление
- Inhalt
- Übersicht der Bedienelemente
- Deutsch
- Deutsch
- Deutsch
- Deutsch
- Deutsch
- Deutsch
- Deutsch
- Deutsch
- Deutsch
- Nederlands
- Nederlands
- Nederlands
- Nederlands
- Nederlands
- Nederlands
- Nederlands
- Nederlands
- Français
- Français
- Français
- Français
- Français
- Français
- Français
- Français
- Español
- Español
- Español
- Español
- Español
- Español
- Español
- Español
- Italiano
- Italiano
- Italiano
- Italiano
- Italiano
- Italiano
- Italiano
- Italiano
- English
- English
- English
- English
- English
- English
- English
- Język polski
- Język polski
- Język polski
- Język polski
- Język polski
- Język polski
- Język polski
- Język polski
- Magyarul
- Magyarul
- Magyarul
- Magyarul
- Magyarul
- Magyarul
- Magyarul
- Українська
- Українська
- Українська
- Українська
- Українська
- Українська
- Українська
- Українська
- Русский
- Русский
- Русский
- Русский
- Русский
- Русский
- Русский
- Русский


