AEG SR 4367 BT: English
English: AEG SR 4367 BT
46
English
6 VOL / buttons
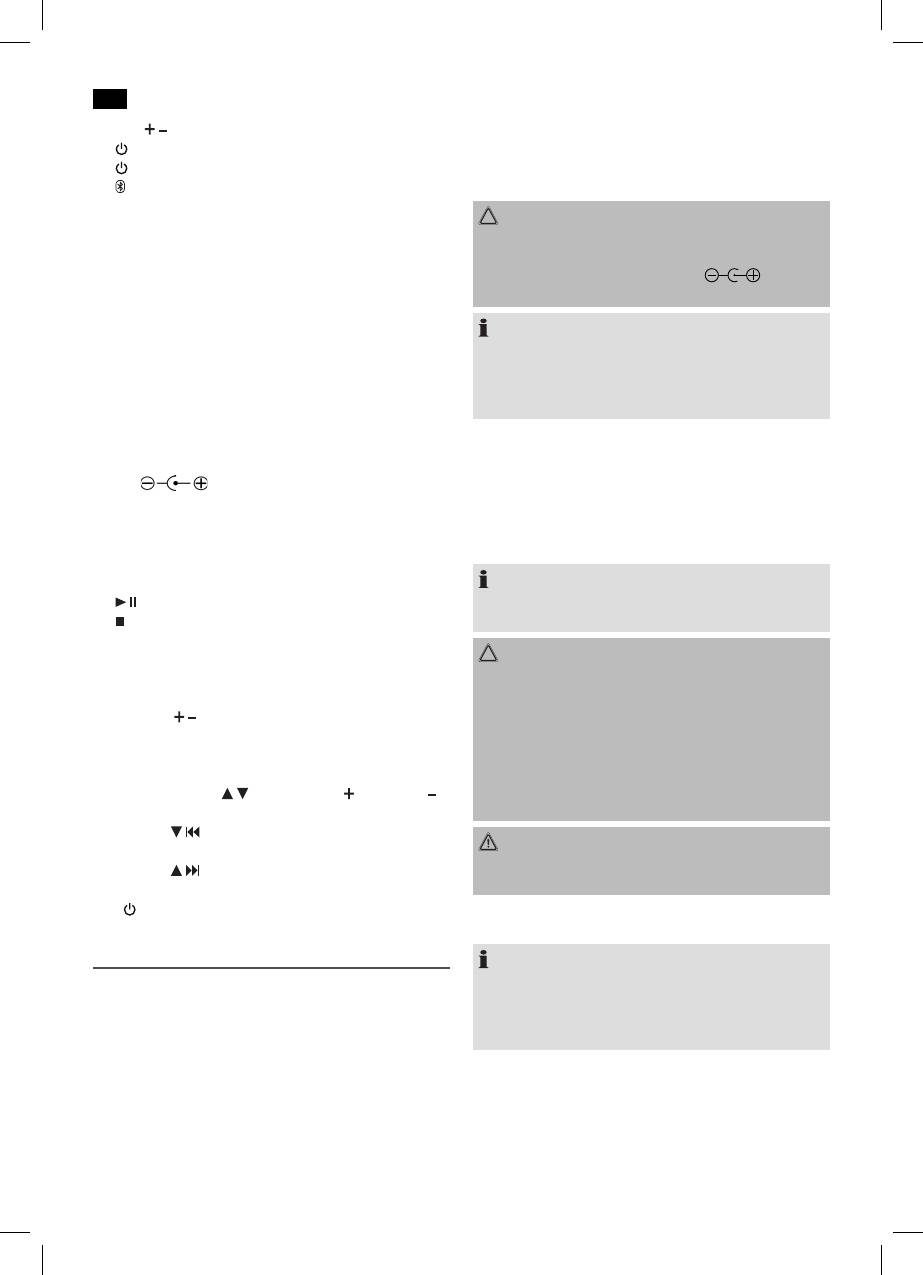
2. Connect the power adapter to a properly installed
7 button
grounded power outlet. Connect the device with the
8 control lamp (Operating state)
plug connector by inserting its plug into the DC 12 V jack
9 control lamp (Bluetooth)
of the device.
10 IR sensor for the remote control
CAUTION:
11 Display
• Only use the supplied power adaptor for this device.
12 Rubber cover
Do not use for other devices.
The following connectors are under the cover:
• Only use power adaptor with 12 V (
), other
SD memory card slot
adaptors may cause damage to the device.
USB port
AUX IN input
NOTE:
13 EQ button (Equalizer)
• Disconnect from mains power supply during longer
14 PLAY MODE button
periods of non-use.
15 FOLDER/PRE-UP button
• The clock time/alarm settings will be lost, once discon
-
16 MEM/CLK-ADJ button (Save/Setting the time)
nected from the mains supply.
A Passive membranes
Battery operation (not supplied)
Reverse (not shown)
1. Open the battery compartment lid on the back.
DC 12V
mains socket (under the rubber cover)
2. Insert 8 batteries of type D/R20 1.5 V. Please ensure that
Battery compartment
the polarity is correct (see the floor of the battery com-
partment)!
Remote control
3. Then close the battery lid.
1 FUNC button (function mode)
2 MO/ST button (Mono/Stereo)
NOTE:
3
button (playback/pause)
If a mains adapter is connected, the batteries will be dis
-
4 button (stop)
connected automatically.
5 MEM/CLK-ADJ button (Storing/Setting the time)
CAUTION:
6 INFO button (ID3 tag Meta data on/off)
• Batteries may leak and lose battery acid. If the device
7 SLEEP/TIMER button
is not used for a longer period of time, remove the
8 EQ button (equalizer)
batteries.
9 VOLUME / buttons (volume)
• Different battery types or new and used batteries must
10 DISPLAY button
not be used together.
11 MUTE button (mute)
• Batteries are not to be disposed of together with
12 RAN/REP/INTRO button (playback mode)
domestic wastes. Dispose of the used batteries at the
13 FOLDER/PRESET / buttons (album/ respectively /
relevant collection bin or at your dealer’s.
stored radio stations)
14 TUNING / button (radio station search downward/
WARNING:
previous track)
The batteries shall not be exposed to excessive heat such
15 TUNING / button (radio station search upward/next
as sunshine, fire or the like. Danger of explosion!
track)
16 I/ button (operational readiness)
Remote control
Start-up of the device/Introduction
NOTE:
The lithium cell in the battery compartment of the remote
• Select a suitable location for the device, such as a dry,
control was secured with foil for transport. This extends the
flat, non-slip surface on which it is easy to operate the
battery life. Remove this foil before initial use to operate the
machine.
remote control.
• Ensure that the device is sufficiently ventilated!
• Sensitive surfaces, such as the display, might be protect-
For wireless operation from a distance of up to 5 meters.
ed with films. Remove such films.
During operation, please ensure a clear line of view between
the remote control and the sensor (10) on the device. If this
Power supply (Adaptor)
range should diminish, the battery must be replaced. Replace
1. Make sure the grid voltage corresponds to the figures on
the battery as follows:
the rating plate.
Оглавление
- Inhalt
- Übersicht der Bedienelemente
- Deutsch
- Deutsch
- Deutsch
- Deutsch
- Deutsch
- Deutsch
- Deutsch
- Deutsch
- Deutsch
- Nederlands
- Nederlands
- Nederlands
- Nederlands
- Nederlands
- Nederlands
- Nederlands
- Nederlands
- Français
- Français
- Français
- Français
- Français
- Français
- Français
- Français
- Español
- Español
- Español
- Español
- Español
- Español
- Español
- Español
- Italiano
- Italiano
- Italiano
- Italiano
- Italiano
- Italiano
- Italiano
- Italiano
- English
- English
- English
- English
- English
- English
- English
- English
- Język polski
- Język polski
- Język polski
- Język polski
- Język polski
- Język polski
- Język polski
- Język polski
- Język polski
- Magyarul
- Magyarul
- Magyarul
- Magyarul
- Magyarul
- Magyarul
- Magyarul
- Magyarul
- Русский
- Русский
- Русский
- Русский
- Русский
- Русский
- Русский
- Русский
- Русский


