AEG t-vl 5537 inox: English
English: AEG t-vl 5537 inox
24
English
Assembly Instructions
WARNING:
• Do not expose the batteries to high temperatures
1. Position the housing (2) with the open side facing
or direct sunlight. Never throw batteries into the
upwards.
re. There is a danger of explosion!
쫵 NOTE:
• Keep batteries away from children. They are not a
It is best to place a blanket underneath so that the
toy!
housing is not damaged.
• Do not open the batteries by force.
• Avoid contact with metallic objects. (Rings, nails,
2. Pass the connection cable through the hole of the
screws et cetera.) There is a danger of short-circui-
base plate (3) so that the mains plug is located on the
ting!
underside of the base plate (Illustration A).
• As a result of a short-circuit batteries may heat up
3. Place the base plate on the housing. Please use the
considerably or even catch re. This may result in
guide pin to x it in place.
burns.
4. Screw the base plate together with the six fastening
• For your own safety the battery poles should be
screws (4).
covered with adhesive strips during transport.
5. Thread the cable into the recess provided on the base
• If a battery leaks do not rub the liquid into your
plate.
eyes or mucous membranes. If hands come into
6. Press the strain relief rmly into the position provi-
contact with the liquid they should be washed
ded.
thoroughly and eyes rinsed out with clear water; if
7. Attach the mains cable to the base plate with the
symptoms persist please consult a doctor.
two screws (5).
8. Now turn the fan over and place it on a suitable solid
surface.
Putting into Service
Electrical Connection
Remote Control
1. Before inserting the plug into the socket. Make sure
• Remove the remote control from the compartment
that the mains voltage to be used matches that of
on the back of the device (Illustration B).
the device. You can nd this information on the
• The cordless remote control has a range of up to 10
nameplate.
meters. When using the remote control, please ensure
2. Connect the device to a duly installed 230 V/50 Hz
that there are no obstacles placed between it and the
protective contact socket.
sensor on the device.
Use
Inserting the Batteries
쫵 NOTE:
쫵 NOTE:
The button cells in the battery compartment of the
• The buttons are to be found both on the device
remote control have been secured for transport with a
itself and on the remote control.
foil. This prolongs the life of the batteries. Before initial
• For the meaning of the symbols please see the
use please remove this foil so that the remote control is
following table.
ready for operation (Illustration C).
• Every press of the buttons changes the function
and is con rmed by a sound.
If the range of the remote control is reduced during use,
• The device has a memory function: the last para-
please proceed as follows:
meters set are stored. When it is switched on again,
the fan starts up with the last settings.
• Open the battery compartment on the back of the
remote control.
• Replace the button cells by two batteries of the same
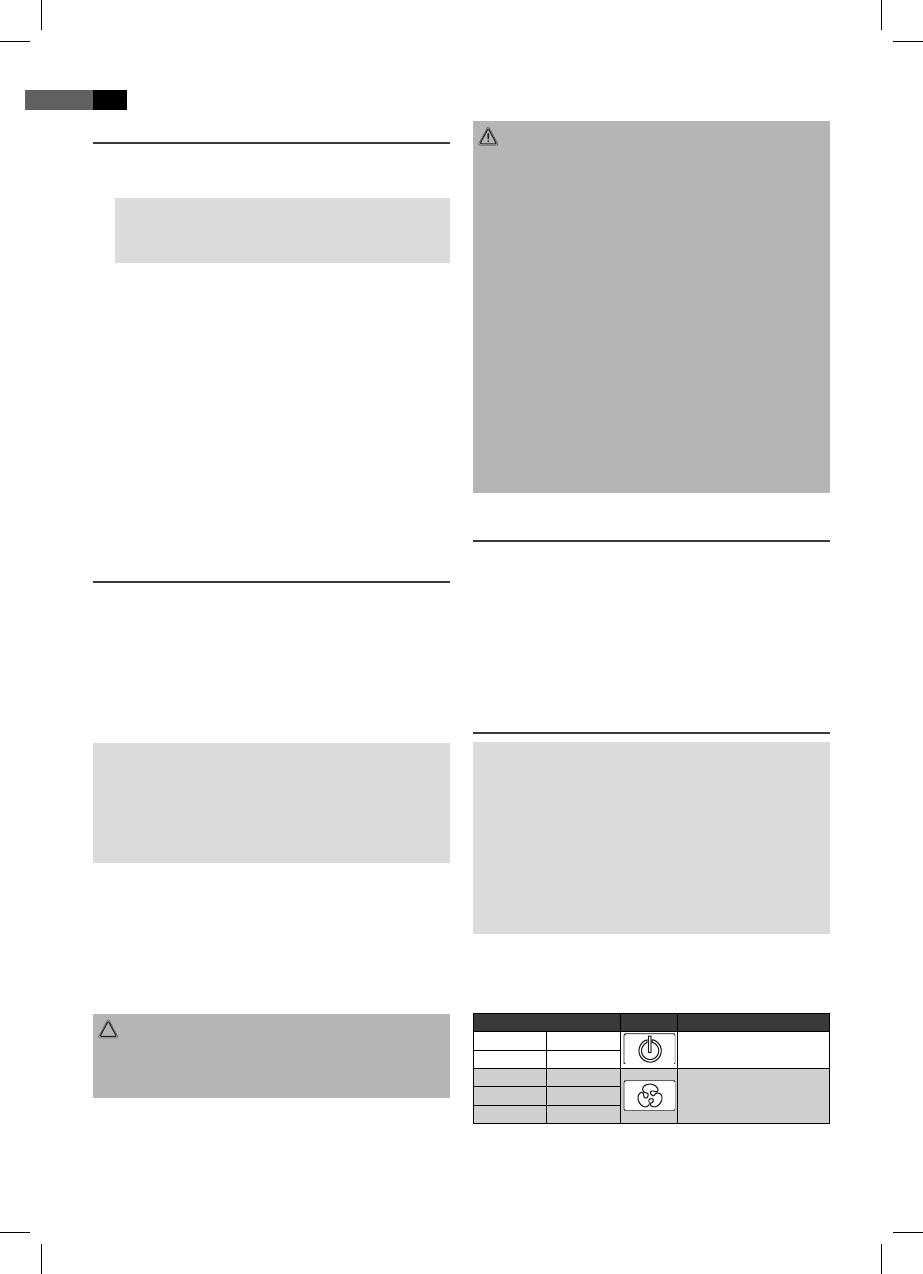
Operating Mode Display
design (LR 41). Ensure correct polarity.
(Meaning of the colours of the LED control lamps on the
• Then close the battery lid.
device)
Display on the Device Symbol Function
CAUTION:
On = green
Batteries are not to be disposed of together with
Start or stop the fan
O = light o
domestic wastes. Dispose of the used batteries at the
Slow = red
relevant collection bin or at your dealer’s.
Speed setting:
Medium = orange
low / medium / fast
Fast = green
05-TVL 5537 AEG.indd 2405-TVL 5537 AEG.indd 24 02.12.2008 15:09:28 Uhr02.12.2008 15:09:28 Uhr
Оглавление
- T-VL 5537 Bedienungsanleitung/Garantie
- Inhalt
- Übersicht der Einzelteile
- Deutsch
- Deutsch
- Deutsch
- Nederlands
- Nederlands
- Nederlands
- Français
- Français
- Français
- Español
- Español
- Español
- Português
- Português
- Português
- Italiano
- Italiano
- Italiano
- English
- English
- English
- Język polski
- Język polski
- Język polski
- Česky
- Česky
- Česky
- Magyarul
- Magyarul
- Magyarul
- Українська
- Українська
- Українська
- Русский
- Русский
- Русский
- T-VL 5537


