Samsung DS5021D: CONVENIENT FEATURES
CONVENIENT FEATURES: Samsung DS5021D
CONVENIENT FEATURES
1. Do Not Disturb
When Do Not Disturb is registered, you can block incoming calls to your digital phone yet still use
the digital phone for outgoing calls.
Setting Do Not Disturb
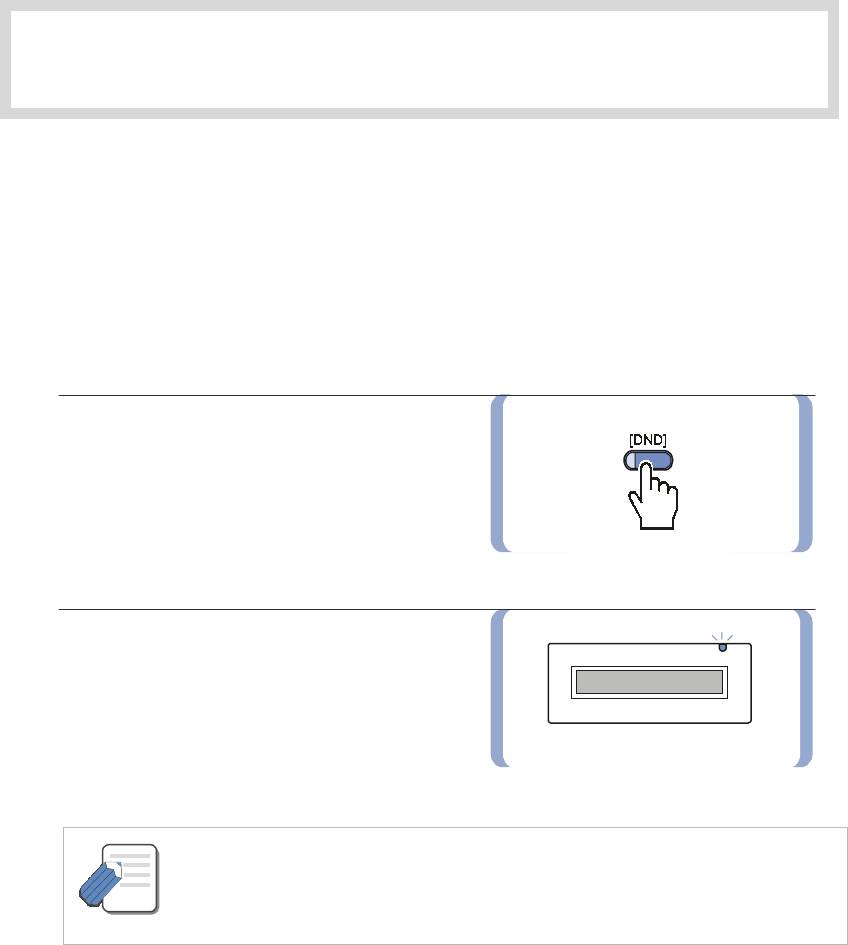
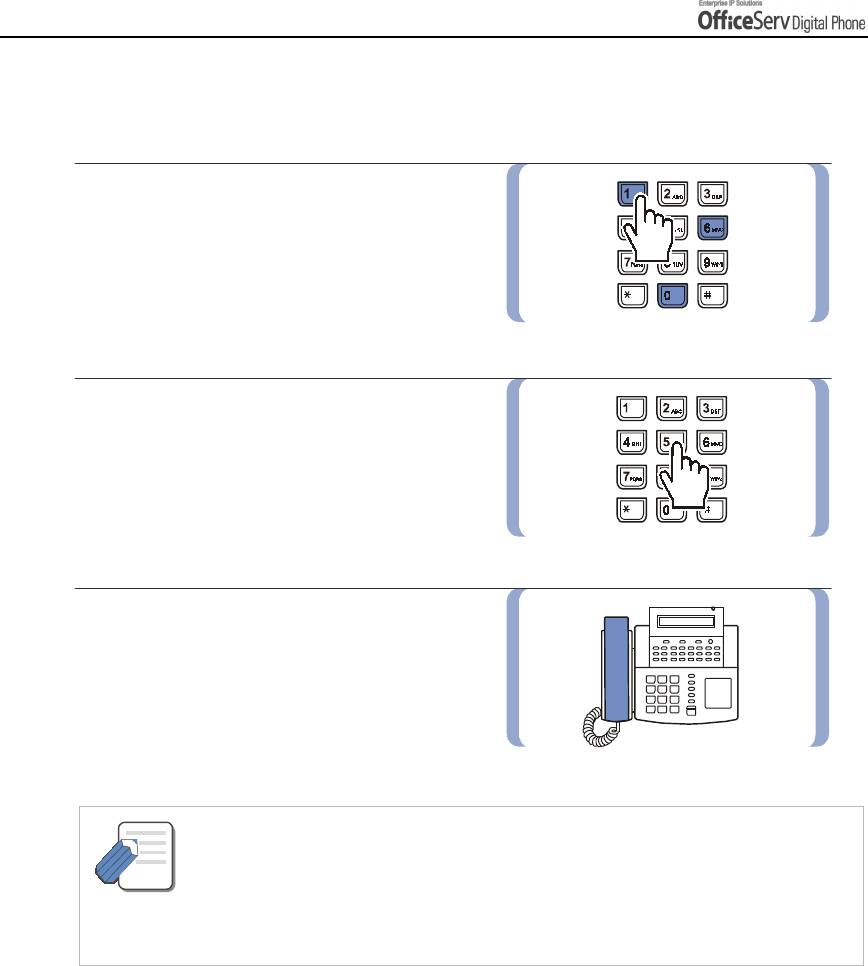
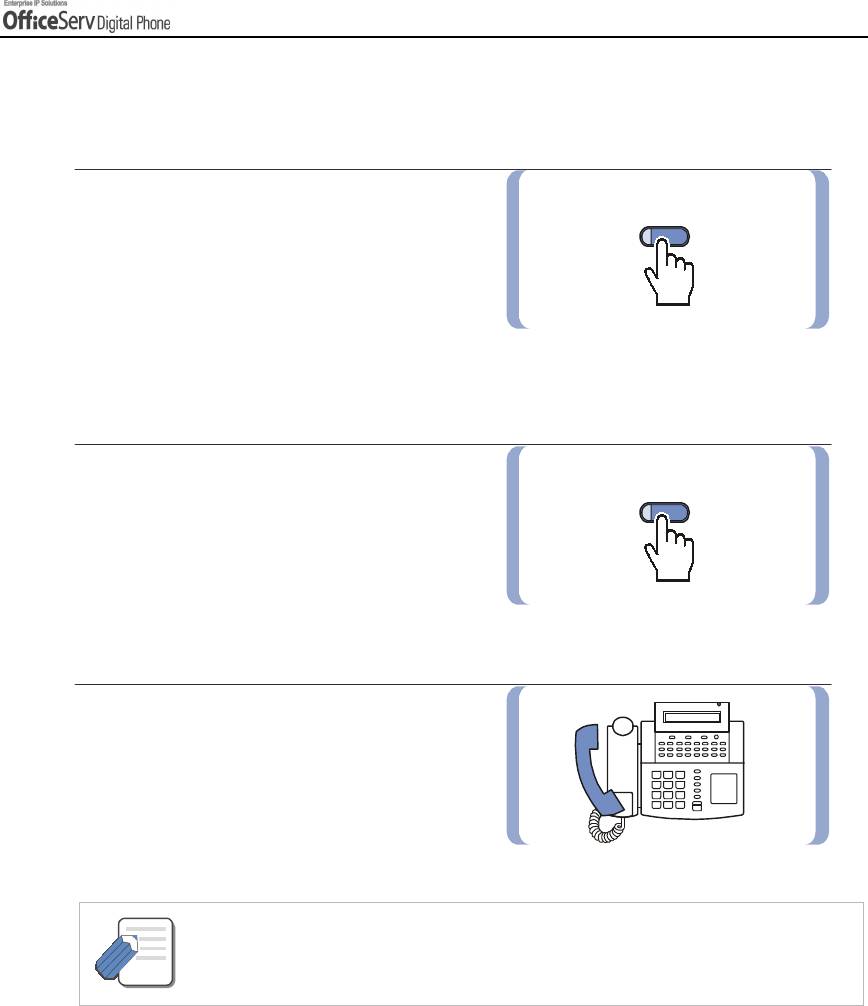
1.
Press the
[DND]
button or dial
[4] [0] [1]
while on-hook, or select
[DND]
from
the LCD screen using the Scroll button
and [Other] Soft button.
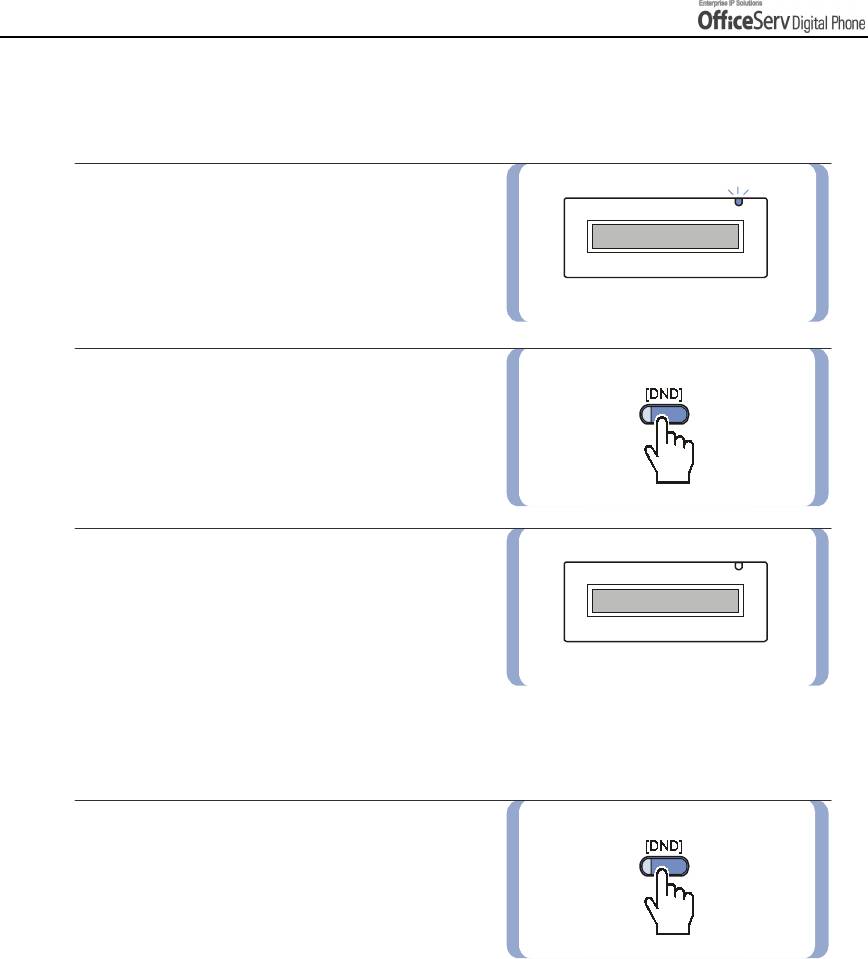
2.
The status indicator and/or
[DND]
button
LED flashes to inform you that the Do Not
Disturb mode is set.
- When the digital phone is set in the Do Not Disturb mode, the digital phone status
indicator(LED above the LCD) flashes indicating that the Do Not Disturb mode is set.
NOTE
- If a Forward DND destination has been set, all incoming calls will be forwarded to that
destination when DND is enabled.
© SAMSUNG Electronics Co., Ltd. Page 69
CONVENIENT FEATURES
Cancelling Do Not Disturb
The procedure for cancelling the Do Not Disturb mode is described below.
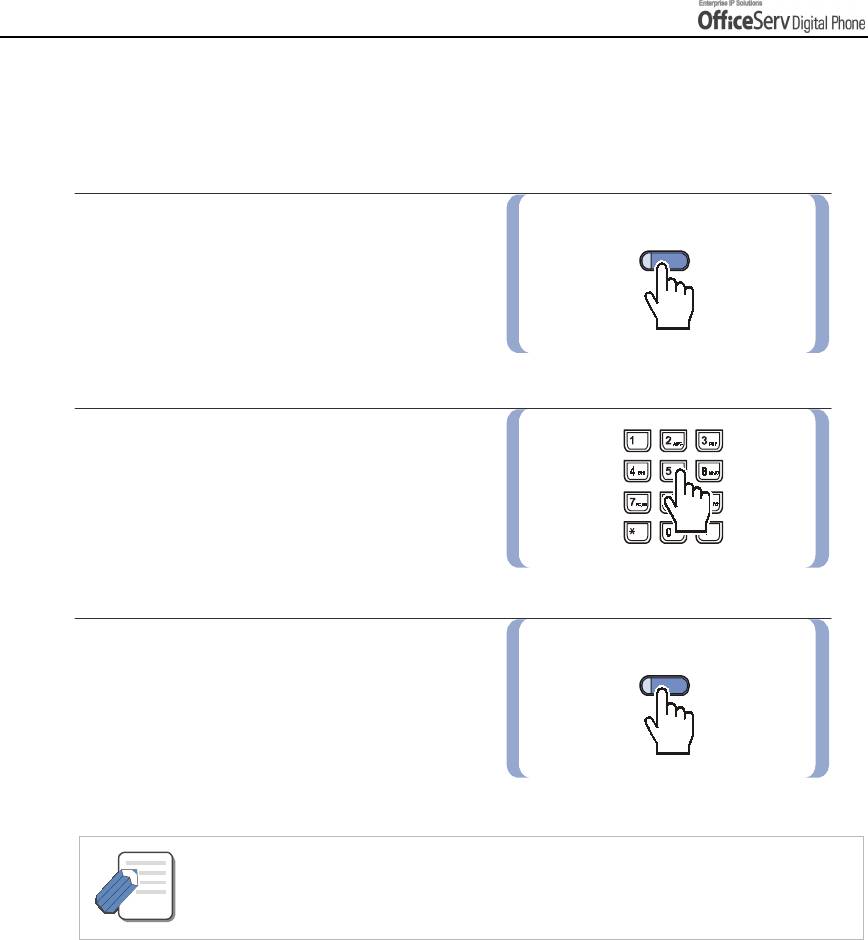
1.
Check if the status indicator is flashing.
2.
Press the
[DND]
button or dial
[4] [0] [0]
.
3.
The status indicator goes off.
One Time DND
If you do not wish to be disturbed while you
are on a call, press the
[DND]
button and
set the station to Do Not Disturb. When you
complete the call, the Do Not Disturb mode is
automatically cancelled and new calls will be
received.
A
[DND]
button is needed to use this feature.
Page 70 © SAMSUNG Electronics Co., Ltd.
CONVENIENT FEATURES
2. Call Forwarding
This section explains various call forwarding features available on your OfficeServ system.
Call Forward Option
You can verify or change the Call Forward settings and the number specified for forwarding
from the LCD screen of your digital phone. Enabling Call Forwarding can also be achieved using
the dial buttons or the Forward Set Menu.
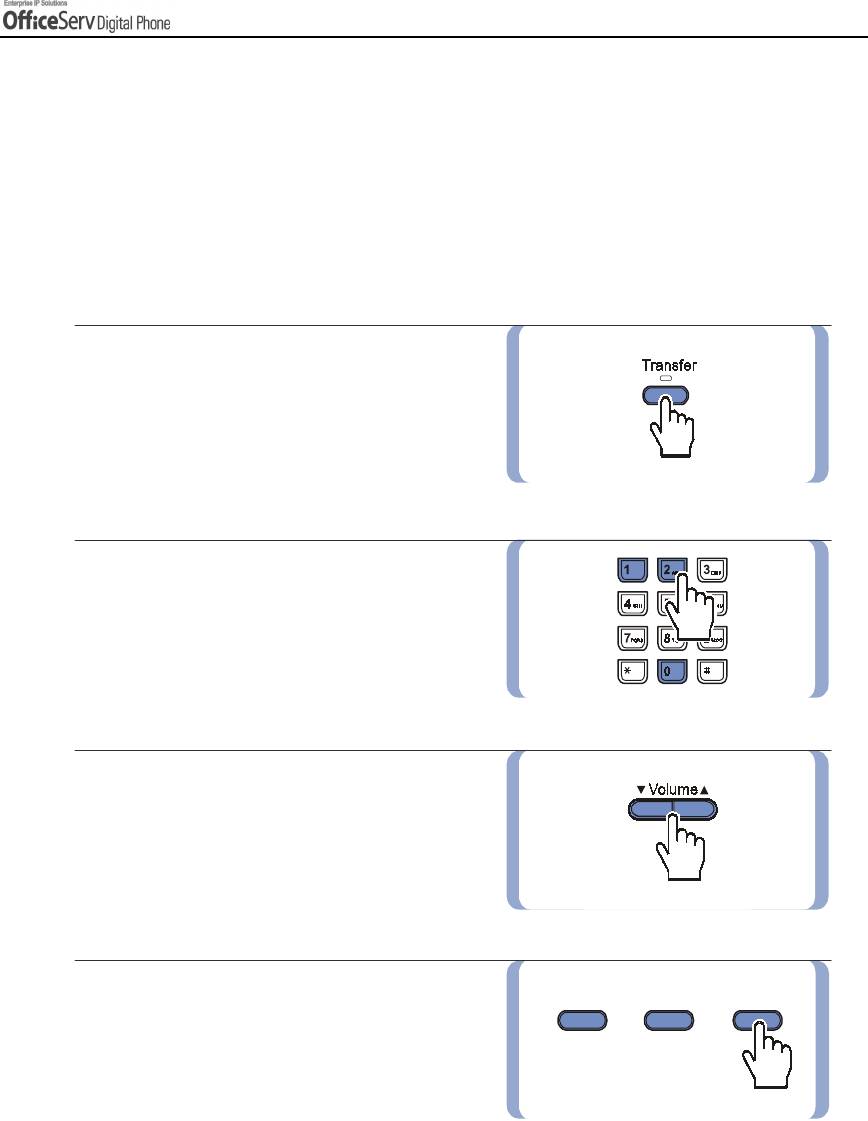
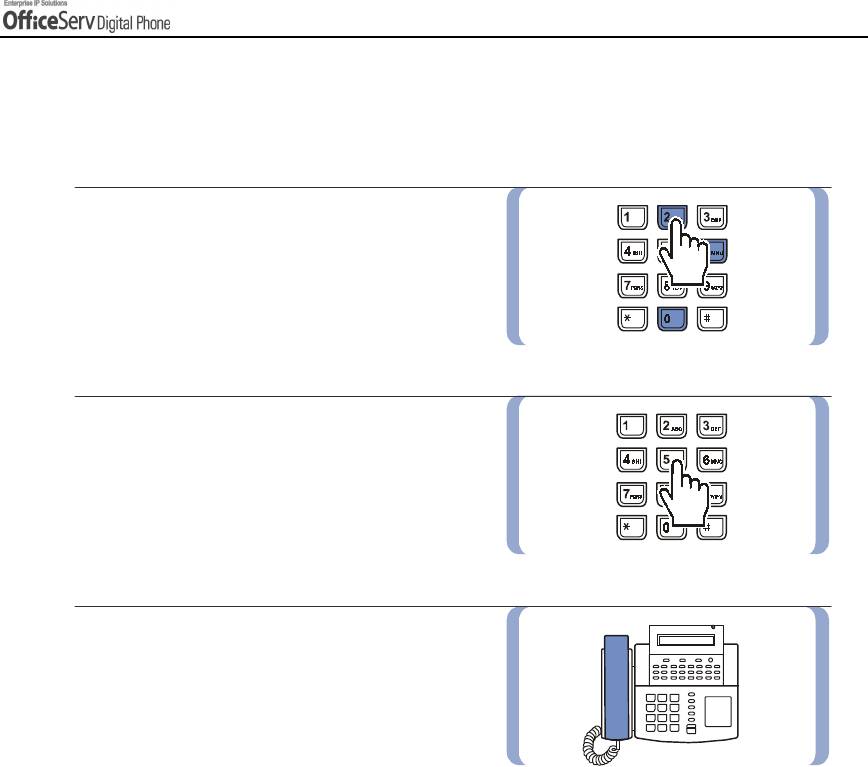
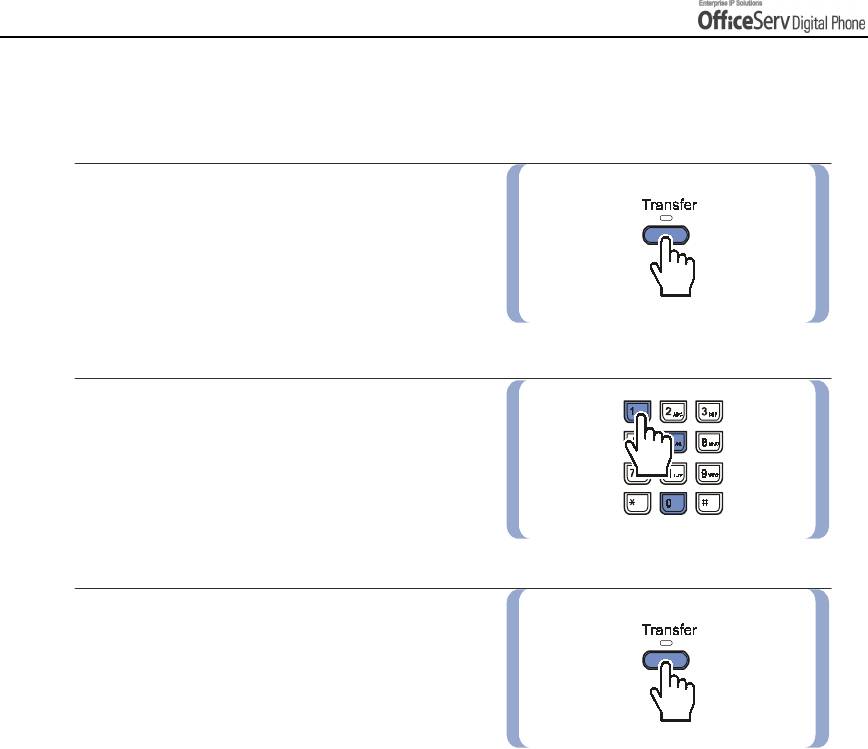
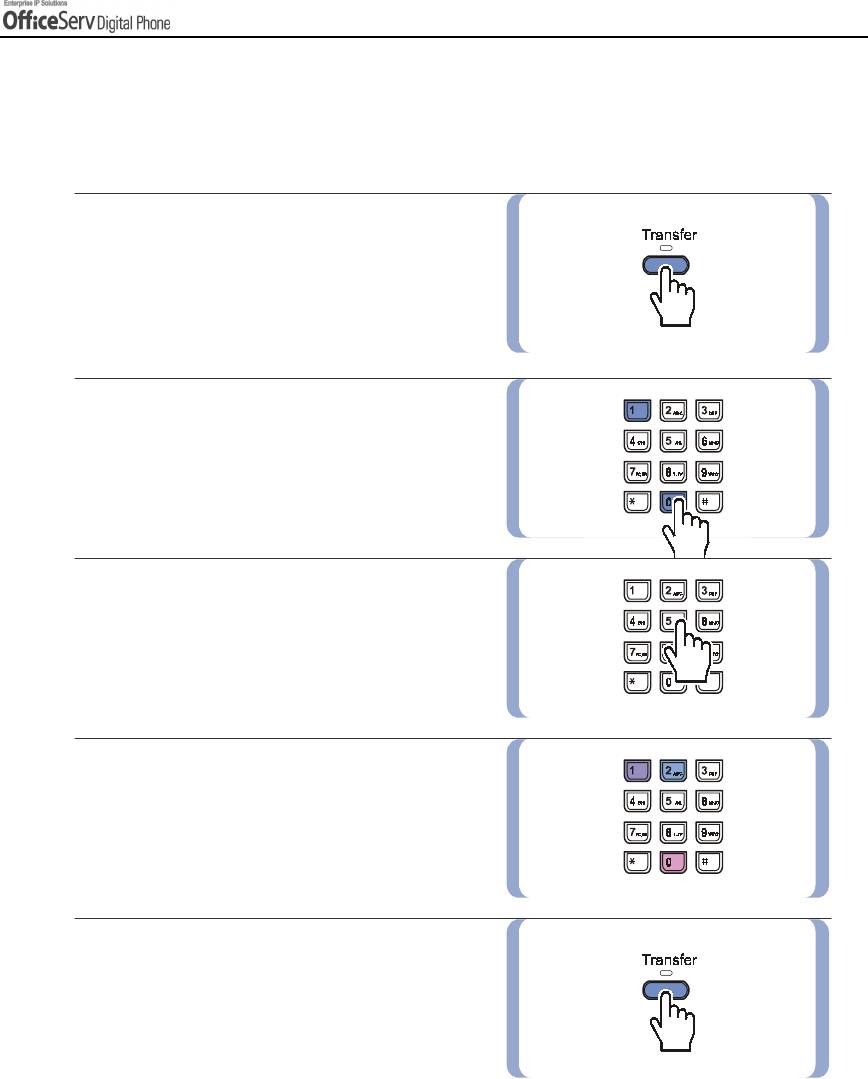
1.
Press the
[Transfer]
button.
2.
Dial
[1] [0] [2]
.
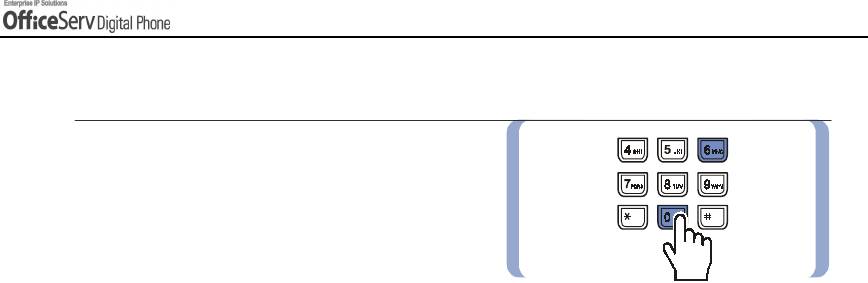
3.
Select the Call Forward option by dialling
from [0] to [5], or by using the
[
!
!!
!
Volume
"
""
"
]
button.
4.
Press the right Soft button to move the cursor.
© SAMSUNG Electronics Co., Ltd. Page 71

CONVENIENT FEATURES
5.
Dial the station, station group, or external
number remembering to insert the trunk
access code prior to the external number.
6.
Press the right Soft button to
move the cursor.
7.
Dial [
1
] to enable call forwarding to the
destination, or press the
[
!!
!
!
Volume
"
""
"
]
button and select between [YES] or [NO].
8.
Press the
[Transfer]
button
to save and exit.
Page 72 © SAMSUNG Electronics Co., Ltd.
CONVENIENT FEATURES
Forwarding Calls
You can forward calls to another station,
station group, or an external number.
Programming procedures for various types
of forwarding calls are described in detail
next. If your digital phone has the FWD ALL,
FWD BUSY, and FWD NO ANSWER FWD
BUSY/NO ANSWER buttons, you can forward calls by pressing one of these buttons.
In this case, a red LED is lit on the button indicating which call forward option is enabled.
In order to cancel all forward call options, lift the handset and press
[6] [0] [0].
© SAMSUNG Electronics Co., Ltd. Page 73
CONVENIENT FEATURES
Forwarding All Calls
You can forward all your calls to another internal, station group or external number.
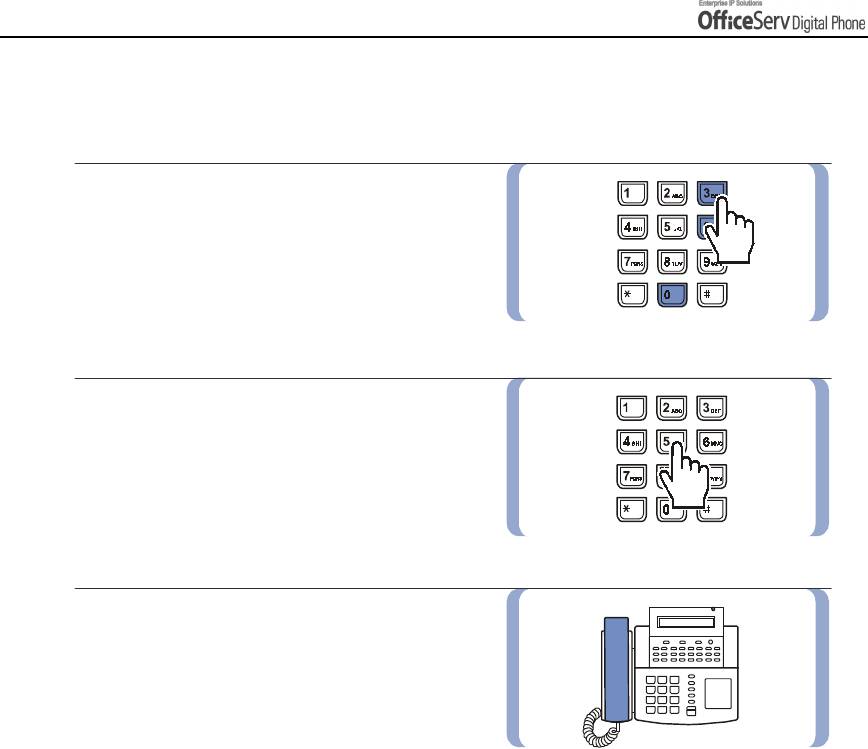
1.
Dial
[6] [0] [1].
2.
Dial the station number, group number,
or external number. Remember to insert
the trunk access code prior to entering
the external number.
3.
Hang up after the confirmation tone
is received.
- The station receiving a forwarded call can transfer the call back to the forwarding station.
This feature is very useful when you are expecting an important call and do not want to be
NOTE
disturbed.
- If you set your digital phone to Forward All Calls, and you do not have a [FORWARD
ALL] button the [Transfer] button will light. This indicates that your digital phone is set
to Forward All Calls.
Page 74 © SAMSUNG Electronics Co., Ltd.
CONVENIENT FEATURES
Forward Busy
When you are busy on a call, incoming calls can be forwarded to another station, station group
or an external number.
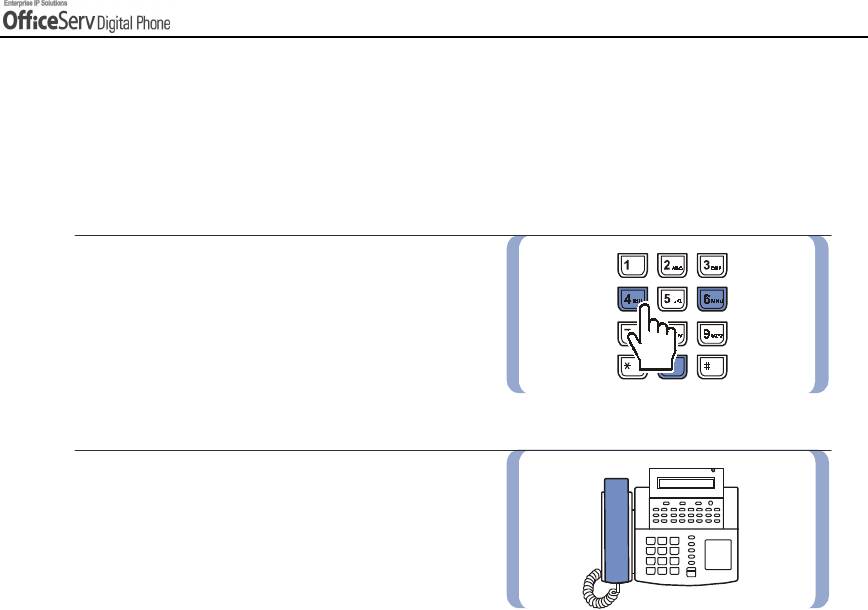
1.
Dial
[6] [0] [2]
.
2.
Dial the station number, group number,
or external number. Remember to insert
the trunk access code prior to entering
the external number.
3.
Hang up after the confirmation tone
is received.
© SAMSUNG Electronics Co., Ltd. Page 75
CONVENIENT FEATURES
Forward No Answer
Calls can be forwarded when you are not available to answer the call.
1.
Dial
[6] [0] [3]
.
2.
Dial the station number, group number,
or external number. Remember to insert
the trunk access code prior to entering
the external number.
3.
Hang up after the confirmation tone
is received.
Page 76 © SAMSUNG Electronics Co., Ltd.
CONVENIENT FEATURES
Forward Busy / No Answer
When the Forward Busy(FWD BUSY) and Forward No Answer(FWD NOANS) destinations are both
set, you may enable both these options simultaneously.
When you are busy, calls will be transferred to the number specified in Forward Busy destination.
If you do not answer, the calls will be forwarded to the Forward No Answer destination.
1.
Dial
[6] [0] [4]
.
2.
Hang up after the confirmation tone
is received.
© SAMSUNG Electronics Co., Ltd. Page 77
CONVENIENT FEATURES
Forward When DND is Set
You can set a forward destination for those times you need to set Do Not Disturb.
1.
Dial
[6] [0] [5]
.
2.
Dial the station number, group number,
or external number. Remember to insert
the trunk access code prior to entering
the external number.
3.
Hang up after the confirmation tone is
received. When you enable DND on
your digital phone, all calls will be forwarded
to the destination set above.
Page 78 © SAMSUNG Electronics Co., Ltd.
CONVENIENT FEATURES
Forward Follow Me
All incoming calls to your digital phone can be forwarded to the station you are currently using.
In addition, you can arrange for calls to another station to be forwarded to your digital phone
(Remote Forwarding).
To forward all calls to your digital phone to the station you are currently using :
1.
Dial
[6] [0] [6]
at the station you are using.
‘enter the station to follow from’ is displayed.
2.
Dial the station number of your digital phone.
3.
Hang up after the confirmation tone
is received.
© SAMSUNG Electronics Co., Ltd. Page 79
CONVENIENT FEATURES
To forward calls from a specific station to your digital phone (Remote Forwarding) :
1.
Dial
[6] [0] [6]
.
‘enter the station to follow from’ is displayed.
2.
Dial the station number.
3.
Hang up after the confirmation tone
is received.
Page 80 © SAMSUNG Electronics Co., Ltd.
CONVENIENT FEATURES
3. Paging and Messaging
This section explains how to use the OfficeServ paging and messaging functions.
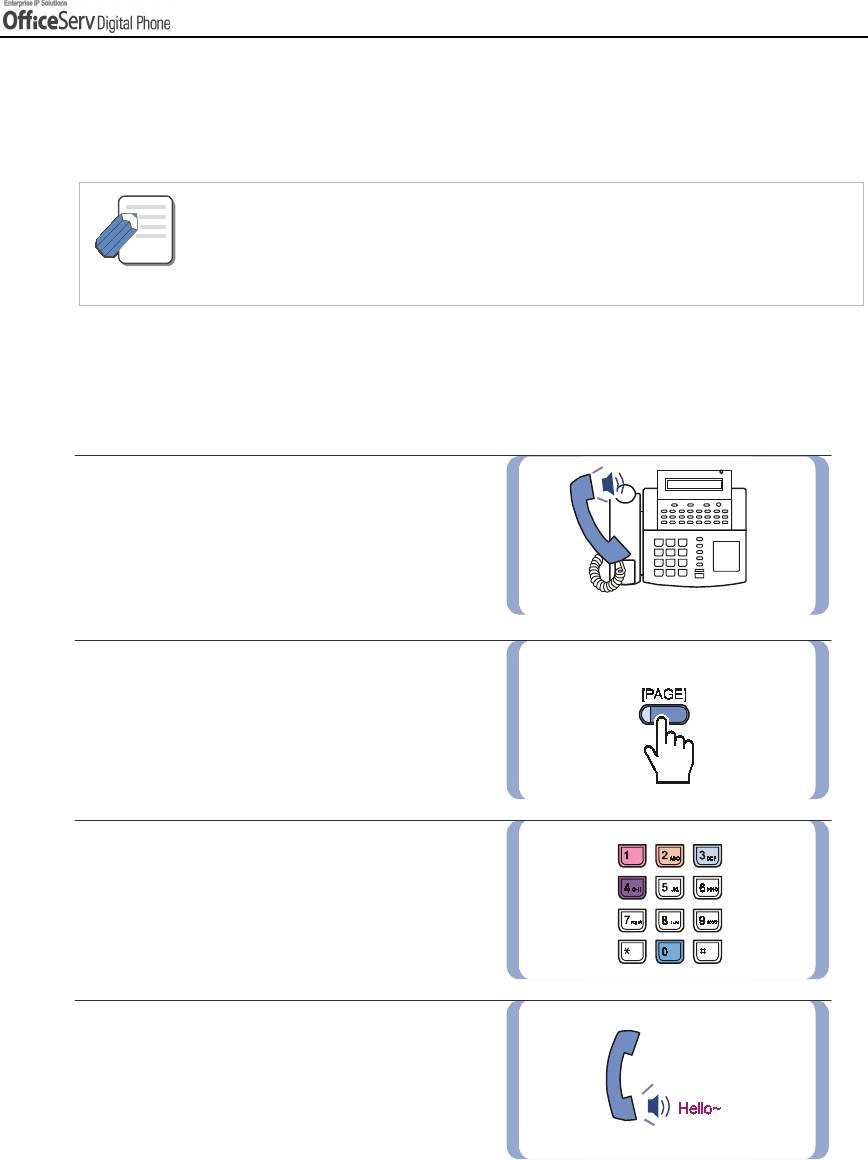
- You must use the digital phone handset when paging.
- If you are a frequent user of paging you can have a dedicated page zone button as one of your
NOTE
programmable buttons, making it unnecessary to press the [PAGE] button followed by the
zone number.
Internal Page
You can make a page announcement through the station speakers.
There are 5 internal zones 0-4.
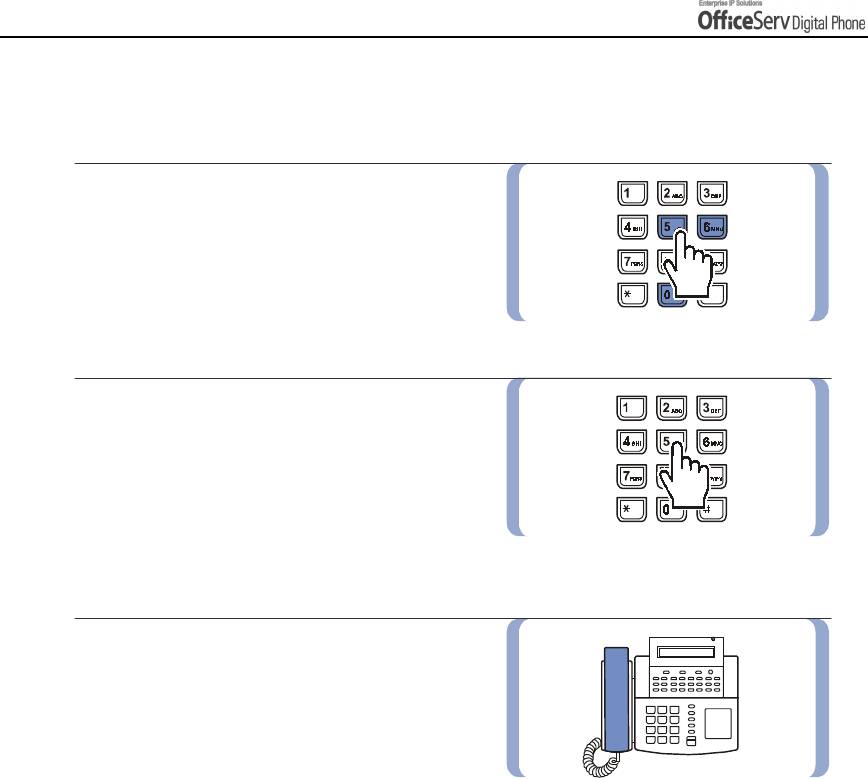
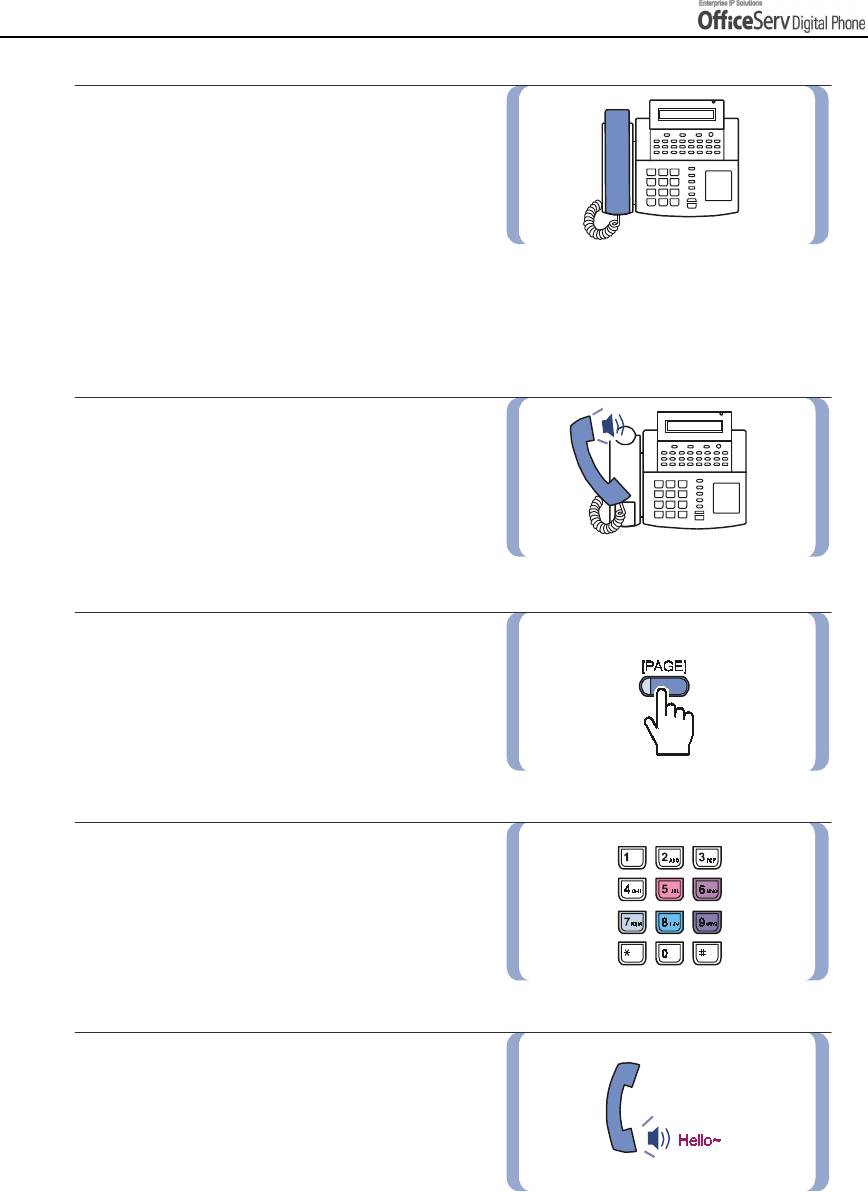
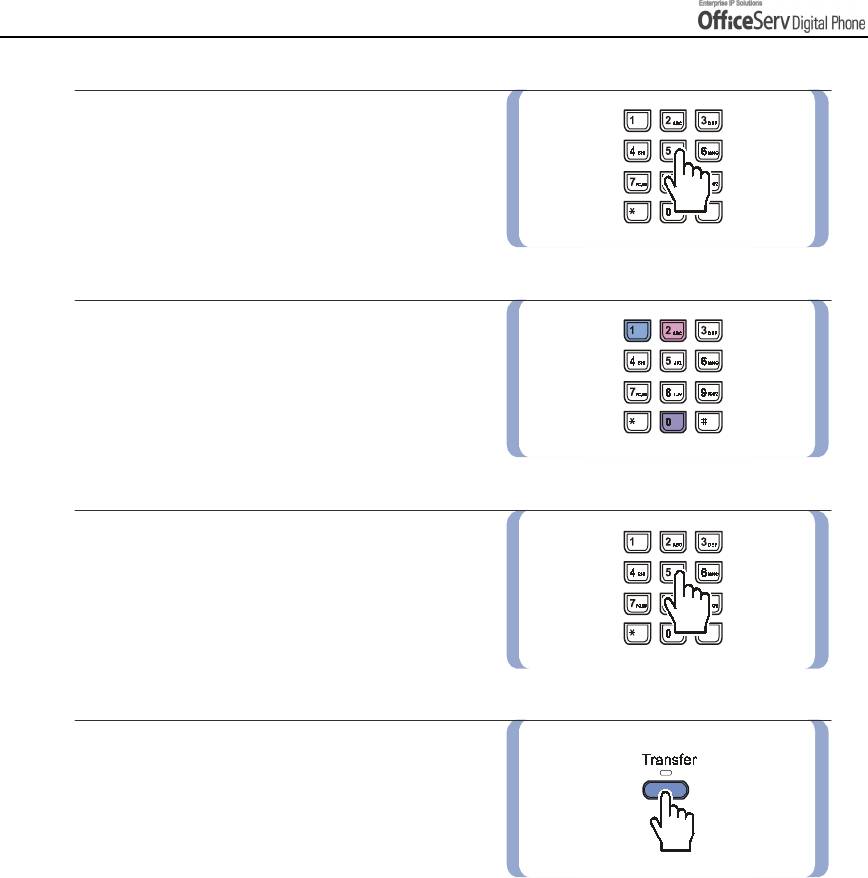
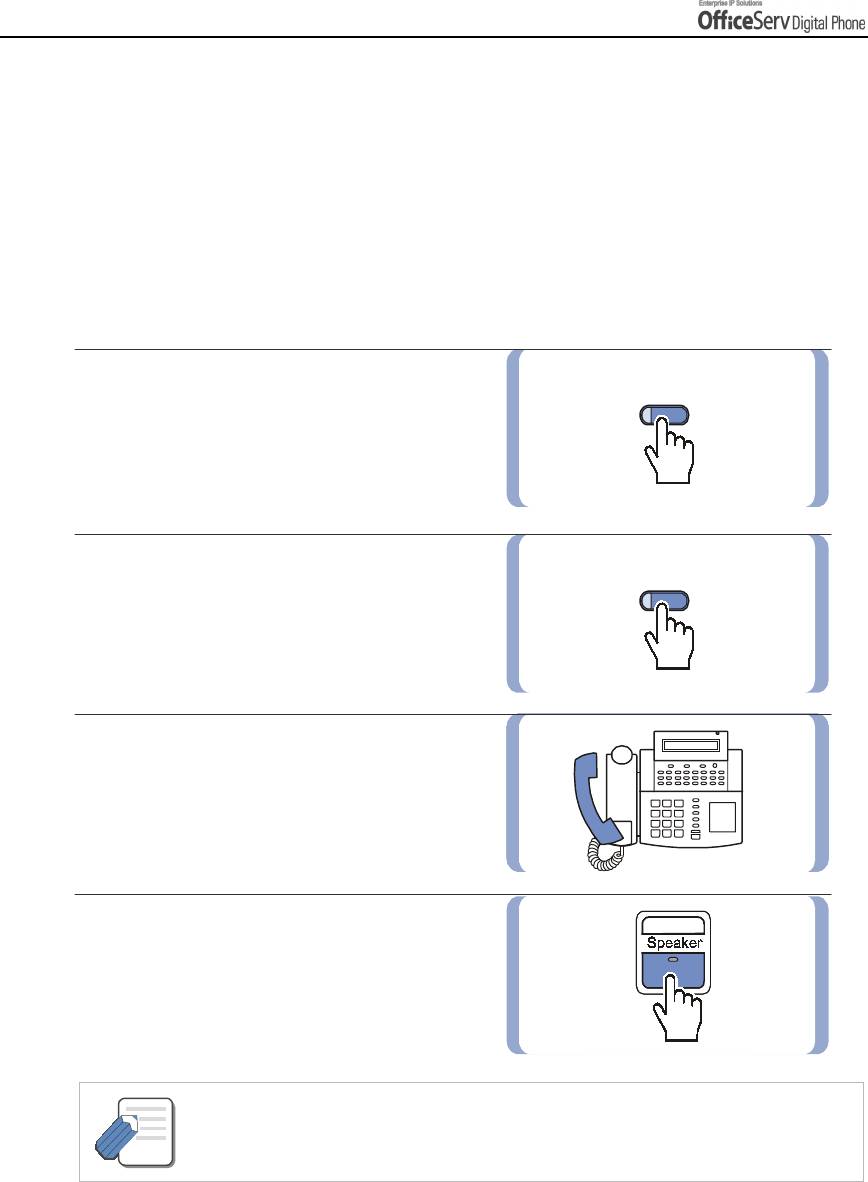
1.
Pick up the handset and check for
dial tone.
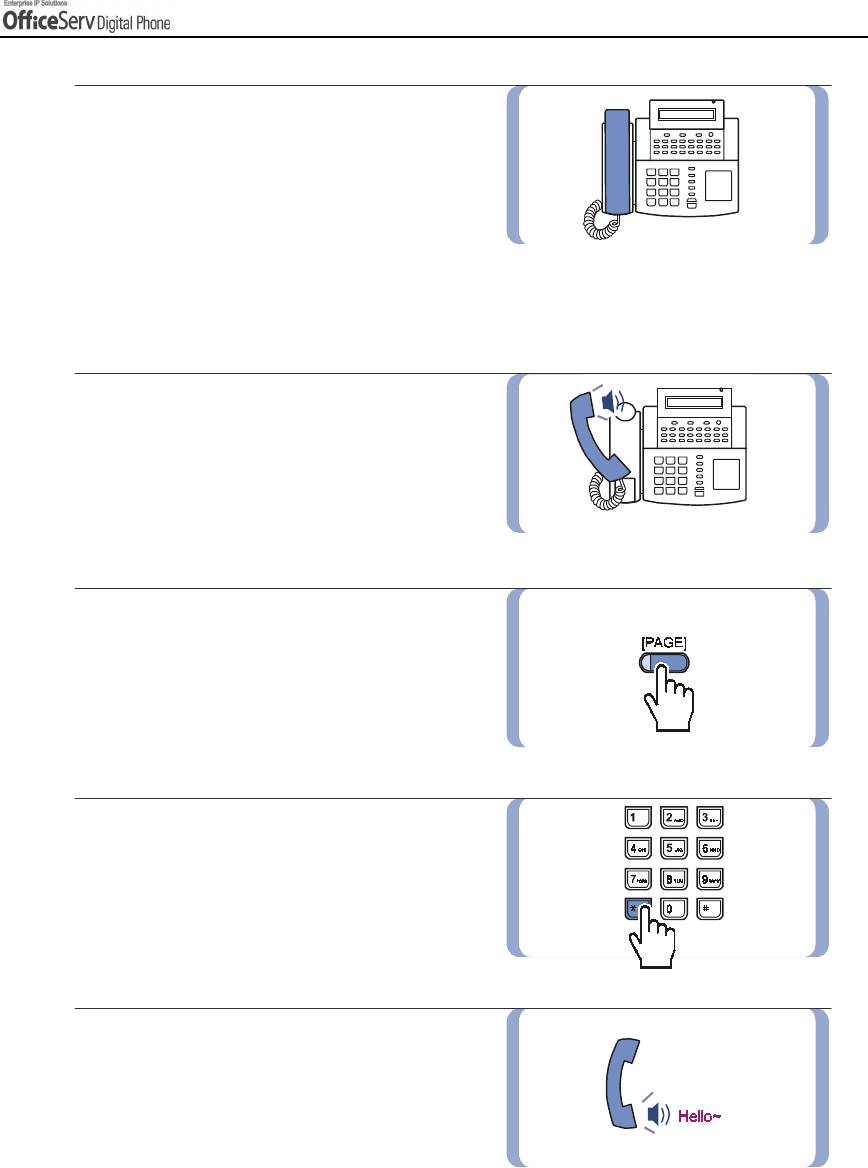
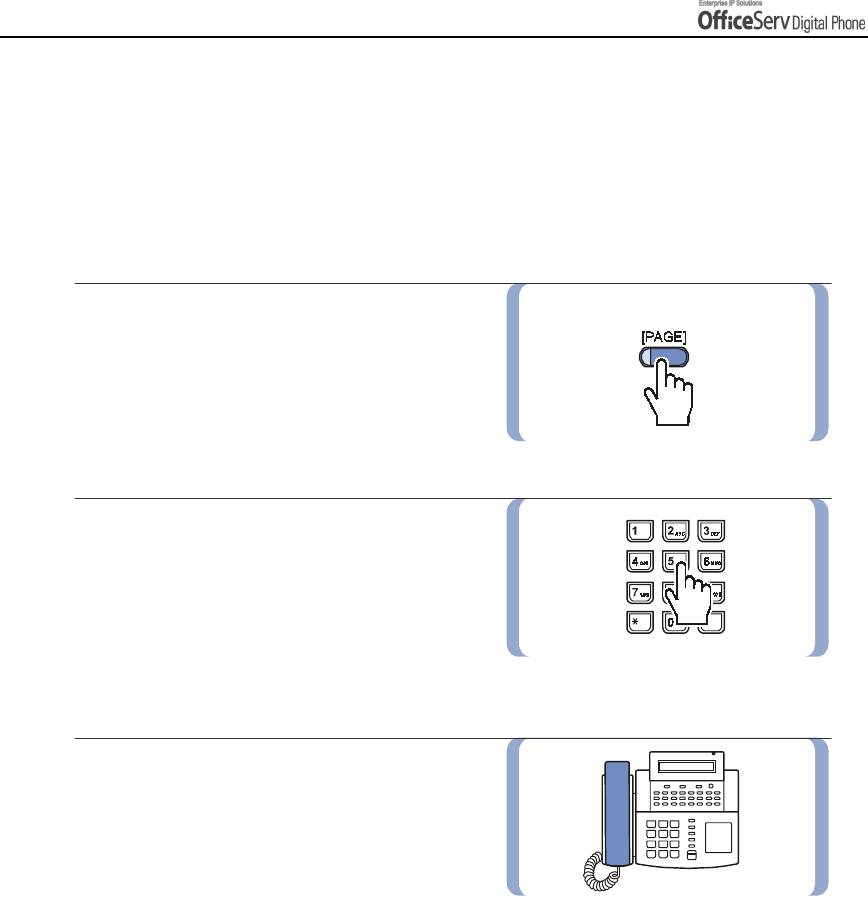
2.
Press the
[PAGE]
button
or dial
[5] [5]
,
or select
[PAGE]
from the LCD screen
by using the Scroll button and Soft buttons.
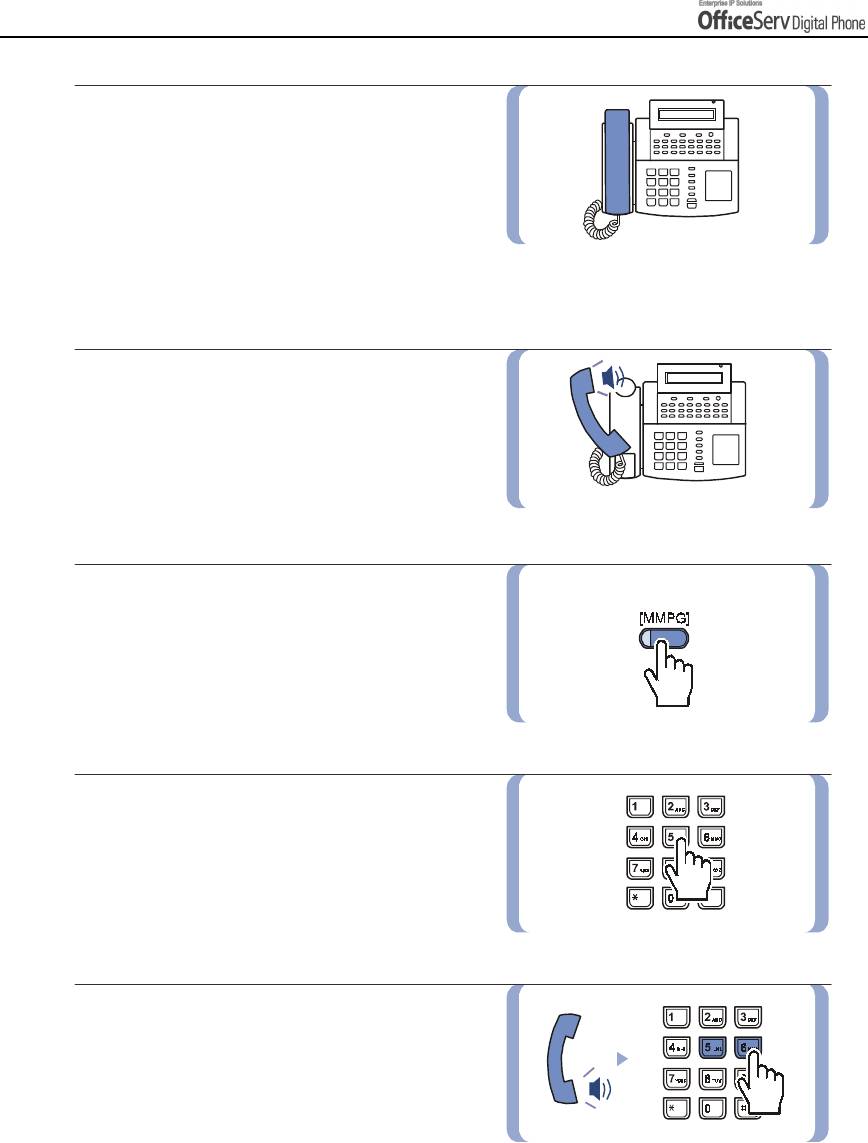
3.
Select a zone number from
[0], [1], [2], [3],
and
[4]
.
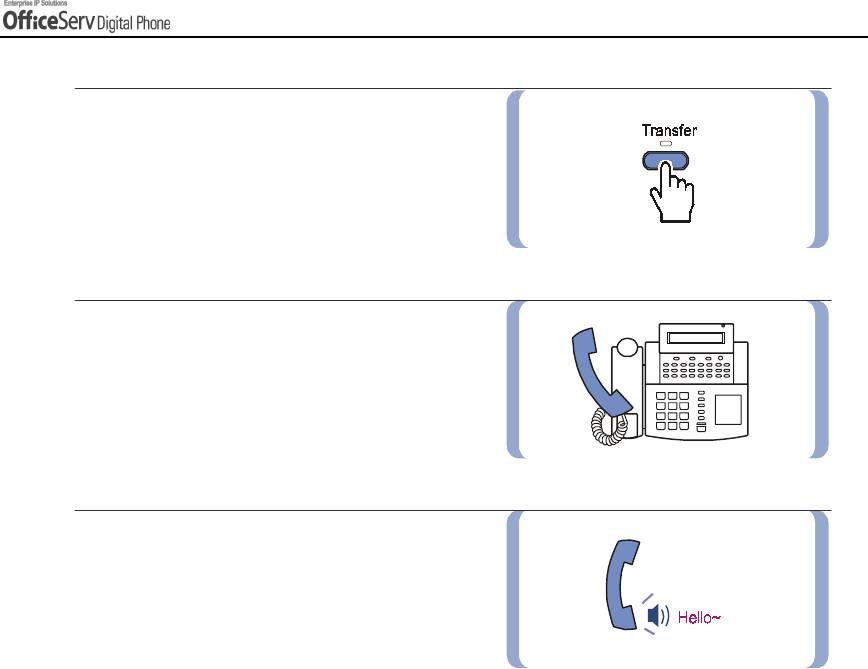
4.
Start your announcement after
receiving confirmation tone.
© SAMSUNG Electronics Co., Ltd. Page 81
CONVENIENT FEATURES
5.
Hang up after paging.
External Page
You can page externally through optional external speakers.
There are 4 external zones 5-8 and [9] for all external zones.
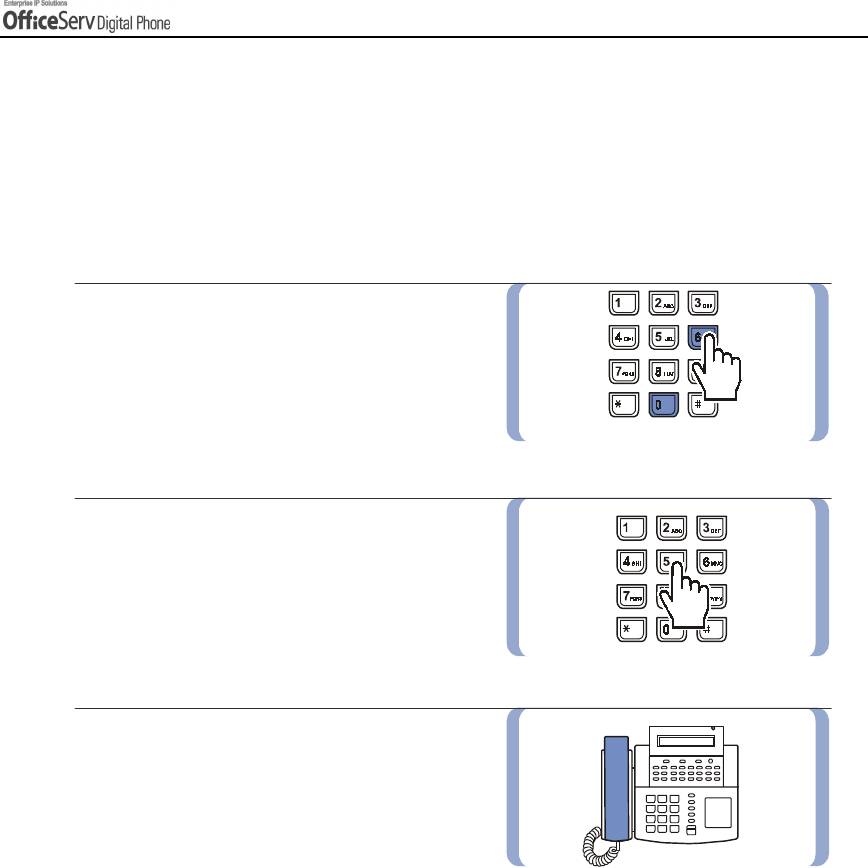
1.
Pick up the handset and check
for dial tone.
2.
Press the
[PAGE]
button or
[5] [5],
or select
[PAGE]
from the LCD screen
by using the Scroll button and Soft buttons.
3.
Select a zone number from
[5], [6], [7],
and
[8],
or page all external zones
by dialling
[9]
.
4.
Start your announcement after
receiving confirmation tone.
Page 82 © SAMSUNG Electronics Co., Ltd.
CONVENIENT FEATURES
5.
Hang up after paging.
All Page
You can also page all external zones and internal page zone 0 simultaneously.
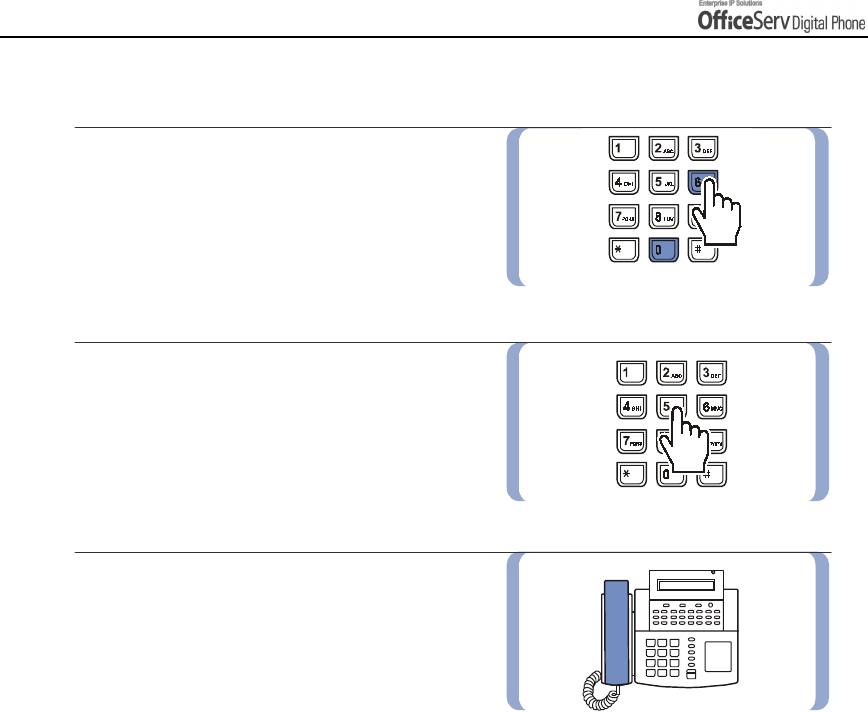
1.
Pick up the handset and check
the dial tone.
2.
Press the
[PAGE]
button or
[5] [5]
,
or select
[PAGE]
from the LCD screen
by using the Scroll button and Soft buttons.
3.
Press the
[*]
or
[ALL PAGE]
button.
4.
Start your announcement after
receiving confirmation tone.
© SAMSUNG Electronics Co., Ltd. Page 83
CONVENIENT FEATURES
5.
Hang up after paging.
Meet Me Page : MMPG
1.
Pick up the handset and check
for dial tone.
2.
Press the
[MMPG]
button
or
[5] [4]
,
or select
[MMPG]
from the LCD screen
using the Scroll button and Soft buttons.
3.
Dial the required zone number.
4.
After receiving the confirmation tone
instruct the other party to press
[5] [6]
.
Page 84 © SAMSUNG Electronics Co., Ltd.
CONVENIENT FEATURES
5.
Press the
[WAIT]
or
[Transfer]
button.
6.
Hold the handset until the other party
enters the page answer code(
[5] [6]
).
7.
The call is automatically connected when
the other party enters the page answer
code.
© SAMSUNG Electronics Co., Ltd. Page 85
CONVENIENT FEATURES
Call Park and Page
You can transfer an external call to another person by parking the call and notifying the other
person of the call via paging. This function is useful in a factory or in a large office when
the called person is away from their workstation.
Call Park and Page
1.
Press the
[PAGE]
button while connected to
the call and the call is automatically on hold.
You can also select
[PAGE]
from the
LCD screen using the Soft button.
2.
Dial the appropriate page zone number
to notify that the call is parked and to
inform the required party of your station
number or the calling trunk number.
3.
Hang up.
Page 86 © SAMSUNG Electronics Co., Ltd.
CONVENIENT FEATURES
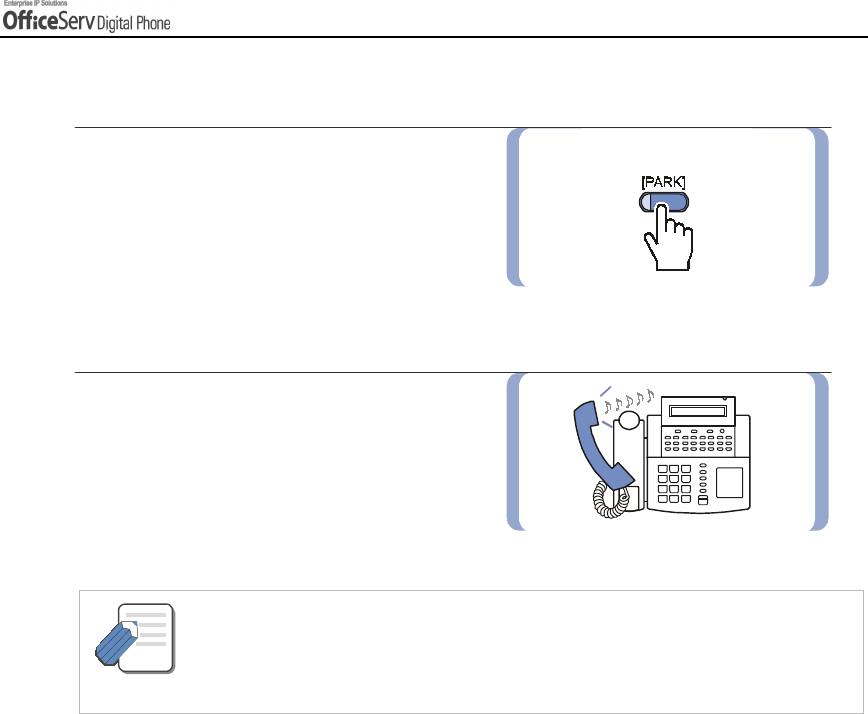
Retrieving the parked call
1.
Press the
[PARK]
button
or dial
[1] [0]
,
and enter the announced number.
You can also enter the announced number
after selecting
[PARK]
from the LCD screen.
2.
You will be connected to the Parked call.
- If the parked call is not retrieved within the pre-programmed time, the parked call will
recall to your
NOTE
digital phone, an amber light will blink slowly on the Call or trunk button LED.
You cannot park and page intercom calls.
© SAMSUNG Electronics Co., Ltd. Page 87
CONVENIENT FEATURES
Rejoining a Page
With this option, you can listen to the latter part of a page announcement after finishing a call.
1.
Press the
[Transfer]
button or
[1] [1] [0]
.
2.
Dial
[0] [5] [1]
to enable this option,
and
[0] [5] [0]
to disable it.
3.
Press the
[Transfer]
button to save
the setting.
Page 88 © SAMSUNG Electronics Co., Ltd.
CONVENIENT FEATURES
Setting a Message Indication
You can leave a message indication when there is no answer or if the station required is busy.
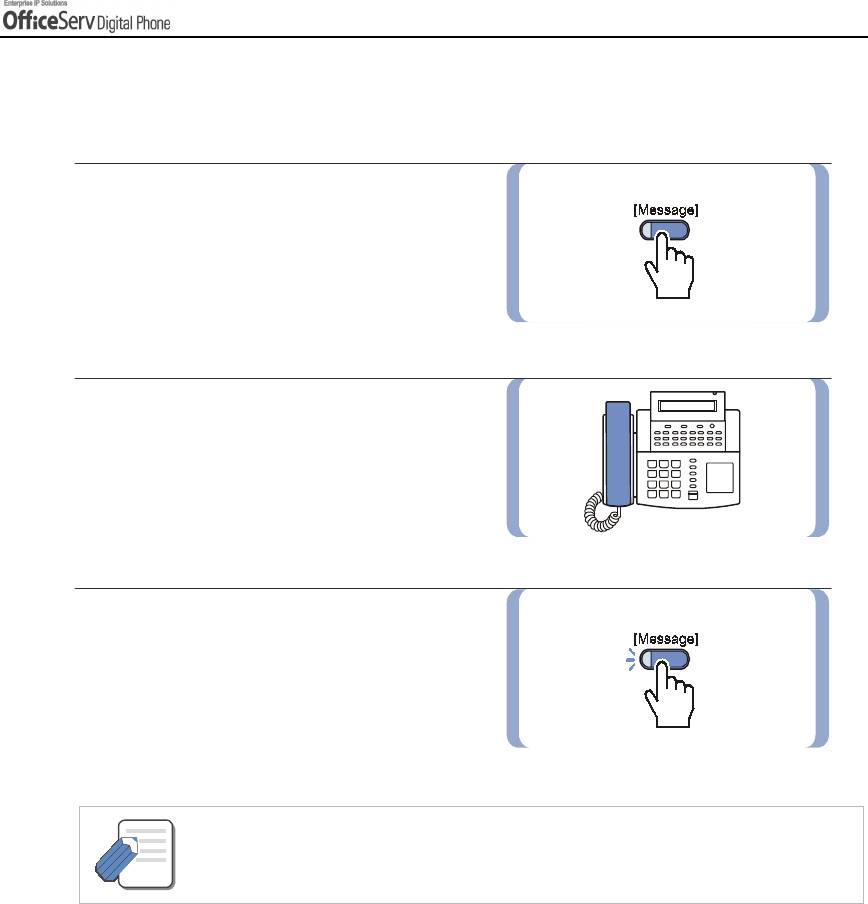
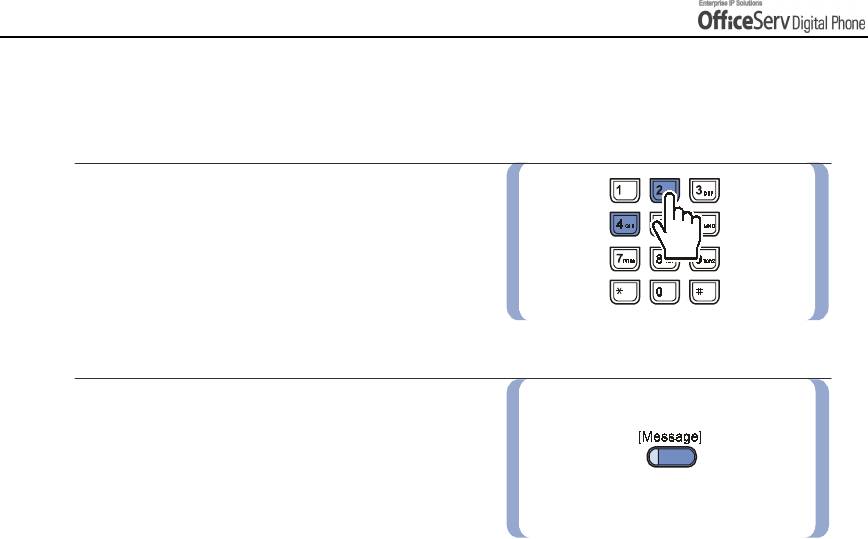
1.
Press the
[Message]
button or dial
[4] [3]
.
2.
Hang up after hearing confirmation tone.
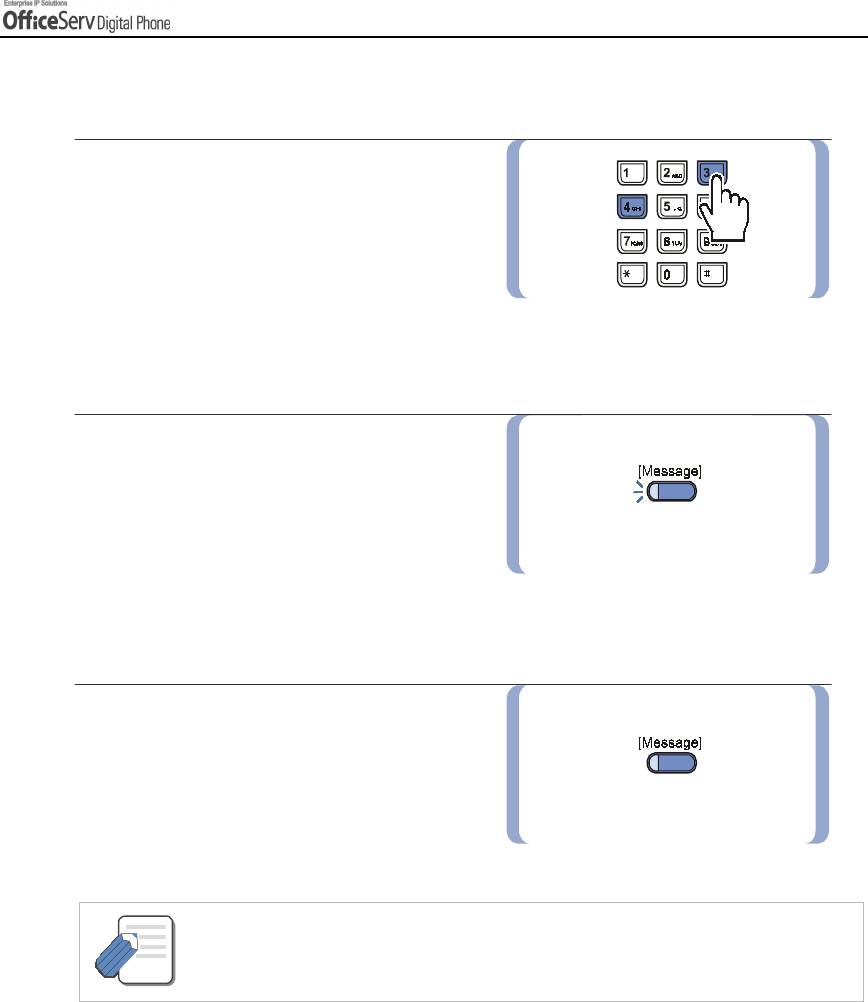
3.
The
[Message]
button of the receiving
station will flash. digital phones without the
[Message]
button will receive special
dial tone as a message indicator.
The status indicator will also flash red.
- You can leave up to 5 messages on a station.
NOTE
© SAMSUNG Electronics Co., Ltd. Page 89
CONVENIENT FEATURES
Cancelling Messages
You can cancel messages you have left on other stations or messages left at your station.
1.
Dial
[4] [2]
and enter the station number
where you left your message.
2.
To cancel all numbers left at your station,
dial
[4] [2]
and enter your station number.
The LED on your
[Message]
button and
the status indicator will go out.
Page 90 © SAMSUNG Electronics Co., Ltd.
CONVENIENT FEATURES
Returning Messages
1.
Press the
[Message]
button to review
the stations that have left messages
and press the Soft button associated
with
[Dial]
on the LCD screen to call
the station. Or, dial
[4] [3]
and the first
station that left its number will be rung
automatically.
2.
The LED on your
[Message]
button and
status indicator will remain flashing until
the station responds.
Repeat the above steps to respond to all
station messages received.
3.
The LED on your
[Message]
button and
status indicator will go off when all
messages are returned or cancelled.
- You can view the numbers left and return messages in any order through the LCD screen.
- If a message was left at your digital phone by a station in Auto Answer mode, you must
NOTE
cancel the message manually, after returning the message.
© SAMSUNG Electronics Co., Ltd. Page 91
CONVENIENT FEATURES
Viewing Message Indication
You can view all messages before returning them.
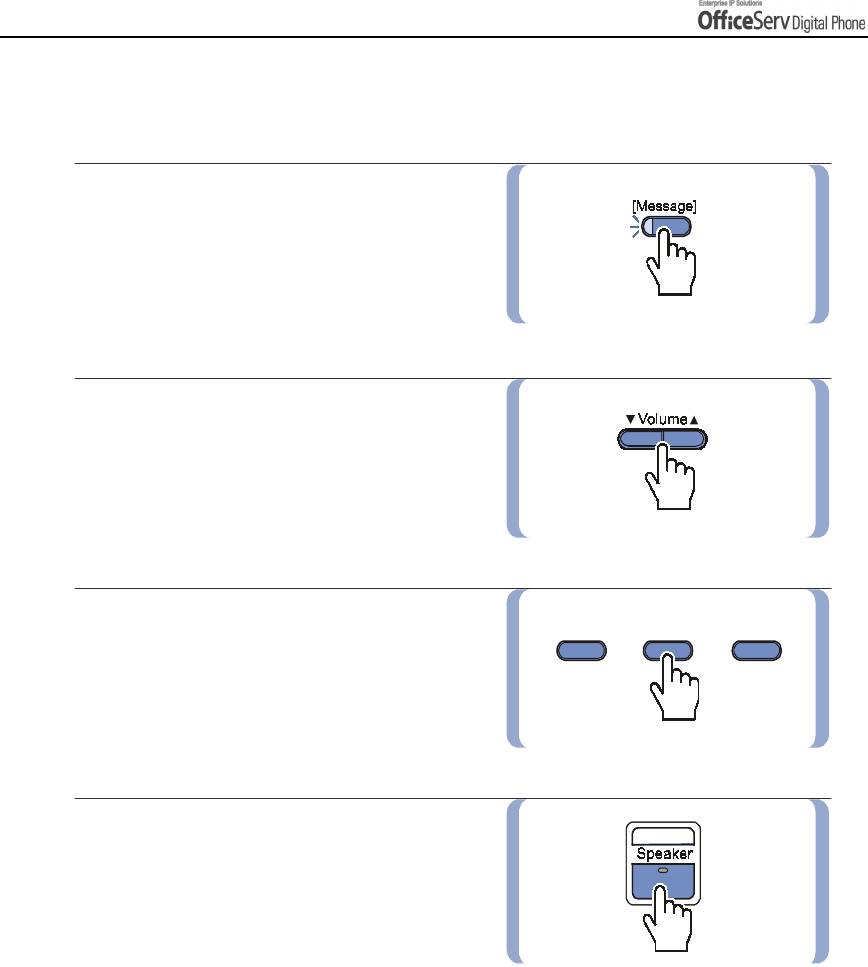
1.
Press the flashing
[Message]
button.
The first station that left its number
is displayed on the screen.
2.
Press the
[
!
!
!!
Volume
"
"
""
]
button
to scroll through the messages.
3.
Use the Soft buttons to return or cancel
the message or to move to the next
message.
4.
Press the
[Speaker]
or
[End]
button
after responding to the message left.
Page 92 © SAMSUNG Electronics Co., Ltd.
CONVENIENT FEATURES
Programmed Messages
You can leave a programmed message on your station when you are away from your digital phone.
The caller will see the message on their LCD when they call you and know that you are not available.
15 system wide messages are available(01-15) and 5 personal messages(16-20)
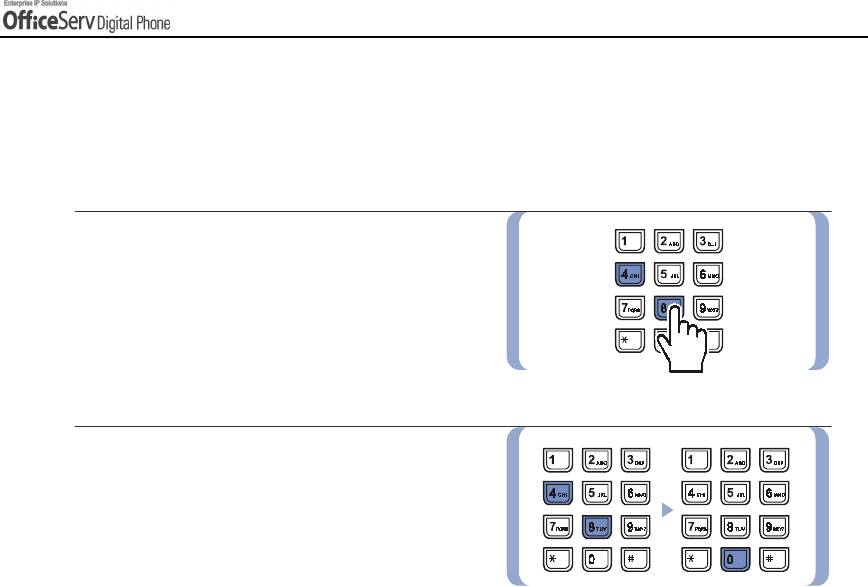
1.
Dial
[4] [8]
and select the desired
message code from the programmed
message list.
2.
Dial
[4] [8]
then
[0] [0]
to cancel
the message.
© SAMSUNG Electronics Co., Ltd. Page 93
CONVENIENT FEATURES
Programmed Message List
When you are away for a certain period of time, you can leave a message of absence on stations by selecting
a message accordingly.
The caller will see the message and know that you are away.
Message code Message
01 GIVE ME THE CALL
02 TAKE A MESSAGE
03 ASK THEM TO HOLD
04 SEND TO MY VM
05 TRSF TO MY SECY
06 LEAVE A MESSAGE
07 PAGE ME
08 OUT OF TOWN
09 IN A MEETING
10 I WILL CALLBACK
11-15 Blank System Wide messages
16~20 BLANK MESSAGE(You can set up)
- Your System Administrator can edit the first 15 Programmable Messages.
- Your personal Programmed Messages using the following procedure:
NOTE
1. Press the [Transfer] button when your digital phone is in the idle condition.
2. Dial [1] [1] [5].
3. Select the Programmed Message you wish to insert or modify(e.g. 16).
4. Enter the characters required in accordance with the procedure below.
5. Press the [Transfer] button to save the information and set the Programmed Message
to your digital phone.
Your digital phone may have multiple programmed message buttons, each of
which has different message codes.
NOTE
- Press any programmed message button. A red light comes on the button’s LED indicates
that the message has been set. Press the button again to clear the message.
- Press another programmed message button to clear the previous message and set the new
message.
Page 94 © SAMSUNG Electronics Co., Ltd.
CONVENIENT FEATURES
4. Alarm Features
Appointment Reminder / Alarm Clock
This feature serves as an alarm clock. Up to 3 alarms may be set. Each alarm can be set as
a one time alarm or a daily alarm.
Three short rings will repeat three times. Lift the handset to answer the alarm.
If you do not answer, the alarm will ring two more times at 5-minute intervals.
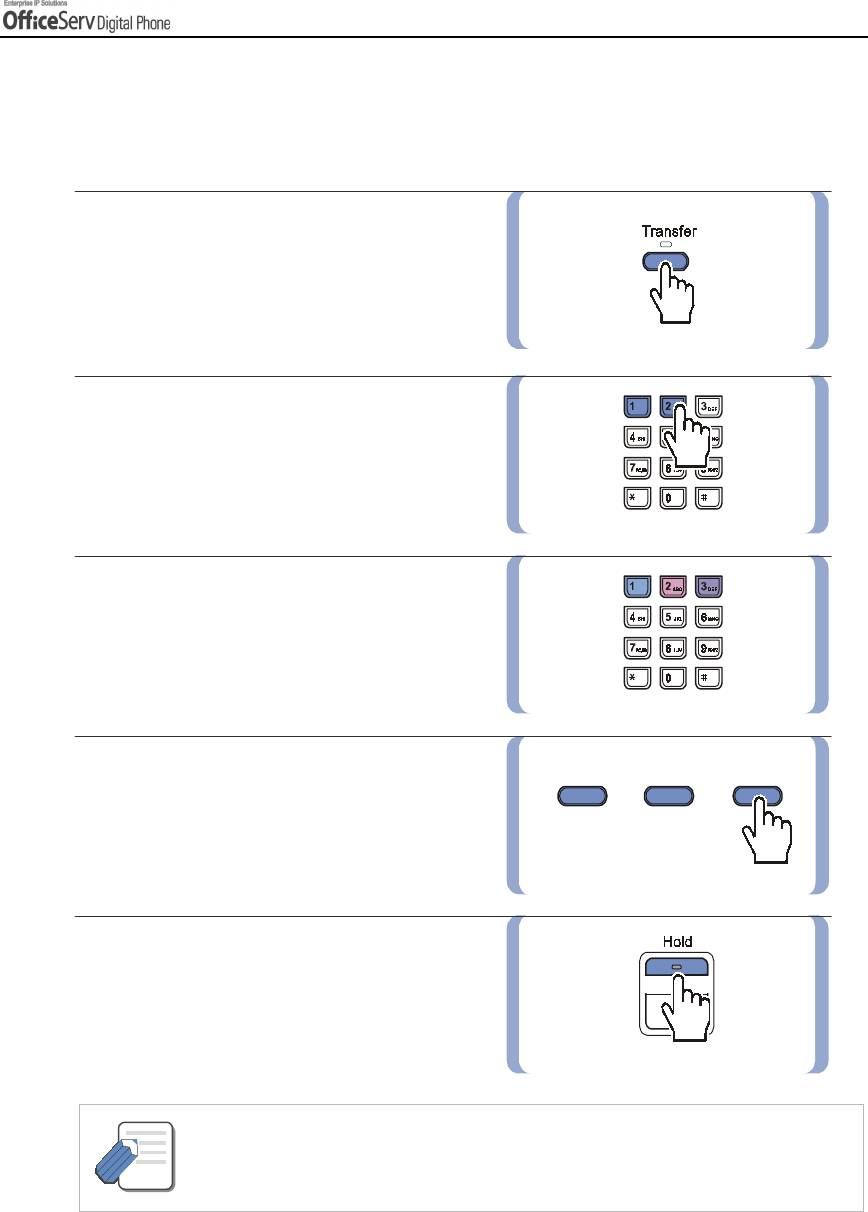
1.
Press the
[Transfer]
button.
2.
Dial
[1] [1] [2]
.
3.
Dial the alarm number
[1], [2]
or
[3]
.
4.
Enter the time at which you want
the alarm to sound. Enter the time
as HHMM(hours and minutes)
based on a 24 hour clock.
© SAMSUNG Electronics Co., Ltd. Page 95
CONVENIENT FEATURES
5.
Select the type of alarm between
[0]
(Not Set),
[1]
(Today) or
[2]
(Daily).
6.
Press the
[Transfer]
button to save settings.
Repeat the above steps to set other alarms
as needed.
Alarm Cancel
Procedure for cancelling all previously registered alarms is described below.
1.
Press the
[Transfer]
button.
2.
Dial
[1] [1] [2]
.
3.
Dial the alarm number
[1], [2]
or
[3]
.
Page 96 © SAMSUNG Electronics Co., Ltd.
CONVENIENT FEATURES
4.
Press the
[Hold]
button.
- You can view the alarm message on the LCD screen. Refer to the next paragraph
‘Alarm Message’ for details.
NOTE
Alarm Message
You can make a 16-character message to be associated with an alarm.
1.
Press the
[Transfer]
button.
2.
Dial
[1] [1] [6]
.
3.
Dial the alarm number
[1], [2]
or [3]
.
© SAMSUNG Electronics Co., Ltd. Page 97
CONVENIENT FEATURES
4.
Enter the time at which you want the
alarm to sound. Enter the time as
HHMM(hours and minutes) based on
a 24-hour clock.
5.
Select the type of alarm between
[0]
(Not Set),
[1]
(Today) or
[2]
(Daily).
6.
Enter the message using the dial buttons.
Refer to
‘Things You Should Know’
of this guide for procedures
on entering characters.
7.
Press the
[Transfer]
button and save
the alarm time and message.
Repeat the above steps to set other
alarms and messages when needed.
Page 98 © SAMSUNG Electronics Co., Ltd.
CONVENIENT FEATURES
Alarm Message Cancel
You can verify or change the Alarm settings from the LCD screen of your digital phone. Cancelling alarms can
also be achieved using the dial buttons.
1.
Press the
[Transfer]
button.
2.
Dial
[1] [1] [2]
.
3.
Dial the alarm number
[1], [2]
or
[3]
.
4.
Press the right Soft button twice.
5.
Press the
[Hold]
button to cancel.
- You can view the alarm message on the LCD screen. Refer to the above section
‘Alarm Message’ for details.
NOTE
© SAMSUNG Electronics Co., Ltd. Page 99
CONVENIENT FEATURES
5. Use with the Door Phone
Answering The Door Phone
You can answer calls from the Door Phone or open the door if an optional electric door lock is installed.
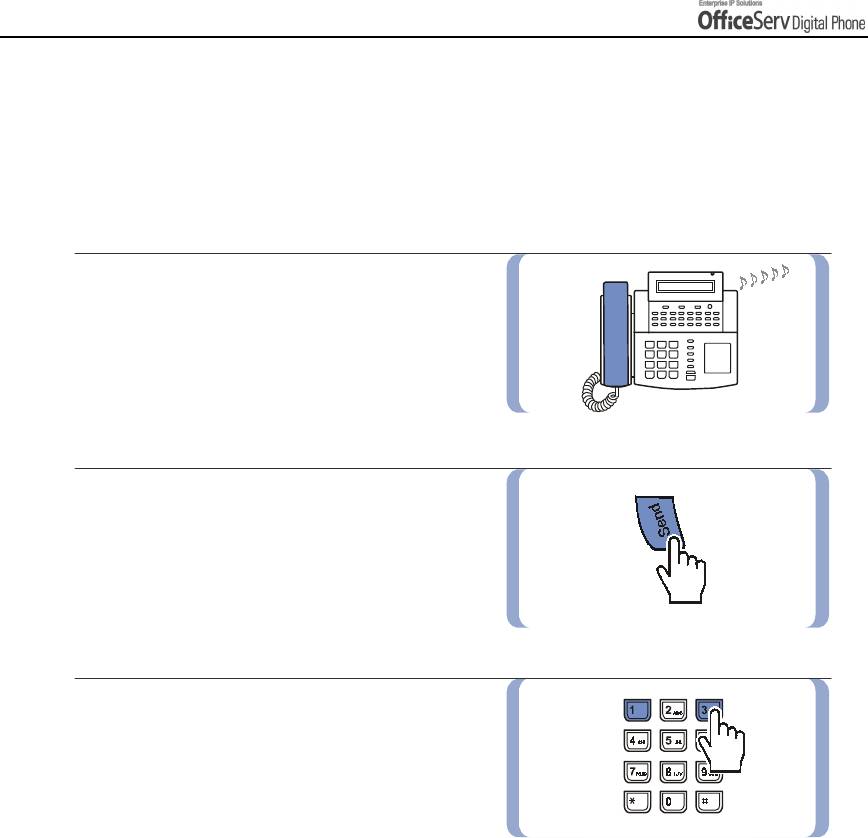
1.
When a call from the Door Phone arrives,
you will receive three short bursts of ring,
repeated.
2.
Lift the handset or press the
[Send]
button
to connect to the Door Phone.
3.
If an electric door lock is installed, you can
open the door by dialling
[1] [3]
.
Page 100 © SAMSUNG Electronics Co., Ltd.

CONVENIENT FEATURES
Calling The Door Phone / Room Monitor
You can call the Door Phone and listen to what is happening outside or in another room.
1.
Dial the station number of the Door Phone.
2.
You can listen or have a conversation when
you are connected to the Door Phone.
3.
If an electric door lock is installed, you can
open the door by dialling
[1] [3]
.
© SAMSUNG Electronics Co., Ltd. Page 101
CONVENIENT FEATURES
6. Executive / Secretary Hot Line
!
An Executive and secretary can have a hotline set up between their stations.
When the Executive is in DND mode or busy on a call, all new calls will forward
to the secretary station.
1.
Either the Executive or the secretary can
[BOSS]
make a call to the other station by pressing
the
[BOSS]
button or by selecting
[BOSS]
from the LCD screen using the Soft buttons.
2.
If DND is set on the executive station or
it is busy, all calls will be forwarded
to the secretary station.
When the secretary station receives the
call, a red light flashes on the executive
station.
!
You can transfer important calls to the [BOSS] station set as DND.
1.
Press the
[Transfer]
button then
[BOSS]
the
[BOSS]
button, or select
[BOSS]
from the LCD screen
using the Soft buttons.
2.
Wait until the
[BOSS]
station answers to
[BOSS]
announce the call. Then, hang up.
You can blind transfer the call by pressing
the
[BOSS]
button
and hanging up.
Page 102 © SAMSUNG Electronics Co., Ltd.
CONVENIENT FEATURES
7. Group Listening
While you are in a call, you can allow others to hear the conversation through the phone speaker.
1.
Turn on the speaker by pressing
[LISTEN]
the
[LISTEN]
button, or selecting
[LISTEN]
from the LCD screen using
the Soft button.
The microphone of the digital phone
is not active and the other party cannot hear
sounds via that source.
2.
Press the
[LISTEN]
button again,
[LISTEN]
or select
[listen]
from the LCD
screen using the Soft button
to resume a private conversation.
3.
Repeat the above steps when needed.
- Depending on the speaker volume and acoustics of your office, it may be advisable
to turn the group listening option off before hanging up.
NOTE
This will prevent a momentary squeal.
© SAMSUNG Electronics Co., Ltd. Page 103
CONVENIENT FEATURES
8. Account Code
If specified by programming, at any stage you can print out the account code along with the call
history to allow calls to be charged to specific account code. To enter an Account Code:
1.
Press the
[ACCT]
button
or select
[ACCT]
[ACCT]
using the Soft button during
an external trunk call.
2.
Dial the account code(Maximum 12
characters including [#]).
3.
Press the
[ACCT]
button
again or
[ACCT]
select [ACCT] using the Soft button.
This does not affect your conversation
with another party.
- If you make a mistake entering an account code, press the [ACCT] button twice
and enter the code again. Only the last account code entered will be printed.
NOTE
Page 104 © SAMSUNG Electronics Co., Ltd.
CONVENIENT FEATURES
9. Locking Your digital phone
You can lock your digital phone to prevent others from using your it while you are away. You can
unlock the digital phone when you return.
1.
Press the
[Transfer]
button.
2.
Dial
[1] [0] [0]
.
3.
Dial your 4-digit station passcode.
4.
Dial
[2]
to lock all calls to and from
your digital phone,
[0]
to unlock, and
[1]
to lock the digital phone from making
outside calls only.
5.
Press the
[Transfer]
button to
save the settings.
© SAMSUNG Electronics Co., Ltd. Page 105
CONVENIENT FEATURES
10. Off-Hook Voice Announcement
You can make a separate announcement to a station user currently on a call. This is not heard by
the other party.
This feature is useful when you have an urgent message to deliver. You cannot receive [OHVA] calls
in DND mode. The [OHVA] feature can be used for intercom and transferred calls.
OHVA
Follow the below procedure to make an off-hook voice announcement.
1.
Dial the extension number or
[DSS]
the
[DSS]
button.
2.
If you hear the busy tone, press the
[OHVA]
[OHVA]
button or select
[OHVA]
from
the LCD screen using the Scroll button
and Soft button.
3.
Start announcement after
hearing confirmation tone.
4.
Finish the call by replacing the handset,
or pressing the
[Speaker]
or
[End]
button.
- When voice announcing to a nearby station, use the handset to avoid echoes.
NOTE
Page 106 © SAMSUNG Electronics Co., Ltd.
CONVENIENT FEATURES
OHVA Cancel
When receiving OHVA, you will hear the OHVA through your handset or speaker
depending on which one you are using. In both cases, you can continue your call with
the original party whilst listening to the OHVA. You can also talk to the announcing party, temporarily putting
the other party on hold.
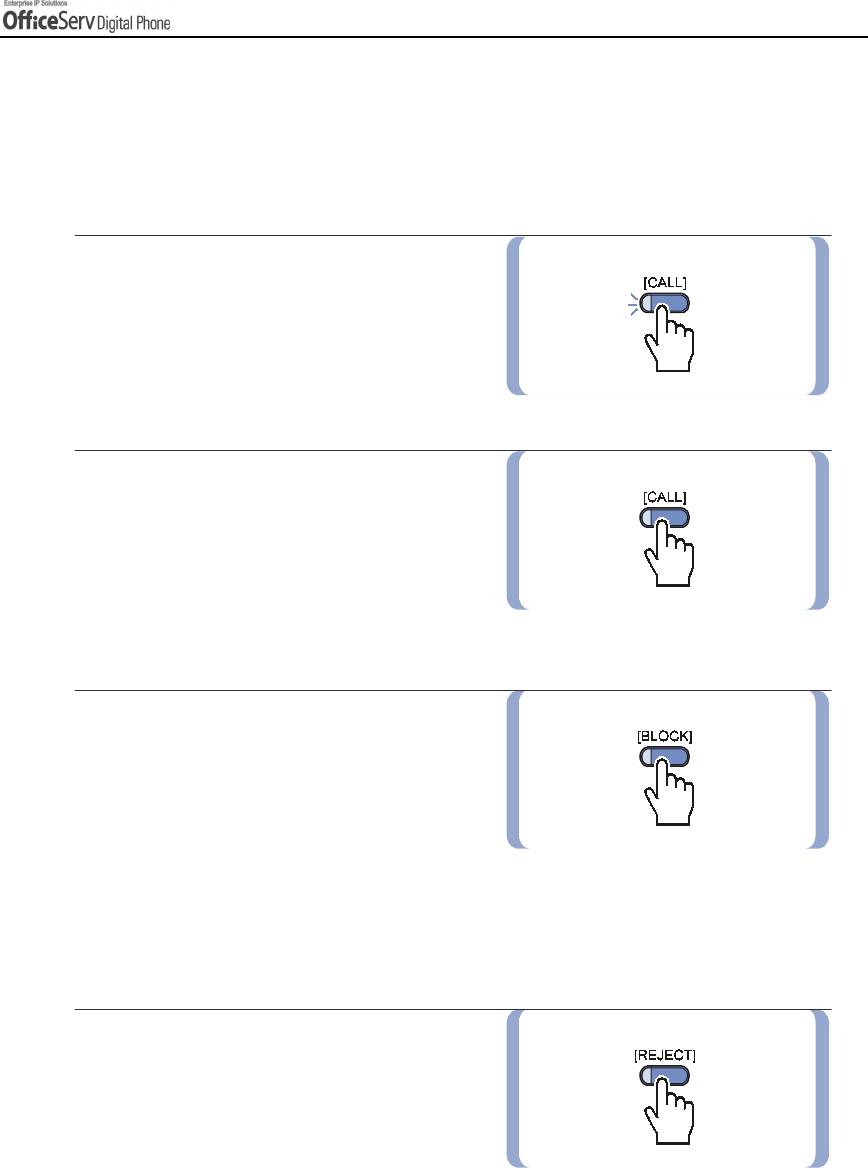
1.
Press the flashing
[CALL]
button.
This places the original party on hold
and allows you to talk to the
announcing party.
2.
Press the related
[CALL]
button to
return to the original party.
This disconnects the OHVA call.
OHVA Block
You can block Off-Hook Voice Announce button
on your digital phone. OHVA calls will not be
received until you cancel the block function
by pressing the
[BLOCK]
button again.
If there is no
[BLOCK]
button, select
[OHBLK]
in the Other menu from the LCD screen using
the
[Scroll]
button and Soft buttons.
OHVA Reject
You can set an OHVA
[REJECT]
button on your
digital phone. When receiving an OHVA, press
the
[REJECT]
button to disconnect the OHVA
call and return to the original caller.
If there is no
[REJECT]
button, select
[REJECT]
from the LCD screen using the Soft button.
© SAMSUNG Electronics Co., Ltd. Page 107

CONVENIENT FEATURES
11. In Group / Out Of Group
If your digital phone is assigned to a station group, you can remove your digital phone from the
group or re-enter your digital phone to the group. When your digital phone is removed from the
group, you will not receive calls to the station group, only calls to your station number.
1.
Press the
[IN/OUT]
button, or select
[IOG]
from the Other menu on LCD screen
using the
[Scroll]
button and Soft buttons.
Enter the station group number and select
the
[IN]
or
[OUT]
soft button. If the handset is
active in the group, a red light will light
on the
[IN/OUT]
button.
2.
Press the
[IN/OUT]
button
again to remove
the digital phone from the group.
The red light goes off. Repeat the above
step when necessary.
3.
If there is no
[IN/OUT]
button, dial
[5] [3]
and the group number, and dial
[0]
to
remove your digital phone from
the group or
[1]
to assign your digital
phone to the group.
Repeat the above steps when necessary.
- You can assign a group number(Extender) designating a specific group to the [IN/OUT]
button to allow you to enter and exit a group simply.
NOTE
- If you are in multiple groups, you can decide which group you will receive calls from
by pressing the [IN/OUT] button followed by the group number.
Page 108 © SAMSUNG Electronics Co., Ltd.
CONVENIENT FEATURES
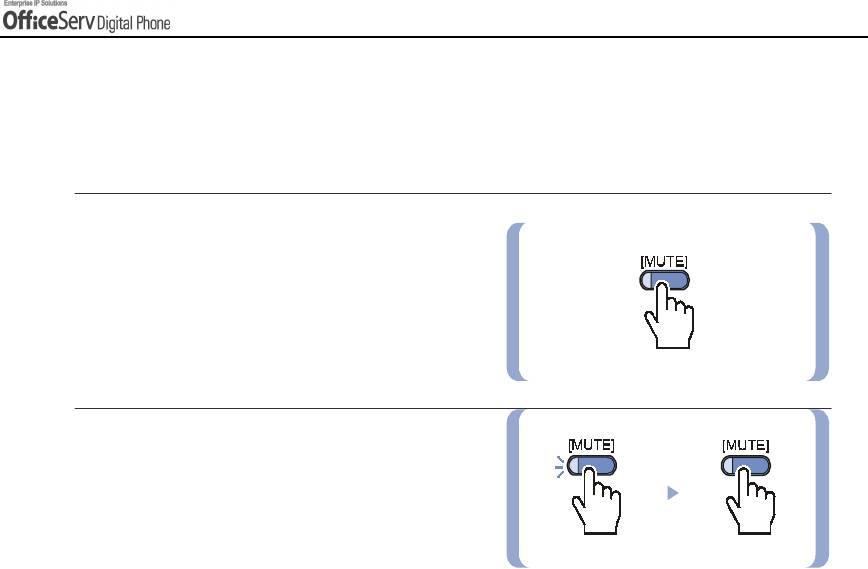
12. Mute
This feature disables the handset or digital phone’s microphone, depending on which is in use. Thus,
the other party cannot hear what you are saying.
1.
Press the
[MUTE]
button or select
[MUTE]
from the LCD screen using the Soft button.
The LED of the
[Mute]
button flashes.
2.
Press the
[MUTE]
button again to cancel.
The red light on the LED of the button
goes off.
© SAMSUNG Electronics Co., Ltd. Page 109
CONVENIENT FEATURES
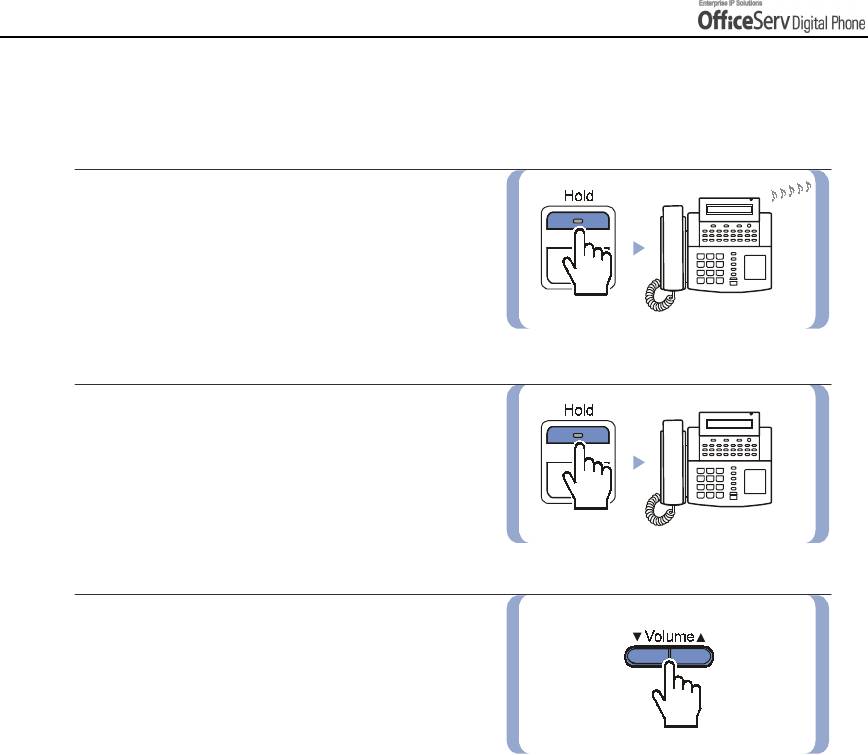
13. Background Music
You can listen to music through the digital phone’s speaker if a music source is provided.
1.
To listen to the music,
press the
[Hold]
button while on-hook.
2.
Press the
[Hold]
button again to cancel.
3.
Use the
[
!!
!
!
Volume
"
""
"
]
button to adjust
the music Volume. This does not affect
the speaker volume setting.
Page 110 © SAMSUNG Electronics Co., Ltd.

CONVENIENT FEATURES
14. Timer
Call Duration Timer
You can set the timer to be activated automatically for external calls. The timer appears
on the LCD screen immediately on answering an incoming call and after a period of time
or when the other party answers an outgoing call.
The call duration time is displayed in minutes and seconds, and is reset when the call lasts
longer than 100 minutes. Selecting
[TIMER]
from the LCD screen will manually reset the
timer.
If the automatic timer is not set, while on a call press the
[TIMER]
button to start the timer.
Press the
[TIMER]
button again to stop the timer. If you press the
[TIMER]
button while the
auto timer is on, the call timer starts again.
© SAMSUNG Electronics Co., Ltd. Page 111
CONVENIENT FEATURES
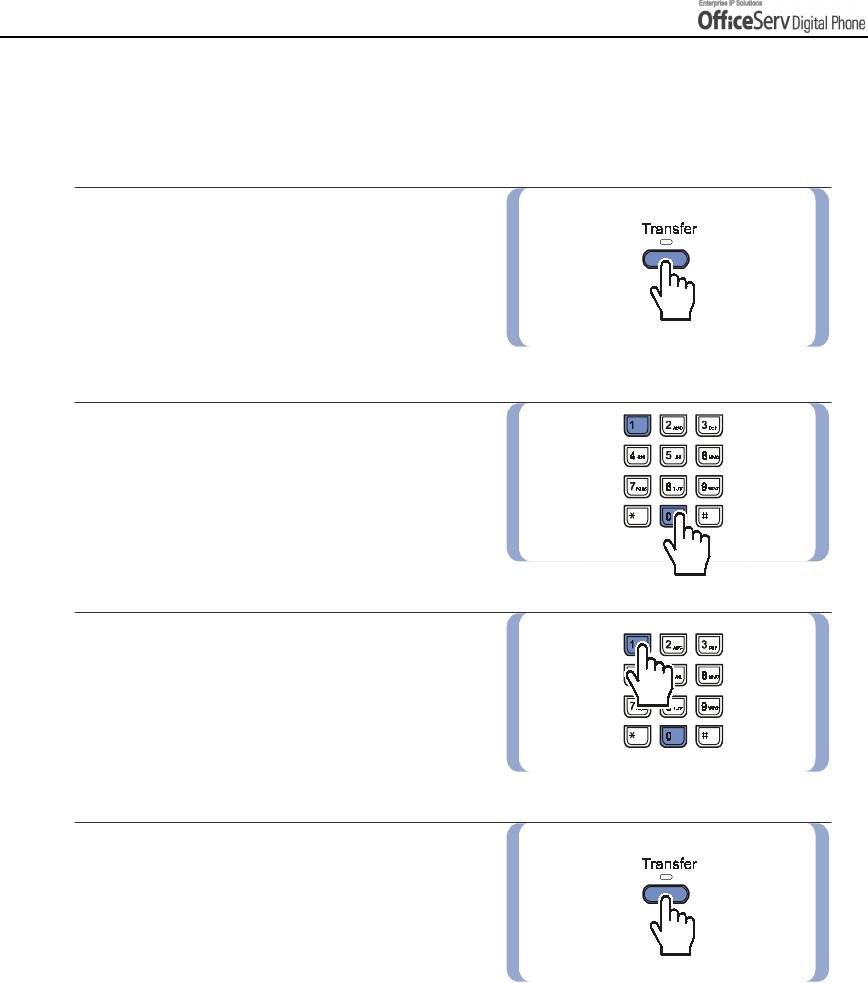
Auto Timer
Your digital phone may have an automatic timer that starts automatically after a short period of time for
forwarded and outgoing calls. This can be enabled or disabled as follows.
1.
While on-hook, press the
[Transfer]
button.
2.
Dial
[1] [1] [0]
.
3.
Dial
[0] [1] [1]
to activate the auto timer
or
[0] [1] [0]
to deactivate.
4.
Press the
[Transfer]
button
to save the settings.
Page 112 © SAMSUNG Electronics Co., Ltd.
CONVENIENT FEATURES
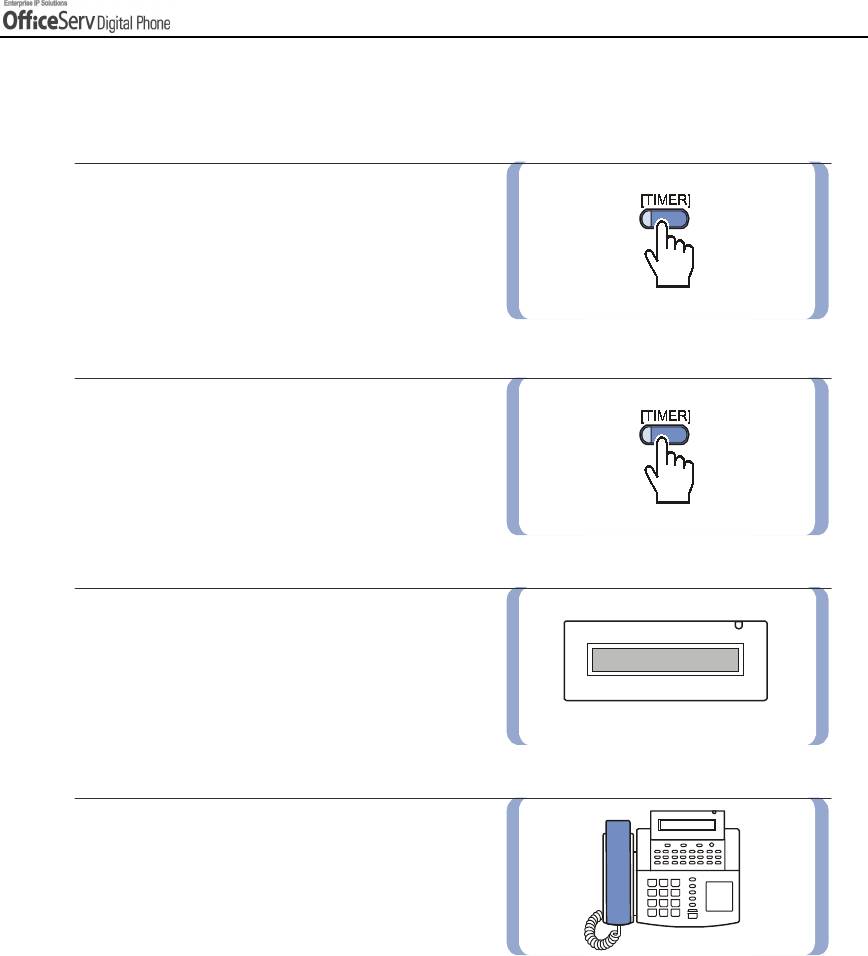
Timer Function
For digital phones, the timer can be used as a stopwatch.
1.
Press the
[TIMER]
button, or select
[TIMER]
from the Other menu on the LCD
screen using the [Scroll] button and Soft
button when the digital phone is in idle mode.
2.
Press the
[TIMER]
button
again to stop
the timer.
3.
Note the elapsed time on the LCD screen.
4.
Lift and replace the handset and the time
and date display on the LCD will resume.
© SAMSUNG Electronics Co., Ltd. Page 113
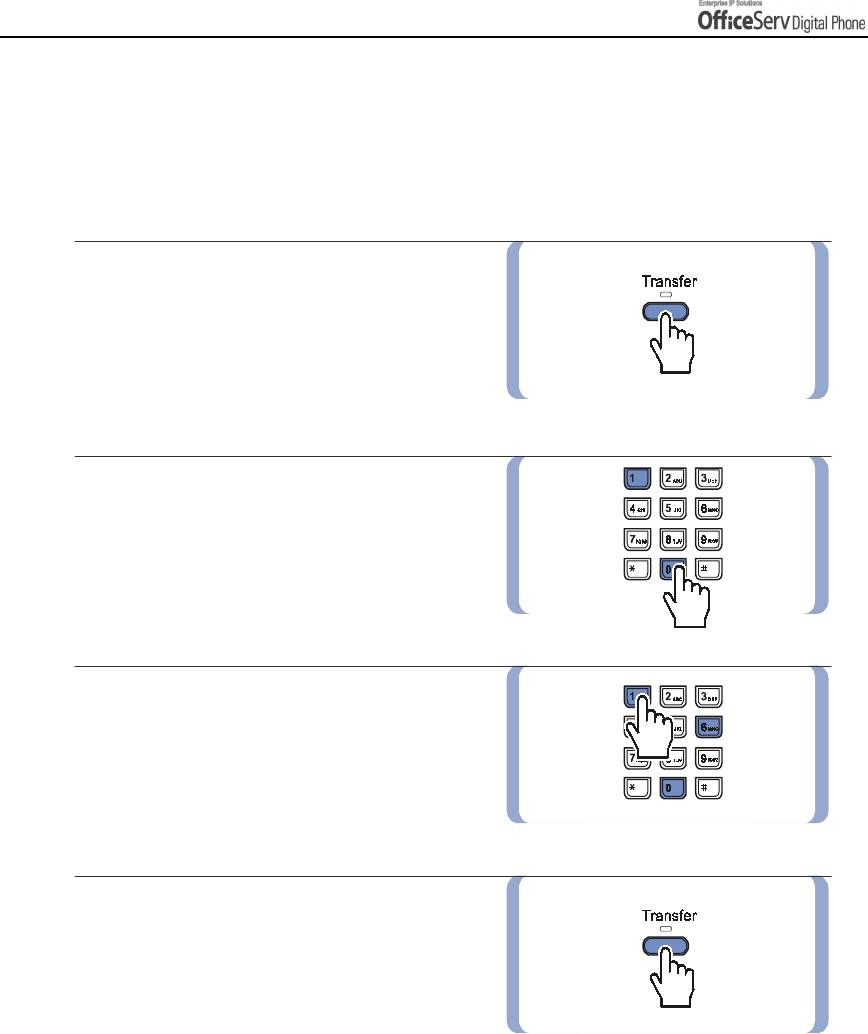
CONVENIENT FEATURES
15. Ring Preference
You can answer a call automatically by lifting the handset or by pressing the [Send] button. Calls
are answered in the order that they arrive at your digital phone. If the ring preference option is off,
you must answer calls by pressing the flashing button. In this case you may answer the calls without
regard to the order in which they arrived.
1.
Press the
[Transfer]
button.
2.
Dial
[1] [1] [0]
.
3.
Dial
[0] [6] [1]
to enable the ring
preference feature.
To disable, dial
[0] [6] [0]
.
4.
Press the
[Transfer]
button to
save the settings.
Page 114 © SAMSUNG Electronics Co., Ltd.


