Samsung ITP5021D: THINGS YOU SHOULD KNOW
THINGS YOU SHOULD KNOW: Samsung ITP5021D
THINGS YOU SHOULD KNOW
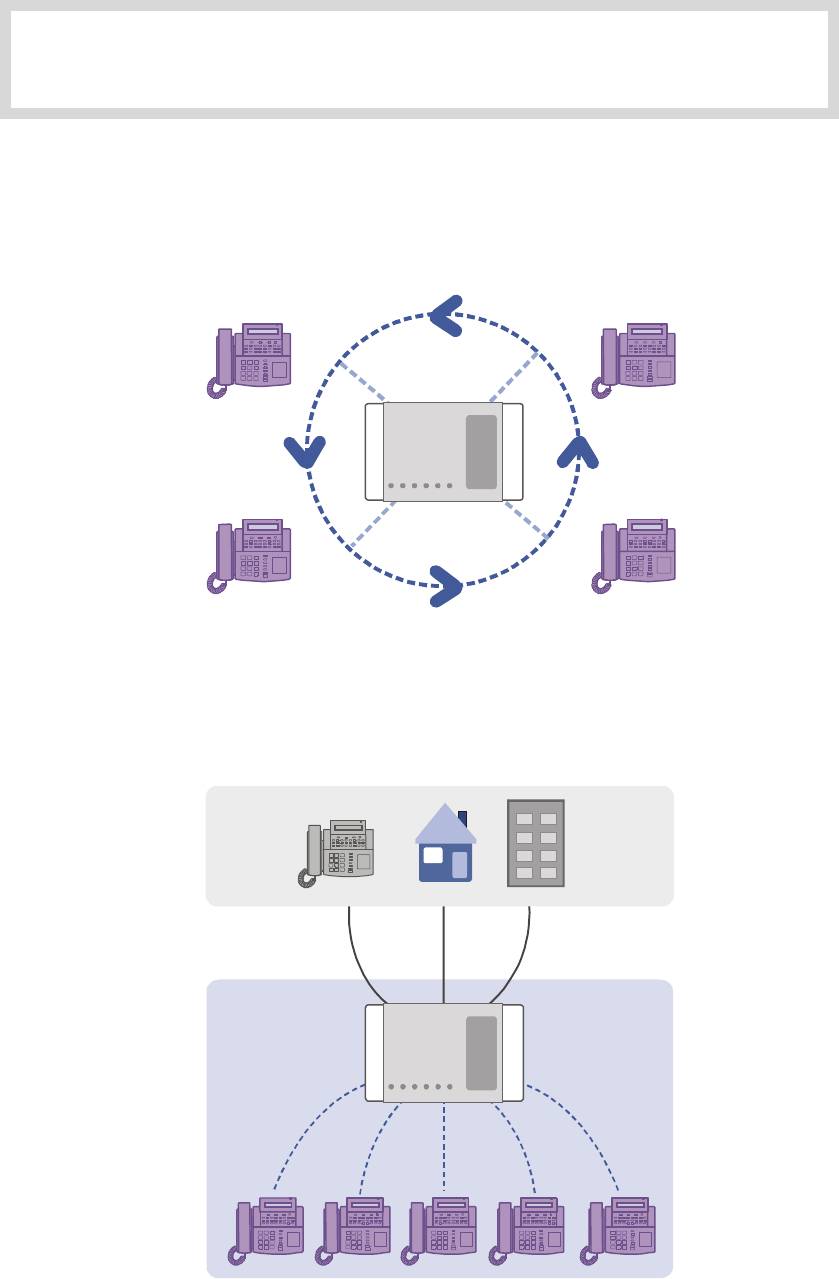
1. About Stations and Trunk Lines
A
station
is a digital or digital phone or standard telephone connected to the OfficeServ
system.
Telephone
System
A trunk line
is directly connected to your phone company’s telephone network. It allows
you to make telephone calls to parties outside your office(for example, your home) or to
receive incoming calls from external parties.
Outs id e
Trunk Line
Ins ide
Te l e p h o n e
System
Extension
© SAMSUNG Electronics Co., Ltd. Page 15
THING
Page 16
© SAMSUNG Electronics Co., Ltd.
S
YOU
S
HOULD KNOW
2. Selecting System Functions
To use the functions of the OfficeServ system you can: press the programmable button that is
registered with the required function, select the function by using the Scroll button and 3 Soft
buttons that are underneath the LCD screen or dial the function code.
For example, if the callback function is required, find the programmable button with this function
first. If this button doesn’t exist, then press the Soft button corresponding to the location of [CBK]
on the LCD screen.
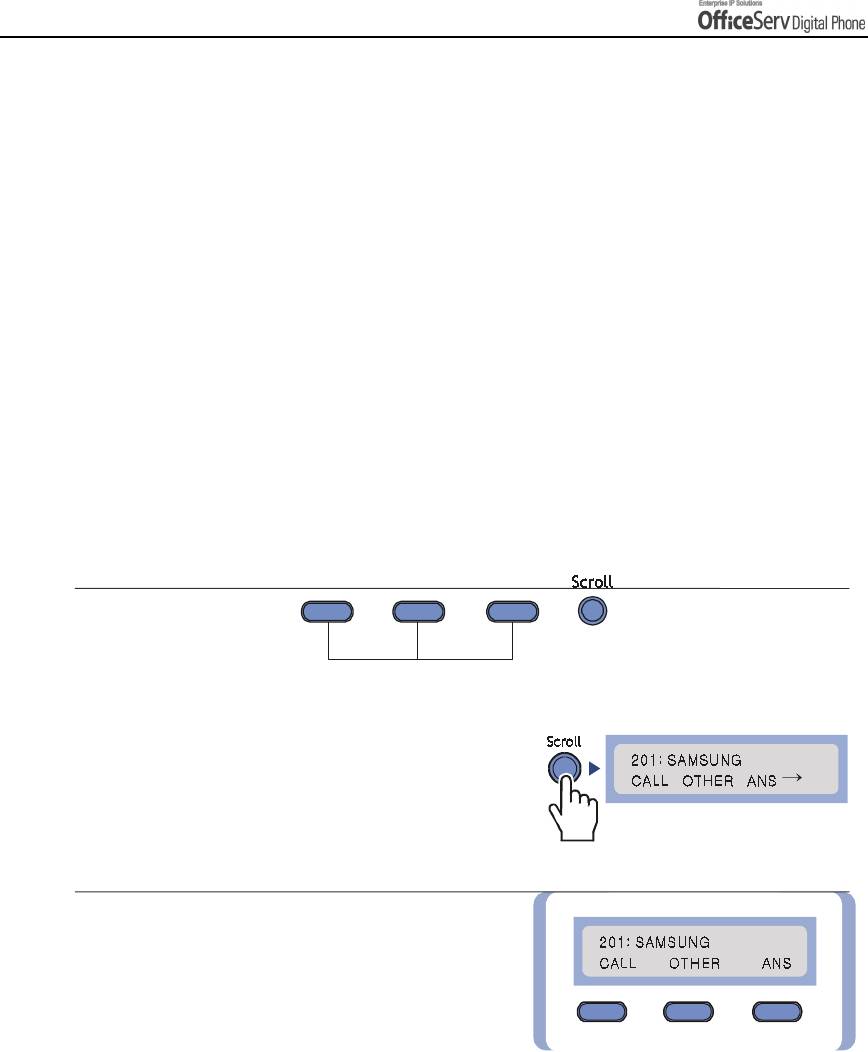
Using the Scroll / Soft Button
The Scroll button is used to display the function menu on the LCD screen. If the Scroll button is pressed, the
LCD screen will show three menus such as [CALL], [OTHER], and [ANS] in a row. If the Scroll button is
pressed again, another menu appears.
Three Soft buttons are located underneath the LCD screen.
Among three Soft buttons, the one on the left is called the left Soft button, and the one in the middle is called
the middle Soft button, and finally the one on the right is called the right Soft button.
Soft button
1.
Press the Scroll button once when the digital
phone is in the idle state and the LCD screen
will show the screen.
2.
First select one of the main menus ; [CALL],
[OTHER], or [ANS]. To select the [CALL] menu,
press the left Soft button, to select the
[OTHER] menu, press the middle Soft button,
and finally to select the [ANS] menu, press
the right Soft button.
!
[CALL] Menu : Displays the functions related to
making a call.
!
[OTHER] Menu : Displays any other functions not related
to answering or receiving a call.
!
[ANS] Menu : Displays functions related to answering calls
at other system devices or pages.
THING
© SAMSUNG Electronics Co., Ltd.
Page 17
S
YOU
S
HOULD KNOW
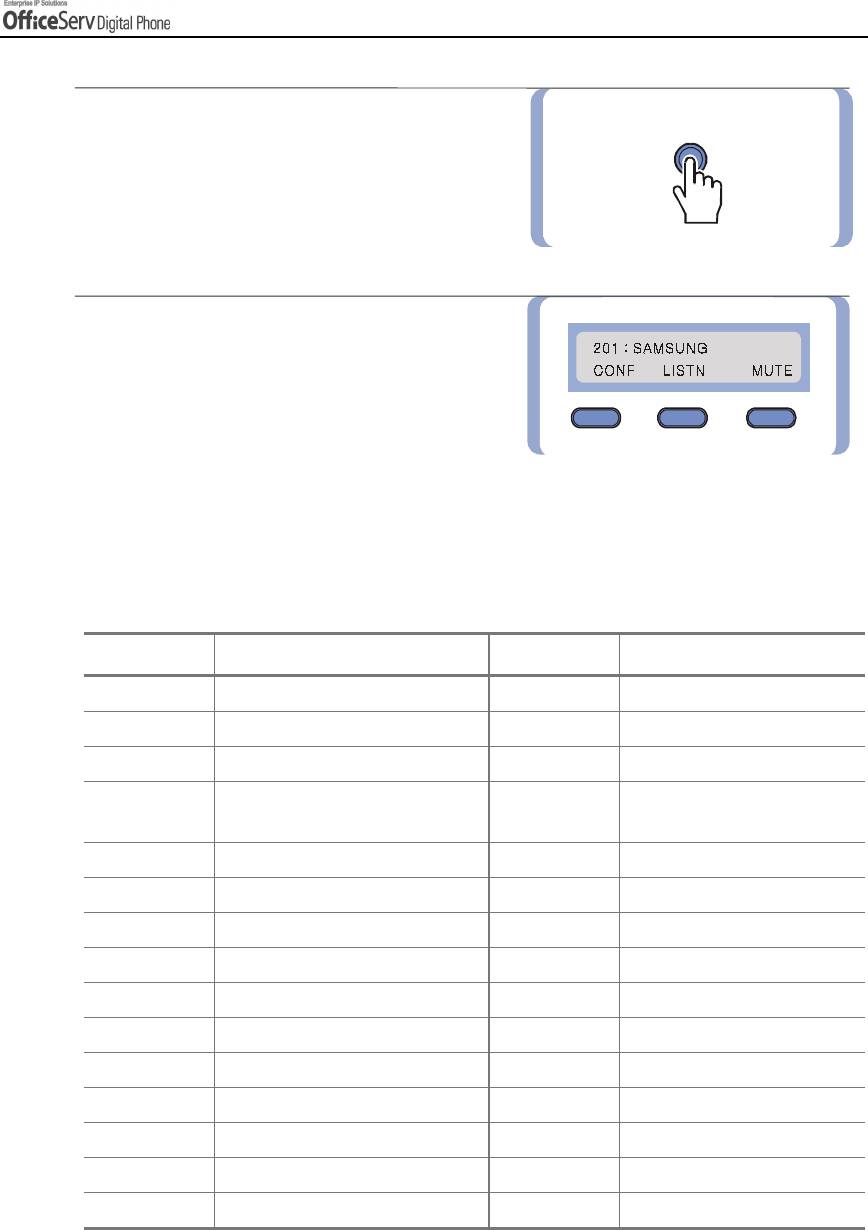
3.
Keep pressing the Scroll button until the desired
Scroll
function shows up.
If there is a
"
symbol displayed, it means that
additional menus are available.
4.
If the desired function appears on the
LCD screen, select it by using the Soft button
associated with the desired function.
Using the Function Code
Many of the OfficeServ system functions can be invoked by dialling function codes. Please refer to the table
below for the default function codes(these maybe changed in your system-refer to your System
Administrator).
Dial Button Function Dial Button Function
0 Trunk access group number 55+0 Page internal zone 0
10+xxx Answer parked calls 55+1 Page internal zone 1
11 Set calls on hold or clear on hold 55+2 Page internal zone 2
12+xxx Answer call on hold at another
55+3 Page internal zone 3
station
13 Release door lock 55+4 Page internal zone 4
16+xxx Assign speed-dial number 55+5 Page external zone 1
17 Dial stored number 55+6 Page external zone 2
19 Redial 55+7 Page external zone 3
2xx Station number 55+8 Page external zone 4
3xx Station number 55 9 Page all external zones
400 Cancel DND 55+* Page all zones
401 Set DND 56 Answer transfer page
41 Set Message No Ring 57 Clear alarm sensor
42+xxx Cancel message 58 Clear DISA Alarm
43 Set/Return message 59 Change to my station level
THING
Page 18
© SAMSUNG Electronics Co., Ltd.
S
YOU
S
HOULD KNOW
Dial Button Function Dial Button Function
44 Reserve connection to a busy
600 Cancel all call forwarding
station/trunk line
45 Busy station Camp-on 601+xxx Set Forward All Calls
46 Conference 602+xxx Set Forward Busy
47 Enter account code 603+xxx Set Forward No Ans
48 Set station message 604+xxx Set Forward Busy/No Ans
49 Flash 66 Group call pickup
500~529 Station group 67 Night ring answer
53+grp+0 Exclude group 681 Voice Dialler
53+grp+1 Include group 682 Record Voice Dialler
54+zone Transfer page 7xx
Trunk line
55+0 Page all internal zones 8x
Trunk group number
606 + xxx Set Forward Follow me 9 Attendant Console group
65 Direct call pickup
- If the table above does not have the desired function code or the function code
does not match with the desired function, the system’s numbering plan may have
NOTE
been changed ; please consult with your System Administrator.
THING
© SAMSUNG Electronics Co., Ltd.
Page 19
S
YOU
S
HOULD KNOW
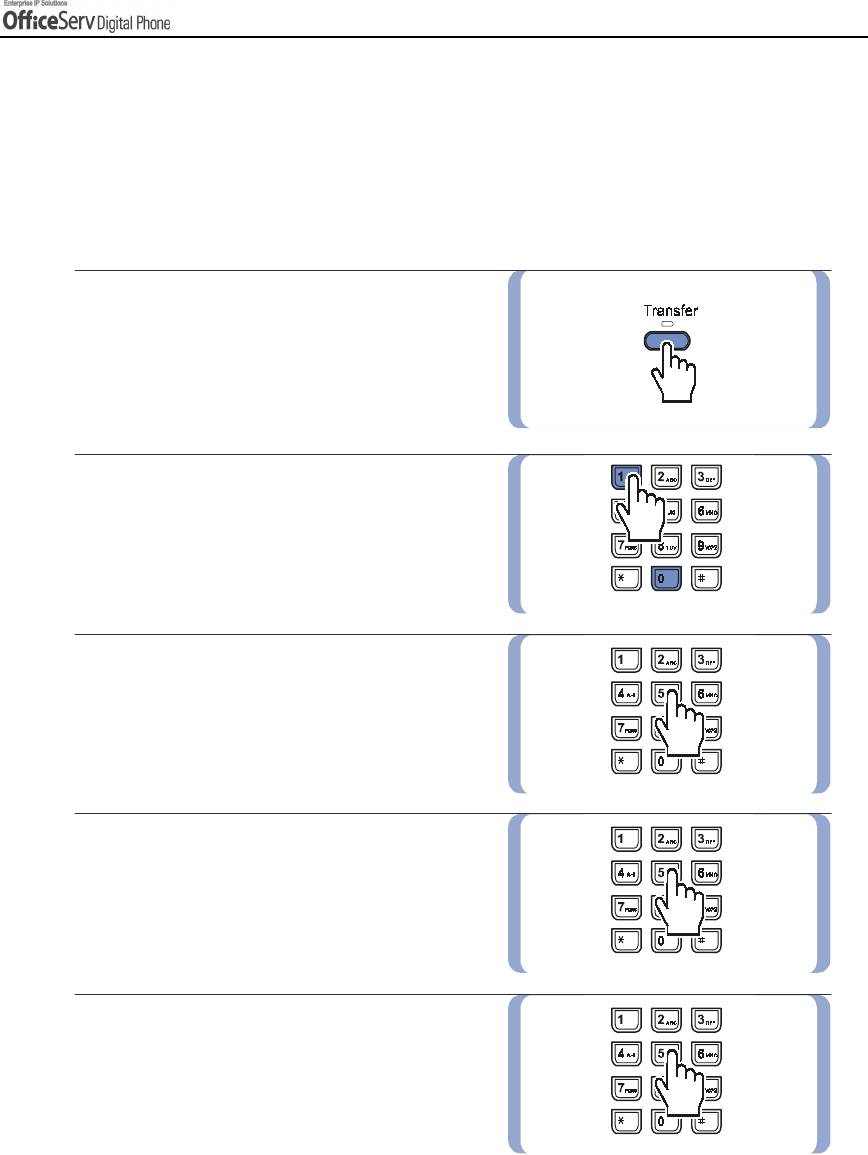
Assigning the Programmable Button Extenders
By adding an extender to some buttons, you can use the digital phone more conveniently. For example, if the
extender 4 is added to the [PAGE] button, when this button is pressed, it will allow a page announcement to
be made to stations in page zone 4. Refer to the following table to select the extenders that can be assigned
for each programmable button.
Button Description Extenders
BOSS Director/Secretary 1-4
DP Direct Call Pick-up Station or station group number
DS Direct Station Required station numbers
0=FWD Cancel, 1=FWD All, 2=FWD Busy,
FWRD Call Forwarding
3=FWD No Answer, 4 FWD Busy/No Answer,
5=FWD DND and-6=Follow Me
GPIK Group Call Pick-up 01-20
GCONF Conference group 1-5
IG Group In/Out Required station group 5XX(X)
MMPG Meet Me Page 0-9, *
PARK Park Orbits 0-9
PMSG Programmed Message 01-20
PAGE Paging 0-9, *
SG Station Group Selection 5XX(X)
SPD Speed Dial Personal 00-49, or System 500-999
DIR Directory Name Dialling PERS(1), SYS(2) or STN(3)
VT Voice Mail Transfer Voice Mail Group(5XX)
THING
Page 20
© SAMSUNG Electronics Co., Ltd.
S
YOU
S
HOULD KNOW
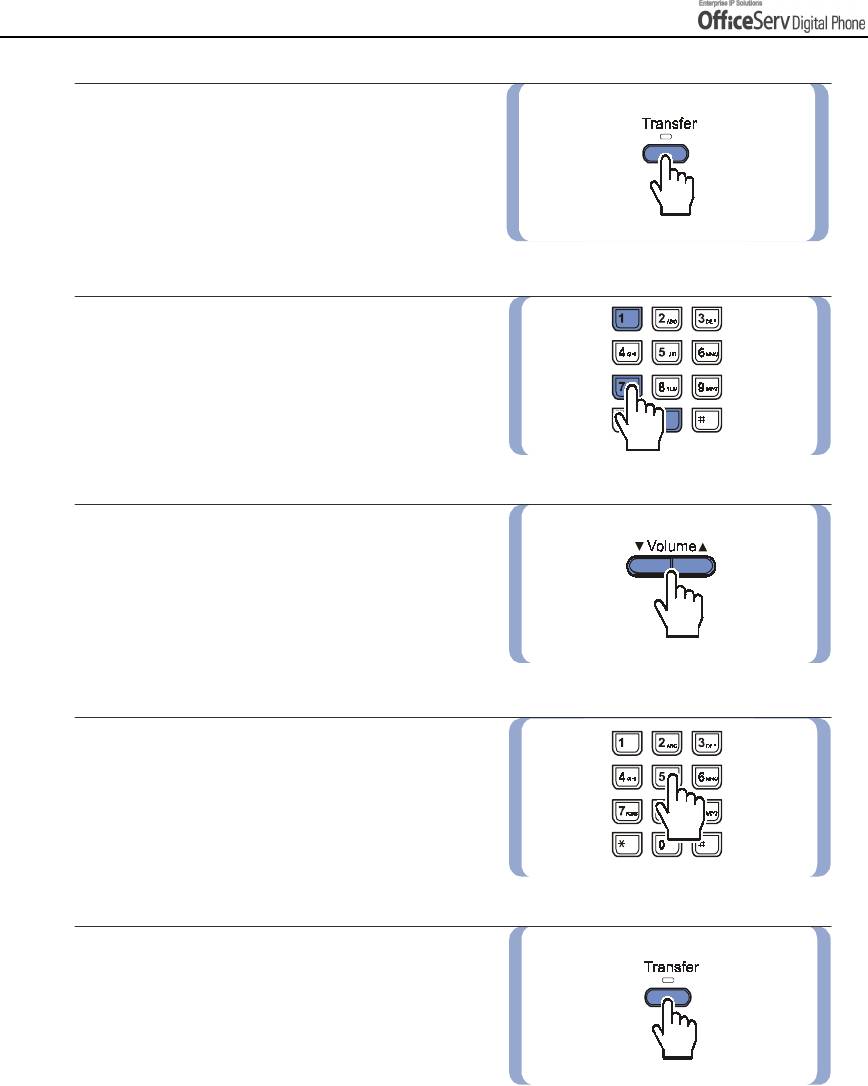
1.
Press the
[Transfer] button
.
2.
Press
[1] [0] [7]
.
3.
Select the programmable button that requires
an extender by using the
[!
!Volume"
!!
""
"]
button to, scroll through programmable
buttons and then press the right Soft button,
or press the programmable button to
add an extender.
4.
When the cursor comes to the input area
on the LCD panel, dial the required extender.
5.
Save the extender by pressing the right or
left Soft button. Press the
[Transfer]
button
to finish programming.
THING
© SAMSUNG Electronics Co., Ltd.
Page 21
S
YOU
S
HOULD KNOW
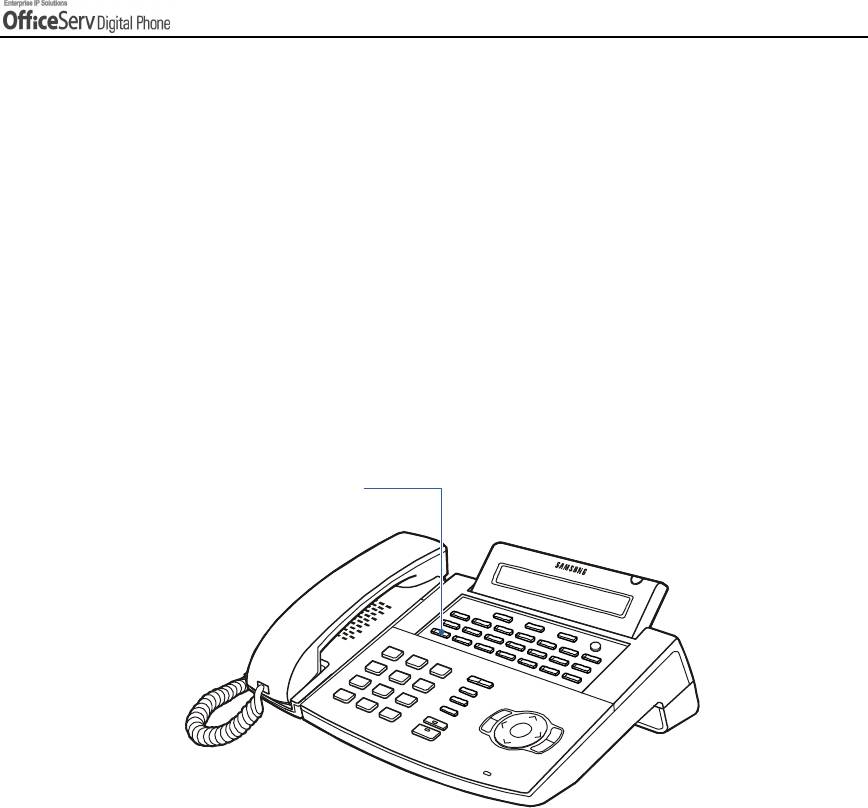
3. Entering Characters
Using the dial buttons of this phone, you can easily enter/edit, letters, numbers and special
characters.
Special Button Used
To enter letters of the alphabet the following special button is used.
!
Button A : Switch to capital/small letters when entering characters.
The A button of the DS-5021D/5014D digital phone is located on the first button of the
bottom row of the programmable buttons below the LCD screen.
An example for the DS-5021D is shown.
Button A
DS-5021D
THING
Page 22
© SAMSUNG Electronics Co., Ltd.
S
YOU
S
HOULD KNOW
Entering Characters
Press the [
!
Volume
"
] button to move the cursor and insert or modify the desired letter.
Press the [Volume
"
] button and move the cursor one space to the right to use the same
dial button letters as the previous letter used.
Procedures for entering characters are described below.
Enter the characters according to the table below. Press button A to switch between capital
and lower case letters.
Dial frequency
12345
Dial button
0
<>. )0
1
Space ? , ! 1
2
ABC@2
3
DEF#3
4
GH I $4
5
JKL%5
6
MNO^ 6
7
PQRS7
8
TUV*8
9
WXYZ9
*
:=[]*
#
#
Space
&
!
:
?
.
“
%
$
-
<
>
/
=
[
]
@
^
(
)
_
+
{
}
I
;
”
"
’
Press the [#] button to enter special characters. Special characters are displayed in the
following order.
#, space, &, !, :, ?, ., ,, %, $, -, <, >, /, =, [, ], @, ^, (, ), _, +, {, }, |, ; , ”,
"
, ’
THING
© SAMSUNG Electronics Co., Ltd.
Page 23
S
YOU
S
HOULD KNOW
4. Configuring My Phone
Allows you to set the feature preferences for your digital phone.
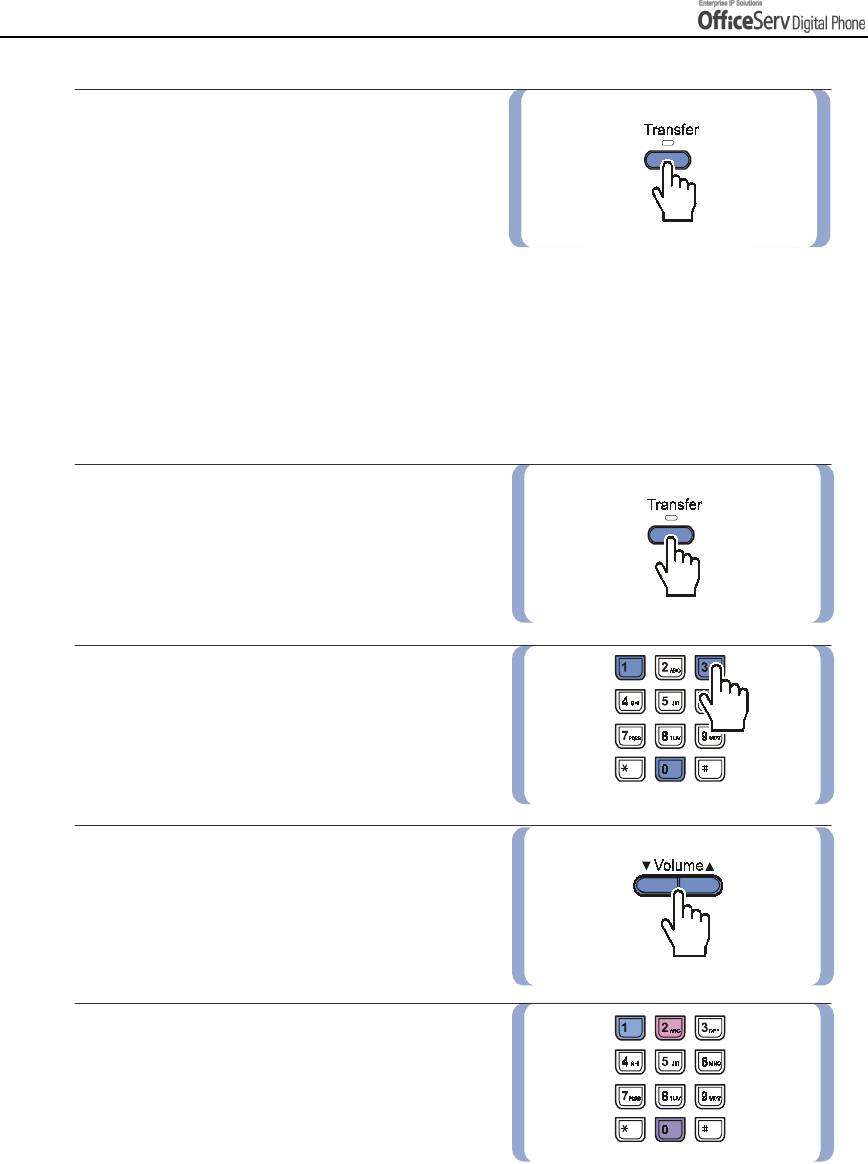
To Change the Digital phone Passcode
The pre-assigned station passcode is 1234. You can change the station passcode if needed.
1.
Press the
[Transfer]
button.
2.
Press
[1] [0] [1]
.
3.
Enter the previous passcode.
4.
Enter the new passcode. The passcode must
be a 4-digit number.
5.
Re-enter the new passcode for confirmation.
If the passcode is entered correctly,
a beep will be heard twice. If four beeps are
heard, it means that the new passcode
entry was unsuccessful.
Please re-enter the new passcode.
THING
Page 24
© SAMSUNG Electronics Co., Ltd.
S
YOU
S
HOULD KNOW
6.
Save the new passcode by pressing
the
[Transfer]
button.
Setting the Answer Mode
Intercom calls can be answered with one of three answer modes. A different answering mode can be selected
for
!
[0] ANS MODE : the answer mode when answering intercom calls.
!
[1] EXEC ANS : the answer mode when answering calls using the executive/secretary hot line.
You must be a designated Boss or Secretary for this option to be available.
1.
Press the
[Transfer]
button.
2.
Dial
[1] [0] [3]
.
3.
Select the call type(ANS MODE or EXEC ANS)
using the
[!
!!
!Volume"
""
"] button
. Move the
cursor by pressing the right Soft button.
4.
Dial
[0](
Ring mode),
[1](
Auto Answer mode),
or
[2](
Voice Announce).
THING
© SAMSUNG Electronics Co., Ltd.
Page 25
S
YOU
S
HOULD KNOW
5.
Press the
[Transfer]
button
and save
the selected entry.
- If your digital phones is programmed for the Voice Announce answering function,
and Call Forwarding No Answer is set, you must press the [Speaker] button or
NOTE
[Send] button to answer before the no an answer timer expires. Otherwise, the call will
be forwarded.
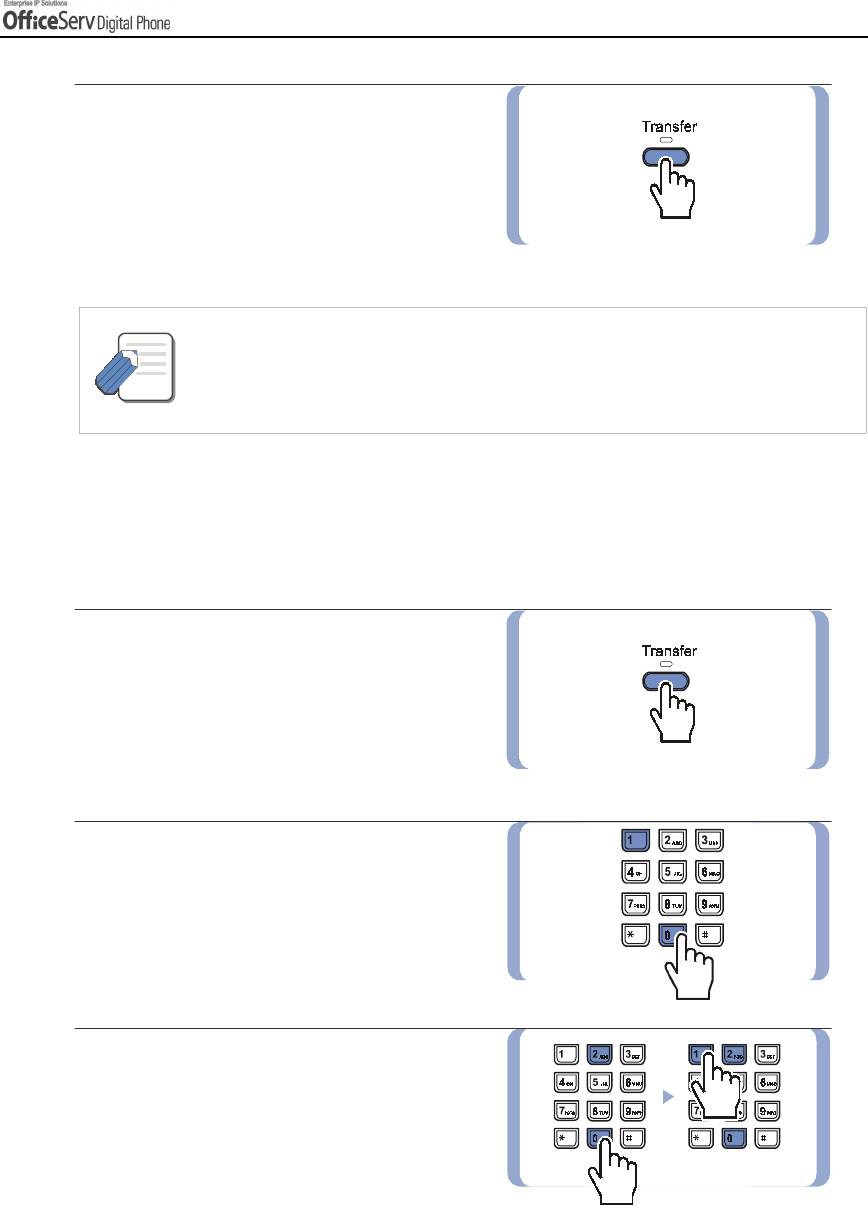
Using the Headset / Handset (Headset Operation)
The DS-5021D/5014D digital phone user can switch between handset mode and headset mode. In headset
mode, you can answer or end a call by pressing the [Send] button or [End] button.
1.
Press the
[Transfer]
button.
2.
Dial
[1] [1] [0]
.
3.
To use the handset, dial
[0] [2] [0]
, and to
use the headset, dial
[0] [2] [1]
.
THING
Page 26
© SAMSUNG Electronics Co., Ltd.
S
YOU
S
HOULD KNOW
4.
Save the selected entry by pressing
the
[Transfer]
button.
- The digital phone can have a headset mode button. If so, press this button when its LED
is off and the digital phone is changed to headset mode and the LED will light up.
NOTE
Press this button again to return the digital phone back to handset mode and the LED
button
goes off.
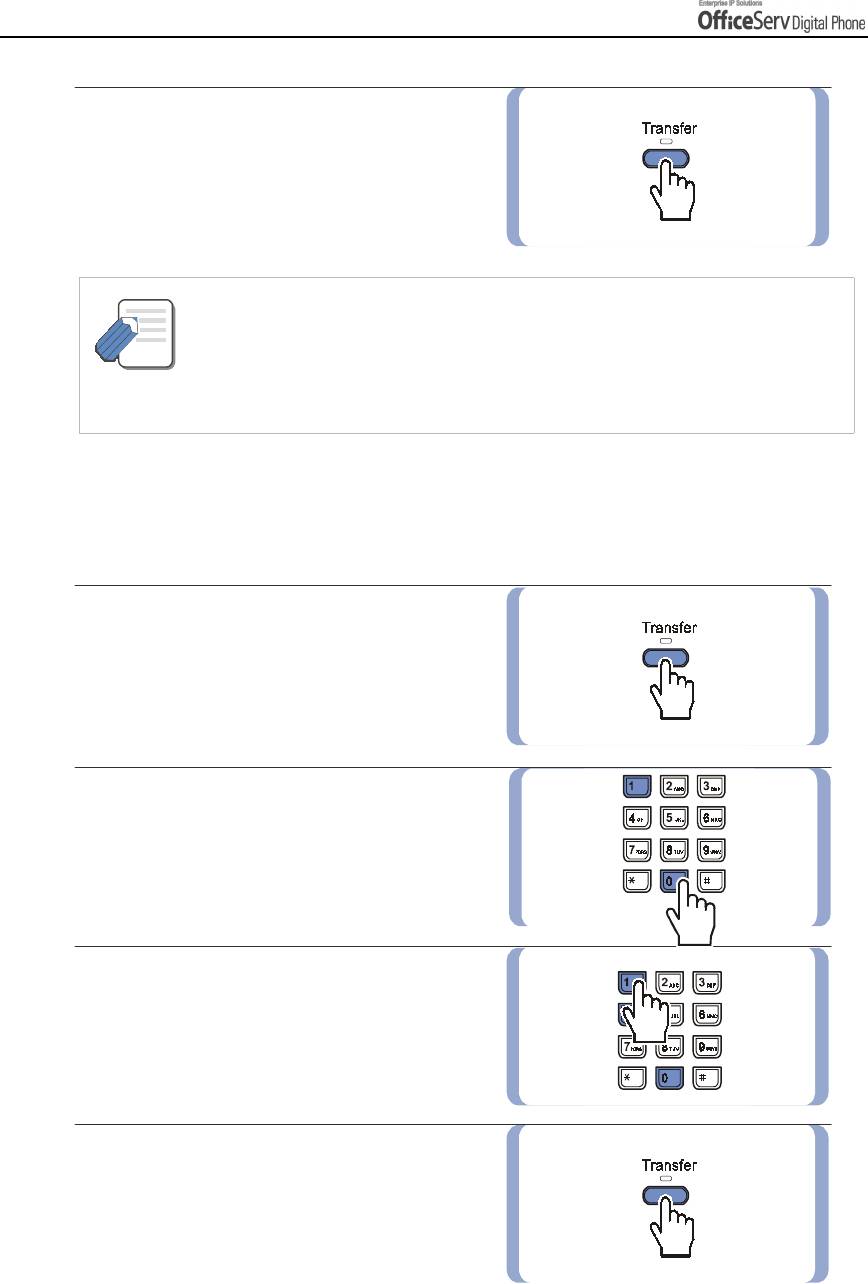
Enabling / Disabling the Key Confirmation Tone
You can enable or disable a short confirmation tone whenever a dial button is pressed.
1.
Press the
[Transfer]
button.
2.
Dial
[1] [1] [0]
.
3.
To use the key confirmation tone,
dial
[0] [4] [1]
, and to disable that the tone,
dial
[0
]
[4]
[0]
.
4.
Save the selected entry by pressing
the
[Transfer]
button.

THING
© SAMSUNG Electronics Co., Ltd.
Page 27
S
YOU
S
HOULD KNOW
Pulse to Tone Changeover
When making an outside call on a dial
pulse(mechanical) line, press the
[#]
button.
All digits dialled after the
[#]
button will be
sent as tones(electronic method).
Hot Keypad
The hot keypad allows you to make a call or activate the other functions of the OfficeServ system by pressing
the dial buttons or function keys directly, without picking up the handset or pressing the [Speaker] button.
If the hot keypad function is turned off, you must pick up the handset or press the [Speaker] button first.
1.
Press the
[Transfer]
button.
2.
Dial
[1] [1] [0]
.
3.
To enable hot keypad, dial
[0] [3] [1]
, and to
disable, dial
[0] [3] [0].
4.
Save the selected entry by pressing
the
[Transfer]
button.
THING
Page 28
© SAMSUNG Electronics Co., Ltd.
S
YOU
S
HOULD KNOW
5. Volume Adjustment
The [
!
!!
!
Volume
""
"
"
] button is used for adjusting the volume of the handset, speaker, and ringer.
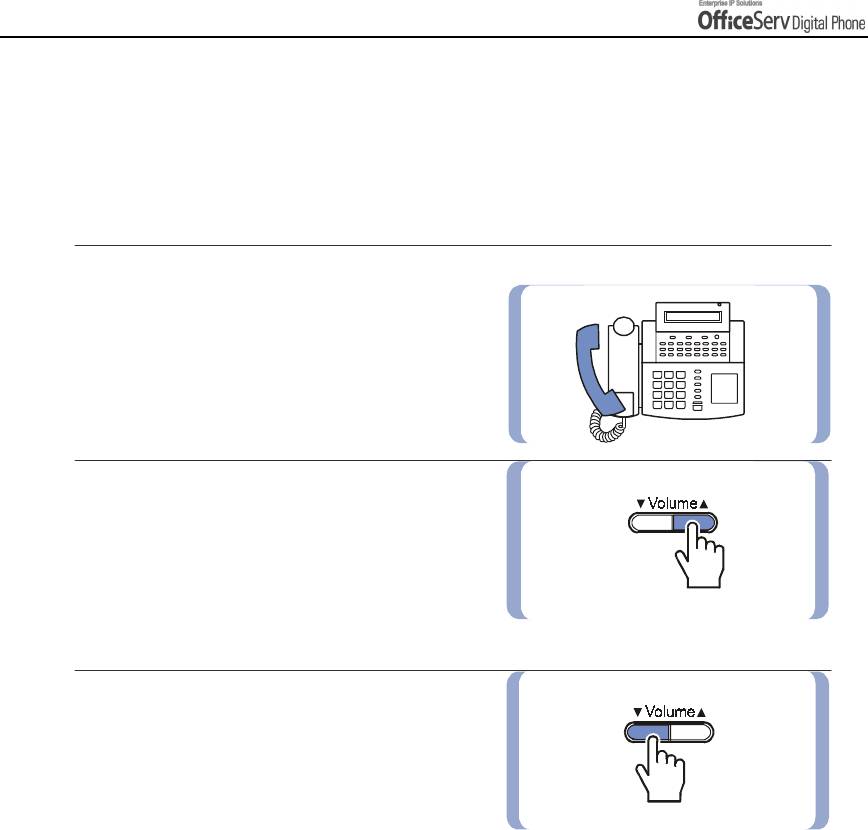
Adjusting Handset Volume
1.
During a call using the handset.
2.
Press the
[Volume"
""
"
]
button to increase
the handset volume.
3.
Press the
[!
!!
!Volume
]
button to decrease
the handset volume.
THING
© SAMSUNG Electronics Co., Ltd.
Page 29
S
YOU
S
HOULD KNOW
Adjusting Speaker Volume
1.
During a call using the
[Speaker]
button.
2.
Press the
[Volume"
""
"
]
button to increase
the speaker volume.
3.
Press the
[!
!!
!Volume
]
button to decrease
the speaker volume.
Adjusting Ring Volume
1.
To increase the ring volume, press the
[Volume"
""
"
]
button while the phone
is ringing.
2.
To decrease the speaker volume, press the
[!
!!
!Volume
]
button while the phone
is ringing.

THING
Page 30
© SAMSUNG Electronics Co., Ltd.
S
YOU
S
HOULD KNOW
6. Types of Signal Tone
The types of signal tone used in this telephone system are described in the following table.
Signal
Usages Signal Interval
Tone Name
A steady tone that indicates
Dial tone
you can begin dialling.
Ring back
Indicates the station you dialled
is ringing.
tone
Indicates the station you dialled
Busy tone
is busy.
Indicates your call is being held
Transfer
and you can dial another
tone
station.
Very short beeps that indicate
Confirmation
you have correctly set or
tone
cancelled a system feature.
* The Signal Interval may vary for each country.
THING
© SAMSUNG Electronics Co., Ltd.
Page 31
S
YOU
S
HOULD KNOW
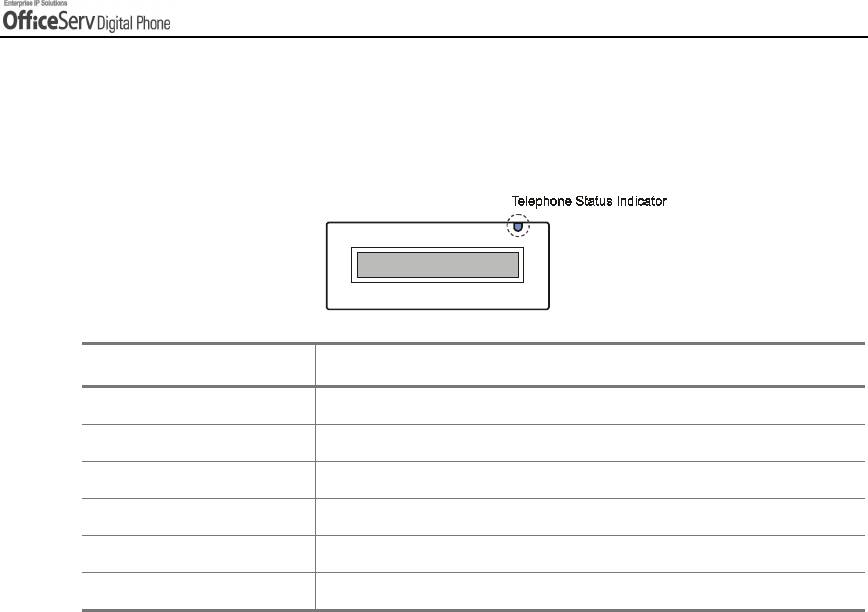
7. Telephone Status Indicator
The status indicator turns on or off according to the telephone status.
Functions Status of LCD Indicators
Busy/Off-hook Steady red
Extension Ring Flashing red
Trunk Ring Flashing green
Recalling Flashing yellow
Message waiting Flashing red
Calling Denied Fast flashing red within 1-second interval.

THING
Page 32
© SAMSUNG Electronics Co., Ltd.
S
YOU
S
HOULD KNOW
8. Button LED
The [Transfer] button, [Hold] button, and [Speaker] button have a LED that turns on or off
according to the phone status.
Transfer
Hold
Speaker
For incoming external calls or intercom calls ringing at your digital phone the trunk button
LED or Call button LED will flash green. The trunk button LED will flash red on other digital
phones with the same trunk button. While holding a call, the green LED of the trunk line will
blink.
In the following table, the functions of LEDs are summarized.
Functions Button LED Status
Trunk line or functions are in use LED is steady green.
New call is ringing LED is a fast flashing green.
While a call is on hold LED is a slow flashing green or red.
A call recalling to the digital phone LED is a slow flashing yellow.


