Philips Clé USB: 5 Enjoy
5 Enjoy: Philips Clé USB
2
5 Enjoy
ENGLISH
Operating the USB flash drive
• Once the USB flash drive is connected to the USB port of the
computer:
– a software package will automatically start up enabling you to
activate various applications. See the software help file for futher
instructions.
Visit our website www.philips.com/storage for software related
2
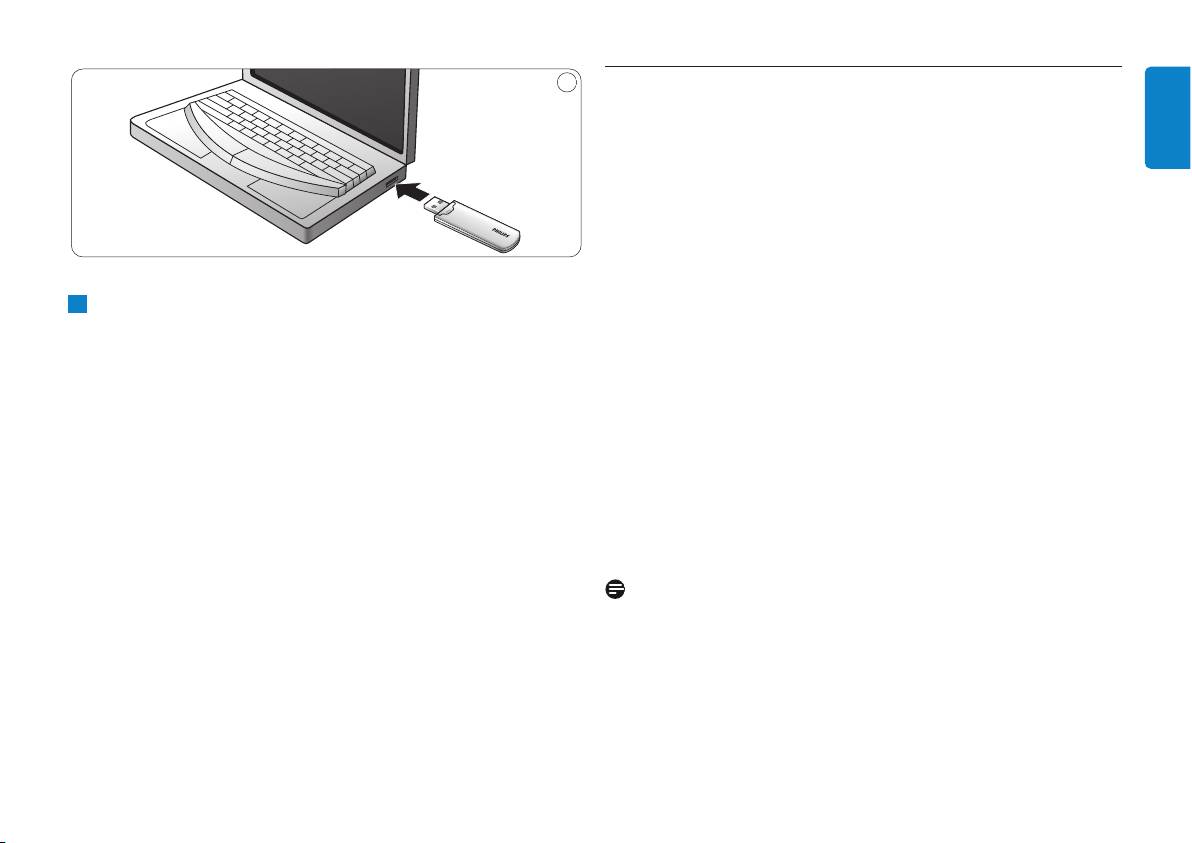
Insert the USB flash drive’s USB connector into one of the
questions and software updates.
computer’s USB ports (fig. 2).
– the drive icon for the USB flash drive will appear.You can now
> The USB flash drive’s LED lights up.The light intensity of the
copy and save data on the drive by dragging files and folders on
LED will gradually increase and then diminish again.This will
the drive icon, just like when you copy data to a hard disk,
continue for as long as the drive is connected to the computer.
CD-ROM, DVD or floppy disk.
> When copying data the LED’s light intensity will quickly
increase and diminish.
• You can choose to allocate part of the flash drive’s memory to
speed up performance and use the remainder to store files.
Once a flash drive has been assigned as the ReadyBoost flash drive
you can no longer use it to save files, play music or retrieve video
and pictures.
Notes
• Do not remove the USB flash drive from the computer USB port
while copying and saving data otherwise the drive will no longer be
recognized by your system.
• When operating under Windows the drive name varies, depending
on your Windows version.
7
Disconnecting the USB flash drive from your computer
Mac OS 9.0 and higher
1
Drag the drive icon to the Trash.
®
Windows
98SE
2
After confirming that the the USB flash drive is in standby mode,
ENGLISH
• After confirming that the USB flash drive is in standby mode you can
remove the the USB flash drive from the computer’s USB port.
remove the flash drive from the computer’s USB port.
®
®
Windows
ME and Windows
2000
1
Double-click the Unplug or eject hardware icon in the task bar
in the lower right part of the screen.
2
In the window that appears, select the name of the device that is
to be removed, then click the STOP button.
3
When the Stop a hardware device screen appears, make sure
the correct information is displayed, then click the OK button.
4
When a message appears, indicating that the USB flash drive can
be safely removed, remove the USB flash drive from the
computer’s USB port.
®
Windows
Vista, XP
1
Double-click the Safely Remove Hardware icon in the task bar
in the lower right part of the screen.
2
In the window that appears, select the name of the device that is
to be removed, then click the STOP button.
3
When the Stop a hardware device screen appears, make sure
the correct information is displayed, then click the OK button.
4
When the message Safe to Remove Hardware appears, remove
the the USB flash drive from the computer’s USB port.
8
Оглавление
- 1 Important
- 2 Your USB flash drive 3 Install
- 4 Connect
- 5 Enjoy
- 6 Technical specifications 7 Need help?
- 1 Important
- 2 Votre lecteur flash USB 3 Installation
- 4 Connexion
- 5 C’est prêt!
- 6 Spécifications techniques 7 Besoin d’aide?
- 1 Wichtig
- 2 Ihr USB-Flash-Laufwerk 3 Installation
- 4 Anschluss
- 5 Los geht’s!
- 6 Technische Angaben 7 Hilfe nötig?
- 1 Importante
- 2 Su unidad flash USB 3 Instale
- 4 Conecte
- 5 Disfrute
- 6 Especificaciones técnicas 7 ¿Necesita ayuda?
- 1 Belangrijk
- 2 Uw USB-flash-drive 3 Installeren
- 4 Aansluiten
- 5 Genieten
- 6 Technische gegevens 7 Hulp nodig?
- 1 Importante
- 2 L’unità flash USB 3 Installazione
- 4 Collegamento
- 5 Funzionamento
- 6 Specifiche tecniche 7 Occorre assistenza?
- 1 Importante
- 2 A unidade flash USB 3 Instalação
- 4 Ligação
- 5 Utilização
- 6 Especificações técnicas 7 Precisa de ajuda?
- 1 Важная информация
- 2 Ваша флэш-память USB 3 Установка
- 4 Подключение
- 5 Используйте
- 6 Технические спецификации 7 Требуется помощь?
- 1 Ważne
- 2 Pamięć flash USB
- 3 Instaluj
- 4 Podłącz
- 5 Używaj
- 6 Dane techniczne
- 1 Důležité
- 2 Vaše jednotka Flash USB 3 Instalace
- 4 Připojení
- 5 Využití
- 6 Technické údaje 7 Potřebujete pomoc?
- 1 Dôležité
- 2 Vaša USB jednotka Flash
- 3 Nainštalujte
- 4 Pripojte
- 5 Vychutnajte si
- 6 Technické údaje
- 1 Fontos tudnivalók
- 2 Az USB flash meghajtó
- 3 Telepítés
- 4 Csatlakozás
- 5 Élvezze
- 6 Műszaki adatok
