Karcher B 40 C Ep: Shutting Down the Appliance
Shutting Down the Appliance: Karcher B 40 C Ep
-
4
Press the pedal for lowering the clean-
ing head downwards slightly and then
move it to the left. This unlocks the ped-
al. Release the pedal slowly upwards.
The cleaning head is lowered.
Note
The brush motor comes to a halt when the
machine stops and when there is overload.
Pull the lever out and press it down; the
vacuum bar is lowered.
Note
For cleaning tiled floors, set the straight
vacuum bar in such a way that cleaning is
done at right angles to the joints.
The inclined position and the inclination of
the vacuum bar can be adjusted to achieve
better suction results (see "Setting the Vac-
uum Bar").
If the wastewater reservoir is full,
the
floater will close the suction opening and
the suction turbine will run at a higher
speed. If this is the case, shut the vacuum
off and drive to empty the wastewater res-
ervoir.
Close the regulatory button for setting
the water quantity.
Release the safety switch.
Set the program selection switch to suc-
tion or vacuuming.
Lift the cleaning head.
Briefly drive forward and suck of the re-
maining water.
Raise the vacuum bar.
Disconnect the main plug from the
socket.
몇
Warning
Please observe the local provisions regard-
ing the wastewater treatment.
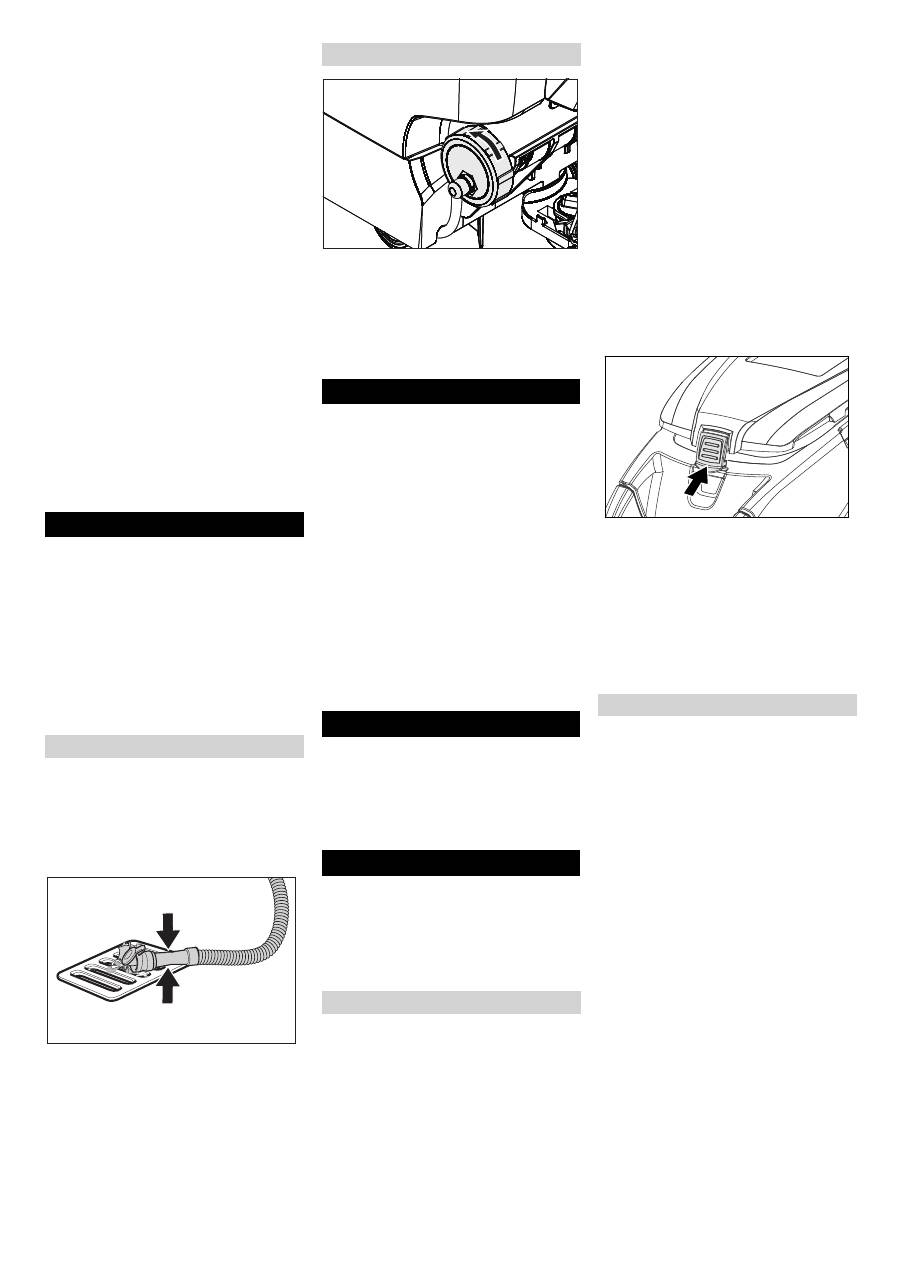
Take the water discharge hose from the
support and lower above a suited col-
lection device.
Crush or bend the dosing equipment.
Open the lid of the dosing equipment.
Drain off the dirt water - regulate the
water quantity by pressing or bending.
Rinse the wastewater reservoir with
clea water or with the rinsing system for
the wastewater reservoir (option).
Loosen the lid for emptying the fresh
water - do not remove it fully. Drain wa-
ter.
To rinse the fresh water reservoir, re-
move the cover completely and remove
the fresh water filter.
Danger
Risk of injury! When loading or unloading
the machine, it may only be operated on
gradients of max. incline (see "Technical
Specifications"). Drive slowly.
Caution
Risk of injury and damage! Observe the
weight of the appliance when you transport
it.
Raise the cleaning head to avoid dam-
age to the brushes.
Remove the brush to avoid damage to
the brushes.
When transporting in vehicles, secure
the appliance according to the guide-
lines from slipping and tipping over.
Caution
Risk of injury and damage! Note the weight
of the appliance in case of storage.
This appliance must only be stored in inte-
rior rooms.
Danger
Risk of injury. Pull the plug from the mains
before carrying out any tasks on the appli-
ance.
Drain and dispose of the dirt water and
the residual fresh water.
Caution
Risk of damage. Do not wash down the ap-
pliance with water and do not use aggres-
sive detergents.
Drain off dirt water.
Rinse the wastewater reservoir with
clea water or with the rinsing system for
the wastewater reservoir (option).
Remove the coarse dirt sieve from the
wastewater reservoir and clean it.
Clean the outside of the appliance with
a damp cloth which has been soaked in
mild detergent.
Check the fluff filter, clean if required
Only BR model: Remove bulk waste
container and empty it.
Only BR model: Clean water distributor
channel (see section „Maintenance
work“).
Clean the vacuum lips and the wiping
lips, check for wear and replace if re-
quired.
Check the brushes for wear, replace if
required.
Press the lock of the wastewater reser-
voir in and close the cover of the waste-
water reservoir so that a gap remains
open to facilitate drying.
Clean the seals between dirt water res-
ervoir and cover and check for tight-
ness, replace if required.
Clean the brush tunnel (only BR mod-
el).
Have the prescribed inspection carried
out by the customer service.
Take the dirt water discharge hose from
the support and lower above a suited
collection device.
Open the lid of the dosing equipment.
Open the cover of the wastewater res-
ervoir.
Pull the flexible lock off of the rinsing
system.
Connect the water hose to the rinsing
system.
Lower the cleaning head
Lower the vacuum bar
Shutting Down the Appliance
Drain off dirt water
Drain off clean water
Transport Storage Maintenance and care
Maintenance schedule
After each operation
Monthly
Yearly
Maintenance Works
Wastewater reservoir rinsing system
(option)
13 EN
Оглавление
- Deutsch
- Bedien- und Funktionselemente
- Vor Inbetriebnahme
- Anhalten und abstellen
- Frostschutz Störungen
- Zubehör B 40
- Technische Daten
- English
- Operating and Functional Elements
- Before Startup
- Shutting Down the Appliance
- Frost protection
- Faults
- Accessory B 40
- Technical specifications
- Français
- Eléments de commande et de fonction
- Avant la mise en service
- Arrêt et mise hors marche de l'appareil
- Protection antigel Pannes
- Accessoires B 40
- Caractéristiques techniques
- Italiano
- Elementi di comando e di funzione
- Prima della messa in funzione
- Arresto e spegnimento
- Antigelo
- Guasti
- Accessori B 40
- Dati tecnici
- Nederlands
- Elementen voor de bediening en de functies
- Voor de inbedrijfstelling
- Stoppen en stilleggen
- Vorstbescherming
- Storingen
- Toebehoren B 40
- Technische gegevens
- Español
- Elementos de operación y funcionamiento
- Antes de la puesta en marcha
- Detención y apagado
- Protección antiheladas Averías
- Accesorio B 40
- Datos técnicos
- Português
- Elementos de comando e de funcionamento
- Antes de colocar em funcio- namento
- Parar e desligar
- Protecção contra o congela- mento Avarias
- Acessórios B 40
- Dados técnicos
- Dansk
- Betjenings- og funktionselementer
- Inden ibrugtagning
- Standse og stille til siden
- Frostbeskyttelse
- Fejl
- Tilbehør B 40
- Tekniske data
- Norsk
- Betjenings- og funksjonelementer
- Før den tas i bruk
- Stansing og parkering
- Frostbeskyttelse
- Feil
- Tilbehør B 40
- Tekniske data
- Svenska
- Manövrerings- och funktionselement
- Före ibruktagande
- Stoppa och parkera
- Frostskydd
- Störningar
- Tillbehör B 40
- Tekniska data
- Suomi
- Ohjaus- ja käyttölaitteet
- Ennen käyttöönottoa
- Pysähdys ja pysäköinti
- Suojaaminen pakkaselta
- Häiriöt
- Varusteet B 40
- Tekniset tiedot
- Πίνακας περιεχομένων
- Εγγύηση Στοιχεία χειρισμού και λειτουργίας
- Πριν τη θέση σε λειτουργία
- Στάση και θέση εκτός λειτουρ - γίας
- Φροντίδα και συντήρηση
- Αντιπαγετική προστασία
- Βλάβες
- Πρόσθετος εξοπλισμός B 40
- Τεχνικά χαρακτηριστικά
- Türkçe
- Kullan ı m ve çal ı ş ma elemanlar ı
- Cihaz ı çal ı ş t ı rmaya ba ş lama- dan önce
- Durma ve durdurma
- Antifriz koruma
- Ar ı zalar
- Aksesuarlar B 40
- Teknik Bilgiler
- Оглавление
- Гарантия Описание элементов управления и рабочих узлов
- Перед началом работы
- Остановка и парковка
- Защита от замерзания
- Неполадки
- Принадлежности B 40
- Технические данные
- Magyar
- Kezelési- és funkciós elemek
- Üzembevétel el ő tt
- Megállás és leállítás
- Fagyás elleni védelem
- Üzemzavarok
- Tartozék B 40
- M ű szaki adatok
- eština
- Ovládací a funk č ní prvky
- P ř ed uvedením do provozu
- Zastavení a vypnutí p ř ístroje
- Ochrana proti zamrznutí
- Poruchy
- P ř íslušenství B 40
- Technické údaje
- Slovenšina
- Upravljalni in funkcijski elementi
- Pred zagonom
- Zaustavljanje in odlaganje
- Zaš č ita pred zamrznitvijo
- Motnje
- Pribor B 40
- Tehni č ni podatki
- Polski
- Elementy urz ą dzenia
- Przed pierwszym uruchomie- niem
- Zatrzymywanie i odstawianie
- Ochrona przeciwmrozowa
- Usterki
- Akcesoria B 40
- Dane techniczne
- Românete
- Elemente de utilizare ş i func ţ ionale
- Înainte de punerea în func ţ iu- ne
- Oprirea ş i depozitarea
- Protec ţ ia împotriva înghe ţ ului
- Defec ţ iuni
- Accesorii B 40
- Date tehnice
- Slovenina
- Ovládacie a funk č né prvky
- Pred uvedením do prevádzky
- Zastavenie a odstavenie
- Ochrana proti zamrznutiu
- Poruchy
- Príslušenstvo B 40
- Technické údaje
- Hrvatski
- Komandni i funkcijski elementi
- Prije prve uporabe
- Zaustavljanje i odlaganje
- Zaštita od smrzavanja Smetnje
- Pribor B 40
- Tehni č ki podaci
- Srpski
- Komandni i funkcioni elementi
- Pre upotrebe
- Zaustavljanje i odlaganje
- Zaštita od smrzavanja Smetnje
- Pribor B 40
- Tehni č ki podaci
- Съдържание
- Гаранция Обслужващи и функционални елементи
- Преди пускане в експлоата - ция
- Спиране и изключване
- Защита от замръзване
- Повреди
- Принадлежности B 40
- Технически данни
- Eesti
- Teenindus- ja funktsioonielemendid
- Enne seadme kasutuselevõt- tu
- Peatumine ja seiskamine
- Jäätumiskaitse Rikked
- Tarvikud B 40
- Tehnilised andmed
- Latviešu
- Vad ī bas un funkcijas elementi
- Pirms ekspluat ā cijas uzs ā k- šanas
- Aptur ē šana un izsl ē gšana
- Aizsardz ī ba pret aizsalšanu Trauc ē jumi
- B 40 piederumi
- Tehniskie dati
- Lietuviškai
- Valdymo ir funkciniai elementai
- Prieš pradedant naudoti
- Sustojimas ir palikimas sto- v ė ti
- Apsauga nuo šal č io Gedimai
- B 40 priedai
- Techniniai duomenys
- Перелік
- Гарантія
- Елементи управління і функціональні вузли
- Перед початком роботи
- Зупинка та паркування
- Захист від морозів
- Неполадки
- Додаткове обладнання B 40
- Технічні характеристики
