LG KG225: Organiser
Organiser: LG KG225

Organiser
Contacts Menu 4.1
]
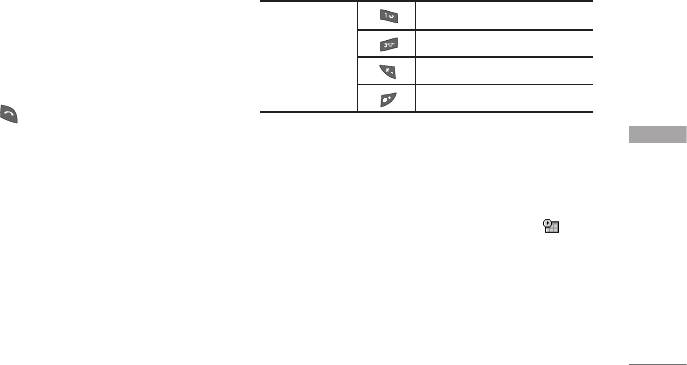
Write multimedia message:
Use this to write a
multimedia message to the contact.
You can save phone numbers and their
corresponding names in the memory of your SIM
]
Copy:
You can copy an entry from SIM to phone or
card. In addition, you can save up to 500 numbers
from phone to SIM.
and names in the phone memory.
]
Main Number:
If more than one number is listed
Press the left soft key [Menu] in standby mode, then
you can choose the main number you want to be
select Contacts.
displayed.
]
Delete:
Deletes the contact.
Search (Menu 4.1.1)
1. Select
Search.
You are asked to enter a name.
Add new (Menu 4.1.2)
2. Enter the start of the name that you wish to find
You can add a contact entry using this function.
Organiser
and press the left soft key [Search].
There are 2 memories: Phone memory and SIM
]
You can access the Contacts directly by pressing
memory. To select the memory, go to Set memory
navigation key in standby mode.
(Menu 4.1.5.1). The phone memory capacity is 500
entries. You can enter up to 20 characters in each
3. After finding the desired contact, you can make a
name in the phone memory. The SIM card memory
call to the number by pressing the key. Or
capacity depends on the SIM card.
press the left soft key [Option] to use the
following options.
1. Press the Menu key and select
Contacts
>
Add
new.
]
Edit:
You can edit the name and number.
2. You can add new contact entries to the SIM
]
Write text message:
Use this to write a text
memory or the phone memory. To select the
message to the contact.
memory, go to Set memory (Menu 4.1.5.1).
38

(Refer to page 40)
]
Group icon:
Use this to select the graphic icon to
]
Adding new entries into SIM memory:
be displayed when you receive a call from a person
You can enter a name and number, and select the
in the group.
required group. (Depends on the SIM)
]
Add member:
Add a member to the group. You can
]
Adding new entries into the phone memory:
add up to 20 members per group.
You can enter a name, and number, and select the
]
Remove member:
Removes the member from the
required group. And select which number will be
group member list. The contact entry still remains
the main number.
in Contacts.
]
Rename:
Assigns a new name to the group.
Caller groups (Menu 4.1.3)
You can add up to 20 members per group, with up to
Speed dials (Menu 4.1.4)
a maximum of 7 groups in total.
Assign contacts to any of the keys
to
. You
Organiser
1. Select
Caller groups.
All group lists will be
can then call that contact by pressing the
displayed:
Family, Friend, Colleague, VIP,
corresponding number key.
Group 1, Group 2, and Others.
1. Scroll to
Speed dial
, then press [OK].
2. Select the group name that you want to manage
2. To add a number to
Speed dial,
select (Empty).
by pressing the left soft key [Option].
Then, you can search the name through Contacts.
The following submenus will be displayed.
3. You can change or delete a speed dial number,
]
Member list:
Displays the member list in the group.
make a call or send a message by pressing the left
]
Group ring tone:
Use this to select the ring tone
soft key [Option].
to be used when you receive a voice phone call
from a person in the group.
39

Organiser
Settings (Menu 4.1.5)
Copy all (Menu 4.1.6)
Set memory
(Menu 4.1.5.1)
You can copy/move entries from the SIM card
memory to the phone memory and vice versa.
You can select the memory for the Contacts feature
between the SIM and the phone. If you select
]
SIM to Phone:
Use this to copy the entry from the
Variable
, when adding entry, the phone will ask where
SIM Card to the Phone memory.
to save the number.
]
Phone to SIM:
Use this to copy the entry from the
Phone memory to the SIM Card.
Search by
(Menu 4.1.5.2)
You can set the phone to search by name or number,
The following options are available.
when you search Contacts. If you select
Variable
, the
•
Keep original:
When copying, the original dial
phone will ask how to search when you search
numbers are kept.
Contacts.
•
Delete original:
When copying, the original dial
Organiser
View options
(Menu 4.1.5.3)
numbers will be erased.
You can set the Contact display option.
Delete all (Menu 4.1.7)
]
Name only:
When you search Contacts, the list
displays the names only.
You can delete all entries in the SIM and/or phone.
This function requires the security code.
]
With pictures:
When you search Contacts, the list
displays names and corresponding pictures.
Press to return to standby mode.
]
Name & number:
When you search Contacts, the
list displays the names and numbers.
40
Information (Menu 4.1.8)
Schedule Menu 4.2
]
Service dial number (SIM dependent):
When you enter this menu, a calendar appears. A
Use this to view the list of Service Dialling Numbers
square cursor is located on the current date. You can
(SDN) assigned by your network operator (if
move the cursor to another date using the navigation
supported by the SIM card). Such numbers include
keys. On the calendar, you can use the following keys.
the emergency, directory enquiries and voice mail
numbers.
skips back a year.
1. Select the Service dial number option.
skips forward a year.
Each press of
2. The names of the available services will be shown.
skips back a month.
3. Use the up/down navigation keys to select a
skips forward a month.
service. Press .
]
Memory in use:
You can check the current memory
You can enter a schedule or memo in the scheduler
Organiser
status of the SIM card or the phone memory.
by pressing the left soft key [Options].
]
Own number (SIM dependent):
Use this to
]
Add new:
Select this to enter a new schedule or
display your phone number in the SIM card.
memo. After a schedule note is entered on a date,
the date is shown in a different colour and
appears on the right bottom of the screen. This
function reminds you of your schedule. And the
phone will sound an alarm tone if you set the
phone to do so.
41

Organiser
]
View:
Shows the schedule note or memo for the
chosen day. Press the left soft key [Options] to
edit or delete the note you selected.
]
View all:
Shows all the notes that are entered in the
phone. Use the up/down navigation keys to browse
through the note lists.
]
Delete past:
Select this to delete the expired
schedule notes that you have already been notified
of.
]
Delete all:
Select this to delete all the schedule
notes and memos.
Organiser
42
Оглавление
- KG225 ИНСТРУКЦИЯ ПОЛЬЗОВАТЕЛЯ KG225 ИНСТРУКЦИЯ ПОЛЬЗОВАТЕЛЯ
- Table of Contents
- Introduction
- Guidelines for safe and efficient use
- KG225 Features
- Getting started
- General functions
- Selecting functions and options
- Menu tree
- Profiles
- Call register
- Fun & Tools
- Organiser
- Messages
- Camera
- Downloads
- Internet
- Settings
- On browsing menu
- Accessories
- Technical data


