LG C1400: Installation
Installation: LG C1400
Installation
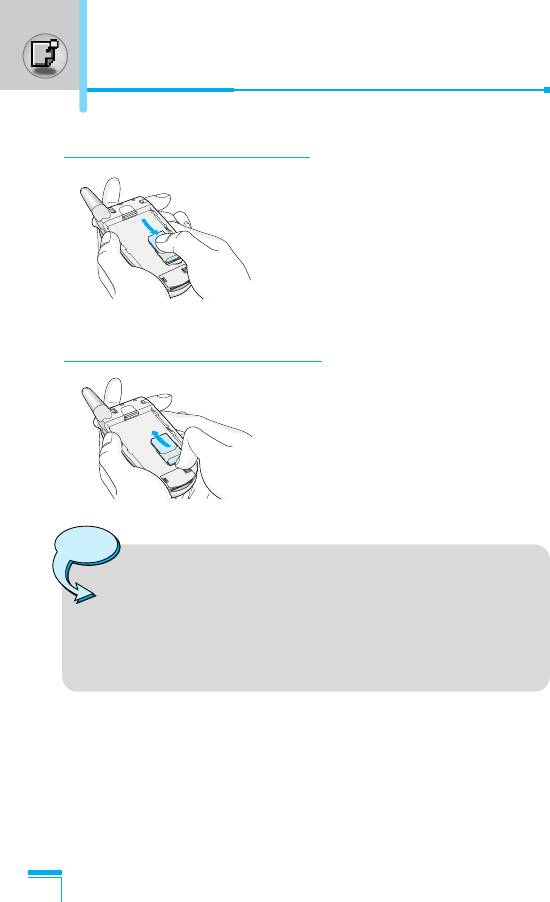
1. Inserting the SIM Card
Locate the SIM card socket in the back
of the phone. Follow the steps below to
install the SIM card.
1. Remove the battery if attached.
2. Slide the SIM card into the slot,
under the silvery holders, with the
golden connectors facing down.
2. Removing the SIM Card
Follow the steps below to Remove the
SIM card.
1. Remove the battery if attached.
2. Take out the SIM card from the slot.
Notice
• Removing the battery from the phone whilst it is
switched on may cause it to malfunction.
• The metal contact of the SIM card can be easily
damaged by scratches. Pay special attention to the SIM
card when you handle and install. Follow the
instructions supplied with the SIM card.
Getting Started
18
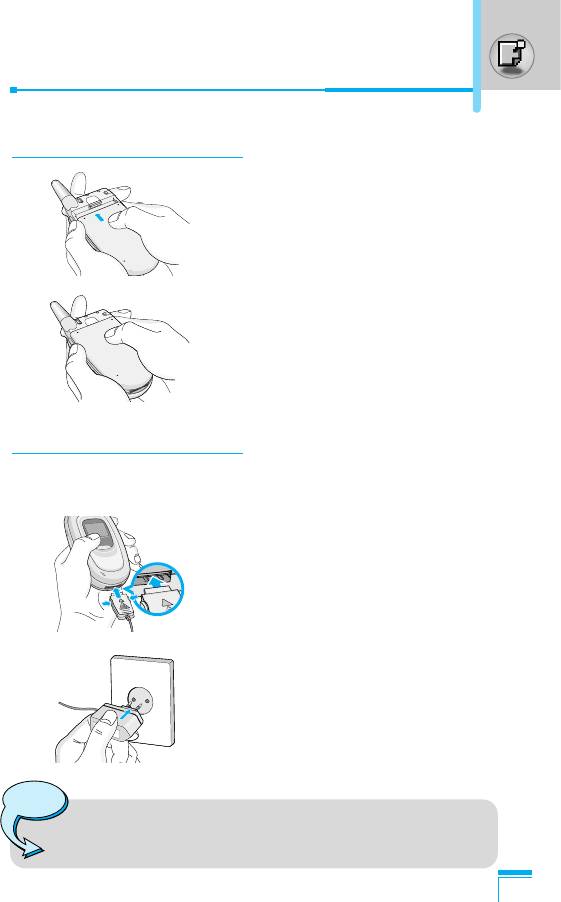
3. Installing the Battery
1. Position the lugs on the bottom of
the battery into the retaining holder.
2. Then push to the half of the battery
into position.
4. Charging the Battery
To connect the travel adapter to the phone, you must have installed
the battery.
1. With the arrow facing you as shown
in the diagram push the plug on the
battery adapter into the socket on
the bottom of the phone until it
clicks into place.
2. Connect the other end of the travel
adapter to the mains socket.
Getting Started
Use only the included packing
charger.
Warning
• Do not force the connector as this may damage the
phone and/or the travel adapter.
19
Installation
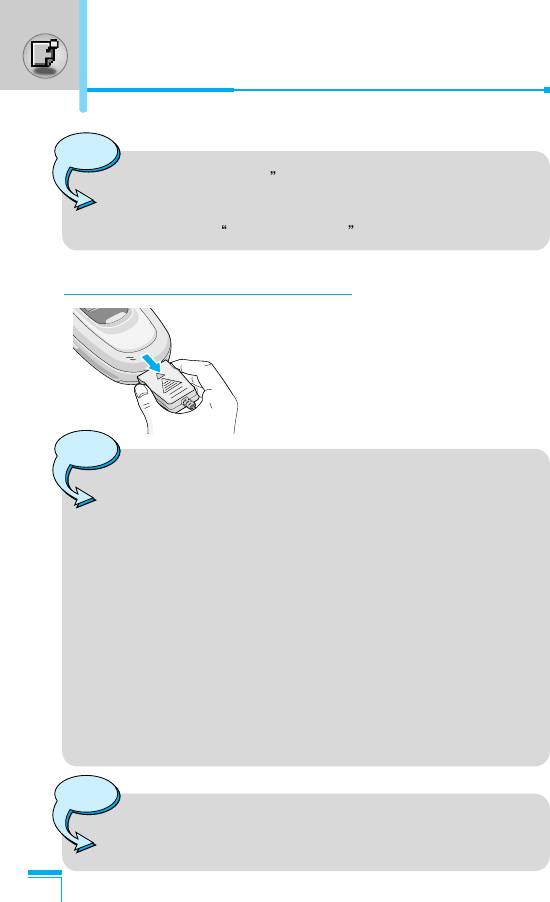
Note
• “Battery Charging is displayed on the screen after
connecting the travel adapter. Only if the battery is
totally empty, Call indicator Light is on without
displaying Battery Charging .
5. Disconnecting the charger
Disconnect the travel adapter from the
phone by pressing its side buttons as
shown in the diagram.
Note
• Ensure the battery is fully charged before using the
phone.
• Do not remove your battery or the SIM card while
charging.
• The moving bars of battery icon will stop after
charging is complete.
• At the beginning of charging or at the moment of
disconnecting the charger from the phone the Sub
LCD backlight will flash red/green.
• When charging is complete, it will flash green. Please
note in this case that it may require a longer initial
Getting Started
charging time before displaying “Charging” on the
screen of the phone.
• The charging time depends on the charger and the
battery used.
Note
If the battery does not charge,
• switch the phone off.
• ensure the battery is correctly fit.
20
Оглавление
- êÂÍÓÏẨ‡ˆËË ‰Îfl ·ÂÁÓÔ‡ÒÌÓ„Ó Ë ˝ÙÙÂÍÚË‚ÌÓ„Ó ËÒÔÓθÁÓ‚‡ÌËfl
- é„·‚ÎÂÌËÂ
- ó‡ÒÚË íÂÎÂÙÓ̇
- éÔËÒ‡ÌË ä·‚˯
- éÔËÒ‡ÌË ä·‚˯
- àÌÙÓχˆËfl ̇ ÑËÒÔÎÂÂ
- ìÒÚ‡ÌÓ‚ÍË
- éÒÛ˘ÂÒÚ‚ÎÂÌË Ç˚ÁÓ‚‡ Ë éÚ‚ÂÚ Ì‡ Ç˚ÁÓ‚˚
- åÂÌ˛ ‚ ıӉ ‚˚ÁÓ‚‡
- äÓ‰˚ ‰ÓÒÚÛÔ‡
- ëıÂχ ÏÂÌ˛
- ëÓÓ·˘ÂÌËfl [åÂÌ˛ 1]
- Ç˚ÁÓ‚˚ [åÂÌ˛ 2]
- èÓÙËÎË [åÂÌ˛ 3]
- ç‡ÒÚÓÈÍË [åÂÌ˛ 4]
- 鄇̇ÈÁ [åÂÌ˛ 5]
- ÄÍÒÂÒÒÛ‡˚ [åÂÌ˛ 6]
- àÌÚÂÌÂÚ [åÂÌ˛ 7]
- åÂÌ˛ ÓÌ-·ÈÌ
- Java [åÂÌ˛ 8]
- Favorites [åÂÌ˛ 9]
- ÄÍÒÂÒÒÛ‡˚
- ìıÓ‰ Ë íÂıÌ˘ÂÒÍÓ ӷÒÎÛÊË‚‡ÌËÂ
- íÂıÌ˘ÂÒÍË ÍÚÂËÒÚËÍË
- Memo
- Guidelines for Safe and Efficient Use
- Contents
- Part of the Phone
- Key Description
- Key Description
- Display Information
- Installation
- Making and Answering Calls
- In call Menu
- Access Codes
- Menu Tree
- Messages [Menu 1]
- Call register [Menu 2]
- Profiles [Menu 3]
- Settings [Menu 4]
- Organiser [Menu 5]
- Fun & Tools [Menu 6]
- Internet [Menu 7]
- On browsing menu
- Java [Menu 8]
- Favorites [Menu 9]
- Accessories
- Care and Maintenance
- Technical Data

")
