LG F2100: Camera [Menu 6]
Camera [Menu 6]: LG F2100
Camera [Menu 6]
With the camera you can take pictures of people and events while
on the move.
Take picture [Menu 6-1]
❈ To take a picture with Folder opened
1. Select Camera, and then press <. If you want to reach this
menu directly, press Q for a long time.
2. Focus on the subject to capture the image, and then press
Q or P or O.
3. If you want to save it, press < or Q or O.
❈ To take a picture with Folder closed
You can see yourself by sub LCD, when you take your self-portrait.
1. Press P for a long time.
2. Select Take picture highlight with [ side volume key, then
press P.
3. Focus on the subject to capture the image, and then press P.
This time, the picture is saved automatically.
Submenus
• Take picture
Accessing the Menu
• Slide show
• Torch
• Back
67
Camera [Menu 6]
Reference!
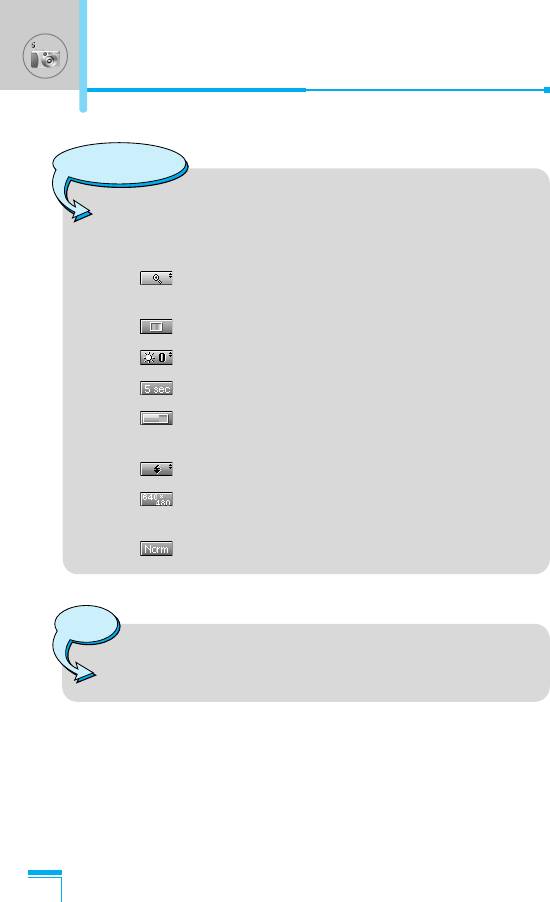
• Settings window
You can control the image size, brightness, colour and
zooming by pressing U or D.
[ ] Zooming: x1, x2, x4 (depends on resolution).
The default value is x1.
[ ] Colour: True colour, Sepia, Black/White.
[ ] Brightness: –2, –1, Standard, +1, +2.
[ ] Autoshoot: Off, 3 sec, 5 sec.
[ ] Memory status: Check the available memory to
take new pictures.
[ ] Flash: Set on/off the Flash light.
[ ] Resolution: VGA 640x480, QVGA 320x240,
QQVGA 128x160, PB : 48x48
[ ] Picture quality: Basic, Norm and Fine .
Accessing the Menu
Note
• To use the Picture Phonebook, you have to take picture
at 48x48 pixels.
68
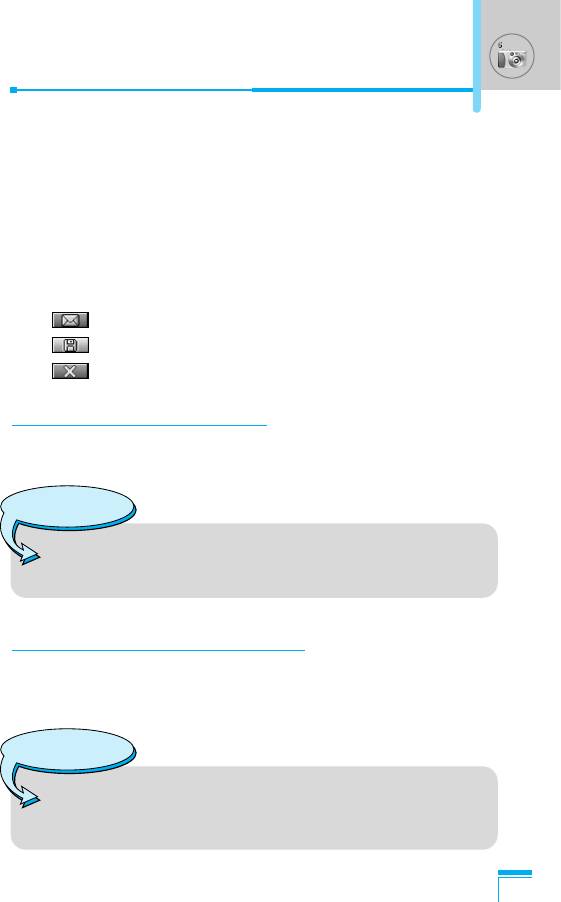
Activating a key
- LR : Move the item which you set.
- UD: Modify the option selected.
- Q O : Take and save a picture.,
- > : Go back to the previous menu or exit from camera
mode.
- P : Take and save a picture.
- : Send via MMS.
- : Save the picture in the Album.
- : Delete the picture.
Take in modes [Menu 6-2]
You can take a picture on the various of backgrounds. Furthermore,
you can select a frame by pressing U , D.
Reference!
• In this mode, you can’t change the settings of resolution.
Accessing the Menu
Take continuously [Menu 6-3]
You can take the maximum of 9 pictures subsequently at the same
time. After taking a picture, you can view it by pressing D.
You can also save it by pressing <.
Reference!
• If you set 320x240 in resolution, you can take only
6 pictures. In case of 128x160, it is available to 9
pictures.
69

Camera [Menu 6]
Album [Menu 6-4]
You can view and send a picture. In addition, you can set the
window as a background.
All pictures [Menu 6-4-1]
You can view all pictures in order.
General pictures [Menu 6-4-2]
You can view all pictures except of frame and phone book ones.
Mode pictures [Menu 6-4-3]
You can view all frame pictures.
• Options
- Multi view: You can view the maximum of 9 thumbnails in a
screen.
- Write multimedia message: You can send a picture thru MMS.
- Set as wallpaper: You can set a picture as a wallpaper.
- Slide show: This menu allows you to view as a slide show
automatically.
- Delete: You can delete a picture.
Accessing the Menu
- Edit title: You can edit the title of picture.
- View information: You can view the information about Title,
Size, Date and Time you’ve taken.
- Protection: You can lock the picture for deleting in mistakes in
this menu.
70
Phonebook pictures [Menu 6-4-4]
You can view all phonebook pictures.
• Options
- Set as wallpaper: You can set a picture as a wallpaper.
- Slide show: This menu allows you to view as a slide show
automatically.
- Delete: You can delete a picture.
- Edit title: You can edit the title of picture.
- View information: You can view the information about Title,
Size, Date and Time you’ve taken.
- Protection: You can lock the picture for deleting in mistakes in
this menu.
Settings [Menu 6-5]
Memory status [Menu 6-5-1]
You can check the capacity of photo and free memory.
Clear album [Menu 6-5-2]
You can delete all pictures which saved in a memory.
Accessing the Menu
Auto save [Menu 6-5-3]
Automatically saves the pictures taken with the camera.
71
Оглавление
- ÑÎfl LJ¯ÂÈ ÅÂÁÓÔ‡ÒÌÓÒÚË
- êÂÍÓÏẨ‡ˆËË ‰Îfl ·ÂÁÓÔ‡ÒÌÓ„Ó Ë ˝ÙÙÂÍÚË‚ÌÓ„Ó ËÒÔÓθÁÓ‚‡ÌËfl
- é„·‚ÎÂÌËÂ
- ó‡ÒÚË íÂÎÂÙÓ̇
- éÔËÒ‡ÌË ä·‚˯
- àÌÙÓχˆËfl ̇ ÑËÒÔÎÂÂ
- ìÒÚ‡ÌÓ‚ÍË
- éÒÛ˘ÂÒÚ‚ÎÂÌË Ç˚ÁÓ‚‡ Ë éÚ‚ÂÚ Ì‡ Ç˚ÁÓ‚˚
- åÂÌ˛ ‚ ıӉ ‚˚ÁÓ‚‡
- äÓ‰˚ ‰ÓÒÚÛÔ‡
- ëıÂχ ÏÂÌ˛
- èÓÙËÎË [åÂÌ˛ 1]
- Ç˚ÁÓ‚˚ [åÂÌ˛ 2]
- ÄÍÒÂÒÒÛ‡˚ [åÂÌ˛ 3]
- 鄇̇ÈÁ [åÂÌ˛ 4]
- ëÓÓ·˘ÂÌËfl [åÂÌ˛ 5]
- ä‡Ï‡ [åÂÌ˛ 6]
- ç‡ÒÚÓÈÍË [åÂÌ˛ 7]
- ë‚ËÒ [åÂÌ˛ 8]
- ᇄÛÁÍË [åÂÌ˛ 9]
- ÄÍÒÂÒÒÛ‡˚
- íÂıÌ˘ÂÒÍË ÍÚÂËÒÚËÍË
- è‡ÏflÚ͇
- For Your Safety
- Guidelines for safe and efficient use
- Contents
- Part of the Phone
- Key Description
- Display Information
- Installation
- Making and Answering Calls
- In call Menu
- Access Codes
- Menu Tree
- Profiles [Menu 1]
- Call register [Menu 2]
- Tools [Menu 3]
- Organiser [Menu 4]
- Messages [Menu 5]
- Camera [Menu 6]
- Settings [Menu 7]
- Service [Menu 8]
- Downloads [Menu 9]
- Accessories
- Technical Data
- Memo