Electrolux NPX 6 SENSOMATIC: CHAPTER CHAPTER
CHAPTER CHAPTER: Electrolux NPX 6 SENSOMATIC
41
41
SAMPLER
CHAPTER
CHAPTER
When talking about music, a sampler is not a plate of hors d’oeuvres. A sampler is a
device that will digitally record a sound that you can then replay at various pitches. If
you’re into any kind of electronic dance music or hip-hop, you’ve undoubtedly heard
samplers in use.
But what good is a sampler for a DJ? In recent years, DJs have used samplers to add
sound effects to their mix. Such effects range from simple sounds like laser guns and
7
1
bombs to more complex passages, such as a radio station’s identification or the DJ’s
name. Torq’s Sampler will let you do the same—and due to its tight integration with the
Decks, you’ll also be able to record loops that will stay synchronized to your mix. This
will give you the ability to record and layer a song back on top of itself, or to play other
loops in sync with your music. This can be especially effective when using the Sampler
with various drum and percussion loops—you can create your own drum patterns to
layer with your mix for added emphasis, or to keep the beat flowing during a breakdown
in the music.
Torq has 16 individual Sample Slots, each capable of recording and playing back a single
audio sample. Below, you’ll learn the how to use the various controls in the Sampler
along with techniques for capturing perfect loops.
Signal Source
Before you can record a sample, you must choose an audio source for the sample. When
using Torq, this is as simple as engaging the PFL (headphone icon) on a Mixer channel.
When you do this, you’ll hear that channel in your headphones and it will also be routed
to the Sampler. This means that the Headphone Volume slider also acts as the Record
Level adjustment for the Sampler.
This routing scheme has two benefits. First, you can record a sample from an audio
source that your audience cannot hear. For example, you could record a vocal break
from your next song and play it to hint at the track you’re about to play. Secondly, this
routing scheme allows you to record from more than one source at a time. If you enable
the PFL on multiple Mixer channels, their signals will be mixed together for sampling as a
whole.
The idea when making any type of digital recording is to record the sound as loud as
possible, but not so loud that it causes distortion. Like “The Price Is Right,” you want to
get as close to the maximum without going over. Torq includes a limiter on the PFL, so
you won’t have to worry if the sound you’re recording has a few loud peaks—they won’t
cause distortion.
English
English

Torq 1.5 User Guide Chapter 1
Torq 1.5 User Guide Chapter 7
42
42
Sampler Controls
This section provides an overview of the controls within the Sampler.
Record Sample Button
Samples can be categorized into two groups: one-shot samples and loops. One-shot samples are sounds that play once
when you trigger them and are not automatically synchronized to your mix. Loops are samples that will play repeatedly—
when the end of the sample is reached, playback will return to the beginning. Torq will play these loops in sync with the
Global Tempo, allowing you to use multiple loops from different sources all at once.
The method in which you use the Sampler’s Record button will determine whether you record a loop or one-shot
sample:
< Recording One-Shot Samples
1. Press the Pre-Fader Listen (PFL) button in the Mixer to indicate the desired source of the sample. The button
will light up.
2. Press the circular RECORD button in the sample-cell you want to record to. The button will turn red to
indicate that Torq is recording.
3. When the Record button is pressed again, the button will turn off, and the recording will stop. The sample is
now ready to play.
< Recording Looped Samples
1. To record a loop instead of a one-shot, press and hold SHIFT while clicking on the Record button. Instead of
beginning recording immediately, recording will wait for the downbeat (determined via the phase information
of the source Deck). The Record button will be yellow while it’s waiting for the downbeat. Once the
downbeat is reached, the button will turn red and recording will commence.
2. Clicking the Record button again while recording will not stop recording immediately. Instead, recording will
continue until the end of the next bar (again, determined by phase information from the source Deck). The
Record button will be yellow while it’s waiting for the end of the bar (the Sampler will be recording during
this time). Once the end of the bar is reached, recording will stop and the loop will be ready to play (loop will
already be selected).
< Naming Scheme for Recorded Samples
Each time you record a sample, Torq will give it the name “SampleXXX.wav” where XXX is an automatically
generated number. The number will increment every time you create a new sample, regardless of which Sampler
you use for the recording. The first sample you record will be named “Sample001.wav.” The next sample that is
recorded will be named “Sample002.wav,” and so on. This numbering can be reset to start at 001 within the Torq
Preferences menu. You can also rename any recorded sample using the Rename Sample function which is detailed
later in this section.

Torq 1.5 User Guide Chapter 1
Torq 1.5 User Guide Chapter 7
43
43
Trigger Sample Button
Pressing this button causes the associated sample to play. One-shot and looped samples exhibit slightly different
behaviors:
< Triggering One-Shot Samples
1. Click the Trigger button. The button icon will light and the sample will play immediately. During playback, a
progress bar (behind the sample’s name) will fill from left to right. When the sample ends, the Trigger button
will turn off.
2. If the Trigger button is pressed while the sample is already playing, the sample playback position will
immediately jump back to the beginning of the sample.
3. To stop sample playback before the sample ends, hold the SHIFT key on your computer keyboard and click
the Trigger button. This will stop the sample immediately.
< Triggering Looped Samples
1. Click the Trigger button. The sample will start playing in sync with the Global Tempo (when the Global
Tempo button is active). If you trigger the sample at a point other than the downbeat, the sample will jump
to the proper playback location in order to remain in sync with the Global Tempo. If Global Tempo is off, the
loop will play independently of the current tempos.
2. To stop the loop, click the Trigger button again. The loop will stop immediately.
3. To stop the loop immediately, hold the Shift key while clicking the Trigger button. The loop will stop
immediately when clicked.
Loop Sample Button
The Loop option can be checked or unchecked to enable or disable sample looping. When active, the sample will loop
automatically when it reaches its end. The looping will be synchronized with the Global Tempo if the Global Tempo
button is activated.
When deactivated, the sample will be triggered as a one-shot. This means the sample will play only once when triggered.
✓ Note: If you wish to use samples already on your hard drive (as opposed to recording them in Torq), the sample will need
to be cut to an even bar length in order for the loop to play properly. You will need to use an external audio editor to cut the
loop if it’s not already trimmed to the proper length.
Sample Volume Knob
Each sample has its own volume control allowing you to mix multiple samples together with appropriate levels. Click and
drag up and down on this knob to change the sample playback volume. Hold SHIFT and click on the knob to reset the
volume to unity (the original sample volume).
Sample Speed/Rate Knob
This knob adjusts the playback speed of a one-shot sample, or will scale the playback rate of a looped sample.
When using one-shot samples, the Speed knob will set the playback speed/pitch for the sample. When the knob is set at
12 o’clock, the sample will play at its original speed.
When using looped samples, this knob will either double or halve the playback rate in order to remain in sync with the
Global Tempo. When the knob is turned counter-clockwise, the playback rate will be cut in half. Turned clockwise, the
playback rate will be doubled.

Torq 1.5 User Guide Chapter 1
Torq 1.5 User Guide Chapter 7
44
44
Sample Name Window
The Sample Name window serves multiple purposes.
1. It will display the name of the sample file loaded into the slot.
2. The background of this window will fill from left to right as the sample plays, like a progress meter.
3. Clicking on this window will display a pop-up menu with the following options:
< Load Sample
Choosing this option will open a standard dialog box. Use this dialog to navigate to your hard drive and
locate a sample. If you load a sample into a slot that already has a sample loaded, the current sample will be
immediately replaced.
< Save Sample
Choosing this option opens a standard Save dialog box. Use this dialog to name the current sample and save it
to a specific location. The new name will also be displayed in the Sample Name window.
✓ Note: This option will be unavailable (grayed out) if the sample slot is empty.
< Rename Sample
Once you’ve recorded a sample, you can rename it from the generic “SampleXXX” naming format
automatically applied to new samples. Simply click this option in the menu and type in a new name for the
sample. The file on your hard drive will be renamed to match.
✓ Note: This option will be unavailable (grayed out) if the sample slot is empty.
< Unload Sample
Choosing this option will remove the current sample from the sampler.
< Load Sample Bank
This option will allow you to load a bank of 16 samples into the Sampler using only one action. Choosing this
option opens a standard dialog box that looks only for “.tsb” (Torq Sample Bank) files. Browse your hard drive
and select a .tsb file. Torq will read this file and load the required sample files into the appropriate slots. It will
then set the playback parameters for each sample.
✓ Note: This operation will replace any samples that are currently loaded into the Sampler. If you want to keep
the current configuration, save the bank (using the procedure below) before loading a new bank.
< Save Sample Bank
Once you have built a collection of samples (drum loops of a particular style or a collection of vocal stabs, for
example), you can save the collection as a sample bank. Choosing this option from the menu opens a standard
Save dialog box that will save a proprietary Sample Bank file. This file references the samples currently loaded
into the Sampler. Browse to your hard drive and choose a location to save the file. The file will be saved with
the extension “.tsb” (Torq Sample Bank). A file folder will also be created (of the same name) but with the
word “Samples” appended to the end. This “Samples” folder will contain copies of the samples used in the
bank for easy recall in the future.

Torq 1.5 User Guide Chapter 1
Torq 1.5 User Guide Chapter 7
45
45
QuickScratch
While firing off samples using the Trigger buttons can be a lot of fun, it doesn’t always provide the level of control that
you may want for the sample. Torq’s QuickScratch feature allows you to control the sample using the variable-speed and
variable-key engine within a Deck. This means you can scratch the sample using the mouse or with the Torq Control Vinyl
or Control CD systems.
< Assigning Samples
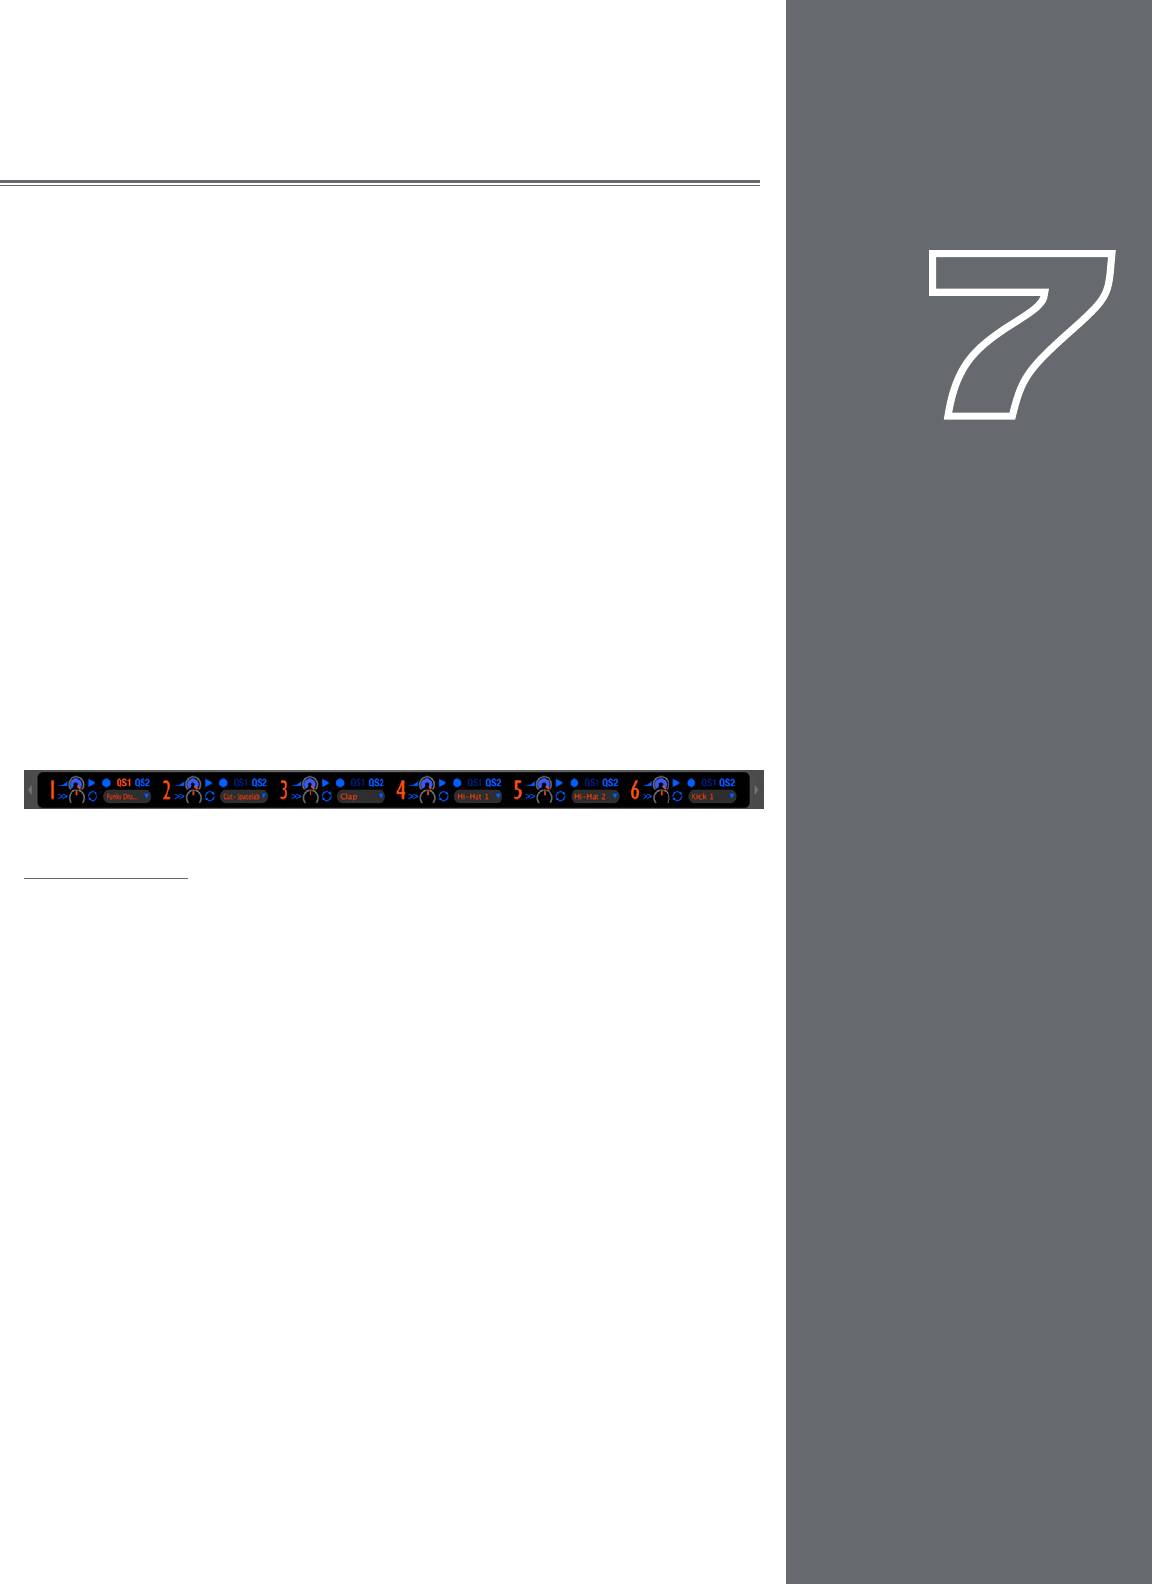
Torq features two QuickScratch slots—QS1 and QS2. You’ll see that each sampler has a pair of these QS
buttons. Pressing one of the buttons assigns that sample to the associated QuickScratch slot (i.e. pressing the
QS1 button on Sampler 1 will assign the sample to QS1).
< Activating QuickScratch
Each of Torq’s Decks also have a pair of QuickScratch buttons. When you press one of them, the associated
sample assigned using the QuickScratch buttons in the Sampler will be immediately loaded into the Deck. You
can then manipulate the sample in the same manner used for full songs. Press the QuickScratch button again and
the original song will be loaded back into the Deck. Here’s a practical example:
You place your two favorite scratching sounds into the samplers—you put the “Aaaah” sample into Sampler 1
and the “Fresh” sample into Sampler 2. You then activate QS1 in Sampler 1 and QS2 in Sampler 2. Now, when
you press QS1 in a Deck, the “Aaaah” sample will be loaded. Pressing QS2 results in the “Fresh” sample being
loaded. This allows you to access your favorite scratch sounds with the quick push of a button.
< Looping a QuickScratch
If a one-shot sample is used as a QuickScratch, the sample will not be looped when loaded onto the Deck. If a
looped sample is used as a QuickScratch, the sample will be looped when loaded onto the Deck so that it will
play indefinitely.
✓ Note: If you change the QuickScratch assignment in the Sampler while using the QuickScratch feature on a Deck,
the sample used in the Deck will be updated immediately.


