Asus WL-169gE: Installation Procedures Installing the WLAN utilities and driver Reading the WLAN status indicators
Installation Procedures Installing the WLAN utilities and driver Reading the WLAN status indicators: Asus WL-169gE
Table of contents
- Installation Procedures Installing the WLAN utilities and driver Reading the WLAN status indicators
- One Touch Wizard
- Conguring with the WLAN utility (Infrastructure)
- Conguring with the WLAN utility (Ad Hoc)
- ASUS WLAN Control Center
- Quick Start Guide
- ASUS Wireless Settings Utility Status - Status
- Quick Start Guide
- Quick Start Guide Status - Connection
- Status - IP Cong Status - Ping
- Cong - Basic
- Cong - Advanced
- Quick Start Guide
- Cong - Encryption
- Quick Start Guide Data encryption
- Cong - Authentication
- Survey - Site Survey
- Link State
- Windows XP Wireless Options
- Quick Start Guide
Quick Start Guide
Installation Procedures
English
Important: Install the WLAN card utilities before inserting the WLAN Card
into your computer.
Installing the WLAN utilities and driver
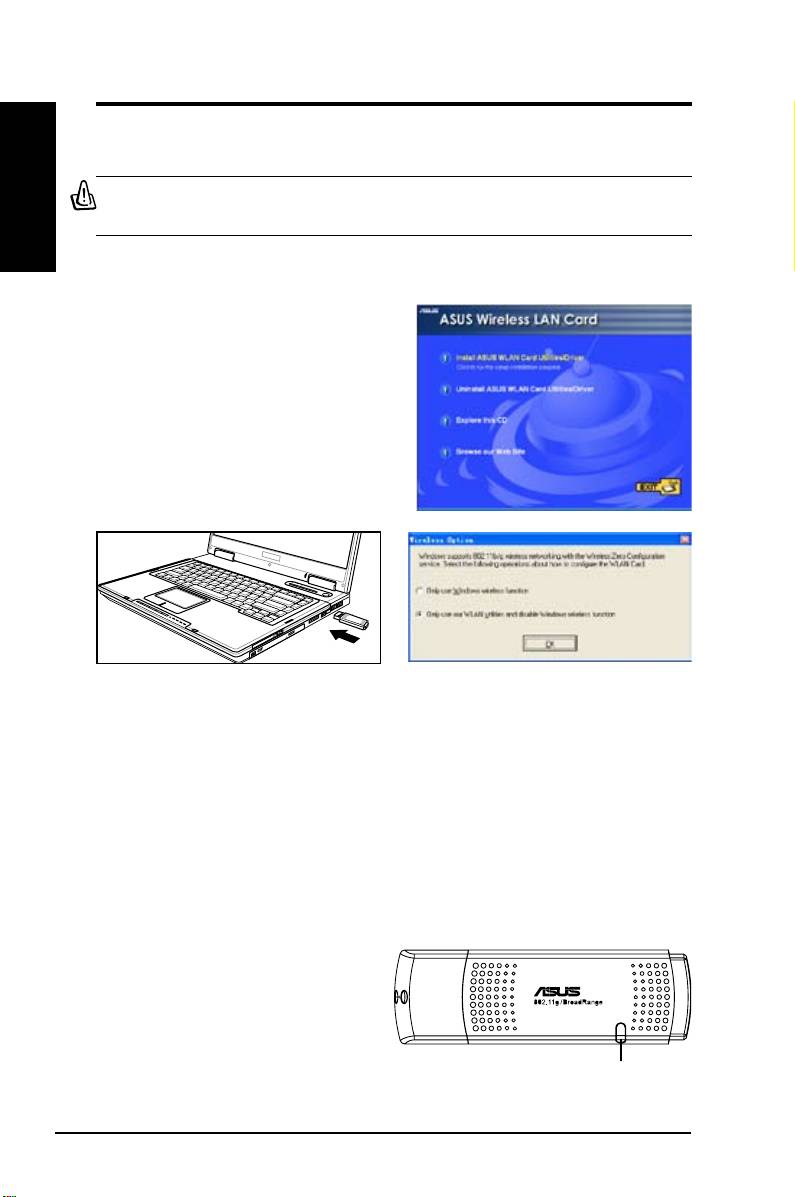
Follow these instructions to install the
WLAN card utilities and driver. Insert
the support CD into your optical drive.
If autorun is enabled in your computer,
the CD automatically displays the utility
menu. Click
Install ASUS WLAN Card
Utilities/Driver
. If autorun is disabled,
double-click SETUP.EXE in the root
directory of the CD.
Carefully insert the WLAN card into your
Windows XP users: When the program is
computer’s USB2.0 port. Windows will
launched for the rst time (during Windows
automatically detect and congure the WLAN
restart), you are asked to choose one utility
card using the utilities and drivers installed in
to congure the WLAN Card. Select "Only
the previous steps.
use our WLAN utilities and disable Windows
wireless function".
Reading the WLAN status indicators
The device comes with a LED that inidicates the status of the WLAN Card.
2 ASUS WLAN Card
LED
Blinking:
Searching for or connected to an AP.
OFF:
No wireless connection.
