Pioneer KRL-46V: Useful Viewing functions Selecting the picture size
Useful Viewing functions Selecting the picture size: Pioneer KRL-46V
Table of contents
- Contents
- Important Safety Precautions
- Remote control unit
- Controlling other equipment using the supplied remote control unit Presetting manufacture codes Manufacture codes STB DVD
- DVR VCR BD VCR
- Using with other equipment (STB) Using with other equipment (VCR)
- Using with other equipment (DVD/DVR)
- Trademarks
- TV (Front view) TV (Rear view)
- Preparation Supplied accessories Attaching the stand unit
- Preparation Inserting the batteries Using the remote control unit
- Installation precautions
- Quick guide Initial installation overview
- Before turning on the power
- Initial auto installation
- Watching TV Daily operation
- EPG (Electronic Programme Guide) EPG Overview Useful settings for using EPG
- Selecting a programme using EPG
- Timer recording using EPG Cancelling the timer recording
- Teletext Using the MHEG-5 application (UK only)
- Connecting external devices Introduction to connections
- HDMI connection Component connection S-VIDEO/VIDEO connection
- SCART connection Controlling devices with SCART using i/o link.A
- Speaker/amplifier connection
- Inserting a smart card
- HDMI CONTROL Controlling HDMI devices using HDMI CONTROL
- HDMI CONTROL connection HDMI CONTROL Setup
- Operating an HDMI CONTROL device
- Menu operation What is the HOME MENU?
- Basic adjustment Picture Settings
- Sound Settings Power Save Settings
- Channel Settings
- Analogue channel settings
- Password/Parental lock settings Language Settings (language, subtitle, multi audio)
- Useful Viewing functions Selecting the picture size
- Other picture and audio settings
- Display Settings
- Other useful features Setting when using external devices Additional features
- Connecting a PC Connecting a PC Displaying a PC image on the screen
- Selecting input resolution
- RS-232C port specifications
- PC compatibility chart RS-232C command list
- Appendix Troubleshooting
- Updating your TV via DVB-T Reset Identification
- Specifications
- End of life disposal
Useful Viewing functions
Selecting the picture size
Selecting the picture size manually
You can select the picture size. Selectable picture size
Selecting the WSS (Wide Screen
varies with the type of signal received.
Signalling) picture size automatically
Item (for SD [Standard-Definition] signals)
Setup
4:3: Keeps the original aspect ratio in a full screen display.
CINEMA 14:9: For 14:9 letterbox pictures. A thin side bar
WSS
appears on each side, and you may also see bars on
the top and bottom with some programmes.
WIDE: In this mode, the picture is stretched toward each
The “WSS” allows the TV to switch automatically
side of the screen.
among the different picture size.
FULL: For 16:9 squeeze pictures.
ZOOM: For 16:9 letterbox pictures. Bars may appear on
NOTE
the top and bottom with some programmes.
•
Use SCREEN SIZE if an image does not switch to the
CINEMA: For 14:9 letterbox pictures. Bars may appear
appropriate picture size. When the broadcast signal
on the top and bottom with some programmes.
contains no “WSS” information, the function will not work
even if enabled.
Item (for HD [High-Definition] signals)
Selecting the WSS (Wide Screen
FULL: Displays with an Overscan image. Crops all sides
of screen.
Signalling) picture size manually
Underscan: Displays with an Underscan image only
when receiving a 720p signal. Displays with the High-
Setup
Definition image adjusted optimally. Noise may appear
on the edge of the screen with some programmes.
4:3 Mode
Dot by Dot: Displays an image with the same number
of pixels on the screen when receiving 1080i/1080p
signals only.
The “WSS” signal has 4:3 auto-switching that allows
you to select between “4:3” and “WIDE”.
NOTE
•
Some items do not appear depending on the type of
Item
received signal.
4:3: Normal range keeping 4:3 or 16:9 aspect ratio.
WIDE: Wide image without side bars.
1
Press SCREEN SIZE.
•
The SCREEN SIZE menu displays.
•
The menu lists the SCREEN SIZE options selectable
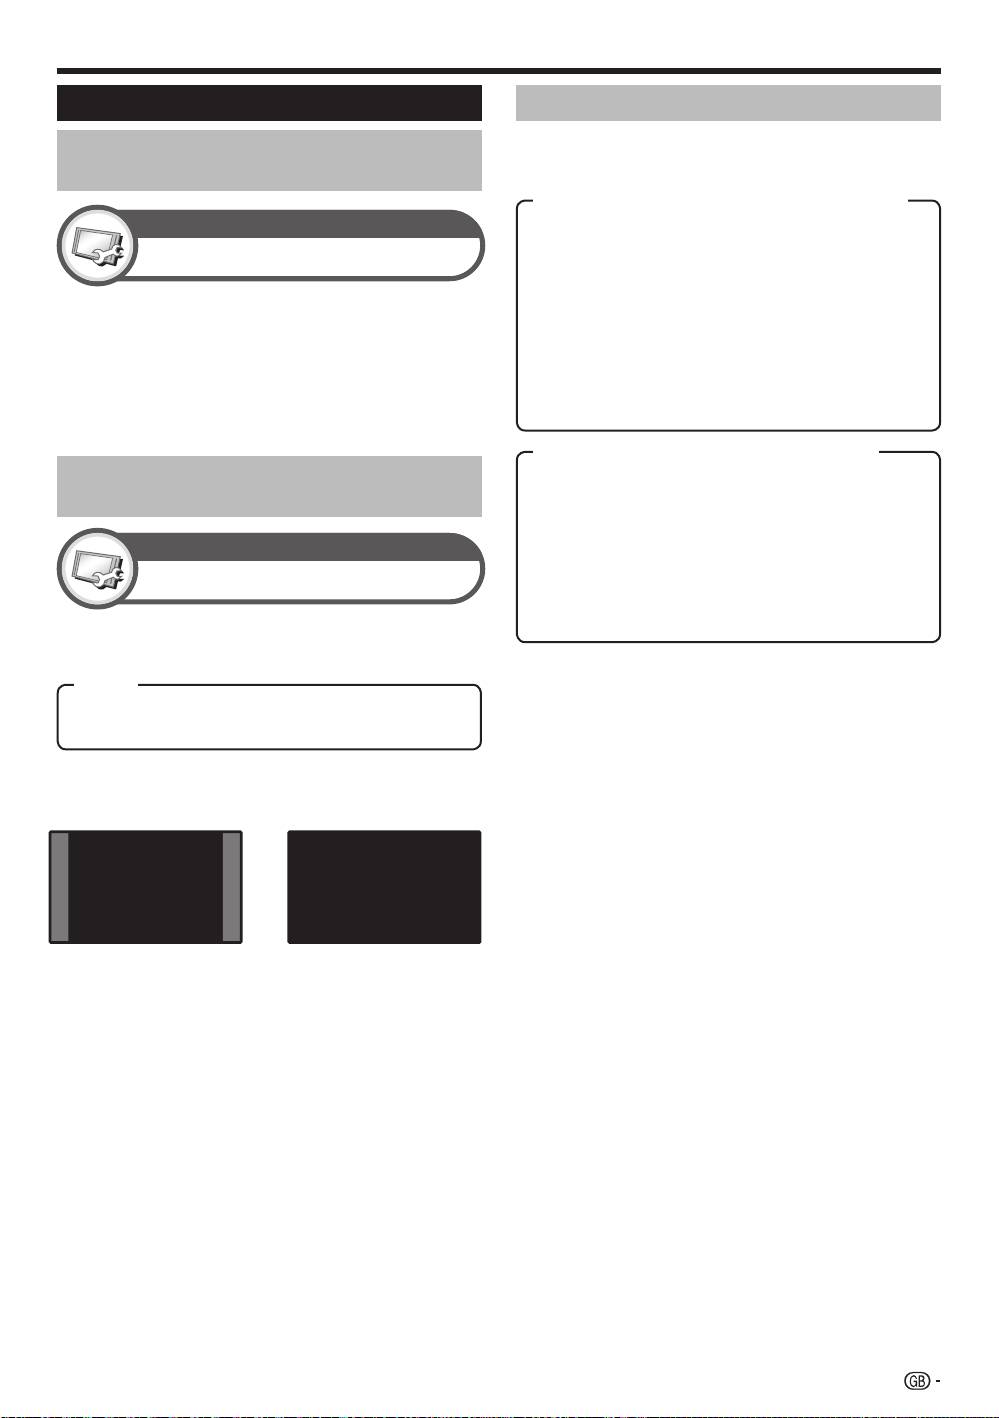
WSS signal 4:3 screen
for the type of video signal currently received.
4:3 mode “WID
E”4:3 mode “4:3”
2
Press SCREEN SIZE or a/b while the
SCREEN SIZE menu displays on the screen.
•
As you toggle the options, each is immediately
reflected on the screen. There is no need to press
ENTER.
Basically, if you set “WSS” to “On” in the “Setup”
menu, the optimum SCREEN S
IZE is automatically
chosen for every broadcast, VCR or DVD player/
recorder.
NOTE
•
Even if you select your desired SCREEN SIZE manually,
the TV may automatically switch to the optimum SCREEN
SIZE depending on the signal received when “WSS” is set
to “On”.
35
KRL46V_GB.indd 35 2008/07/09 14:09:03
