Pioneer KRL-46V: Other useful features Setting when using external devices Additional features
Other useful features Setting when using external devices Additional features: Pioneer KRL-46V
Table of contents
- Contents
- Important Safety Precautions
- Remote control unit
- Controlling other equipment using the supplied remote control unit Presetting manufacture codes Manufacture codes STB DVD
- DVR VCR BD VCR
- Using with other equipment (STB) Using with other equipment (VCR)
- Using with other equipment (DVD/DVR)
- Trademarks
- TV (Front view) TV (Rear view)
- Preparation Supplied accessories Attaching the stand unit
- Preparation Inserting the batteries Using the remote control unit
- Installation precautions
- Quick guide Initial installation overview
- Before turning on the power
- Initial auto installation
- Watching TV Daily operation
- EPG (Electronic Programme Guide) EPG Overview Useful settings for using EPG
- Selecting a programme using EPG
- Timer recording using EPG Cancelling the timer recording
- Teletext Using the MHEG-5 application (UK only)
- Connecting external devices Introduction to connections
- HDMI connection Component connection S-VIDEO/VIDEO connection
- SCART connection Controlling devices with SCART using i/o link.A
- Speaker/amplifier connection
- Inserting a smart card
- HDMI CONTROL Controlling HDMI devices using HDMI CONTROL
- HDMI CONTROL connection HDMI CONTROL Setup
- Operating an HDMI CONTROL device
- Menu operation What is the HOME MENU?
- Basic adjustment Picture Settings
- Sound Settings Power Save Settings
- Channel Settings
- Analogue channel settings
- Password/Parental lock settings Language Settings (language, subtitle, multi audio)
- Useful Viewing functions Selecting the picture size
- Other picture and audio settings
- Display Settings
- Other useful features Setting when using external devices Additional features
- Connecting a PC Connecting a PC Displaying a PC image on the screen
- Selecting input resolution
- RS-232C port specifications
- PC compatibility chart RS-232C command list
- Appendix Troubleshooting
- Updating your TV via DVB-T Reset Identification
- Specifications
- End of life disposal
Other useful features
Option
Input Select
For setting the signal type of external equipment.
NOTE
•
If no (colour) image displays, try changing to another
signal type.
•
Check the operation manual of the external equipment for
the signal type.
•
When the signal type is set to “Auto”, the input terminal
where a cable is connected is automatically selected.
Setup
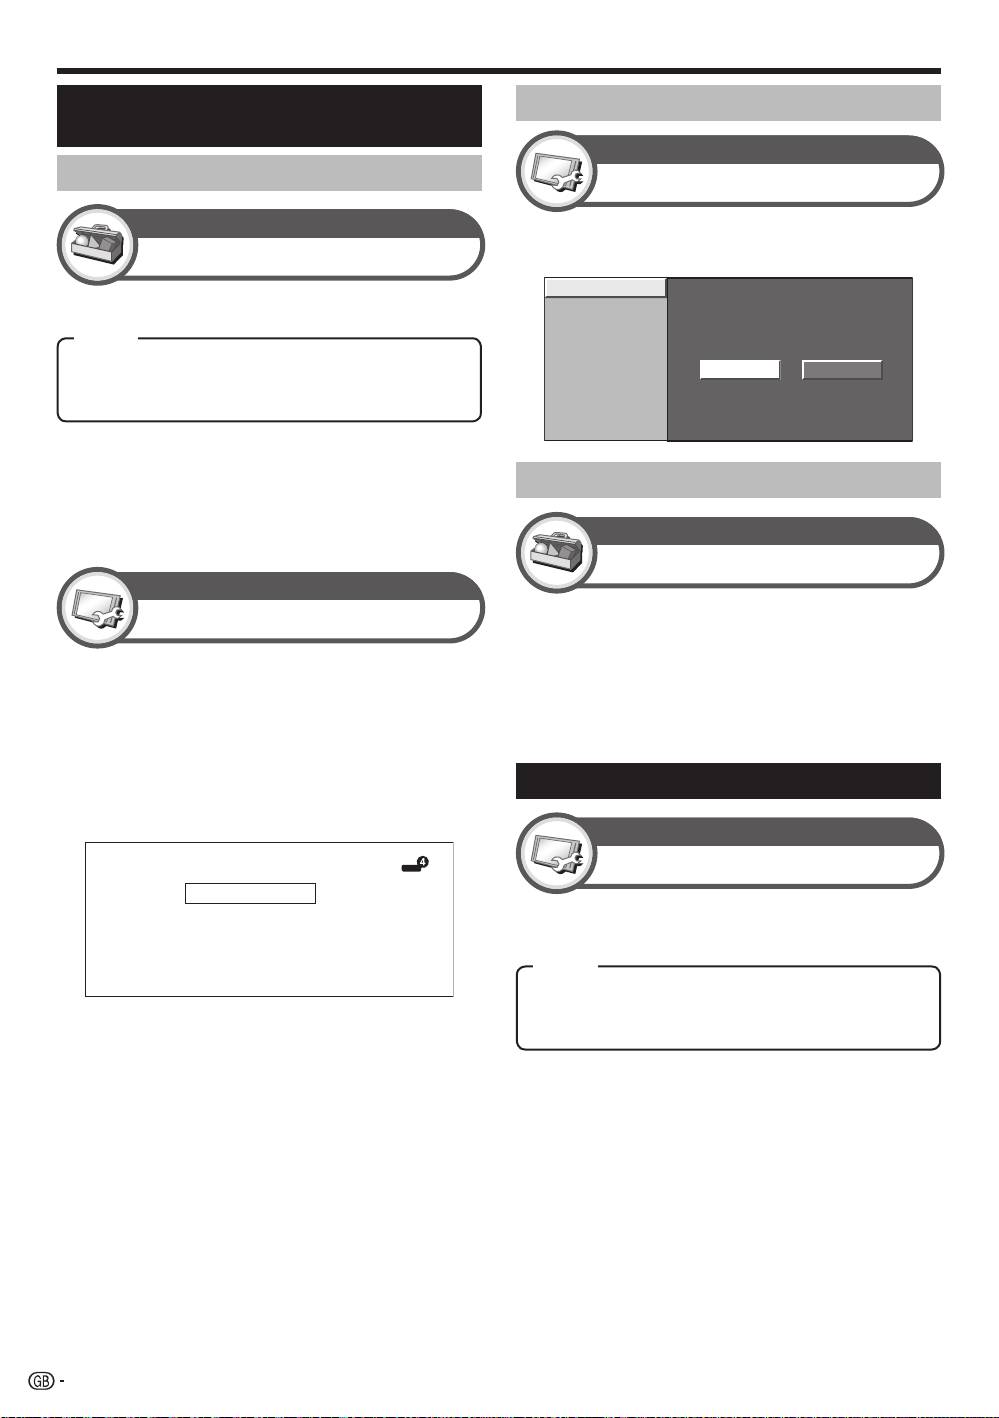
Input Label
You can label each input source with a custom
description.
Press INPUT1–8 on the remote control unit or
b on the TV to select the desired input source.
Go to “HOME MENU” > “Setup” > “Input Label”.
Press a/b/c/d to select each character of
the new name for the input source, and then
press ENTER.
DVD
A
B
C
D
E
F
G
H
I
J
CLEAR
K
L
M
N
O
P
Q
R
S
T
BACK
U
V
W
X
Y
Z
+
– _
.
0 1 2 3 4 5 6 7 8 9
END
Setup
Input Skip
This setting allows you to skip the SCART, HDMI or
RGB input on the Input Source Selection operation.
1
2
3
4
Repeat until the label is fully spelt out.
NOTE
•
The label can be six characters or less.
•
When you want to set an input source label of less than six
characters, select “END” to set the name.
•
You cannot change labels if the input source is “TV”.
INPUT1 (SCART)
INPUT2 (SCART)
INPUT4 (HDMI)
INPUT5 (HDMI)
INPUT6 (HDMI)
Y es
No
INPUT7 (RGB)
Setting when using external
Skipping specified inputs
devices
Input source settings
Item
INPUT1: Y/C, CVBS, RGB
INPUT2: Y/C, CVBS, RGB
INPUT3: Auto, S-VIDEO, VIDEO
Colour system settings
Option
Colour System
You can change the colour system to one that is
compatible with the image on the screen.
NOTE
•
The factory preset value is “Auto”.
•
If “Auto” is selected, the colour system for each channel
is automatically set. If an image does not display clearly,
select another colour system (e.g. “PAL”, “SECAM”).
Additional features
Setup
Standby Mode
You can reduce the TV’s start-up time after turning on
the power with the remote control unit.
Item
Mode1: The TV quickly starts up from standby. 30 W or
more of power consumption is required during standby.
Mode2: Power consumption is small during standby.
38
KRL46V_GB.indd 38 2008/07/09 14:09:05
