Pioneer PD-30-S: instruction
Class: Hi-Fi equipment
Type: Hi-Fi Component
Manual for Pioneer PD-30-S
PD-30_PWSYXZT8.book 1 ページ 2012年5月7日 月曜日 午前11時33分
Operating Instructions | Mode d’emploi | Bedienungsanleitung |
Istruzioni per I’uso | Handleiding | Manual de instrucciones |
Инструкции по эксплуатации
Super Audio CD Player | Lecteur Super Audio CD |
Super Audio CD-Spieler | Lettore CD Super Audio |
Super-Audio CD-speler | Reproductor de Super Audio CD |
PD-30_PWSYXZT8.book 2 ページ 2012年5月7日 月曜日 午前11時33分
WARNING
Thank you for buying this Pioneer product.
This equipment is not waterproof. To prevent a fire or
Please read through these operating instructions so you will know how to operate your model properly. After you have finished reading the instructions, put
shock hazard, do not place any container filled with
them away in a safe place for future reference..
liquid near this equipment (such as a vase or flower
pot) or expose it to dripping, splashing, rain or
moisture.
D3-4-2-1-3_A1_En
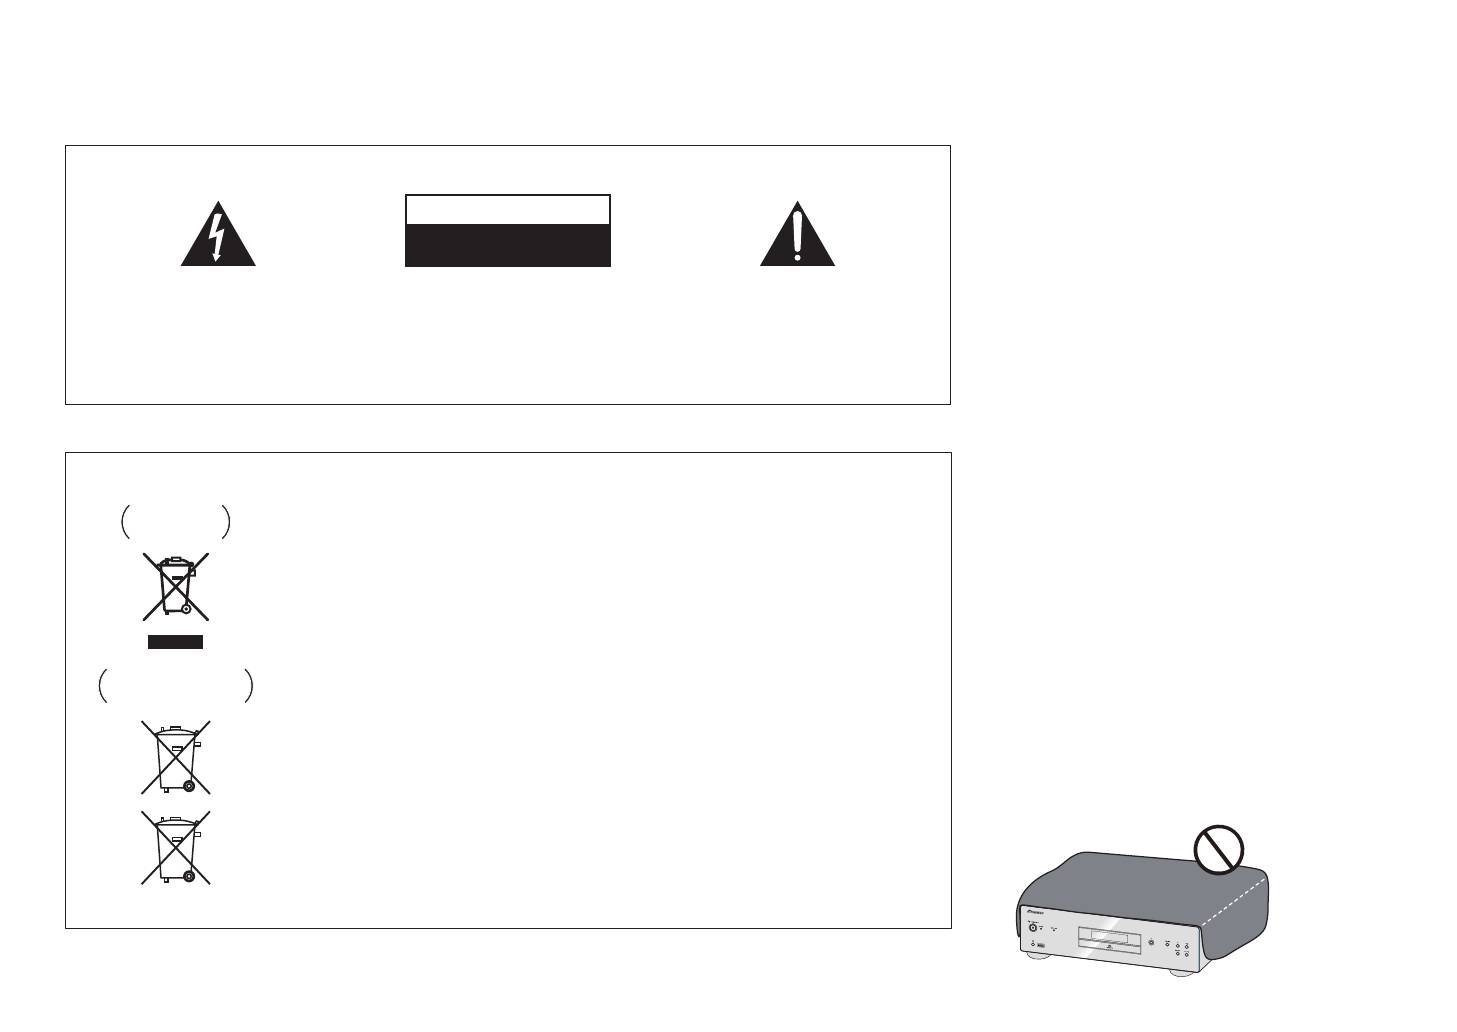
IMPORTANT
WARNING
CAUTION
Before plugging in for the first time, read the following
RISK OF ELECTRIC SHOCK
DO NOT OPEN
section carefully.
The voltage of the available power supply differs
The lightning flash with arrowhead symbol,
CAUTION:
The exclamation point within an equilateral
according to country or region. Be sure that the
within an equilateral triangle, is intended to
TO PREVENT THE RISK OF ELECTRIC
triangle is intended to alert the user to the
power supply voltage of the area where this unit
alert the user to the presence of uninsulated
SHOCK, DO NOT REMOVE COVER (OR
presence of important operating and
“dangerous voltage” within the product’s
BACK). NO USER-SERVICEABLE PARTS
maintenance (servicing) instructions in the
will be used meets the required voltage (e.g., 230 V
enclosure that may be of sufficient
INSIDE. REFER SERVICING TO QUALIFIED
literature accompanying the appliance.
or 120 V) written on the rear panel.
magnitude to constitute a risk of electric
SERVICE PERSONNEL.
D3-4-2-1-4*_A1_En
shock to persons.
D3-4-2-1-1_A1_En
WARNING
European model only
To prevent a fire hazard, do not place any naked flame
sources (such as a lighted candle) on the equipment.
Information for users on collection and disposal of old equipment and used batteries
D3-4-2-1-7a_A1_En
Symbol for
These symbols on the products, packaging, and/or accompanying documents mean
equipment
that used electrical and electronic products and batteries should not be mixed with
general household waste.
VENTILATION CAUTION
When installing this unit, make sure to leave space
For proper treatment, recovery and recycling of old products and used batteries,
around the unit for ventilation to improve heat radiation
please take them to applicable collection points in accordance with your national
(at least 10 cm at top, 10 cm at rear, and 10 cm at each
legislation.
side).
By disposing of these products and batteries correctly, you will help to save valuable
WARNING
Symbol examples
resources and prevent any potential negative effects on human health and the
Slots and openings in the cabinet are provided for
for batteries
environment which could otherwise arise from inappropriate waste handling.
ventilation to ensure reliable operation of the product,
For more information about collection and recycling of old products and batteries,
and to protect it from overheating. To prevent fire
please contact your local municipality, your waste disposal service or the point of sale
hazard, the openings should never be blocked or
where you purchased the items.
covered with items (such as newspapers, table-cloths,
curtains) or by operating the equipment on thick carpet
These symbols are only valid in the European Union.
or a bed.
For countries outside the European Union:
D3-4-2-1-7b*_A1_En
If you wish to discard these items, please contact your local authorities or dealer and
ask for the correct method of disposal.
Pb
K058a_A1_En

PD-30_PWSYXZT8.book 3 ページ 2012年5月7日 月曜日 午前11時33分
Operating Environment
This product is for general household purposes. Any
Contents
Operating environment temperature and humidity:
failure due to use for other than household purposes
01 Before you start
+5 °C to +35 °C (+41 °F to +95 °F); less than 85 %RH
(such as long-term use for business purposes in a
Disc/content format playback compatibility. . . . . .4
(cooling vents not blocked)
restaurant or use in a car or ship) and which requires
What’s in the box. . . . . . . . . . . . . . . . . . . . . . . . . . 4
Do not install this unit in a poorly ventilated area, or in
repair will be charged for even during the warranty
Loading the batteries in the remote control . . . . . .4
locations exposed to high humidity or direct sunlight (or
Using the remote control. . . . . . . . . . . . . . . . . . . . .4
period.
strong artificial light)
K041_A1_En
02 Connecting up
D3-4-2-1-7c*_A1_En
Analog audio output connections . . . . . . . . . . . . . 5
Digital audio output connections. . . . . . . . . . . . . . 5
Using centralized control with other Pioneer
If the AC plug of this unit does not match the AC
POWER-CORD CAUTION
components (PD-30 only) . . . . . . . . . . . . . . . . . . . 5
outlet you want to use, the plug must be removed
Handle the power cord by the plug. Do not pull out the
Plugging in . . . . . . . . . . . . . . . . . . . . . . . . . . . . . . 5
and appropriate one fitted. Replacement and
plug by tugging the cord and never touch the power
03 Controls and displays
mounting of an AC plug on the power supply cord of
cord when your hands are wet as this could cause a
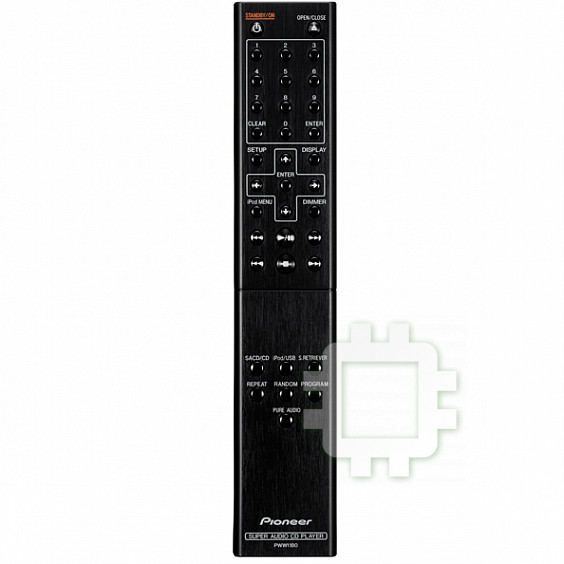
Remote control . . . . . . . . . . . . . . . . . . . . . . . . . . . 6
this unit should be performed only by qualified
short circuit or electric shock. Do not place the unit, a
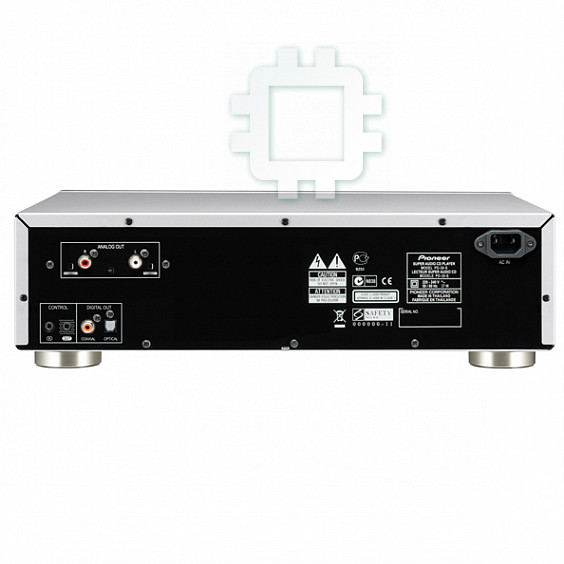
Rear panel . . . . . . . . . . . . . . . . . . . . . . . . . . . . . . . 6
service personnel. If connected to an AC outlet, the
piece of furniture, etc., on the power cord, or pinch the
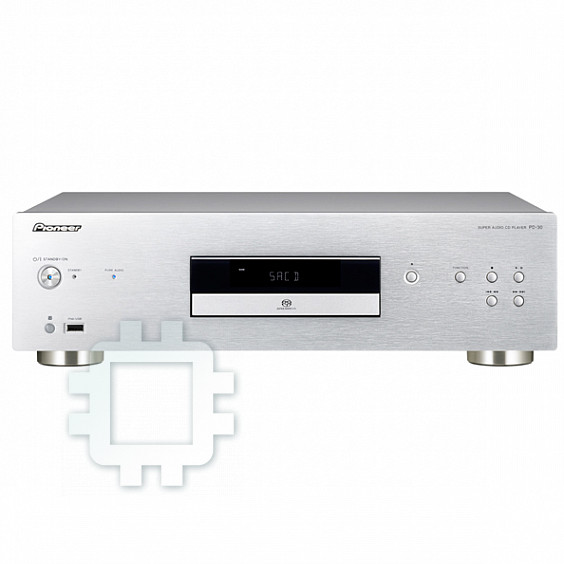
Front panel . . . . . . . . . . . . . . . . . . . . . . . . . . . . . . 7
cut-off plug can cause severe electrical shock. Make
cord. Never make a knot in the cord or tie it with other
Front panel display . . . . . . . . . . . . . . . . . . . . . . . . 7
sure it is properly disposed of after removal.
cords. The power cords should be routed such that they
04 Playback
The equipment should be disconnected by removing
are not likely to be stepped on. A damaged power cord
Playing discs . . . . . . . . . . . . . . . . . . . . . . . . . . . . . 8
the mains plug from the wall socket when left unused
can cause a fire or give you an electrical shock. Check
Set the power to Standby. . . . . . . . . . . . . . . . . . . . .8
Fast forward/Fast reverse . . . . . . . . . . . . . . . . . . . .8
for a long period of time (for example, when on
the power cord once in a while. When you find it
damaged, ask your nearest PIONEER authorized
Skip function . . . . . . . . . . . . . . . . . . . . . . . . . . . . . .8
vacation).
Direct search
D3-4-2-2-1a_A1_En
service center or your dealer for a replacement.
(designate a specific track for playback). . . . . . . . .8
S002*_A1_En
Repeat playback . . . . . . . . . . . . . . . . . . . . . . . . . . .8
Random playback . . . . . . . . . . . . . . . . . . . . . . . . . .8
Programmed playback (Play tracks in a
CAUTION
CAUTION
predetermined order) . . . . . . . . . . . . . . . . . . . . . . .8
The /I STANDBY/ON switch on this unit will not
This product is a class 1 laser product classified
View disc data . . . . . . . . . . . . . . . . . . . . . . . . . . . . .8
completely shut off all power from the AC outlet.
under the Safety of laser products, IEC 60825-1:2007.
iPod/iPhone/iPad playback
Since the power cord serves as the main disconnect
(PD-30 only) . . . . . . . . . . . . . . . . . . . . . . . . . . . . . . 9
Confirm what iPod/iPhone/iPad models are
device for the unit, you will need to unplug it from the
supported . . . . . . . . . . . . . . . . . . . . . . . . . . . . . . . .9
AC outlet to shut down all power. Therefore, make
CLASS 1 LASER PRODUCT
Playing your iPod/iPhone/iPad . . . . . . . . . . . . . . . .9
sure the unit has been installed so that the power
Playing files stored on USB storage devices . . . . 10
cord can be easily unplugged from the AC outlet in
D58-5-2-2a_A1_En
05 Using advanced functions
case of an accident. To avoid fire hazard, the power
Playing with high-fidelity sound . . . . . . . . . . . . . . 11
cord should also be unplugged from the AC outlet
Sound Retriever. . . . . . . . . . . . . . . . . . . . . . . . . . .11
when left unused for a long period of time (for
Pure Audio . . . . . . . . . . . . . . . . . . . . . . . . . . . . . .11
Changing the playback area (layer)
example, when on vacation).
D3-4-2-2-2a*_A1_En
of an SACD/CD . . . . . . . . . . . . . . . . . . . . . . . . . . 11
Adjusting overall display illumination . . . . . . . . . 11
Auto power down (automatically sets power to
standby). . . . . . . . . . . . . . . . . . . . . . . . . . . . . . . . 11
Playback functions . . . . . . . . . . . . . . . . . . . . . . . 11
06 Additional information
Playable disc . . . . . . . . . . . . . . . . . . . . . . . . . . . . 12
Playable file formats . . . . . . . . . . . . . . . . . . . . . . 12
Cautions on use. . . . . . . . . . . . . . . . . . . . . . . . . . 13
Troubleshooting. . . . . . . . . . . . . . . . . . . . . . . . . . 14
Specifications . . . . . . . . . . . . . . . . . . . . . . . . . . . 15
Before you start01
Chapter 1:
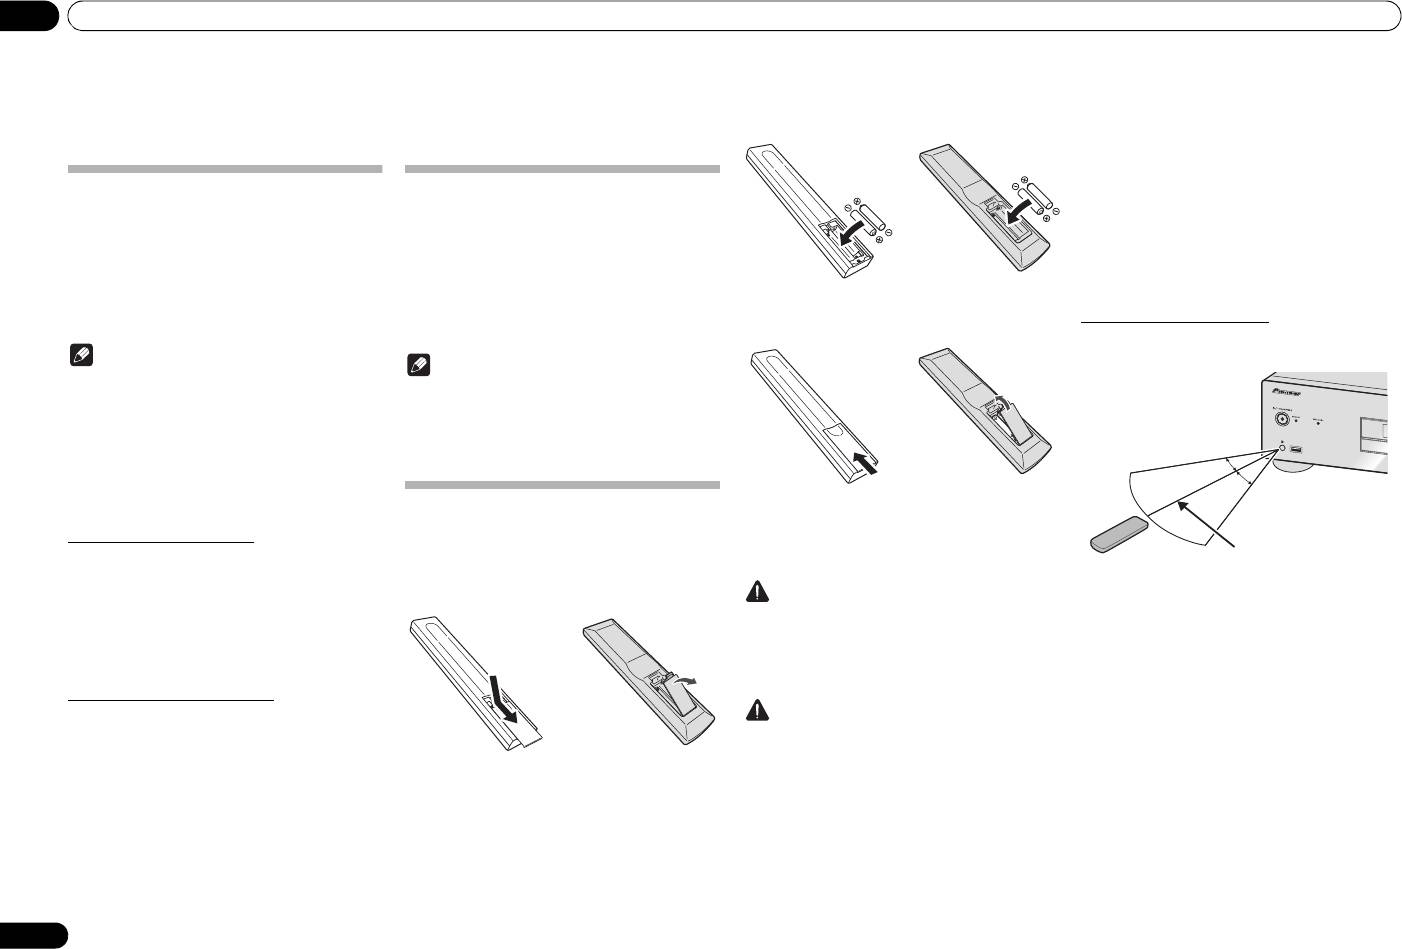
2 Insert the new batteries, matching the
• Do not heat batteries, disassemble them, or throw
them into flames or water.
polarities as indicated inside the case.
• Batteries may have different voltages, even if they
Before you start
are the same size and shape. Do not use different
types of batteries together.
• To prevent leakage of battery fluid, remove the
batteries if you do not plan to use the remote
control for a long period of time (1 month or more).
Disc/content format playback
What’s in the box
If the fluid should leak, wipe it carefully off the
inside of the case, then insert new batteries. If a
compatibility
Please confirm that the following accessories are in the
battery should leak and the fluid should get on your
box when you open it.
skin, flush it off with large quantities of water.
Discs playable on this player are as shown below.
• Remote control x1
• When disposing of used batteries, please comply
• SACD (Super Audio CD)*
• AAA/IEC R03 dry cell batteries x2
with governmental regulations or environmental
(2-channel area only)
public institution’s rules that apply in your country/
• RCA audio cable (red/white plugs) x1
•CD
area.
•Power cord
•DSD disc
3 Close the rear lid.
•Warranty card
* “Super Audio CD” is a registered trademark.
Using the remote control
• Operating instructions (This document)
The remote has a range of about 7 m at an angle of about
Note
30º from the remote sensor.
Note
• This unit does not permit playback of the multi-
channel areas of SACD discs.
• Illustrations featured in the Operating Instructions
may have been modified or simplified for ease of
• This unit’s DIGITAL OUT terminals do not output
explanation, and may therefore differ from the
sound from SACD and DSD discs, nor from iPod/
actual product appearance.
iPhone/iPad devices.
• The illustrations used here are mainly of the PD-30.
• When a disc is loaded, turning on the power will not
cause playback to automatically start. As a result,
timed playback is not possible even if the unit is
connected to a timer.
Loading the batteries in the remote
The batteries included with the unit have been provided
to allow you check product operation and may not last
About DualDisc playback
control
long. We recommend using alkaline batteries that have
A DualDisc is a new two-sided disc, one side of which
a longer life.
1 Open the rear lid.
contains DVD content video, audio, etc. while the other
side contains non-DVD content such as digital audio
Keep in mind the following when using the remote
material. The non-DVD, audio side of the disc is not
PD-30
PD-10
WARNING
control:
compliant with the CD Audio specification and therefore
• Do not use or store batteries in direct sunlight or
• Make sure that there are no obstacles between the
may not play. For more detailed information on the
other excessively hot place, such as inside a car or
remote and the remote sensor on the unit.
DualDisc specification, please refer to the disc
near a heater. This can cause batteries to leak,
• Remote operation may become unreliable if strong
manufacturer or disc retailer.
overheat, explode or catch fire. It can also reduce
sunlight or fluorescent light is shining on the unit’s
the life or performance of batteries.
remote sensor.
Discs that cannot be played
• Remote controllers for different devices can
Caution
interfere with each other. Avoid using remotes for
•DVD-Video
other equipment located close to this unit.
• DVD-Audio
Incorrect use of batteries may result in such hazards as
• Replace the batteries when you notice a fall off in
•CD-G
leakage and bursting. Observe the following
the operating range of the remote.
•Video CD
precautions:
• DTS CD
• When inserting the batteries, make sure not to
It is possible that some discs other than the ones listed
damage the springs on the battery’s terminals.
above may not be playable either.
• Do not use any batteries other than the ones
specified. Also, do not use a new battery together
with an old one.
• When loading the batteries into the remote control,
set them in the proper direction, as indicated by the
polarity marks ( and ).
4
En
PD-30
PD-10
PD-30
PD-10
30 °
30 °
7 m
PD-30_PWSYXZT8.book 4 ページ 2012年5月7日 月曜日 午前11時33分
Connecting up 02
English
Chapter 2:
Connecting up
Caution
• Before making or changing the connections,
switch off the power and disconnect the power cord
from the AC outlet.
• Connect the power cord after all the connections
between devices have been completed.
DeutschFrançais
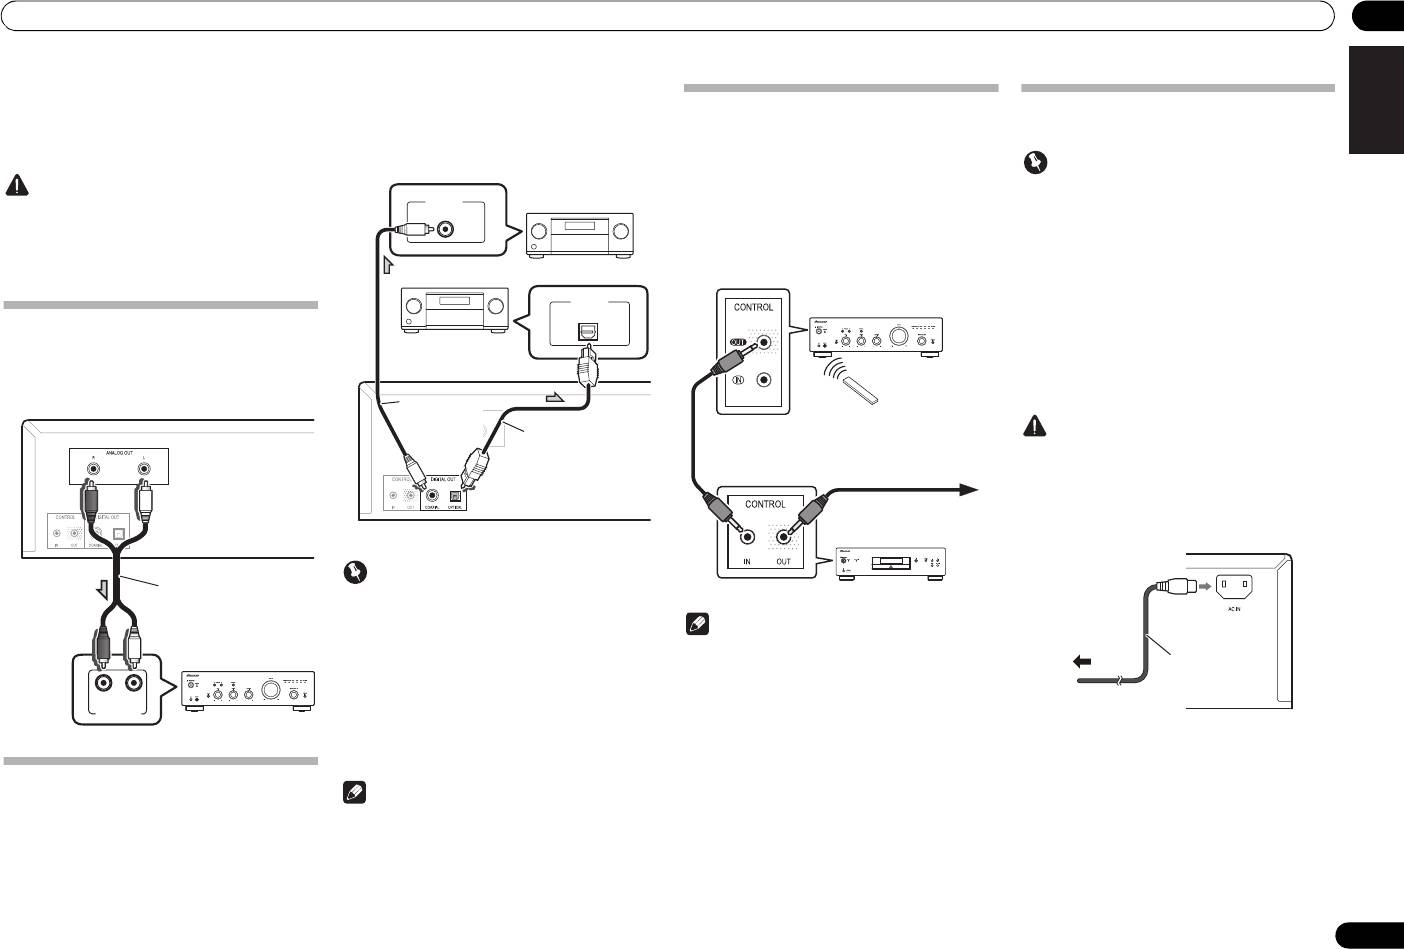
Analog audio output connections
By connecting this unit’s analog audio output to the
analog audio input of an amplifier, you can use the
amplifier to enjoy analog audio produced from this unit.
Italiano Español Русский
Nederlands
Important
Care in the handling of optical fiber cables
• Do not allow optical fiber cables to be bent at sharp
angles. When storing optical fiber cables, roll in
coils of at least 15 cm diameter.
• When connecting optical fiber cables, align the
connectors correctly and insert fully. If the
RL
ANALOG
orientation of the cable connector is incorrect and
AUDIO INPUT
excessive force is applied in the attempt to fasten
the connector, the connector may be deformed,
preventing the shutter from closing when the cable
is removed.
Digital audio output connections
Note
If desired, the digital audio output from this unit can be
connected to an AV amplifier or digital recording device
• For digital audio output, CDs played on this unit
(CD recorder, MD, etc.).
must produce linear PCM signals with a sampling
• This unit’s DIGITAL OUT terminals do not output
rate up to 44.1 kHz and quantitative bits up to 16
sound from SACD and DSD discs, nor from iPod/
bits (some discs may not be playable depending on
iPhone/iPad devices.
the connected component and environment). For
information about other files, see page 12.
5
En
PD-30’s rear panel
Audio cable (included)
Amplifier
DIGITAL IN
COAXIAL
DIGITAL IN
OPTICAL
AV amplifier or
digital recording
device
AV amplifier or
digital recording
device
Coaxial digital
audio cable
Optical fiber cable
(commercially
(commercially
available)
available)
PD-30’s rear panel
Using centralized control with other
Plugging in
Pioneer components (PD-30 only)
This unit and other Pioneer components equipped with
CONTROL IN/OUT jacks can be controlled with a single
Important
remote control by aiming the remote toward the signal
• If it is necessary to detach the power cord, first be
receptor on the AV amplifier or other component. This
sure to press the
/I
STANDBY/ON button on the
also allows remote control of components not equipped
front panel of the unit so the PD-30 is turned OFF or
with a remote sensor, or installed in places where the
the PD-10 is in standby mode before detaching the
component’s remote sensor cannot be accessed.
cord.
• Confirm that the [-OFF-] indicator is not lighted in
the main unit’s front panel display before
disconnecting the power cord. If the power cord is
disconnected while the [-OFF-] indicator is still
lighted, the unit’s settings may revert to factory
defaults.
• When going on a trip or otherwise not using the
unit for an extended period, always disconnect the
power cord from its outlet.
Caution
• Do not use any power cord other than the one
supplied with this unit.
• Do not use the supplied power cord for any purpose
other than that described below.
After you’ve finished making all connections, plug the
unit into an AC outlet.
Note
• For connections use a commercially available
monaural miniplug cord (without resistor).
• When connecting the CONTROL IN/OUT jacks,
commercially available audio cords must also be
used to make analog connections. Merely
connecting the CONTROL IN/OUT jacks alone will
not allow proper system control.
1 Plug the supplied power cord into the
• When a control cord is connected to the PD-30’s
AC IN
socket on the rear of the unit.
CONTROL IN jack, the unit cannot be controlled by
pointing the remote control at the PD-30 (the
2 Plug the other end into AC outlet.
remote sensor is automatically disabled).
Other Pioneer component
equipped with CONTROL
IN/OUT jacks
Remote control for
AV amplifier, etc.
Point the remote
control toward the
signal receiver on
the AV amplifier, etc.
To other Pioneer
component equipped
with CONTROL IN jack
PD-30
PD-30’s rear panel
To AC outlet
Power cord
PD-30_PWSYXZT8.book 5 ページ 2012年5月7日 月曜日 午前11時33分
Table of contents
- Before you start
- Connecting up
- Controls and displays
- Playback
- Using advanced functions
- Additional information
- Avant de commencer
- Connexions
- Commandes et écrans
- Lecture
- Les fonctions avancées
- Informations complémentaires
- Bevor Sie beginnen
- Anschließen
- Bedienelemente und Anzeigen
- Wiedergabe
- Erweiterte Funktionen
- Zusätzliche Informationen
- Prima di iniziare
- Collegamento
- Controlli e display
- Riproduzione
- Utilizzo delle funzioni avanzate
- Informazioni aggiuntive
- Voordat u begint
- Aansluitingen
- Bedieningsorganen en display-aanduidingen
- Afspelen
- Geavanceerde functies gebruiken
- Extra informatie
- Antes de comenzar
- Conexiones
- Controles y visualizadores
- Reproducción
- Utilizar funciones avanzadas
- Información adicional
- Подготовка к использованию
- Подключение
- Органы управления и индикации
- Воспроизведение
- Использование дополнительных
- Дополнительная информация


