Asus P5W: Chapter1: QuickStart
Chapter1: QuickStart: Asus P5W
Table of contents
- Chapter 1: Quick Start 1.1 Installing the CPU
- 1.1.2 AMD AM2 Socket
- 1.2 Installing the heatsink and fan
- For Intel-certied heatsink:
- For AMD-certied heatsink:
- 1.3 Installing a DIMM 1.4 Installing the motherboard
- Chapter1: QuickStart
- 1.5 Installing the power supply unit
- 1.6 Installing an expansion card
- 1.7 Installing disk drives
- 1.7.2 SATA optical disk drive
- 1.7.3 Floppy disk drive
- 1.7.4 PATA hard disk drive
- Notes for installing PATA hard disk drive
- 1.7.5 SATA hard disk drive
- 1.8 Front panel cables
- ASUS Q-Connector 1.9 Connecting the ATX power
- Power connectors
- 1.10 Peripheral devices and accessories
- 1.11 Startingupforthersttime Troubleshooting
- Chapter 2: Manage/update BIOS 2.1 AFUDOS utility
- ASUS Motherboard installation guide
- 2.2 Award BIOS Flash Utility
- ASUS Motherboard installation guide
- Saving the current BIOS le
- 2.3 ASUS Update utility Installing ASUS Update
- Updating the BIOS through the Internet
- Updating the BIOS through a BIOS le
- Chapter 3: Troubleshooting 3.1 Troubleshooting for Motherboard DIY 3.1.1 Basic troubleshooting
- B. CPU overheated
- 3.2 Other common troubles
- 3.2.1 No power
- 3.2.2 Failure to boot-up; No screen display 3.2.3 Failure to enter the operating system
- 3.2.4 FAQs
- Chapter 4: Computer care tips
English
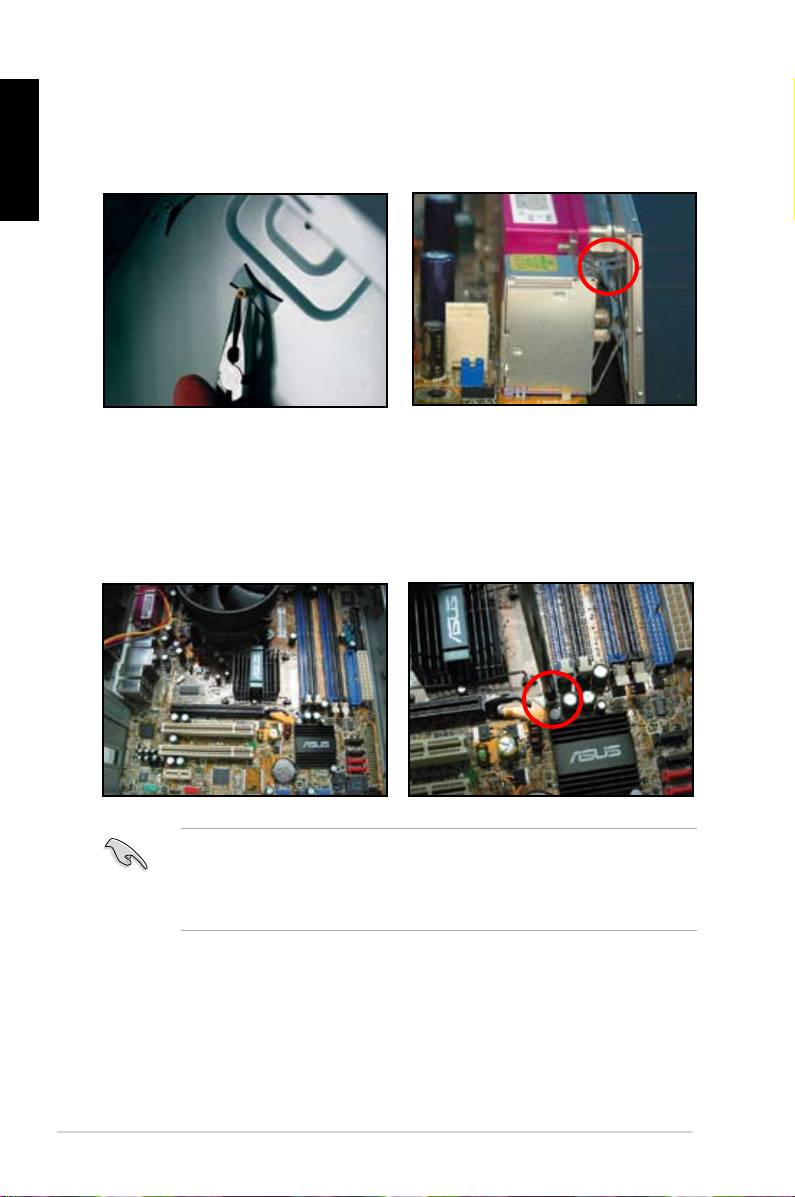
2. Install the standoffs to the matched
3. TheI/Oshieldedgespringsmay
screw holes on the metal plate.
damage the I/O ports. Be cautious
when installing the I/O shield.
5. Insertandlooselytighteneach
4. Position the I/O side of the
screwinadiagonalsequencerst.
motherboard toward the rear of the
After all the screws have been
chassis and place the motherboard
inserted, drive the screws until
into the chassis.
theyarenger-tight.
• Youmayremovethemetalslotcoversfortheexpansioncardsattheback
of the chassis before installig the motherboard. For some chassis models, it
mightbedifculttoremovetheexpansionslotcoveraftertheinstallation.
• DONOTover-tightenthescrews.Doingsomaydamagethemotherboard.
10
Chapter1: QuickStart
