Asus Xonar Xense: Installing the audio card
Installing the audio card: Asus Xonar Xense
Table of contents
- Package contents System requirements
- Hardware introduction
- Gaming headset
- Installing the audio card
- Connecting to a TV tuner card
- Installing the audio card driver Connecting speakers and peripherals Connecting the gaming headset
- Connecting Line-in audio sources Connecting analog speaker systems
- Notices REACH Federal Communications Commission Statement Canadian Department of Communications Statement
- Safety Information Declaration of Conformity for R&TTE directive 1999/5/EC
Installing the audio card
Before you install the audio card, disable your onboard audio device in your
BIOS settings, or uninstall any other audio cards on your computer. For BIOS
setting or uninstallation of other sound cards, refer to the user manuals of your
motherboard and audio card.
English
To install the audio card:
1. Turn off your computer and disconnect
all peripherals connected to it.
2. Unplugthecomputer’spowercord
from the power outlet.
3. Touch the metal back or side panel of
the computer to avoid static electricity.
4. Remove the chassis cover.
5. Remove the metal bracket of a PCI Express slot.
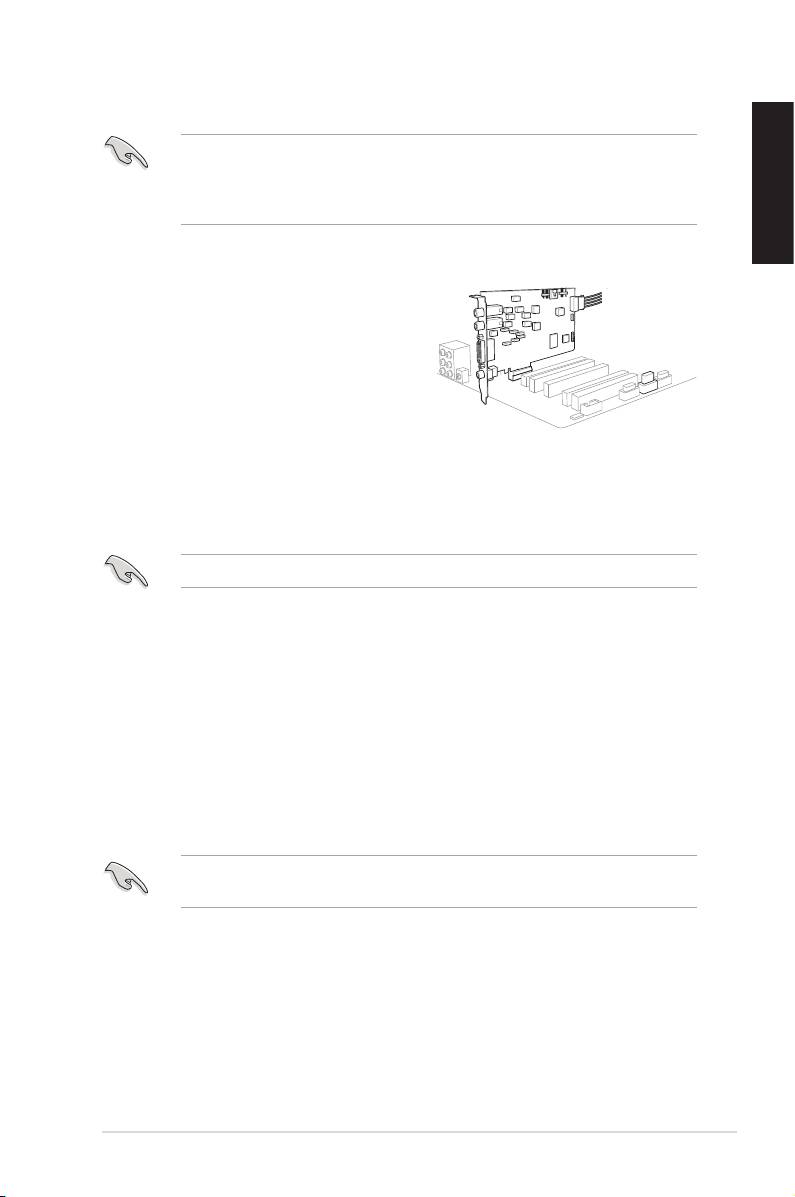
6. Carefully insert the audio card into the PCI Express slot. Ensure that the
audio card sits properly in place.
DO NOT force the audio card into the slot.
7. Secure the audio card with the screw you removed from the PCI Express
slot’smetalbracket.
8. Connect the power cable of your power supply unit to the power connector of
the audio card.
9. Replace the chassis cover.
10. Reconnect all peripherals to your computer.
11. Plug the power cord to a power outlet.
12. Power ON the computer.
The PCI high-quality audio card requires additional power from your computer.
If the power cable is not connected properly, the audio card will not work at all.
ASUS Xonar Xense Quick Start Guide
5
2
