Asus Vintage-PH1: Installing an optical drive Installing a hard disk drive
Installing an optical drive Installing a hard disk drive: Asus Vintage-PH1
Table of contents
Installing an optical drive
22
22
2
11
11
1
11
11
1
English
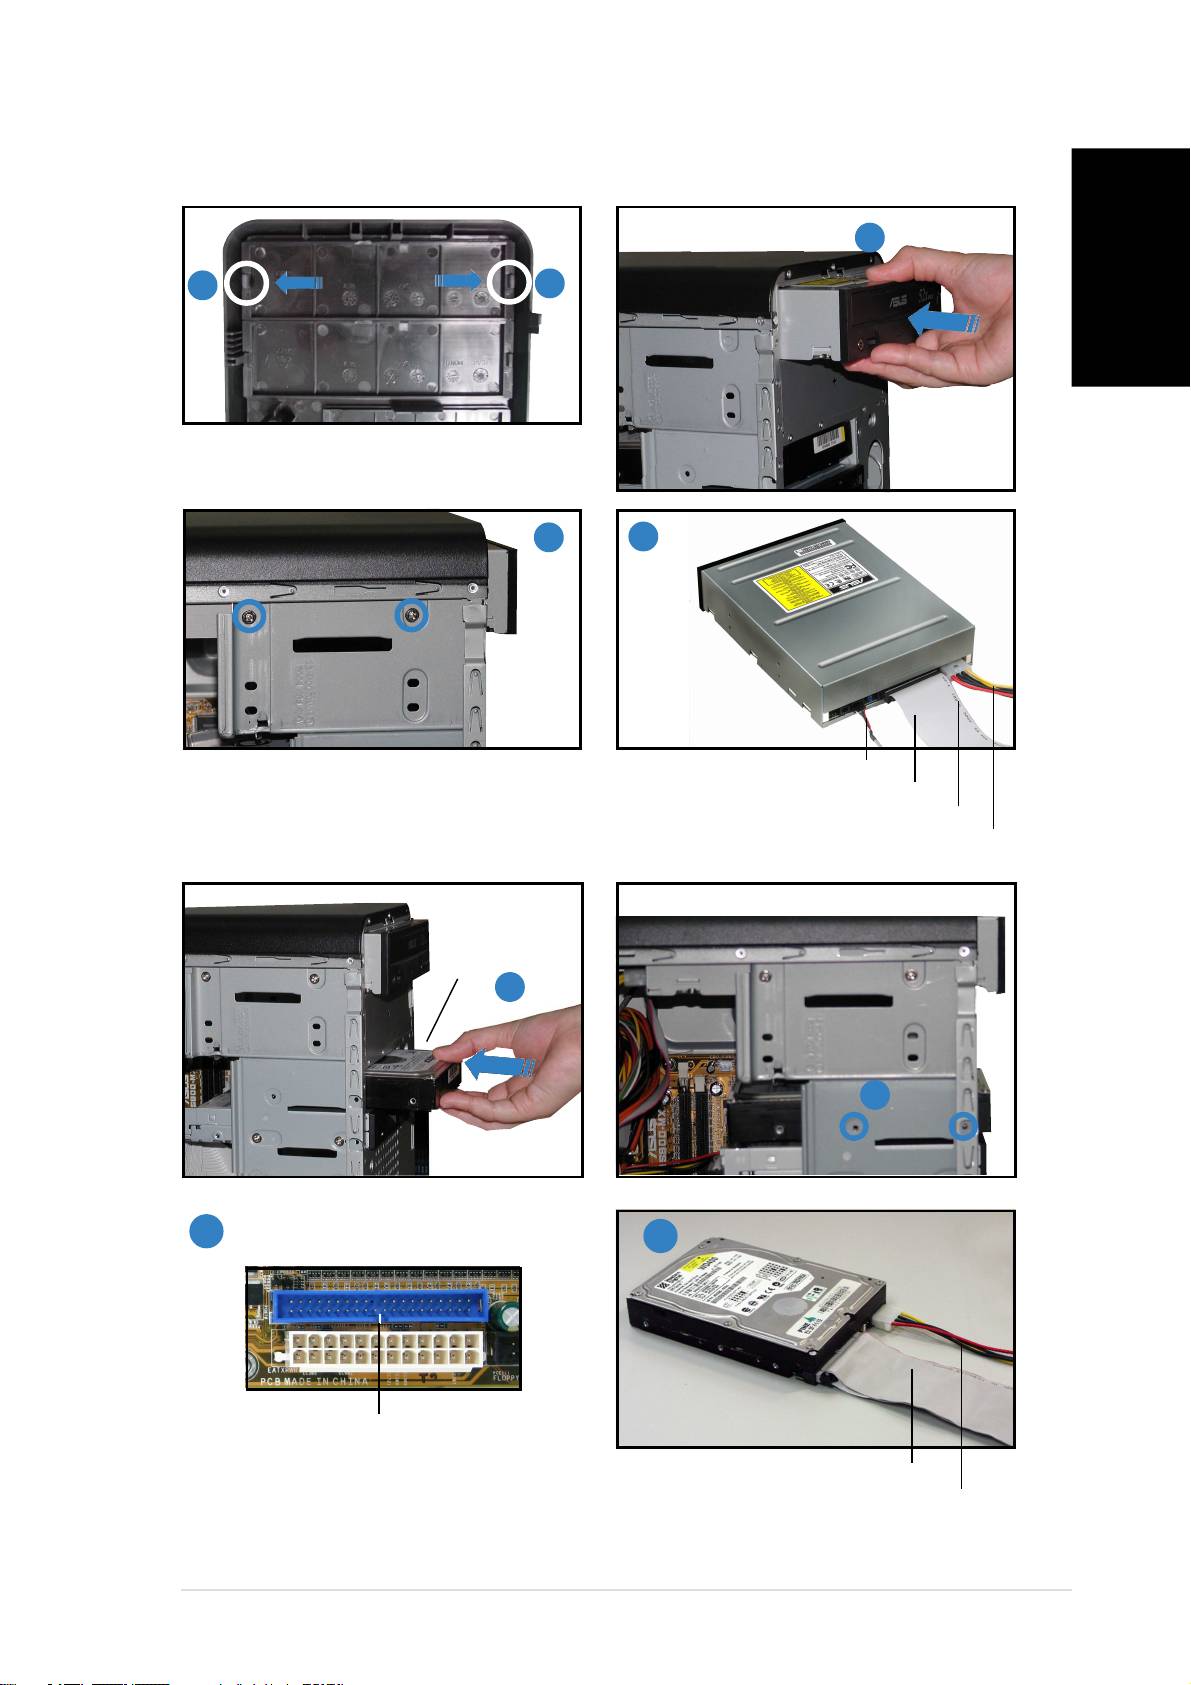
Remove the drive bay plate.
33
33
3
44
44
4
Audio cable Audio cable
Audio cable Audio cable
Audio cable
IDE ribbon cableIDE ribbon cable
IDE ribbon cableIDE ribbon cable
IDE ribbon cable
Red stripe to pin 1Red stripe to pin 1
Red stripe to pin 1Red stripe to pin 1
Red stripe to pin 1
Installing a hard disk drive
Power cable Power cable
Power cable Power cable
Power cable
HDD labelHDD label
HDD labelHDD label
HDD label
sideside
sideside
side
11
11
1
22
22
2
33
33
3
44
44
4
Primary IDE connectorPrimary IDE connector
Primary IDE connectorPrimary IDE connector
Primary IDE connector
IDE ribbon cableIDE ribbon cable
IDE ribbon cableIDE ribbon cable
IDE ribbon cable
Connect the blue interface of the IDE ribbon cable
Power cable Power cable
Power cable Power cable
Power cable
to the primary IDE connector (blue connector
labeled PRI_IDE1) on the motherboard.
viivii
viivii
vii
