Asus Vintage-PE2: Installing the fan and heatsink assembly
Installing the fan and heatsink assembly: Asus Vintage-PE2
Table of contents
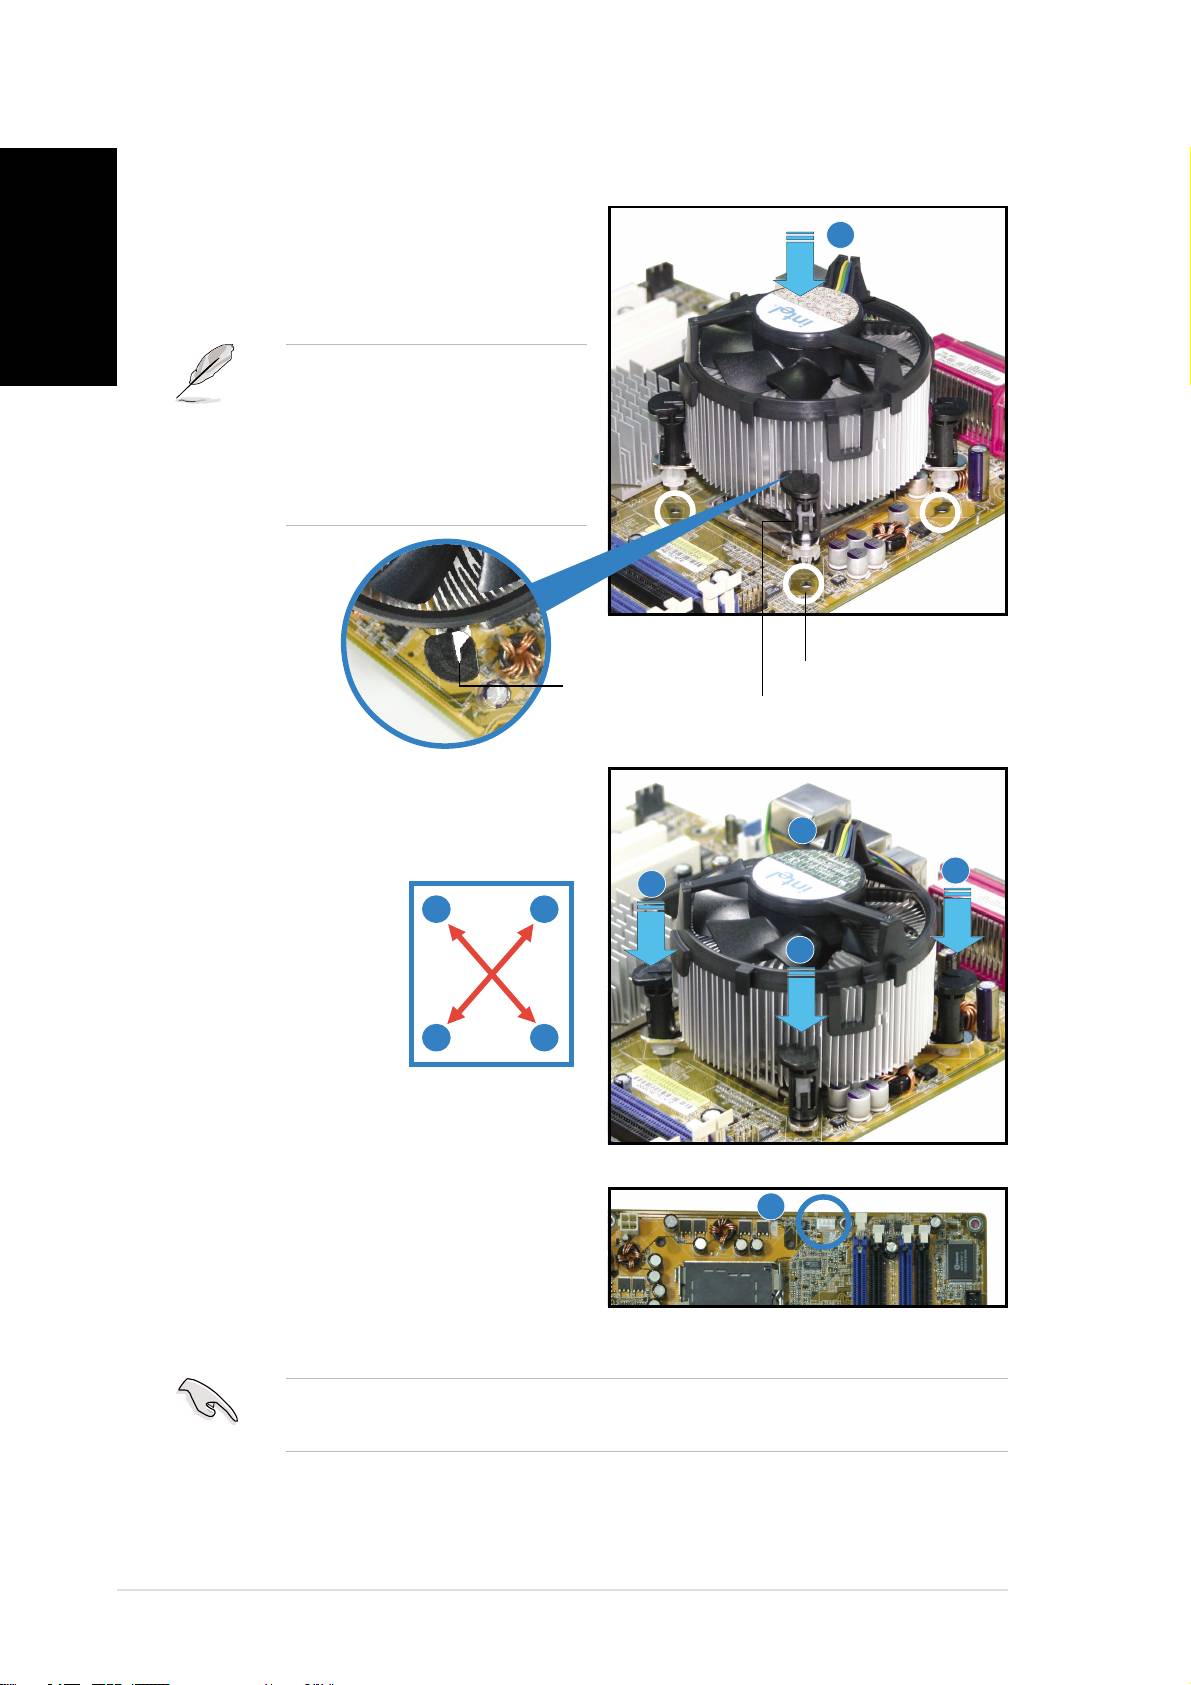
Installing the fan and heatsink assembly
English
Place the heatsink on top of the
1
installed CPU, making sure that the
four fasteners match the holes on
the motherboard.
NOTE. NOTE.
NOTE. NOTE.
NOTE. Make sure to orient
each fastener with the narrow
end of the groove pointing
outward. (The photo shows
the groove shaded for
emphasis.)
Narrow endNarrow end
Narrow endNarrow end
Narrow end
Motherboard holeMotherboard hole
Motherboard holeMotherboard hole
Motherboard hole
of the grooveof the groove
of the grooveof the groove
of the groove
FastenerFastener
FastenerFastener
Fastener
Push down two fasteners at a time
in a diagonal sequence to secure
3
the heatsink and fan assembly in
place.
2
2
2
3
3
3
2
Connect the CPU fan cable
4
to the connector on the
motherboard labeled
CPU_FAN1.
IMPORTANT. IMPORTANT.
IMPORTANT. IMPORTANT.
IMPORTANT. Do not forget to connect the CPU fan connector!
Hardware monitoring errors can occur if you fail to plug this connector.
vivi
vivi
vi
