Asus WL-530g: Quick Setup
Quick Setup: Asus WL-530g
Table of contents
- Installation Procedure
- Software Configuration Connecting to the ASUS Wireless Router
- Setting IP address for Wired or Wireless Connection Get IP Automatically Setting IP Manually
- Installing the ASUS Wireless Router Utilities Using the Wireless Router for the First Time 1. ASUS Wireless Router Utilities 2. Connect to the ASUS WLAN Web Manager
- Quick Setup
- 3. Set your own password 4. Use Quick Install Quick Setup
- Quick Setup (Cont.)
- Authentication and Security
Quick Setup
If your computer’s IP is not on the same subnet as the ASUS Wireless Router
(192.168.1.X), you will be asked to change it. The IP address can be any number
English
from 2 to 254 that is not used by another device. Gateway is not required.
Note: Using a proxy server for your LAN requires that you set an
exception for the ASUS Wireless Router or else connection will fail.
Enter Address or Name Manually
You can also open your PC’s web browser and enter the name or the default
IP address of the ASUS Wireless Router:
WL530g
http://my.router or http://my.WL530g or http://192.168.1.1
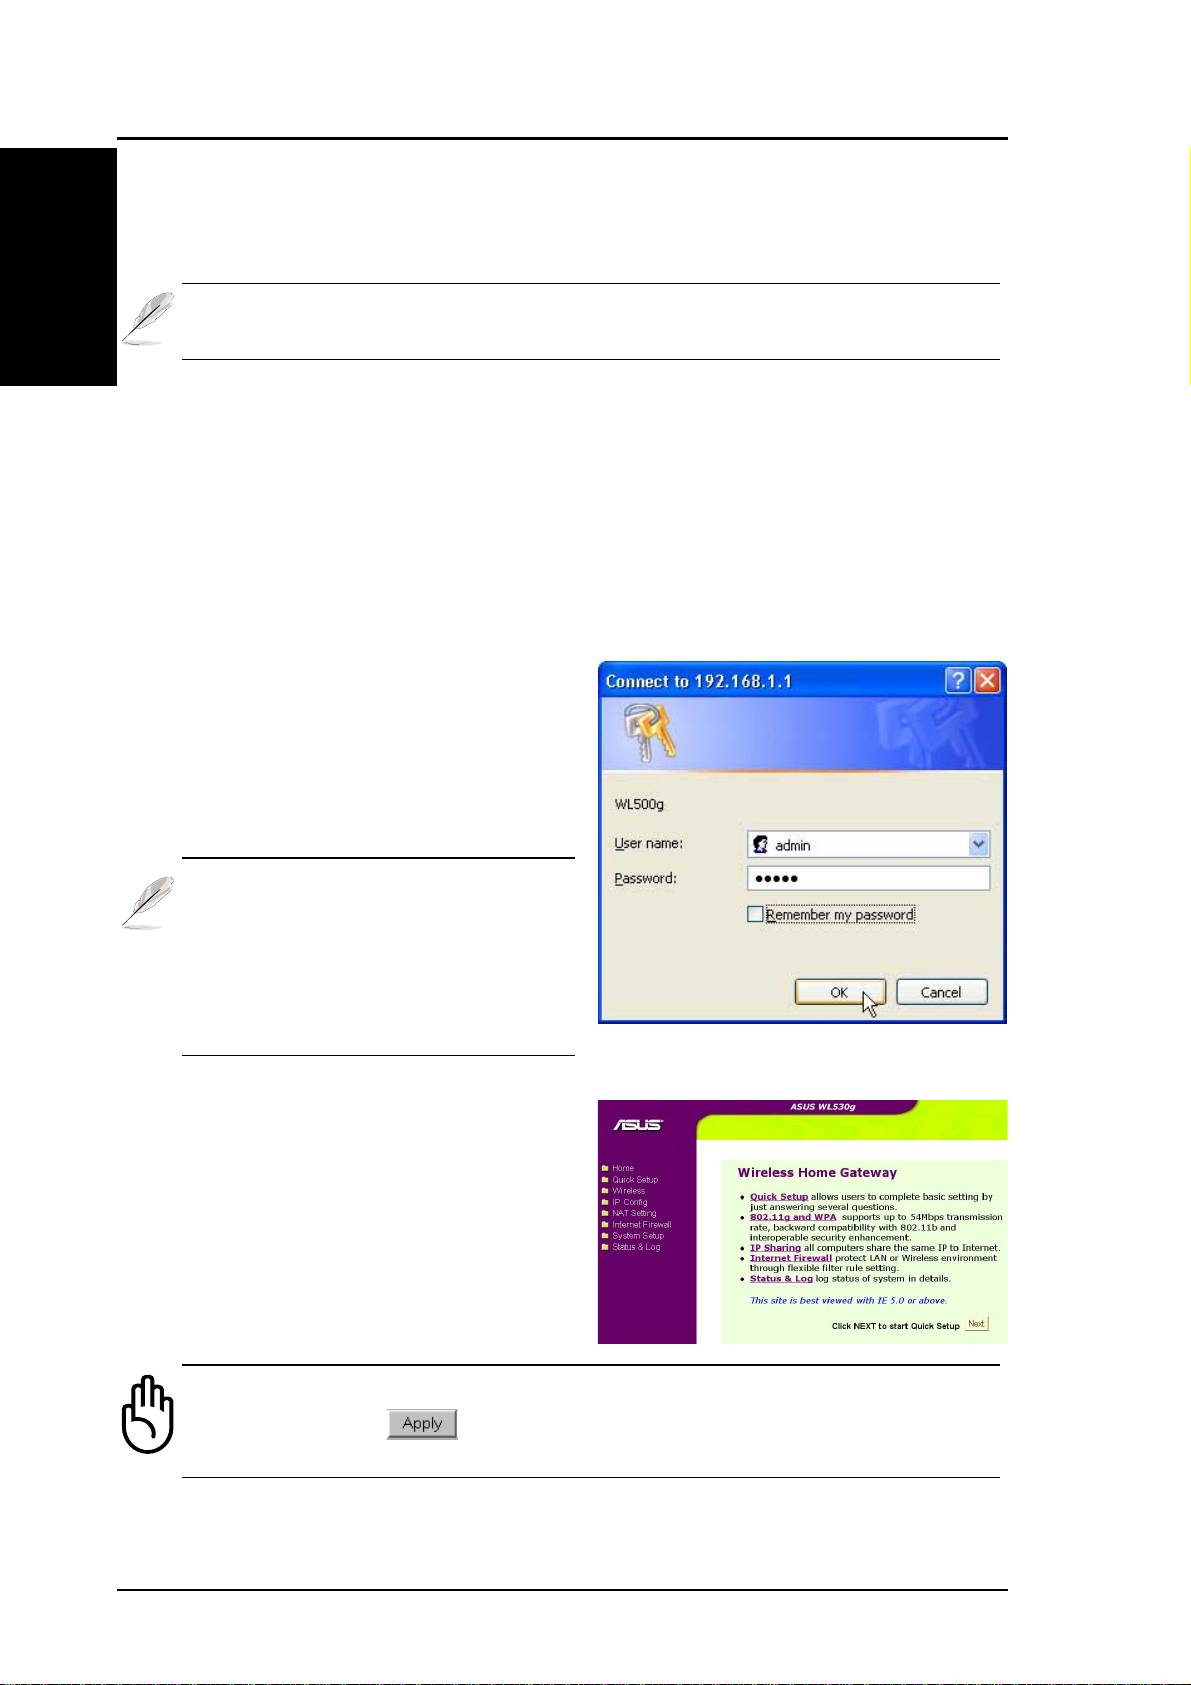
User Name & Password
Once connected, a window will ask
for the User name and Password in
order to log in. The factory default
values are “admin” and “admin”.
Note: If you cannot find any the
ASUS Wireless Routers due to
a problem in the IP settings,
push and hold the “Restore”
button over five seconds to re-
store factory default settings.
Home Page
After logging in, you will see the
ASUS Wireless Router home page.
Important: After entering information on any page, click the
“Apply” button
. If you click any other link, you will be di-
rected to another page and lose your new settings.
6 ASUS Pocket Wireless Router
