Asus Audio Card Xonar D2X: 1.3 Driver installation
1.3 Driver installation: Asus Audio Card Xonar D2X
Table of contents
- 1.1 Installation requirements
- When removing the power cable from the Xonar D2X audio card, make sure to pull outward the 4-pin header rst, then unplug it from the power connector as the following pictures show. Do not forcefully remove the header from the power connector; doing so may pull up the power connector from the audio card and cause damage!
- 1.3 Driver installation
- 1.4 Connecting speakers
- 2.1 Speakers 4 Speakers
- 4.1 Speakers 5.1 Speakers
- 6.1 Speakers 7.1 Speakers
- For Digital Speakers SPDIF Out SPDIF In
- Connecting headphone / microphone Connecting Line-In audio sources
English
4
ASUS Xonar D2X Quick Installation Guide
1.3 Driver installation
After installing the Xonar D2X audio card on your computer, you need to install
the device driver that enables the Xonar D2X audio card to work with Windows
operating system.
The version and content of the driver CD are subject to change without notice.
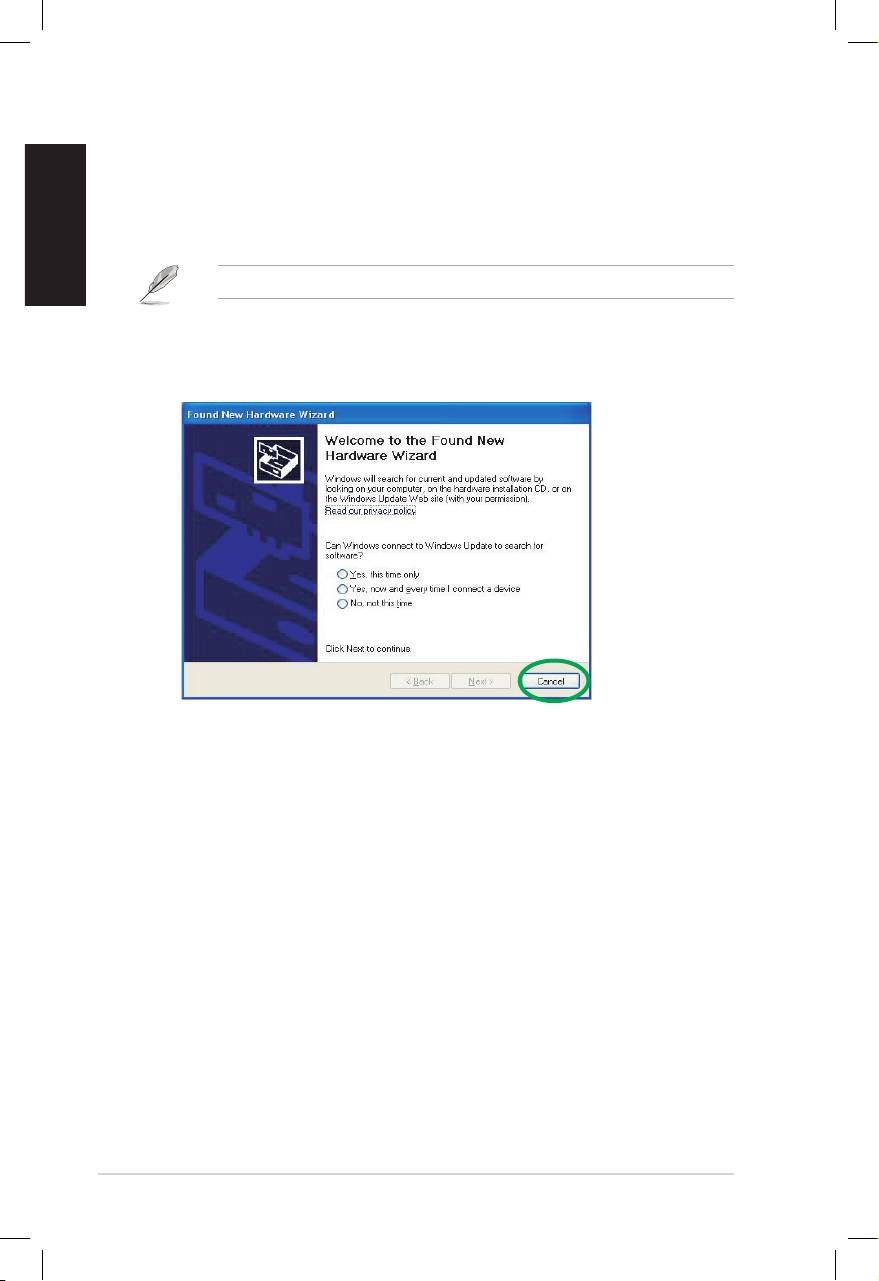
If you have already installed the ASUS Xonar D2X audio card, the Found New
Hardware Wizard window may pop up before or during driver installation. See
gure below.
1.3.1 Installing the Audio Card Driver
To install the device driver:
1. Click Cancel from the Found New Hardware wizard window.
2. Insert the ASUS Xonar D2X support CD into your optical drive.
If autorun is enabled, the ASUS Xonar Card Driver screen appears
automatically. Go to step 5.
If Autorun is not enabled in your computer, perform step 3.
3. Click My Computer on your desktop and double-click the optical drive icon.
4. Double-click the setup.exe icon located on the optical drive.
5. Follow the on-screen instructions to complete the installation. Read the “END
USER LICENSE AGREEMENT” in the process and make sure that you
understand and accept it before continuing the installation.
6. When the installation nishes, you may be prompted to restart your computer.
You can choose to restart the computer later if desired.
