Asus Xonar DS: 3.2 Card installation Installing the Xonar DS card 4. Driver installation Installing the Xonar DS card driver
3.2 Card installation Installing the Xonar DS card 4. Driver installation Installing the Xonar DS card driver: Asus Xonar DS
Table of contents
- Table of content English ................................................................................................1
- 1. Package contents 2. System requirements 3. Hardware introduction 3.1 Xonar DS card layout
- No Item Description
- 3.2 Card installation Installing the Xonar DS card 4. Driver installation Installing the Xonar DS card driver
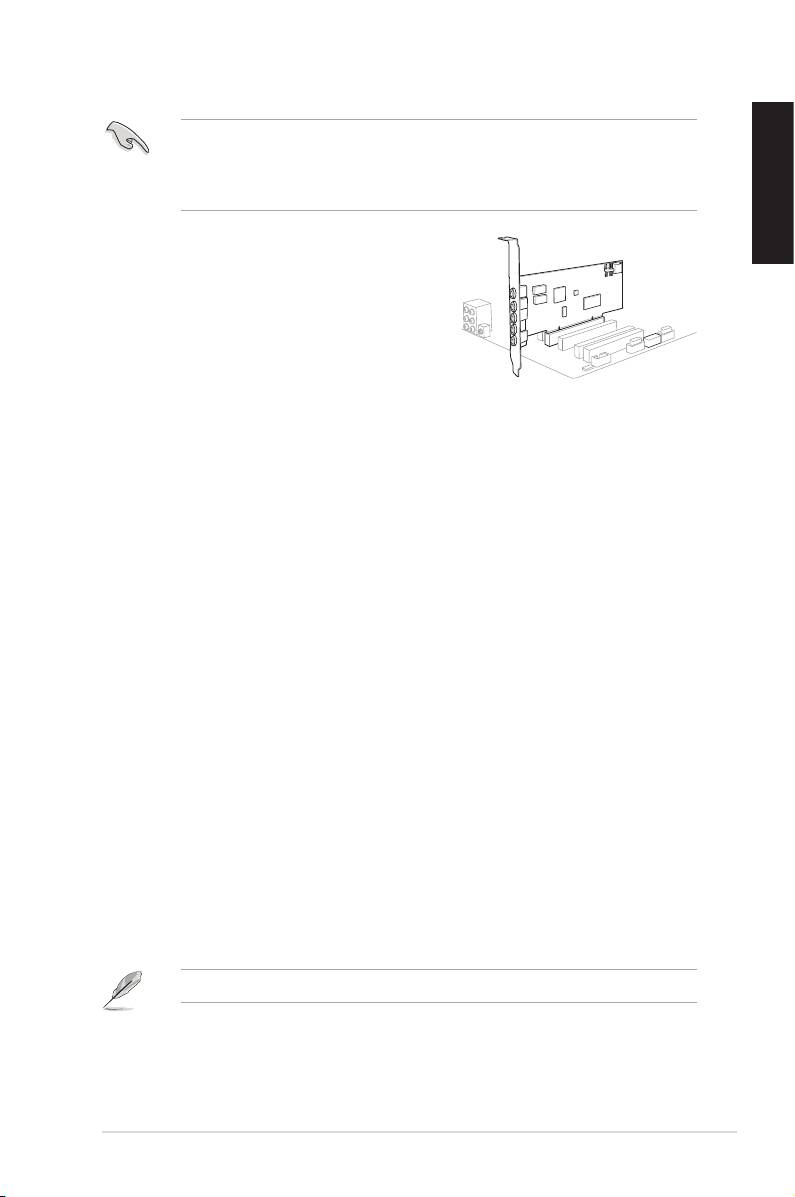
3.2 Card installation
Beforeyouproceedwiththefollowinginstallationsteps,it’srecommendedthat
youdisableyouronboardaudiodeviceinyourBIOSsettings,oruninstallany
otheraudiocardsonyourPC.(ForBIOSsettingoruninstallationofothersound
cards, refer to the user manuals of your motherboard and audio card.)
English
Installing the Xonar DS card
1. Power OFF the computer, the monitor, and
allotherperipheraldevicesconnectedto
your computer.
2. Unplug the computer power cord from your
computer and power outlet.
3. Touch the metal back or side panel of the
computertoavoidstaticelectricity.
4. Removethechassiscover.
5. RemovethemetalbracketfromanavailablePCIslotfortheXonarDSaudio
card.
6. Carefully insert the audio card into the PCI slot. Ensure the audio card sits
properly in place.
7. Secure the audio card with screws and the metal bracket.
8. Putbackthechassiscover.
9. Reconnectallcables.
10. Plug the power cord to the computer and to a power outlet.
11. Power ON the computer.
4. Driver installation
Installing the Xonar DS card driver
®
1. AfteryouhaveinstalledtheXonarDScard,turnonyourcomputer.Windows
automaticallydetectstheaudiocardandsearchesfordevicedrivers.When
promptedforthedrivers,clickCancel.
2. InsertthesupportCDintotheopticaldrive.IfAutorunisenabledinyour
system, the setup starts automatically. If not, run setup.exe from your
support CD.
3. Followtheonscreeninstructionstonishtheinstallation.
TheversionandcontentofthesupportCDaresubjecttochangewithoutnotice.
ASUS Xonar DS Quick Start Guide
5
1
2
