Pioneer F-F3MK2-K: Chapter 2: Connections Connecting antennas Making cable connections
Chapter 2: Connections Connecting antennas Making cable connections: Pioneer F-F3MK2-K
Table of contents
- IMPORTANT
- POWER-CORD CAUTION IMPORTANT: THE MOULDED PLUG
- Chapter 1: Before you start Features What’s in the box
- Inserting the battery Installing the tuner
- Chapter 2: Connections Connecting antennas Making cable connections
- Connections02
- Connecting analog audio sources Plugging in
- Chapter 3: Controls and displays Front panel
- Remote control unit
- Controls and displays03
- Chapter 4: Listening to FM/AM Auto preset memory DEFAULT VALUE
- Manual tuning Search Mode Auto tuning
- Improving FM stereo sound Recalling preset stations
- Preset stations
- An introduction to RDS RDS Search/PTY Search/TP Search
- Naming station presets
- Last function memory Initialization of the microprocessor
- Chapter 5: Other connections Connecting external antennas Operating this tuner with the remote sensor of your Pioneer amplifier
- Chapter 6: Additional information Troubleshooting
- Additional information06 Problem Remedy
- Specifications
Connections 02
Chapter 2:
English
Connections
Connecting antennas
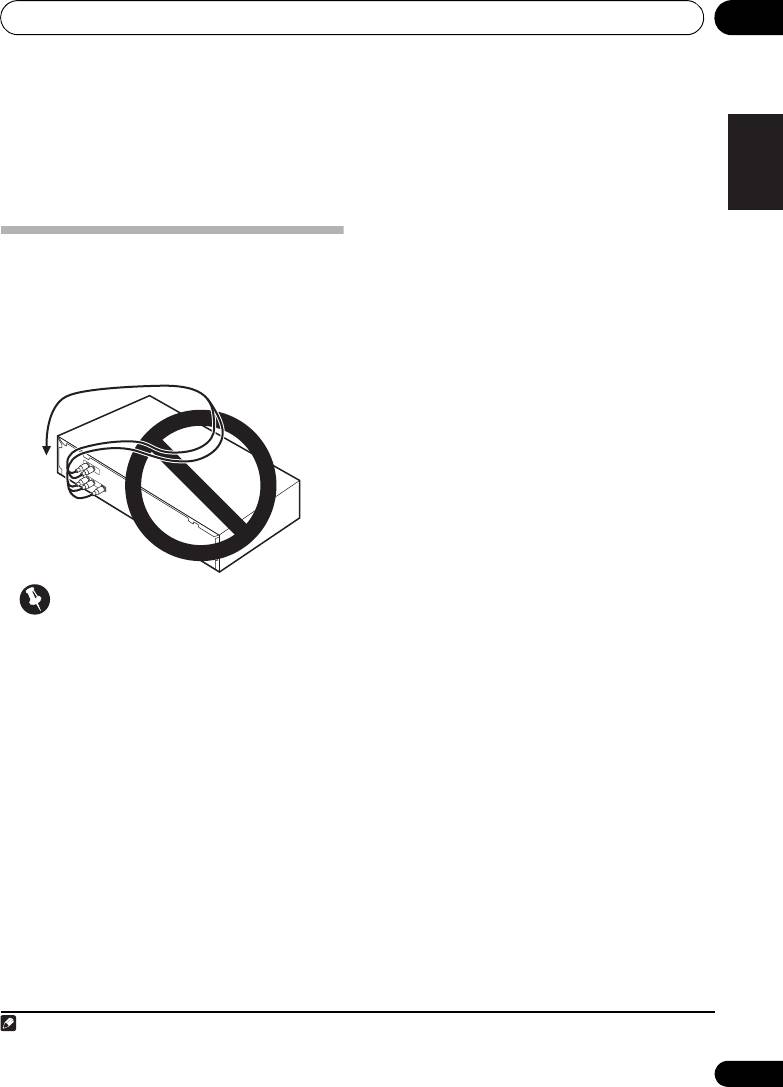
Making cable connections
Connect the AM loop antenna and FM antenna
as shown in the illustration (page 8). To
Make sure not to bend the cables over the top
improve reception and sound quality, connect
of this unit (as shown in the illustration), since
1
the magnetic field produced by the unit’s
external antennas
(See Connecting external
transformers may cause a humming noise in
antennas on page 20).
FrançaisDeutsch
the speakers.
Italiano Español
Nederlands
Important
• Before making or changing any
connections, switch off the power and
disconnect the power cord from the AC
outlet.
7
En
Note
01_F-F3MK2_en.book 7 ページ 2009年4月3日 金曜日 午後1時45分
1 Do not disconnect the AM loop antenna even if an external AM antenna is used.
