Pioneer DDJ-SX: Monitoring sound with headphones Quitting the system Names of Parts
Monitoring sound with headphones Quitting the system Names of Parts: Pioneer DDJ-SX
Table of contents
- Operating Environment IMPORTANT
- POWER-CORD CAUTION WARNING
- Contents
- Before start What’s in the box Installing the software Installation Procedure (Windows)
- Installation procedure (Mac OS X)
- 11 If the following screen appears, drag and drop the [Serato DJ] icon on the [Applications] folder icon.
- Operation Connections
- 6 Connect the AC adapter. 7 Press the [STANDBY/ON] switch on this unit’s rear panel to turn this unit’s power on. 8 Turn on the power of the devices connected to the output terminals (powered speakers, power amplifier, components, etc.).
- Starting the system Launching Serato DJ
- Importing tracks Loading tracks and playing them
- Playing tracks and outputting the sound
- Monitoring sound with headphones Quitting the system Names of Parts
- Deck section Mixer section
- Acquiring the manual Downloading this unit’s operating Downloading the Serato DJ software manual
- About the AC adapter
- Mounting the power plug Removing the power plug Power plug
- Additional information
13
En
English
2 Press the [
"
] button to play the track.
3 Move the channel fader away from you.
4 Turn the [TRIM] control.
Adjust [
TRIM
] so that the orange indicator on the channel level indicator
lights at the peak level.
5 Turn the [MASTER LEVEL] control to adjust the audio
level of the speakers.
Adjust the sound level output from the [
MASTER OUT 1
] and [
MASTER
OUT 2
] terminals to an appropriate level.
Monitoring sound with headphones
Set the positions of the controls, etc., as shown below.
Names of controls, etc.
Position
HEADPHONES MIXING
control
Center
HEADPHONES LEVEL
control
Turned fully counterclockwise
1 Press the headphones [CUE] button for the channel 1.
2 Turn the [HEADPHONES LEVEL] control.
Adjust the sound level output from the headphones to an appropriate
level.
Note
This unit and the Serato DJ software include a variety of functions
enabling individualistic DJ performances. For details on the respective
functions, see the operating instructions and the Serato DJ software
manual.
This unit’s operating instructions can be downloaded from the
Pioneer DJ support site. For details, see
Downloading this unit’s oper-
ating instructions
(p. 15).
The Serato DJ software manual can be downloaded from “Serato.
com”. For details, see
Downloading the Serato DJ software manual
(p.
15).
Quitting the system
1 Quit [Serato DJ].
When the software is closed, a message for confirming that you want to
close it appears on the computer’s screen. Click [
Yes
] to close.
2 Press the [STANDBY/ON] switch on this unit’s rear
panel to set this unit’s power to standby.
3 Disconnect the USB cable from your computer.
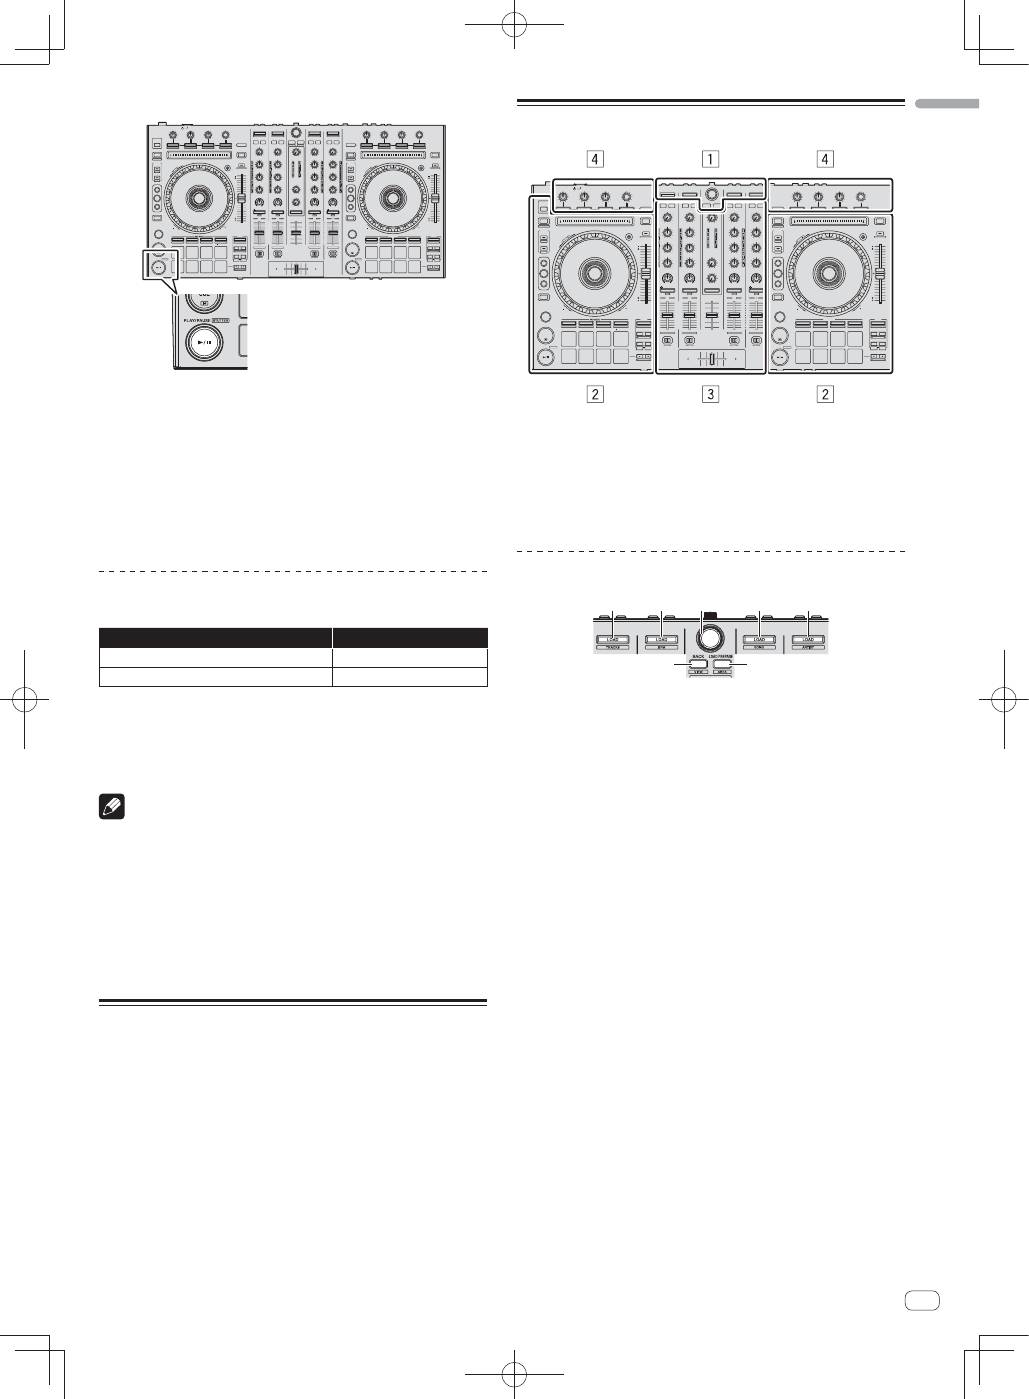
Names of Parts
1
Browser section
2
Deck section
3
Mixer section
4
Effect section
Browser section
1
1
2
1
1
3
4
1
LOAD
button
2
Rotary selector
3
BACK
button
4
LOAD PREPARE
button
