Pioneer VSX-420-K: Choosing the input signal Auto playback Listening in surround sound
Choosing the input signal Auto playback Listening in surround sound: Pioneer VSX-420-K
Table of contents
- IMPORTANT
- Operating Environment
- Contents
- Flow of settings on the receiver
- Chapter 1: Before you start Checking what’s in the box Installing the receiver Loading the batteries
- Chapter 2: Controls and displays Front panel
- Operating range of remote control unit Display
- Controls and displays 02
- Remote control
- Controls and displays 02
- Controls and displays02
- Chapter 3: Connecting your equipment Placing the speakers
- Connecting the speakers
- Making cable connections
- About video outputs connection
- Connecting a TV and Blu-ray Disc player
- Connecting a TV and DVD player
- Connecting your component with no HDMI terminal
- Connecting an HDD/DVD recorder, VCR and other video components
- Connecting a satellite receiver Connecting the multichannel or other digital set-top box analog outputs
- Connecting other audio components Connecting to the front panel audio mini jack
- Connecting antennas
- Connecting an IR receiver Plugging in the receiver
- Chapter 4: Listening to your system Basic playback
- Choosing the input signal Auto playback Listening in surround sound
- Listening in stereo
- Using Front Stage Surround Using Stream Direct Advance Using the Sound Retriever
- Using Phase Control
- Setting the Audio options Setting What it does Option(s)
- Setting What it does Option(s)
- analog inputs Using the headphone
- Chapter 5: The System Setup menu Using the System Setup menu Manual speaker setup
- Channel level Crossover network
- Speaker Distance The Input Assign menu
- Chapter 6: Using the MULTI-ZONE feature MULTI-ZONE listening
- Using the MULTI-ZONE controls Button What it does
- Chapter Using the tuner Listening to the radio Saving station presets
- An introduction to RDS
- Displaying RDS information
- Chapter 8: Making recordings Making an audio or a video recording
- Chapter 9: Additional information Troubleshooting Problem Remedy
- Problem Remedy
- HDMI Symptom Remedy Resetting the main unit
- Specifications Cleaning the unit
Listening to your system04
Choosing the input signal
On this receiver, it is possible to switch the
Auto playback
input signals for the different inputs as
The simplest, most direct listening option is the
1
described below.
Auto Surround feature. With this, the receiver
automatically detects what kind of source
you’re playing and selects multichannel or
2
stereo playback as necessary.
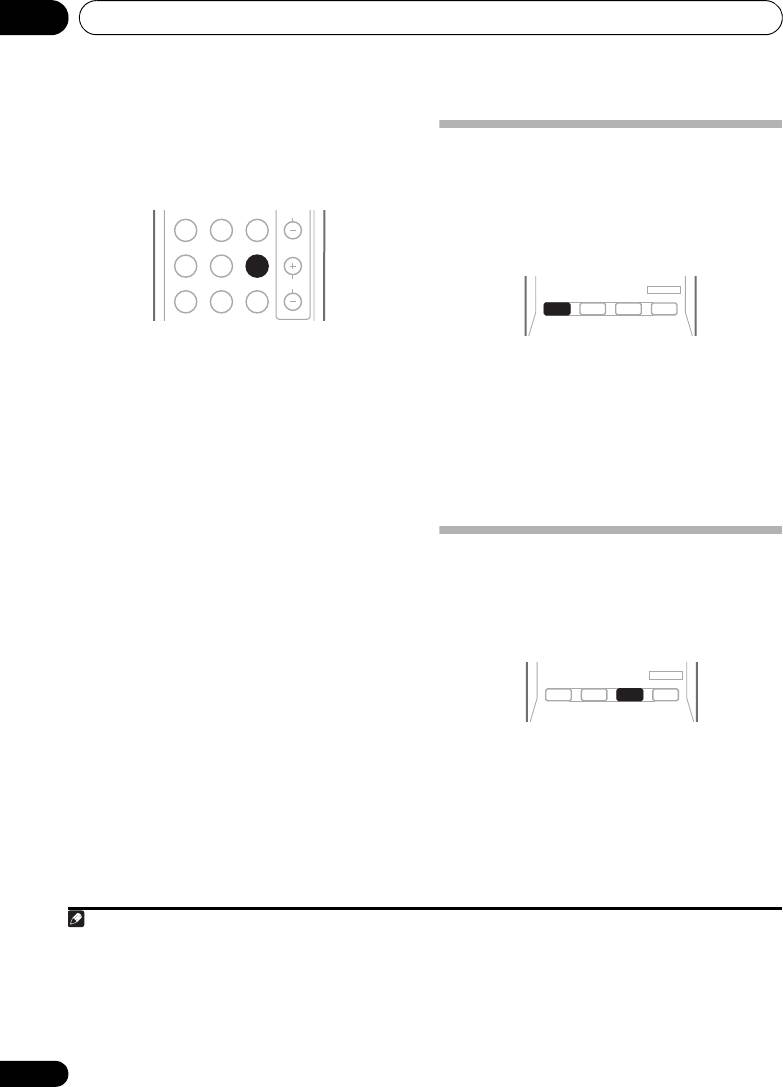
• Press SIGNAL SEL to select the input signal
• While listening to a source, press
AUTO/
corresponding to the source component.
3
When DIGITAL (C1/O1/O2) is selected and the
DIRECT
for auto playback of a source.
selected audio input is not provided, A (analog)
Press repeatedly until AUTO SURROUND
is automatically selected.
shows briefly in the display (it will then show
the decoding or playback format). Check the
Each press cycles through the following:
digital format indicators in the display to see
• A – Selects the analog inputs.
how the source is being processed.
• DIGITAL – Selects the digital input. The
coaxial 1 input is selected for C1, and the
optical 1 or 2 audio input is selected for
Listening in surround sound
O1 or O2.
Using this receiver, you can listen to any source
When set to DIGITAL, 2 D lights when a
in surround sound. However, the options
Dolby Digital signal is input, and DTS lights
available will depend on your speaker setup and
when a DTS signal is input.
the type of source you’re listening to.
• While listening to a source, press
STANDARD
.
If the source is Dolby Digital, DTS, or Dolby
Surround encoded, the proper decoding
format will automatically be selected and
shows in the display.
26
En
Note
1 • This receiver can only play back Dolby Digital, PCM (32 kHz to 96 kHz) and DTS (including DTS 96 kHz / 24 bit) digital signal
formats. With other digital signal formats, set to A (analog).
• You may get digital noise when a LD or CD player compatible with DTS is playing an analog signal. To prevent noise, make
the proper digital connections (page 18) and set the signal input to C1/O1/O2 (DIGITAL).
• Some DVD players don’t output DTS signals. For more details, refer to the instruction manual supplied with your DVD player.
CH
MULTI IN
CD
CD-R
PORTABLE
TUNER
SIGNAL SEL
MIDNIGHT PHASE
S.RETRIEVER
VOL
AUTO/
STEREO/
DIRECT
A.L.C.
STANDARD
ADV SURR
2 Stereo surround (matrix) formats are decoded accordingly using DOLBY PLII MOVIE (see Listening in surround sound above
for more on these decoding formats).
3 For more options using this button, see Using Stream Direct on page 28.
AUDIO
TUNER EDIT
MASTER
AUTO/
BD MENU
DIRECT
AUTO/
STEREO/
BD MENU
DIRECT
A.L.C.
STANDARD
STANDARD
ADV SURR
AUDIO
TUNER EDIT
MASTER
VSX-420_SY_En.book 26 ページ 2010年3月19日 金曜日 午前9時37分
