Pioneer AVD-W7900: Installation Mounting with flush mounting bracket
Installation Mounting with flush mounting bracket: Pioneer AVD-W7900
Table of contents
- IMPORTANT SAFEGUARDS
- Precautions
- Before You Start About this unit
- For viewing LCD comfortably Changing the wide screen size Installing the display unit Changing the picture adjustment Installing and removing the display unit
- Removing the display unit Resetting the microprocessor
- Basic Operations Power ON/OFF Turning the unit off Display unit Selecting a source Changing the wide screen mode Operating this unit
- Switching the dimmer setting Setup
- Selecting the video format
- Connection and installation Connections
- Connection Diagram
- Installation Mounting with flush mounting bracket
- Additional Information Using the display correctly Liquid crystal display (LCD) screen Handling the display Keeping the display in good condition
- Small fluorescent tube
- Specifications
Section
Connection and
04
installation
English
Installation
Important
! Check all connections and systems before
final installation.
! Do not use unauthorized parts. Use of un-
authorized parts may cause malfunctions.
! Consult your dealer if installation requires dril-
ling of holes or other modifications to the vehi-
# Never apply with much force to the display
cle.
unit, the mounting bracket or the release plates
! Do not install this unit where :
as this may damage it.
— it may interfere with operation of the vehi-
cle.
— it may cause injury to a passenger as a re-
sult of a sudden stop.
Mounting with flush mounting
bracket
1 Install securely the mounting bracket in
a safety location by using the supplied tap-
ping screws (M4 × 12).
2 Place the display unit into the mount-
ing bracket until it clicks.
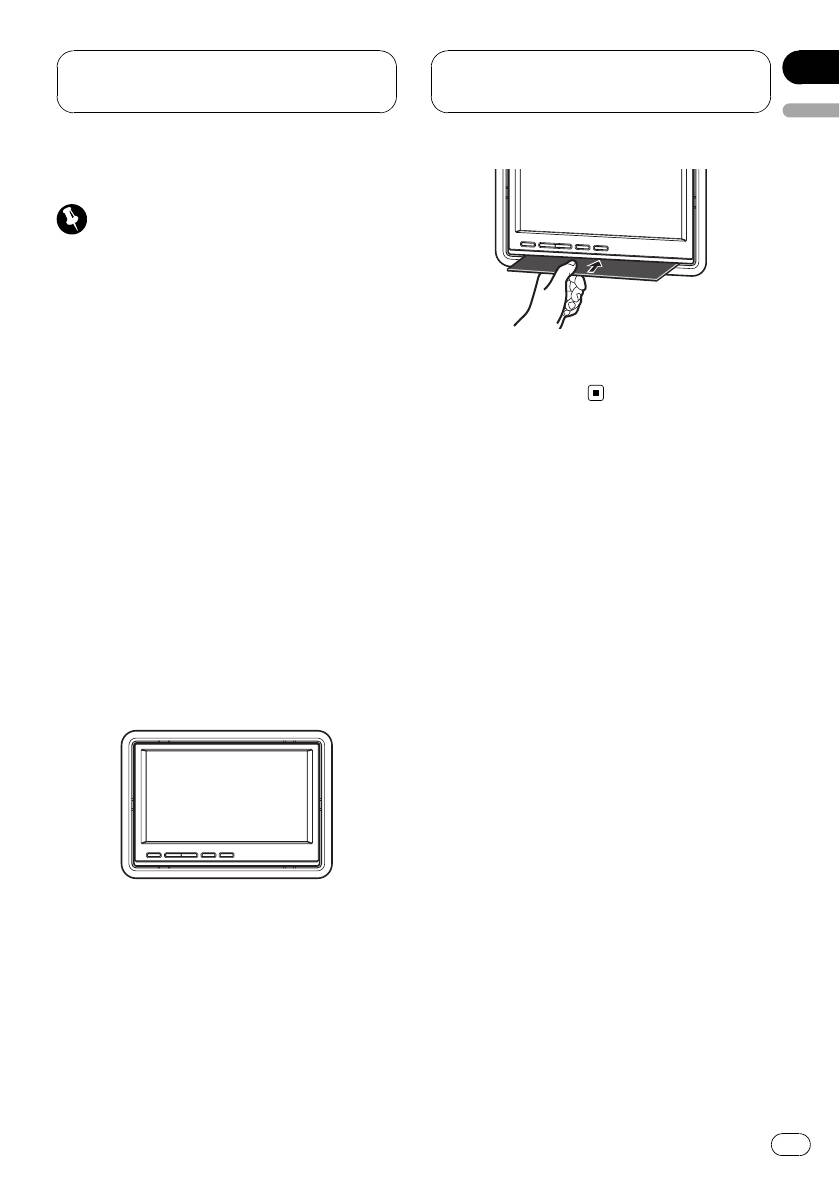
Removing the display unit
% Insert the release plates to gaps be-
tween the display unit and the mounting
bracket.
The display unit will be released.
13
En


