Yamaha RX-V663 Black: Playback
Playback: Yamaha RX-V663 Black
PLAYBACK
Playback
Caution
3 Start playback on the selected source
Extreme caution should be exercised when you play
component or select a broadcast station.
back CDs encoded in DTS. If you play back a CD
• Refer to the operating instructions for the source
encoded in DTS on a DTS-incompatible CD player,
component.
you will only hear some unwanted noise that may
• See page 53 for details about FM/AM tuning
damage your speakers. Check whether your CD player
instructions.
supports CDs encoded in DTS. Also, check the sound
• See page 60 for details about iPod operations.
output level of your CD player before you play back a
• See page 62 for details about Bluetooth operations.
CD encoded in DTS.
y
4
Rotate
J
VOLUME
(or press
G
VOLUME +/–
)
To play DTS-encoded CDs when using a digital audio
to adjust the volume to the desired output
connection, set “DECODER MODE” in “INPUT MENU” to
“DTS” before the playback (see page 85).
level.
y
Before performing the following operations, set the operation
• See page 52 to adjust the level of each speaker.
mode selector on the remote control to
F
AMP.
• This does not affect the AUDIO OUT (REC) level.
• You can set the initial volume level and maximum volume
level (see page 80).
Basic procedure
5 Rotate the
N
PROGRAM selector (or press
one of the sound field program selector
1 Turn on the video monitor connected to this
buttons
(O) repeatedly)
to select the desired
unit.
sound field program.
y
The name of the selected sound field program appears
See page 46 to display the input source information on the
in the front panel display. See page 48 for details
video monitor.
about sound field programs.
2 Rotate the
R
INPUT selector (or press one
of the input selector buttons (
5
)) to select
the desired input source.
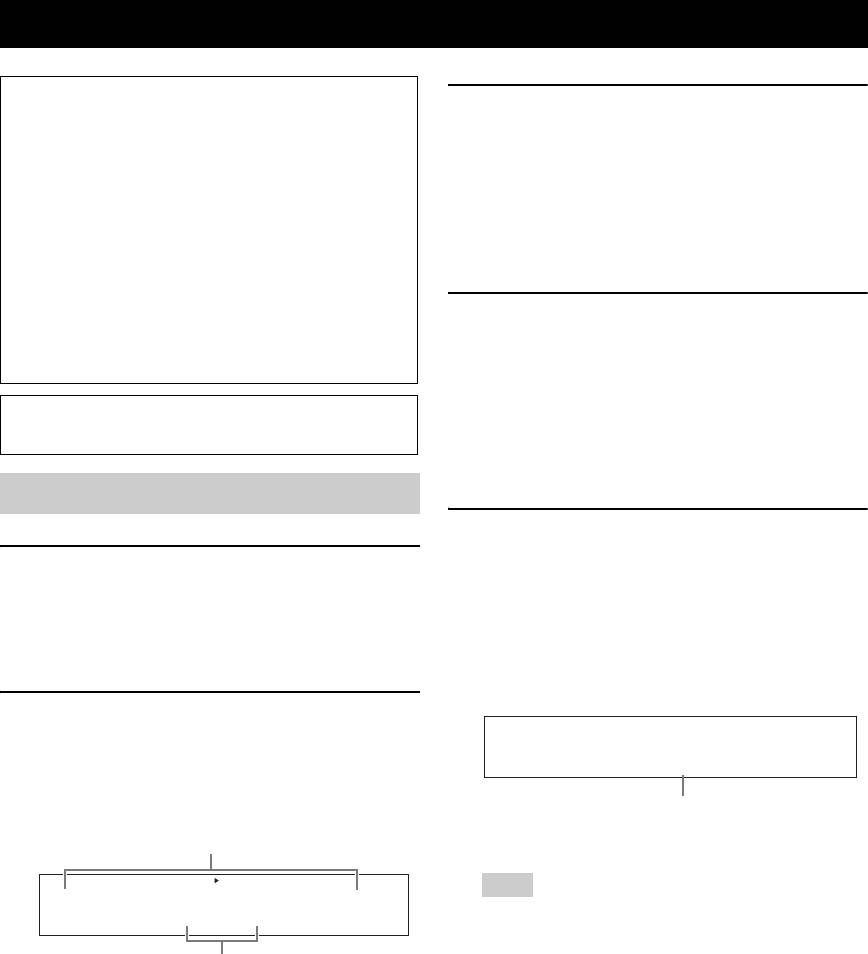
Sci-Fi
The name of the currently selected input source
Currently selected sound field program
appears in the front panel display for a few seconds.
Available input sources
MULTI CH
VCR DVR
V-AUX
DTV/CBL
DVD CD
MD/CD-R
TUNER PHONO
Note
Sound field programs cannot be selected when the
DVD
component connected to the MULTI CH INPUT jacks is
selected as the input source (see page 43).
Currently selected input source
y
• Choose a sound field program based on your listening
y
preference, not merely on the name of the program.
The corresponding input selector button on the remote
• When you select an input source, this unit automatically
control for the currently selected input source lights up for
selects the last sound field program used with the
approximately 5 seconds after you press any buttons on the
corresponding input source.
remote control, showing which source component is
• To display information about the currently selected sound
currently being operated.
field program in the OSD, see page 64 for details.
42 En

Playback
Before performing the following operations, set the operation
Selecting the front speaker set
mode selector on the remote control to
F
AMP.
Use this feature to turn the front speaker system (FRONT
A and/or FRONT B) on or off.
Selecting the MULTI CH INPUT
component
Press
A
SPEAKERS on the front panel
repeatedly to turn on or off the set of front
Use this feature to select the component connected to the
MULTI CH INPUT jacks (see page 25) as the input
speakers connected to the FRONT A and/or
source.
EXTRA SP speaker terminals.
The active front speaker set changes as follows.
Rotate the
R
INPUT selector to select “MULTI
CH” (or press
P
FRONT A
MULTI CH IN).
FRONT B
“MULTI CH” appears in the front panel display.
FRONT A
OFF
and
y
FRONT B
Use “MULTI CH” menu in “INPUT MENU” to set the
parameters for MULTI CH INPUT (see page 86).
Notes
OPERATION
Note
• FRONT A and B or FRONT B setting is not available when
BASIC
Sound field programs cannot be selected when the component
“EXTRA SP ASSIGN” is set to “PRESENCE”, “ZONE 2” or
connected to the MULTI CH INPUT jacks is selected as the input
“NONE” (see page 76).
source.
• Turn off the volume level of this unit when you switch the front
speaker setting.
■ Using the Zone B feature
When you set “EXTRA SP ASSIGN” to “ZONE B” (see
page 76
), you can use the speakers connected to the
EXTRA SP speaker terminals in another room (Zone B).
Press
A
SPEAKERS on the front panel
repeatedly to turn on or off the Zone B speakers.
When you activate the Zone B speakers, all the speakers in
the main room are muted.
Note
If you select the sound field program and activate the Zone B
speakers, Virtual CINEMA DSP activates automatically (see
page 51).
English
43 En

Playback
Before performing the following operations, set the operation
Displaying the current status of
mode selector on the remote control to
F
AMP.
this unit on a video monitor
You can display the operating information of this unit on a
Selecting audio input jacks
video monitor.
(AUDIO SELECT)
1 Turn on the video monitor connected to this
This unit comes with a variety of input jacks. Use this
feature (audio input jack select) to switch between input
unit.
jacks when more than one input jack is assigned to the
same input source.
2 Press
L
DISPLAY on the remote control.
y
The current status screen appears in the OSD.
• We recommend that you set the audio input jack select to
“AUTO” in most cases.
STATUSVOL:-40.0dB
• You can adjust the default audio input jack select of this unit by
MOVIE
using “AUDIO SELECT” in “OPTION MENU” (see page 89).
Sci-Fi
INPUT:DVD
A.SEL:HDMI
Press
Q
AUDIO SELECT (or
I
AUDIO)
[DISPLAY]:STATUSOFF
repeatedly to select the desired audio input jack
select setting.
y
• You can select the amount of time that the current status is
Available input sources
displayed in the OSD by using the “OSD-AMP” parameter
in “OPTION MENU” (see page 87).
MULTI CH
VCR DVR
V-AUX
DTV/CBL
DVD CD
MD/CD-R
TUNER PHONO
• To turn off the status screen, press
L
DISPLAY again.
A.SEL:AUTO
Note
The OSD signal is not output at the DVR and VCR VIDEO
Currently selected audio input jack select setting
OUT jacks and will not be recorded.
AUDIO SELECT Function
AUTO
Automatically selects input signals in the
following order:
(1) HDMI
(2) Digital signals
(3) Analog signals
HDMI
Selects only HDMI signals. When HDMI
signals are not input, no sound is output.
COAX/OPT
Automatically selects input signals in the
following order:
(1) Digital signals input at the COAXIAL
jack
(2) Digital signals input at the OPTICAL
jack
When no signals are input, no sound is
output.
ANALOG
Selects only analog signals. If no analog
signals are input, no sound is output.
Note
This feature is not available when no digital input jacks
(OPTICAL, COAXIAL and HDMI) are assigned. In addition,
HDMI is not available as an audio input jack select setting when
the HDMI IN jacks are not used. Use “I/O ASSIGNMENT” in
“INPUT MENU” to reassign the respective input jack (see
page 84).
44 En
Playback
Before performing the following operations, set the operation
Using your headphones
mode selector on the remote control to
F
AMP.
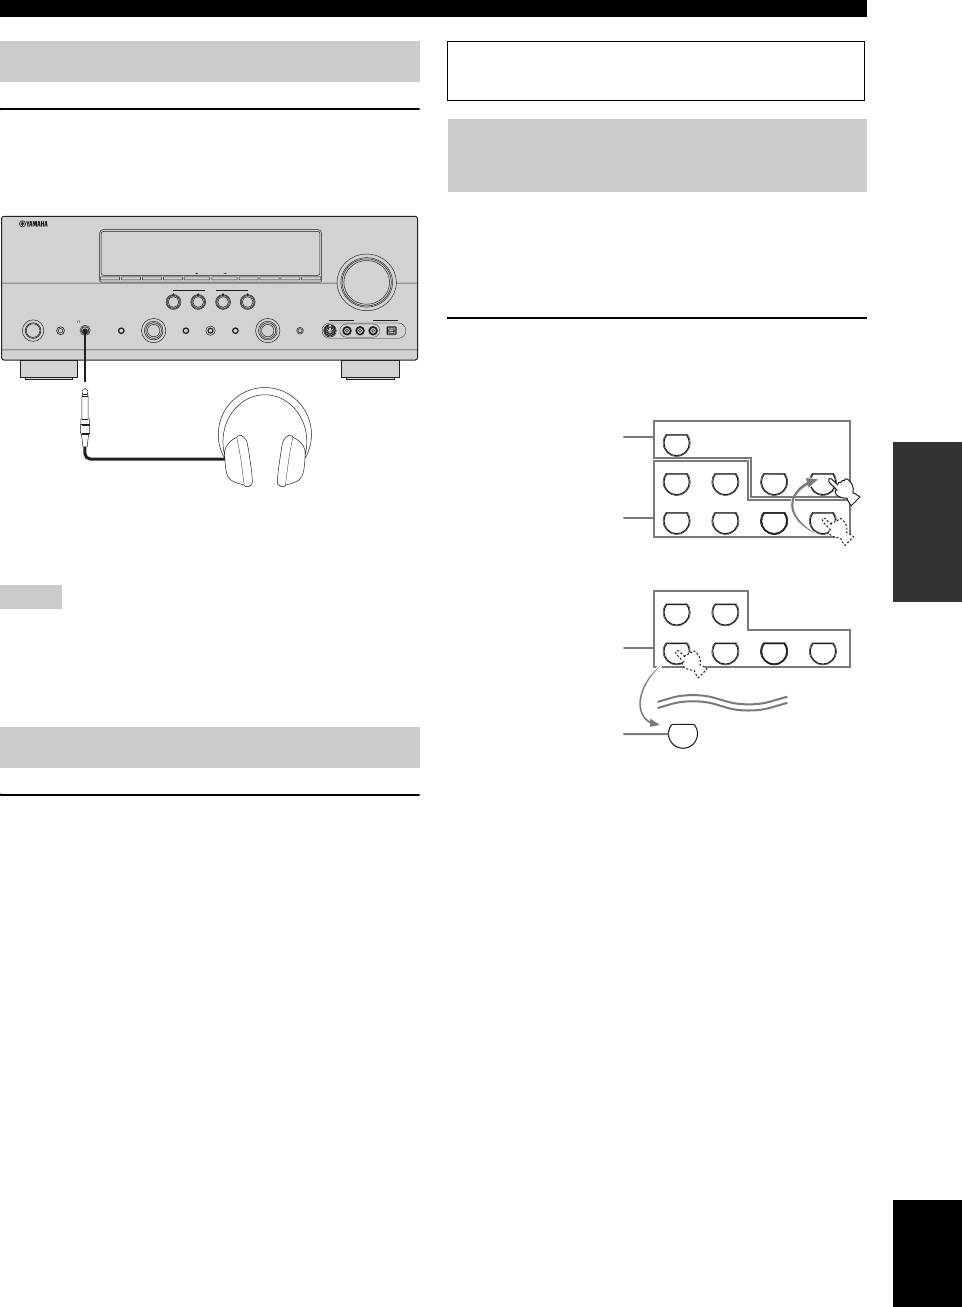
Connect a pair of headphones with a stereo
Playing video sources in the
analog audio cable plug to the PHONES jack on
the front panel.
background of an audio source
You can combine a video image from a video source with
sound from an audio source. For example, you can enjoy
VOLUME
listening to classical music while viewing beautiful
SEARCH MODE
EDIT
PRESET/TUNINGBANDSPEAKERS MEMORY INFO
ZONE 2
ON/OFF
CONTROLA/B/C/D/E
ZONE
scenery from the video source on the video monitor.
SCENE
1234
MAIN ZONE
PROGRAM INPUT
SYSTEM OFF
PHONES
TONE CONTROL STRAIGHT PURE DIRECT
AUDIO SELECT OPTIMIZER MIC
VIDEO AUX
ON/OFF
SILENT CINEMA
EFFECT
VIDEOS VIDEO
L
AUDIO OPTICAL
R
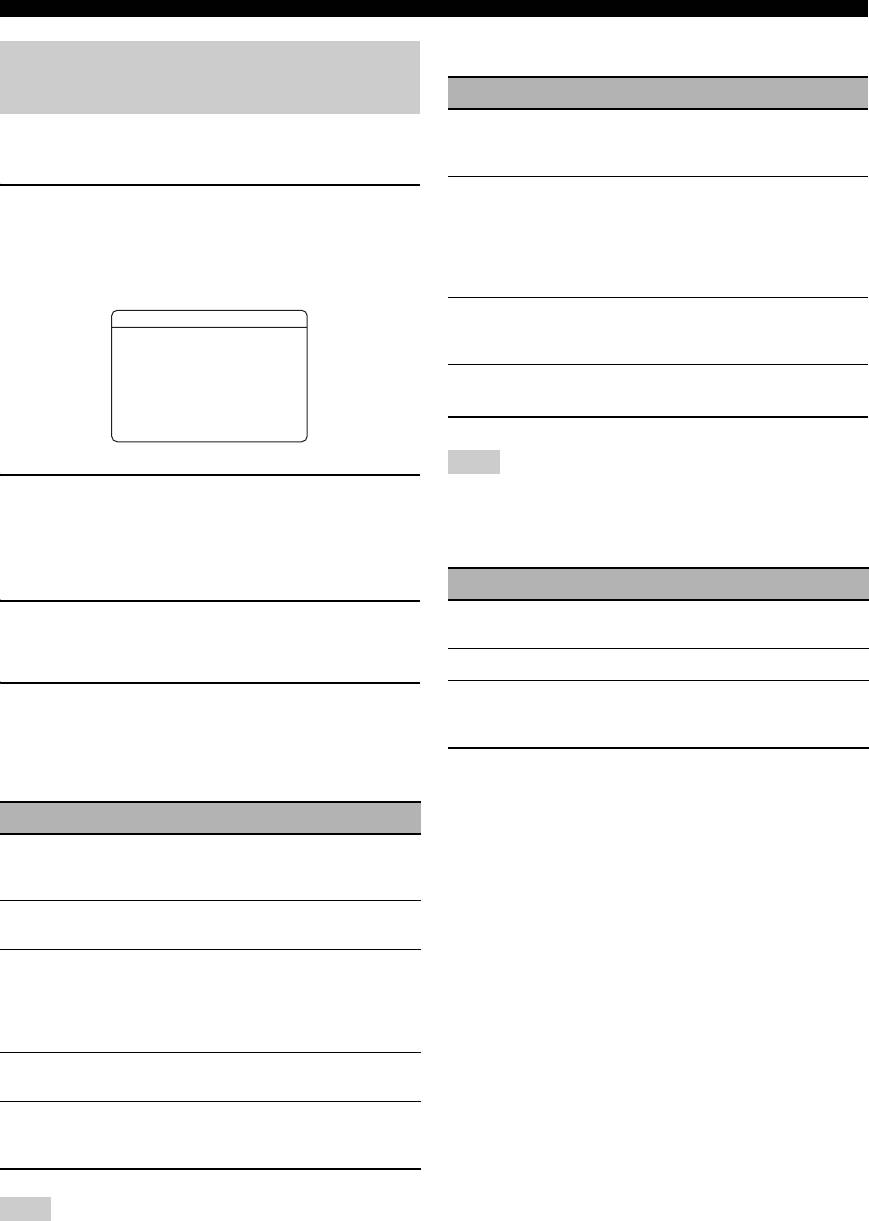
Press the input selector buttons (
5
) on the
remote control to select a video source and then
an audio source.
TUNER
Audio sources
V
-
AUX/DOCK
DTV/CBL
CD
MD/CD-R
OPERATION
BASIC
DVD
DVR
VCR
PHONO
y
Video sources
When you select a sound field program, SILENT CINEMA mode
activates automatically (see page 51).
Notes
V
-
AUX/DOCK
DTV/CBL
• When you connect headphones, no signals are output at the
DVD
DVR
VCR
PHONO
speaker terminals.
Video sources
• All Dolby Digital and DTS audio signals are mixed down to the
left and right headphone channels.
MULTI CH IN
Audio sources
9
Muting the audio output
Press
G
MUTE on the remote control to mute the
y
audio output.
• You can also select “MULTI CH” as the audio source (see
page 43). Set the operation mode selector to
F
AMP and then
Press
G
MUTE again to resume the audio output.
press
P
MULTI CH IN.
y
• Set the “BGV” parameter in the “MULTI CH” menu to the
• You can also rotate
J
VOLUME (or press
G
VOLUME +/–) to
desired setting to select the default background video input
resume the audio output.
source of the MULTI CH INPUT sources (see page 86).
• You can adjust the muting level by using the “MUTE TYPE”
parameter in “VOLUME MENU” (see page 80).
• The MUTE indicator flashes in the front panel display when the
audio output is muted and disappears from the front panel
display when the audio output is resumed.
English
45 En
Playback
■ Video information
Displaying the input source
information
Information Descriptions
HDMI SIGNAL
Type of the source video signals and
You can display the audio and video information of the
the video signals output at the HDMI
current input signal.
OUT jack of this unit.
HDMI RES.
Resolution of the input signal (analog
1 Set the operation mode selector to
F
AMP
or HDMI) and the output signal
and then press
H
SET MENU on the remote
(HDMI). When input video signals are
composite video or S-video signals,
control.
the input video signals are indicated as
The top “SET MENU” display appears in the OSD.
“Composite” or “S-Video”.
ANALOG RES.
Resolution of the analog video signals
SET MENU
output at the COMPONENT VIDEO
MONITOR OUT jacks of this unit.
.;AUTO SETUP
;MANUAL SETUP
.A;SIGNAL INFO
HDMI ERROR
Error message for HDMI sources or
(HDMI MESSAGE)
connected HDMI devices.
p
[ ]/[ ]:Up/Down
p
[ENTER]:Enter
Note
2 Press
9
n repeatedly to select “SIGNAL
“–––” appears when this unit cannot display the corresponding
INFO” and then press
9
ENTER.
information.
The audio information about the input source appears
HDMI error and message
in the OSD.
Message Cause
3 Press
9
l / h to toggle between the audio
DEVICE OVER
The number of the connected HDMI
components is over the limit.
and video information displays.
HDCP ERROR
HDCP authentication failed.
4 Press
H
SET MENU on the remote control
Out of Res.
Out of resolution. The connected monitor is
not compatible with the resolution of the
again to exit from “SET MENU”.
input video signal.
■ Audio information
Information Descriptions
FORMAT
Signal format. When this unit cannot detect a
digital signal, it automatically switches to
analog input.
SAMPLING
The number of samples per second taken from
a continuous signal to make a discrete signal.
CHANNEL
The number of source channels in the input
signal (front/surround/LFE). For example, a
multi-channel soundtrack with 3 front
channels, 2 surround channels and LFE, is
displayed as “3/2/0.1”.
BITRATE
The number of bits passing a given point per
second.
FLAG
Flag data encoded in DTS, Dolby Digital, or
PCM signals that cue this unit to automatically
switch decoders (“Surround EX”, etc.).
Note
“–––” appears when this unit cannot display the corresponding
information.
46 En
Playback
■ Canceling the sleep timer
Using the sleep timer
Press
M
SLEEP on the remote control repeatedly
Use this feature to automatically set the main zone to the
until “SLEEP OFF” appears in the front panel
standby mode after a certain amount of time. The sleep
display.
timer is useful when you are going to sleep while this unit
is playing or recording a source. The sleep timer also
Disappears
automatically turns off any external components
connected to the AC OUTLET(S) (see page 28).
Note
SLEEP OFF
Even if this unit is in the standby mode, this unit does not cut off
The SLEEP indicator turns off, and “SLEEP OFF”
the power to AC OUTLET(S) while charging connected iPod (see
page 28).
disappears from the front panel display after a few
seconds.
y
Set the operation mode selector to
F
AMP and
The sleep timer setting can also be canceled by pressing
then press
M
SLEEP repeatedly to set the
D
STANDBY (or
K
MAIN ZONE ON/OFF) to set the main
amount of time.
zone to the standby mode.
Each time you press
M
SLEEP, the front panel display
OPERATION
changes as shown below.
BASIC
SLEEP 120min SLEEP 90min
SLEEP 60minSLEEP 30minSLEEP OFF
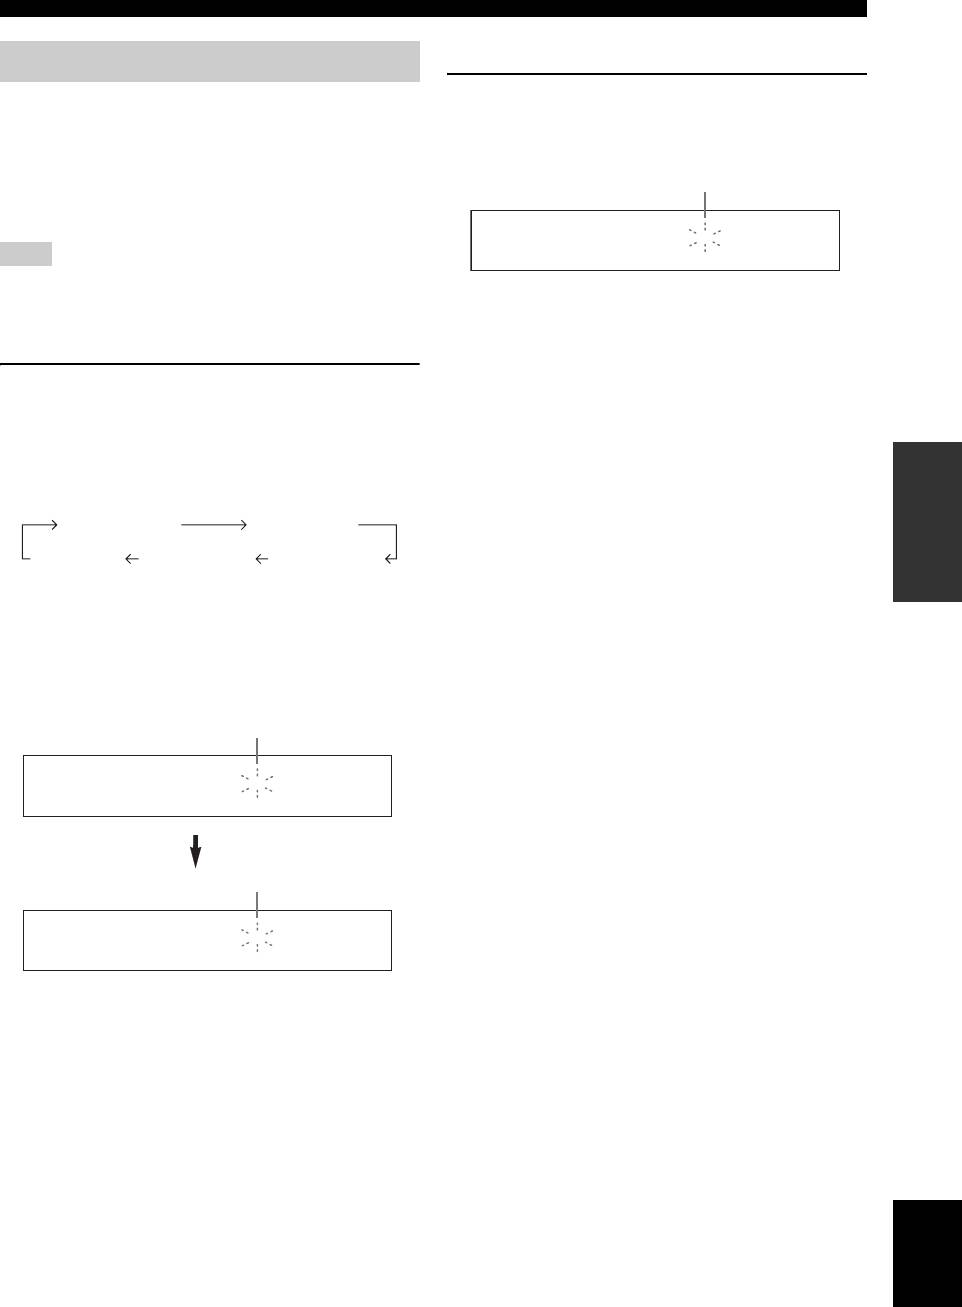
The SLEEP indicator flashes while you are switching the
amount of time for the sleep timer. Once the sleep timer is
set, the SLEEP indicator lights up in the front panel
display, and the display returns to the selected sound field
program.
Flashes
SLEEP
SLEEP 120min.
Lights up
SLEEP
Straight
English
47 En
Оглавление
- Caution: Read this before operating your unit.
- Contents
- Features
- Notice
- Getting started
- Quick start guide
- Connections
- Optimizing the speaker setting for your listening room (YPAO)
- Selecting the SCENE templates
- Playback
- Sound field programs
- Using audio features
- FM/AM tuning
- Radio Data System tuning (Europe and Russia models only)
- Using iPod™
- Using Bluetooth™ components
- Recording
- Advanced sound configurations
- Customizing this unit (MANUAL SETUP)
- Remote control features
- Using multi-zone configuration
- Advanced setup
- Troubleshooting
- Resetting the system
- Glossary
- Sound field program information
- Specifications
- Index
- Предупреждение: Внимательно изучите это перед использованием аппарата.
- Содержание
- Описание
- Уведомление
- Начало работы
- Краткое руководство пользователя
- Подключения
- Оптимизация настройки колонок для комнаты для прослушивания (YPAO)
- Выборе шаблонов SCENE
- Воспроизведение
- Программы звукового поля
- Использование аудиофункций
- Настройка радиопрограмм диапазона ЧМ/AM
- Функция настройки Системы Радиоданных (Только модели для Европы и России)
- Использование iPod™
- Использование компонентов Bluetooth™
- Запись
- Дополнительные конфигурации звучания
- Настройка данного аппарата (MANUAL SETUP)
- Функции пульта ДУ
- Использование многозонной конфигурации
- Дополнительные настройки
- Возможные неисправности и способы по их устранению
- Перезагрузка системы
- Справочник
- Информация программы звукового поля
- Технические характеристики
- Предметный указател


