Pioneer VSX-421: Before you start
Before you start: Pioneer VSX-421
Table of contents
- AUDIO/VIDEO MULTI-CHANNEL RECEIVER
- IMPORTANT IMPORTANT: THE MOULDED PLUG VENTILATION CAUTION
- WARNING
- Contents
- Before you start
- Remote control
- Connecting your equipment
- Connecting the speakers
- Making cable connections HDMI cables
- Analog audio cables Digital audio cables Video cables About video outputs connection
- Connecting your component with no HDMI terminal Connecting a TV and playback components Connecting using HDMI
- Connecting a satellite receiver or other digital set-top box Connecting an HDD/DVD recorder, Blu-ray Disc recorder and other video sources Connecting other audio components
- Using the component video jacks Connecting antennas
- Using external antennas Plugging in the receiver Canceling the demo display
- Basic playback
Before you start
5
En
English
Français
Italiano
Nederlands
Español
Deutsch
Before you start
Checking what’s in the box
Please check that you’ve received the following supplied
accessories:
• Remote control
• AAA size IEC R03 dry cell batteries (to confirm system
operation) x2
• AM loop antenna
• FM wire antenna
•Power cord
• Warranty card
• Operating instructions (CD-ROM)
• These quick start guide
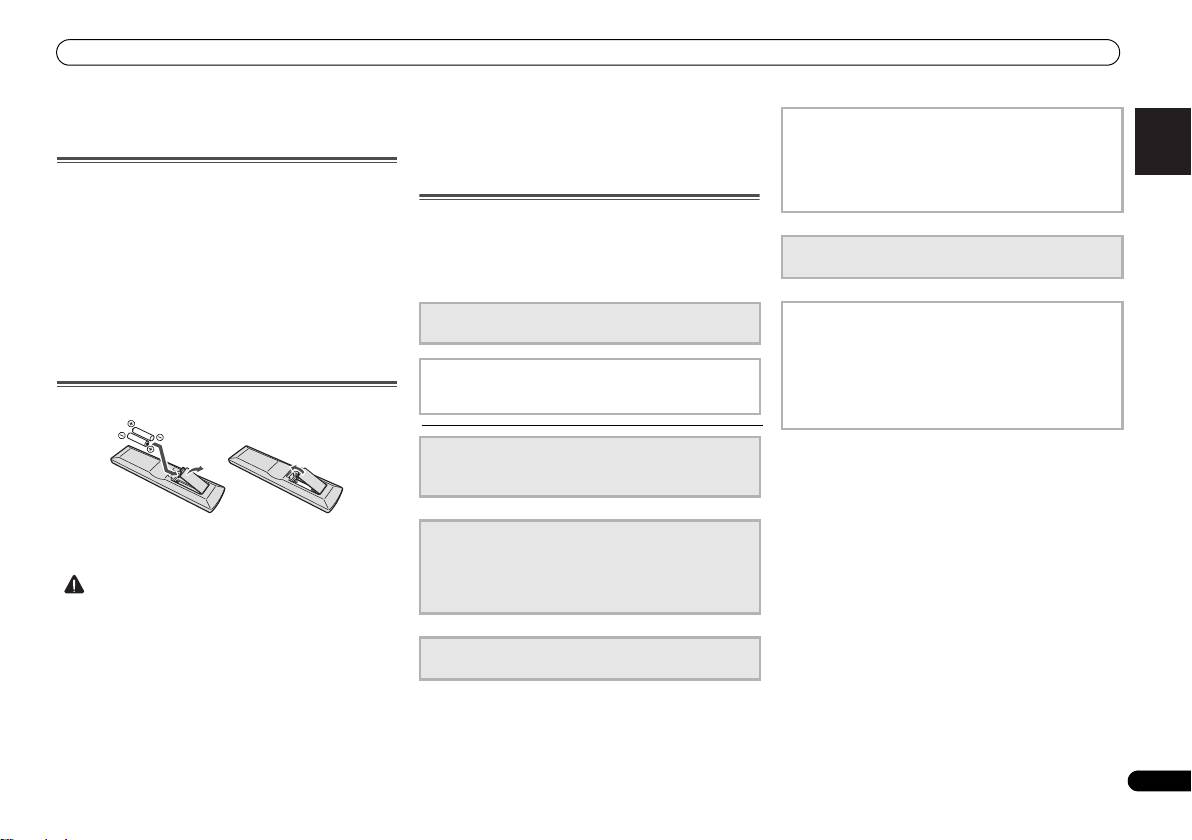
Loading the batteries
The batteries included with the unit are to check initial
operations; they may not last over a long period. We
recommend using alkaline batteries that have a longer life.
CAUTION
VSX-421_SYXCN_QSG_En.book 5 ページ 2011年3月7日 月曜日 午後4時25分
-
Do not use or store batteries in direct sunlight or other
4
The Input Assign menu
excessively hot place, such as inside a car or near a
(When using connections other than the recommended
heater. This can cause batteries to leak, overheat,
connections.)
explode or catch fire. It can also reduce the life or
Using the Audio Return Channel function
performance of batteries.
(When the connected TV supports the HDMI Audio
Return Channel function.)
Flow of settings on the receiver
The unit is a full-fledged AV receiver equipped with an
abundance of functions and terminals. It can be used easily
5
Playing a source (page 15)
after following the procedure below to make the connections
• Listening in surround sound (page 15)
and settings.
The colors of the steps indicate the following:
Required setting item (These items are included in this
6
Adjusting the sound as desired
Quick Start Guide.)
• Using the Sound Retriever
• Better sound using Phase Control
• Using surround back channel processing
Setting to be made as necessary (These items are
• Setting the Up Mix function
explained in the “Operating Instructions” provided on
the included CD-ROM.)
• Setting the Audio options
• The Speaker Setup menu
1
Connecting the speakers
• Placing the speakers (page 7)
• Connecting the speakers (page 8)
2
Connecting the components
• About video outputs connection (page 10)
• Connecting a TV and playback components (page 11)
• Connecting antennas (page 13)
• Plugging in the receiver (page 14)
• Incorrect use of batteries may result in such hazards as
leakage and bursting. Observe the following precautions:
-
Never use new and old batteries together.
3
Power On
-
Insert the plus and minus sides of the batteries properly
• Canceling the demo display (page 14)
according to the marks in the battery case.
-
Batteries with the same shape may have different
voltages. Do not use different batteries together.
-
When disposing of used batteries, please comply with
governmental regulations or environmental public
instruction’s rules that apply in your country or area.
