Pioneer X-HM70-S: General control
General control: Pioneer X-HM70-S
Table of contents
- VENTILATION CAUTION IMPORTANT Operating Environment
- Contents Accessories
- Before you start
- Controls and Displays Remote control
- Test of the remote control Front Panel
- Connecting your equipment Aerial connection
- Speaker connection Using other subwoofer Connecting a TV, etc.
- Connecting to the network through LAN interface AC power connection Connecting to a wireless LAN
- General control
- General control
- Listening to a CD or MP3/ Disc playback WMA disc
- Advanced CD or MP3/WMA disc playback
- MP3/WMA folder mode (only for MP3/WMA files)
- Procedure to playback MP3/WMA disc with folder mode on
- Listening to the iPod, iPhone or iPad Supported iPod, iPhone and iPad models: Connecting your iPod/iPhone To remove adaptor for iPod or iPhone To insert iPad adaptor
- Playing an iPod, iPhone or iPad Basic playback controls
- Listening to USB mass storage device/MP3 player Connecting a USB device Playing a USB device Basic playback controls
- Playback with NETWORK feature Listening to Internet radio stations About list of Internet radio
- Playing back audio files stored on components on the network Network setup menu Playing back your favorite songs
- Network connection requirements About network playback
- Glossary
- Listening to the radio Improving FM sound Saving station presets Listening to station presets Naming preset stations Changing the noise cut mode
- Using the Radio Data System (RDS) An introduction to RDS Displaying RDS information Searching for RDS programs
- Timer and sleep operation Sleep operation Setting the wake-up timer
- Additional Information
- Additional Information
- Additional Information
- Additional Information About playable music file formats Category Extension Stream About status messages Status messages Descriptions
- Additional Information
General control
English Français Español Italiano
General control
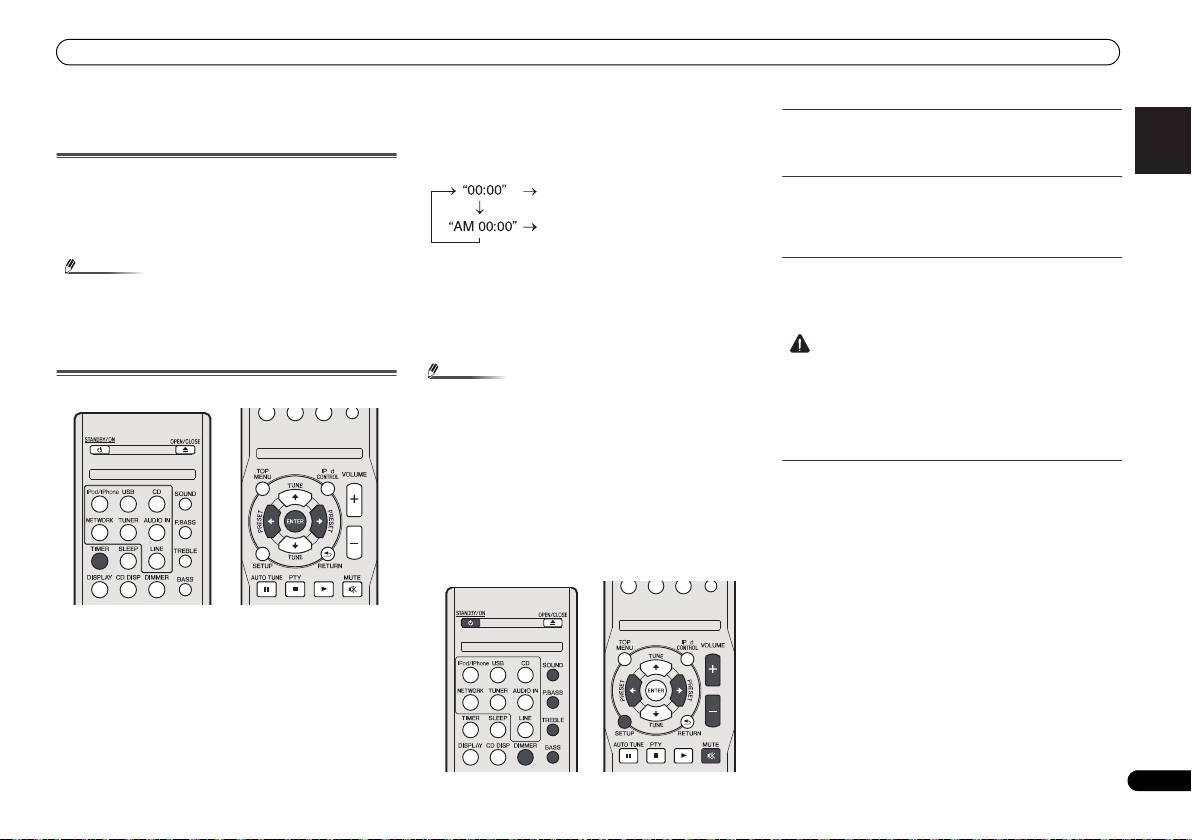
To turn the power on
Press the STANDBY/ON button to turn the power on.
After use:
Press the STANDBY/ON button to enter the power stand-by
mode.
Deutsch
Nederlands
11
En
Note
2 Press ENTER button.
3Use
/
to set the day, then press ENTER.
4Use
/
to select 24-hour or 12-hour display, then
press ENTER.
5Use
/
to set the hour, then press ENTER.
6Use
/
to set the minute, then press ENTER to
• However, if iPod/iPhone is docked, the unit turns charge
confirm.
mode. “iPod charge” will be displayed.
• During iPod charge mode, press the STANDBY/ON
To confirm the time display:
button to turn the power on.
Press the TIMER button. The time display will appear for
• Remove iPod to turn the power stand-by mode.
about 10 seconds.
Setting the clock
In this example, the clock is set for the 24-hour (00:00)
display.
1 Press TIMER button on the remote control.
The current date and time are displayed.
The first time you use the clock, you are taken to the clock
adjust mode.
Note
Display brightness control
Press DIMMER button to dims the display brightness. The
brightness can be controlled in four steps.
Volume auto fade-in
If you turn off and on the main unit with the volume set to 41
or higher, the volume starts at 40 and fades in to the last set
level.
Volume control
Turn the volume knob towards VOLUME (on main unit) or
press VOLUME +/- (on remote control) to increase or
decrease the volume.
• When power supply is restored after unit is plugged in
again or after a power failure, reset the clock (See below).
To readjust the clock:
Perform “Setting the clock” from step 1. If the “Clock” does
not appear in step 2, step 4 (for selecting the 24-hour or 12-
hour display) will be skipped.
To change the 24-hour or 12-hour display:
1 Clear all the programmed contents.
Refer to Factory reset, clearing all memory on page 29 for
details.
2 Perform “Setting the clock” from step 1 onwards.
CAUTION
X-HM70_En.fm 11 ページ 2011年8月2日 火曜日 午後4時46分
The 24-hour display will appear.
(00:00 - 23:59)
The 12-hour display will appear.
(AM 00:00 - PM 11:59)
• The sound level at a given volume setting depends on
speaker efficiency, location, and various other factors. It
is advisable to avoid exposure to high volume levels. Do
not turn the volume on to full at switch on. Listen to music
at moderate levels. Excessive sound pressure from
earphones and headphones can cause hearing loss.
O
Auto power down setup
Set to automatically turn off the receiver after a specified time
has passed (when the power has been on with no operation
for several hours).
• Default setting: 6H
1 Press SETUP on the remote control.
•If APD does not appear, press / to select APD.
2Use
/
to specify the amount of time to allow before
the power is turned off (when there has been no
operation).
O
• You can select 2, 4 or 6 hours, or off (if no automatic
shutoff is desired).
3 When you’re finished, press RETURN.
