Pioneer X-HM10-S: Timer and sleep operation (Remote control only) (continued)
Timer and sleep operation (Remote control only) (continued): Pioneer X-HM10-S
Table of contents
- Operating Environment VENTILATION CAUTION
- ENGLISH Introduction Accessories CONTENTS
- Precautions n General n Volume control Controls and indicators n Front panel
- n Speaker system n Remote control n Display
- System connections n Aerial connection n Speaker connection n Connecting iPod or iPhone to TV
- n AC power connection n Connecting a TV, etc. n Battery installation n Test of the remote control
- General control Setting the clock (Remote control only)
- Setting the clock (Remote control only) (continued) Listening to the iPod, iPhone or iPad
- Listening to the iPod, iPhone or iPad (X-HM20 only) (continued)
- Listening to the iPod, iPhone or iPad (X-HM20 only) (continued)
- Listening to a CD or MP3/WMA disc
- Advanced CD or MP3/WMA disc playback
- Advanced CD or MP3/WMA disc MP3/WMA folder mode (only for MP3/ playback (continued) WMA files)
- MP3/WMA folder mode (only for MP3/ Listening to USB mass storage WMA files) (continued) device/MP3 player
- Listening to USB mass storage device/MP3 player (continued) Advanced USB playback
- Listening to the radio
- Using the Radio Data System (RDS)
- Using the Radio Data System (RDS) (continued)
- Using the Radio Data System (RDS) Timer and sleep operation (Remote (continued) control only)
- Timer and sleep operation (Remote control only) (continued)
- Timer and sleep operation (Remote Headphones control only) (continued)
- Troubleshooting chart
- Troubleshooting chart (Continued)
- Specifications
- Notice
Timer and sleep operation (Remote control only) (continued)
Once timer:
n Timer playback
The timer will be cancelled.
Before setting timer:
Daily timer:
l Check that the clock is set to the correct time (refer to
The timer operates at the same time every day. It will
page 9). If it is not set, you cannot use the timer
continue until the daily timer setting is cancelled.
function.
Cancel the daily timer when it is not in use.
l For timer playback: Plug in USB or load discs or dock
iPod to be played.
Notes:
l When performing timer playback using another unit
connected to the USB terminal, select “USB” or “LINE
IN” in step 5.
1 Press the STANDBY/ON button to turn the power on.
l This unit will turn on or enter the power stand-by mode
2 Press and hold the CLOCK/TIMER button.
automatically. However, the connected unit will not turn
on or off. To stop the timer playback, follow step
3 Within 30 seconds, press the or button to
“Cancelling the timer setting” of this page.
select “Once” or “Daily”, and press the ENTER button.
Checking the timer setting:
4 Within 30 seconds, press the or button to
1 Turn the power on and press and hold down the
select "Timer set", and press the ENTER button.
CLOCK/TIMER button.
5 To select the timer playback source (CD, TUNER, USB,
2 Within 30 seconds, press the or button to select
iPod, LINE IN), press the or button. Press the
“Once” or “Daily”, and press the ENTER button.
ENTER button.
3 Within 30 seconds, press the or button to select
When you select the tuner, select a station by pressing
"Timer Call", and press the ENTER button.
the or button, and then press the ENTER
button. If a station has not been programmed, “No
Cancelling the timer setting:
Preset” will be displayed and timer setting will be
cancelled.
1 Turn the power on and press and hold down the
CLOCK/TIMER button.
6 To adjust the day, press the or button and then
press the ENTER button.
2 Within 30 seconds, press the or button to select
“Once” or “Daily”, and press the ENTER button.
7 Press the ENTER button to adjust the hour. Press the
or button and then press the ENTER button.
3 Within 30 seconds, press the or button to select
"Timer Off", and press the ENTER button. Timer will be
8 To adjust the minutes, press the or button and
cancelled (the setting will not be cancelled).
then press the ENTER button.
9 Set the time to finish as in steps 7 and 8 above.
Reusing the memorised timer setting:
The timer setting will be memorised once it is entered. To
10 Adjust the volume using the
VOL (+ or –)
button, and
reuse the same setting, perform the following operations.
then press the ENTER button. Do not turn the volume
up too high.
1 Turn the power on and press and hold down the
CLOCK/TIMER button.
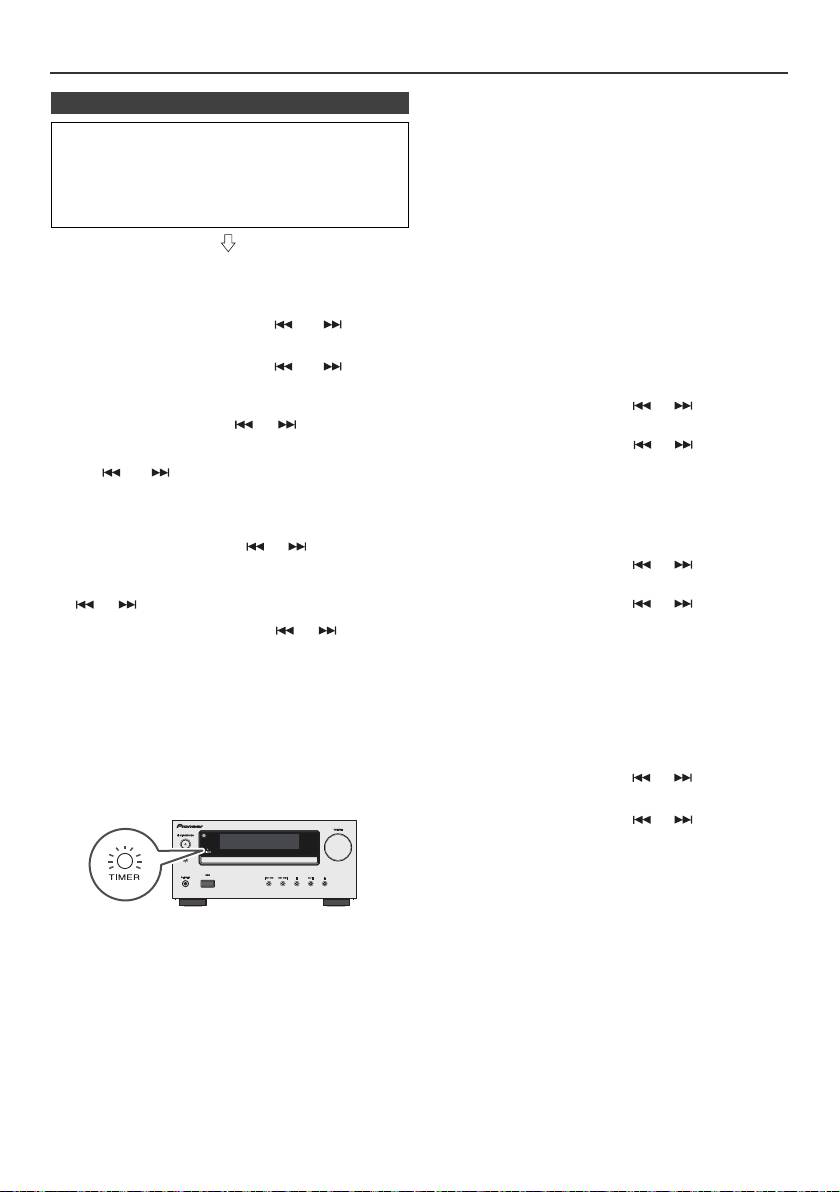
11 Press the STANDBY/ON button to enter the power
stand-by mode. The “TIMER” indicator lights up and
2 Within 30 seconds, press the or button to select
the unit is ready for timer playback.
“Once” or “Daily”, and press the ENTER button.
3 Within 30 seconds, press the or button to select
"Timer On", and press the ENTER button.
4 Press the STANDBY/ON button to enter the power
stand-by mode.
Note:
The clock setting will reset if the power cord is pulled out
12 When the preset time is reached, playback will start.
or when there is a blackout.
The volume will increase gradually until it reaches the
preset volume. The timer indicator will blink during
timer playback.
13 When the timer end time is reached, the system will
enter the power stand-by mode automatically.
En-22
11/5/25 X-HM10_20_En.fm
