Pioneer VSX-520-K: IMPORTANT IMPORTANT: THE MOULDED PLUG
IMPORTANT IMPORTANT: THE MOULDED PLUG: Pioneer VSX-520-K
Table of contents
- IMPORTANT IMPORTANT: THE MOULDED PLUG
- Information for users on collection and disposal of old equipment and used batteries Operating Environment
- Contents
- 08 Making recordings
- Flow of settings on the receiver
- Chapter 1: Before you start Checking what’s in the box Installing the receiver Loading the batteries
- Ventilation
- Chapter 2: Controls and displays Front panel
- Operating range of remote control
- Display
- Controls and displays02
- Remote control
- Controls and displays02
- Controls and displays 02
- Chapter 3: Connecting your equipment Placing the speakers
- Hints on the speaker placement
- Connecting the speakers
- Making cable connections
- HDMI cables About HDMI Analog audio cables
- Digital audio cables About video outputs connection Video cables
- Connecting a TV and playback components Connecting using HDMI Connecting your component with no HDMI terminal
- Connecting a satellite receiver Connecting an HDD/DVD or other digital set-top box recorder, VCR and other video sources
- Using the component video jacks Connecting other audio components
- Connecting antennas
- Plugging in the receiver
- Chapter 4: Basic Setup Automatically setting up for surround sound (MCACC)
- Basic Setup04
- Chapter 5: Listening to your system Basic playback
- Auto playback Listening in surround sound
- Using the Advanced surround effects
- Using Front Stage Surround Advance Listening in stereo
- Using Stream Direct Better sound using Phase Control Using the Sound Retriever
- Using surround back channel processing Listening with Acoustic Calibration EQ
- Setting the Audio options Setting the Up Mix function
- Setting What it does Option(s)
- Setting What it does Option(s)
- Choosing the input signal Using the headphone
- Chapter 6: The System Setup menu Using the System Setup menu Manual speaker setup
- Speaker setting
- Crossover network Channel level Speaker distance
- The Input Assign menu The Pre Out Setting
- Chapter Using the tuner Listening to the radio Saving station presets
- Listening to station presets Naming preset stations
- An introduction to RDS Searching for RDS programs
- Displaying RDS information
- Chapter 8: Making recordings Making an audio or a video recording
- Chapter 9: Other connections Wireless music play Remote control operation
- Connecting Optional Bluetooth ADAPTER
- Listening to Music Contents of Bluetooth wireless technology device with Your System
- Chapter 10: Additional information Troubleshooting Problem Remedy
- Problem Remedy
- Problem Remedy
- HDMI Symptom Remedy
- Important information regarding the HDMI connection Resetting the main unit
- Specifications Cleaning the unit
VSX-520_SYXCN_En.book 2 ページ 2010年4月12日 月曜日 午後7時13分
IMPORTANT
CAUTION
RISK OF ELECTRIC SHOCK
DO NOT OPEN
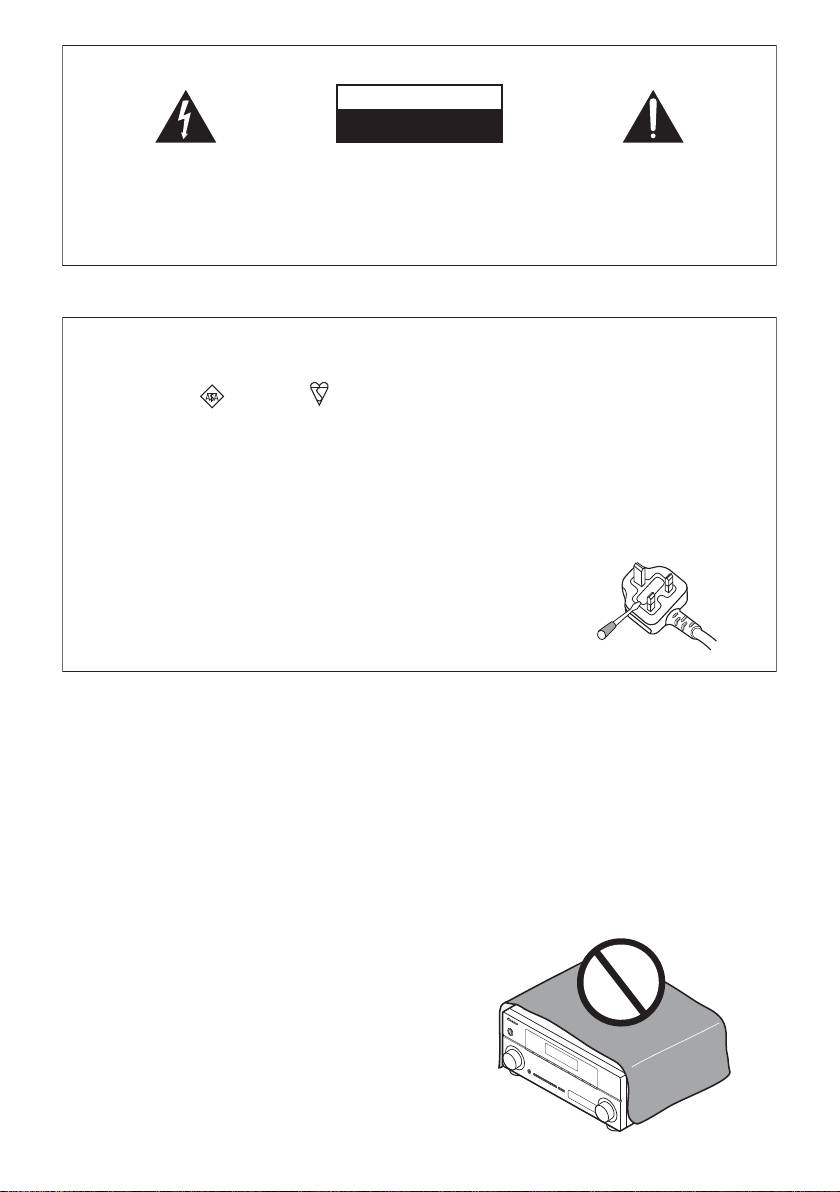
The lightning flash with arrowhead symbol,
CAUTION:
The exclamation point within an equilateral
within an equilateral triangle, is intended to
TO PREVENT THE RISK OF ELECTRIC
triangle is intended to alert the user to the
alert the user to the presence of uninsulated
SHOCK, DO NOT REMOVE COVER (OR
presence of important operating and
“dangerous voltage” within the product’s
BACK). NO USER-SERVICEABLE PARTS
maintenance (servicing) instructions in the
enclosure that may be of sufficient
INSIDE. REFER SERVICING TO QUALIFIED
literature accompanying the appliance.
magnitude to constitute a risk of electric
SERVICE PERSONNEL.
shock to persons.
D3-4-2-1-1_A1_En
Replacement and mounting of an AC plug on the power supply cord of this unit should be performed only by qualified
service personnel.
IMPORTANT: THE MOULDED PLUG
This appliance is supplied with a moulded three pin mains plug for your safety and convenience. A 10 amp fuse is fitted in this plug. Should
the fuse need to be replaced, please ensure that the replacement fuse has a rating of 10 amps and that it is approved by ASTA or BSI to
BS1362.
Check for the ASTA mark or the BSI mark on the body of the fuse.
If the plug contains a removable fuse cover, you must ensure that it is refitted when the fuse is replaced. If you lose the fuse cover the plug
must not be used until a replacement cover is obtained. A replacement fuse cover can be obtained from your local dealer.
If the fitted moulded plug is unsuitable for your socket outlet, then the fuse shall be removed and the plug cut off and disposed of
safely. There is a danger of severe electrical shock if the cut off plug is inserted into any 13 amp socket.
If a new plug is to be fitted, please observe the wiring code as shown below. If in any doubt, please consult a qualified electrician.
IMPORTANT: The wires in this mains lead are coloured in accordance with the following code:
Blue : Neutral Brown : Live
As the colours of the wires in the mains lead of this appliance may not correspond with the coloured markings identifying the terminals in
your plug, proceed as follows;
The wire which is coloured BLUE must be connected to the terminal which is marked with the
letter N or coloured BLACK.
The wire which is coloured BROWN must be connected to the terminal which is marked with the
letter L or coloured RED.
How to replace the fuse: Open the fuse compartment with a screwdriver and replace the fuse.
D3-4-2-1-2-2*_A1_En
WARNING
VENTILATION CAUTION
This equipment is not waterproof. To prevent a fire or
When installing this unit, make sure to leave space
shock hazard, do not place any container filled with
around the unit for ventilation to improve heat radiation
liquid near this equipment (such as a vase or flower
(at least 40 cm at top, 10 cm at rear, and 20 cm at each
pot) or expose it to dripping, splashing, rain or
side).
moisture.
D3-4-2-1-3_A1_En
WARNING
Slots and openings in the cabinet are provided for
ventilation to ensure reliable operation of the product,
WARNING
and to protect it from overheating. To prevent fire
Before plugging in for the first time, read the following
hazard, the openings should never be blocked or
section carefully.
covered with items (such as newspapers, table-cloths,
The voltage of the available power supply differs
curtains) or by operating the equipment on thick carpet
according to country or region. Be sure that the
or a bed.
power supply voltage of the area where this unit
D3-4-2-1-7b*_A1_En
will be used meets the required voltage (e.g., 230 V
or 120 V) written on the rear panel.
D3-4-2-1-4*_A1_En
WARNING
To prevent a fire hazard, do not place any naked flame
sources (such as a lighted candle) on the equipment.
D3-4-2-1-7a_A1_En
