Dell Latitude XT2: Battery Latch
Battery Latch : Dell Latitude XT2
Battery Latch
Dell™Latitude™XT2ServiceManual
Removing the Battery Latch
1. Follow the procedures in Before Working Inside Your Tablet-PC.
2. Remove the battery from the Tablet-PC.
3. Remove the hard drive from the Tablet-PC.
4. Remove the memory and mini-card cover from the Tablet-PC.
5. Remove the memory from the Tablet-PC.
6. Remove the mini-card from the Tablet-PC.
7. Remove the BIOS chip from the Tablet-PC.
8. Remove the Bluetooth module from the Tablet-PC.
9. Remove the hinge cover from the Tablet-PC.
10. Remove the keyboard from the Tablet-PC.
11. Remove the display assembly from the Tablet-PC.
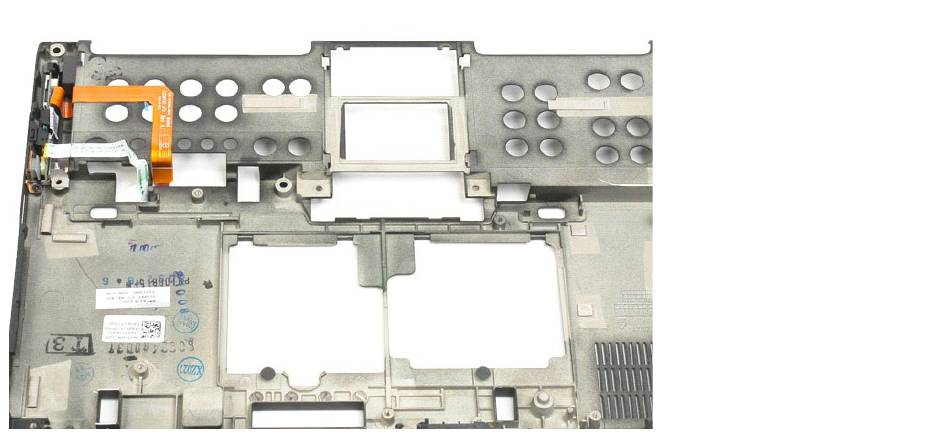
12. Remove the palm rest from the Tablet-PC.
13. Remove the system board from the Tablet-PC.
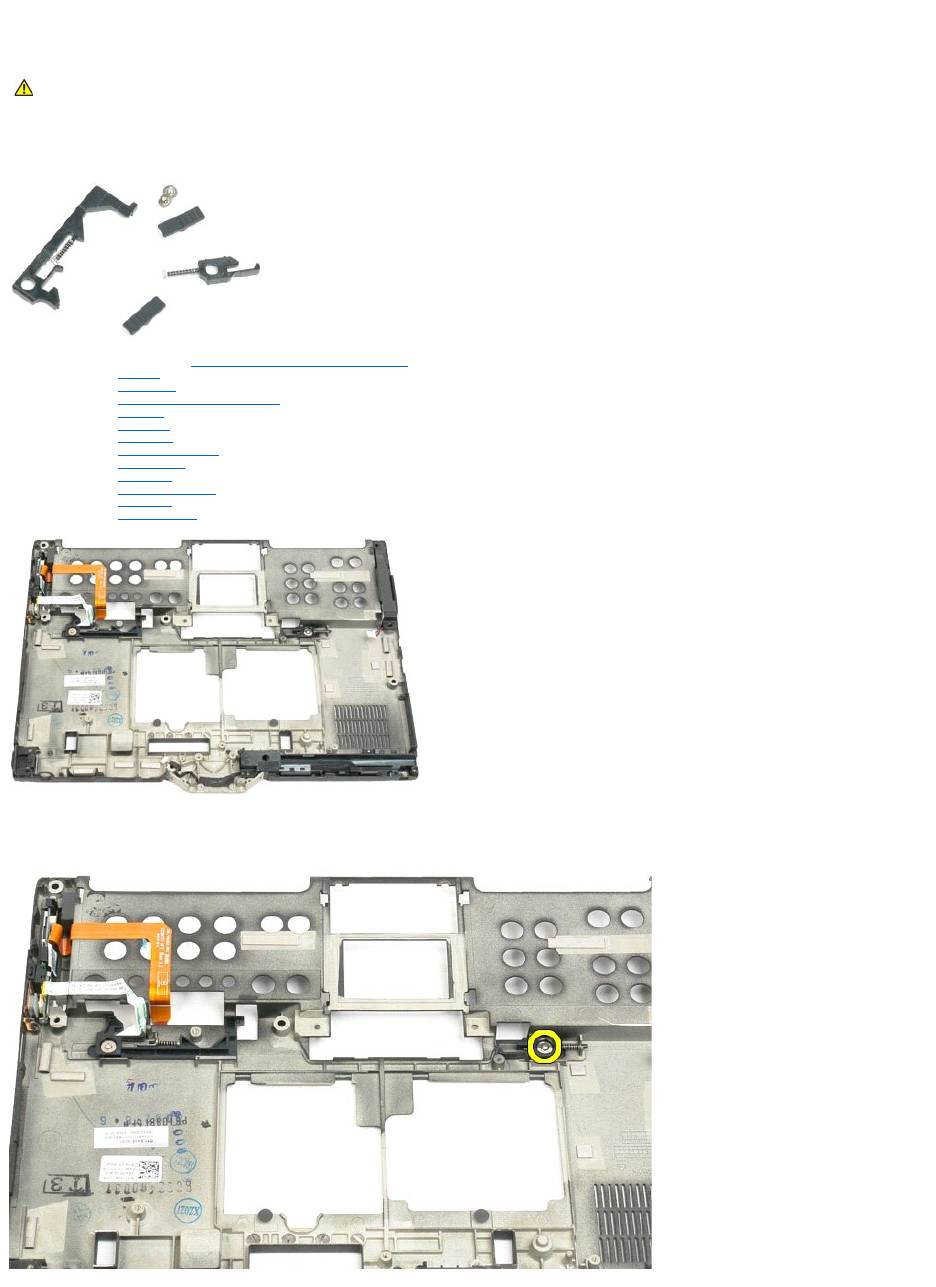
14. Remove the screw securing the right battery latch.
WARNING: Before working inside your Tablet-PC, read the safety information that shipped with your Tablet-PC. For additional safety best
practices information, see the Regulatory Compliance Homepage at www.dell.com/regulatory_compliance.
15. Slide the latch assembly to the right.
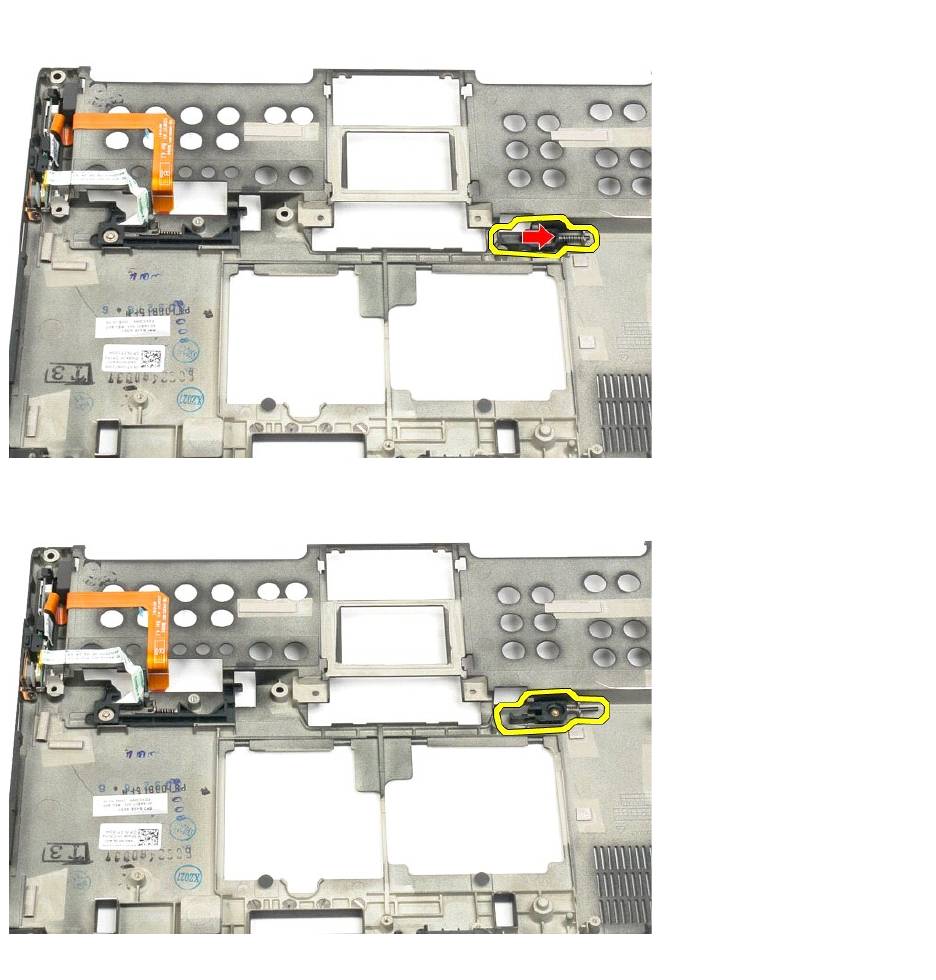
16. Remove the right latch inside assembly from the bottom plastics.
17. Remove the right latch from the outside of the Tablet-PC.
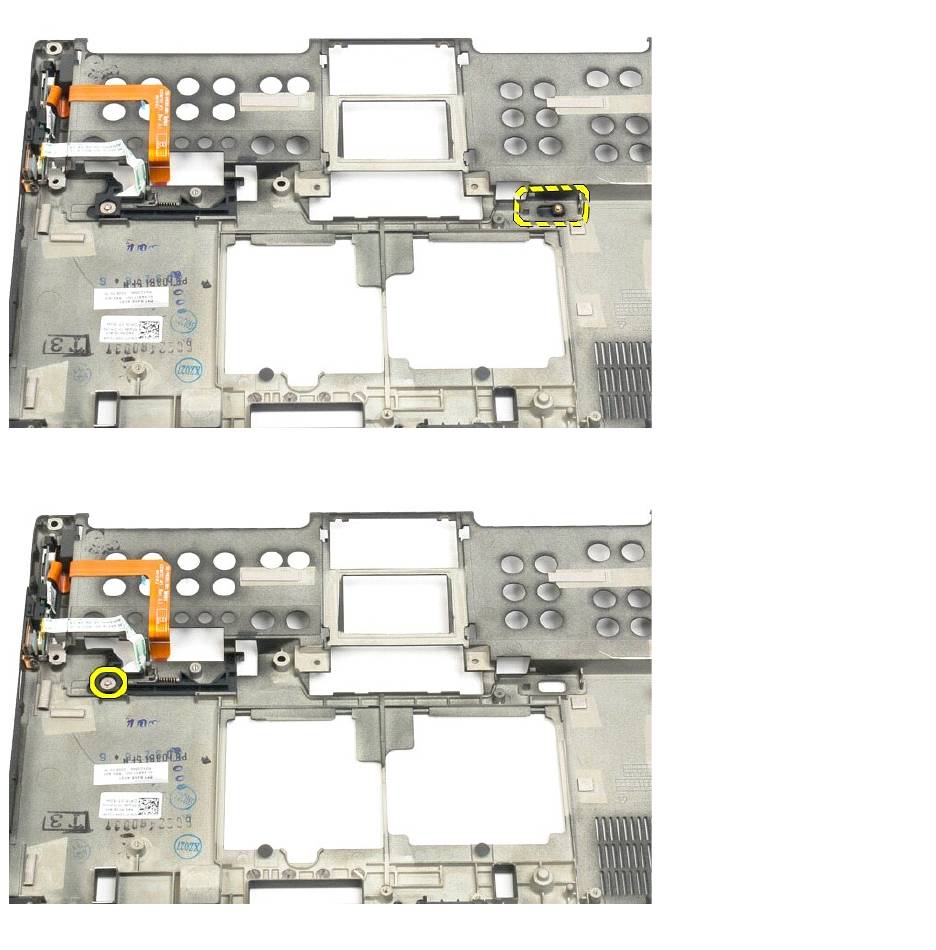
18. Remove the screw securing the left latch assembly to the Tablet-PC.
18. Slide the inside latch assembly to the right and lift out of the bottom plastic.
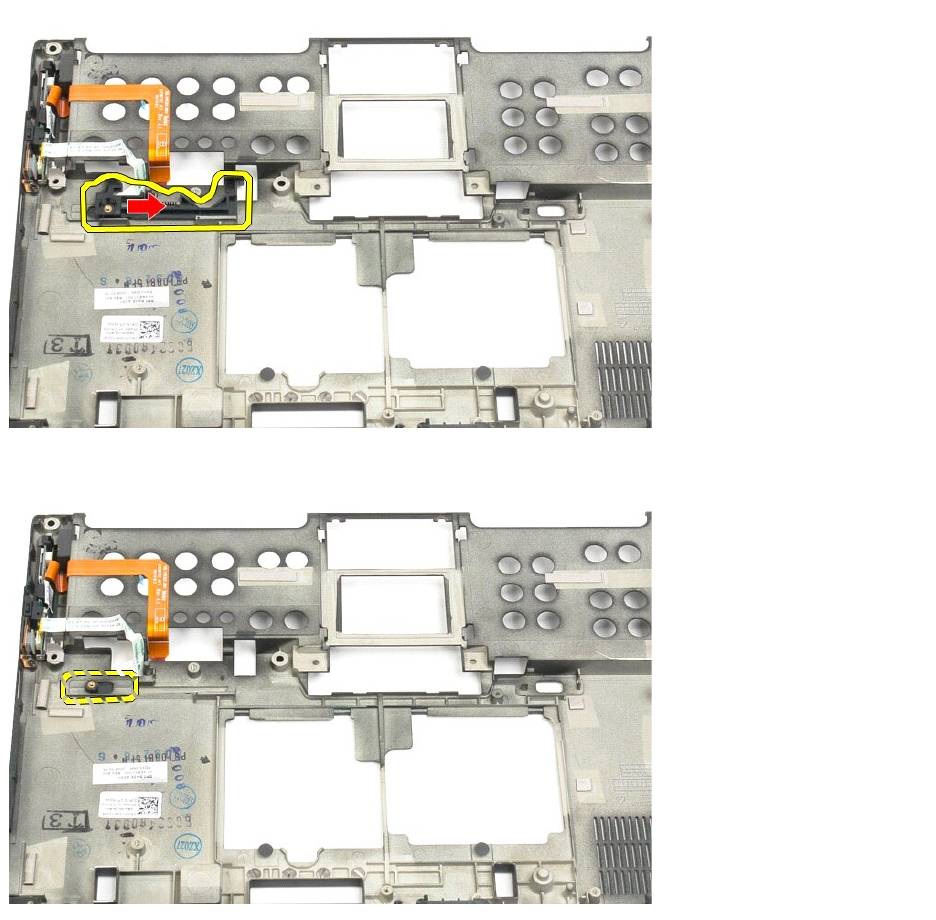
19. Remove the left battery latch from the outside of the Tablet-PC.
Оглавление
- Dell™Latitude™XT2ServiceManual
- System BIOS
- Diagnostics
- Digitizer Options Tab
- Tablet-PC Features
- Interaction Options Tab
- Application Matrix
- Multi-Touch Gestures Feature
- About Tab
- Adding and Replacing Parts
- Tablet-PC Pen
- Specifications
- Tablet-PC Buttons
- Tablet-PC Interface
- Table-PC User Modes
- Tablet-PC Settings
- Memory and Mini-Card Cover
- Main Battery
- Battery Latch
- BIOS Chip
- Internal Card With Bluetooth®Wireless Technology
- Coin-Cell Battery
- Grip Cover
- Hard Drive
- Heat Sink and Fan Assembly
- Keyboard
- Display Assembly
- Hinge Cover
- Memory
- Palm Rest
- Speaker
- System Board
- Mini-Card
- Tablet-PC Modes
- Working on Your Tablet-PC
