Dell Latitude XT2: инструкция
Раздел: Компьютерная техника, комплектующие, аксессуары
Тип: Ноутбук
Инструкция к Ноутбуку Dell Latitude XT2

Dell™ Latitude™ XT2 Service Manual
Notes, Cautions, and Warnings
If you purchased a Dell™ n Series computer, any references in this document to Microsoft®
Windows
®
operating systems are not applicable.
Information in this document is subject to change without notice.
© 2009 Dell Inc. All rights reserved.
Reproduction of this material in any manner whatsoever without the written permission of Dell Inc. is strictly forbidden.
Trademarks used in this text:
Dell
, the
DELL
logo,
Latitude, TravelLite, Wi-Fi Catcher,
and
ExpressCharge,
are trademarks of Dell Inc.;
Intel
,
Pentium, Celeron
a n d
Core
are registered
trademarks of Intel Corporation;
Bluetooth
is a registered trademark owned by Bluetooth SIG, Inc. and is used by Dell under license;
TouchStrip
is a trademark of Zvetco Biometrics,
LLC;
Blu-ray Disc
is a trademark of the Blu-ray Disc Association;
Microsoft
,
Windows, Windows Server, MS-DOS, Aero, Windows Vista
.
and the
Windows Vista
start button
are either
trademarks or registered trademarks of Microsoft Corporation in the United States and/or other countries.
Other trademarks and trade names may be used in this document to refer to either the entities claiming the marks and names or their products. Dell Inc. disclaims any
proprietary interest in trademarks and trade names other than its own.
Model PP12S
September 2009 Rev. A01
Tablet-PC Features
Working on Your Tablet-PC
Adding and Replacing Parts
Specifications
Diagnostics
System BIOS
NOTE:
A NOTE indicates important information that helps you make better use of your computer.
CAUTION:
A CAUTION indicates potential damage to hardware or loss of data if instructions are not followed.
WARNING:
A WARNING indicates a potential for property damage, personal injury, or death.

System BIOS
Dell™ Latitude™ XT2 Service Manual
BIOS Screen Navigation Keystrokes
<F12> Menu
Boot Menu
Entering System Setup
Your Tablet-PC offers the following system BIOS options:
l
Bring up a one-time boot menu by pressing <F12>
l
Access the System Setup utility by pressing <F2>
BIOS Screen Navigation Keystrokes
Use the following keystrokes to navigate the BIOS screens.
<F12> Menu
Press <F12> when the Dell™ logo appears to initiate a one
-time boot menu with a list of the valid boot devices for the system.
Diagnostics
and
Enter Setup
options are also included in this menu. The devices listed on the boot menu depend on the bootable devices in the system. This menu is useful when you are
attempting to boot to a particular device or to bring up the diagnostics for the system. Using the boot menu does not make any changes to the boot order
stored in the BIOS.
Boot Menu
Your Tablet-PC features an enhanced one-time boot menu. The enhanced menu features the following improvements:
l
Easier access
—
Access the menu by pressing <F12> during system boot.
l
User prompting
—
The missing keystroke is now displayed on the BIOS splash screen.
l
Added diagnostics options
—
The boot menu now includes two new options:
BIOS Setup
and
Diagnostics
.
Entering System Setup
Press <F2> to enter System Setup and change the user-definable settings. If you have trouble entering System Setup using this key, press <F2> when the
keyboard LEDs first flash.
Follow the on-screen instructions to view and/or change any settings. On each screen, the system setup options are listed at the left. To the right of each
option is the setting or value for that option. You can change settings that appear as white type on the screen. Options or values that you cannot change
(because they are determined by your Tablet-PC) appear less bright.
The upper-right corner of the screen displays help information for the currently highlighted option. The lower-right corner displays information about the
computer. System setup key functions are listed across the bottom of the screen.
The system setup screens display the current setup information and settings for your computer, such as:
l
System configuration
l
Boot order
l
Boot (start-up) configuration
l
Basic device configuration settings
l
System security and hard drive password settings
Navigation Keystrokes
Action
Keystroke
Expand and collapse field
<Enter>, left- and right-arrow keys, or +/
–
Expand or collapse all fields
< >
Exit BIOS
<Esc>
—
Remain in Setup, Save/Exit, Discard/Exit
Change a setting
Left- and right-arrow keys
Select field to change
<Enter>
Cancel a modification
<Esc>
Reset defaults
<Alt><F> or
Load Defaults
menu option
NOTE:
Depending on your computer and any installed devices, the items listed in this section may or may not appear.
Diagnostics
Dell™ Latitude™ XT2 Service Manual
Device Status
Battery Status
Keyboard Status
LED Error Codes
Device Status LEDs
Device status LEDs are a good source for diagnosing common problems that may occur on your Tablet-PC.
Battery Status
If the computer is connected to an electrical outlet, the battery light operates as follows:
l
Alternately blinking amber light and blue light
—
An unauthenticated or unsupported, non-Dell AC adapter is attached to your Tablet-PC.
l
Alternately blinking amber light with steady blue light
—
Temporary battery failure with AC adapter present.
l
Constantly blinking amber light
—
Fatal battery failure with AC adapter present.
l
Light off
—
Battery in full charge mode with AC adapter present.
l
Blue light on
—
Battery in charge mode with AC adapter present.
Battery Charge and Health
To check the battery charge, press and release the status button on the battery charge gauge to illuminate the charge-level lights. Each light represents
approximately 20 percent of the total battery charge. For example, if four lights are on, the battery has 80 percent of its charge remaining. If no lights appear,
the battery has no charge.
To check the battery health using the charge gauge, press and hold the status button on the battery charge gauge for at least 3 seconds. If no lights appear,
the battery is in good condition and more than 80 percent of its original charge capacity remains. Each light represents incremental degradation. If five lights
appear, less than 60 percent of the charge capacity remains, and you should consider replacing the battery.
Keyboard Status LEDs
The light located above the function key F4 turns on when the numeric keypad is enabled.
The light located above the function key F5 turns on when the Scroll Lock function is enabled.
The light located on the caps lock key turns on when the Caps Lock function is enabled.
LED Error Codes
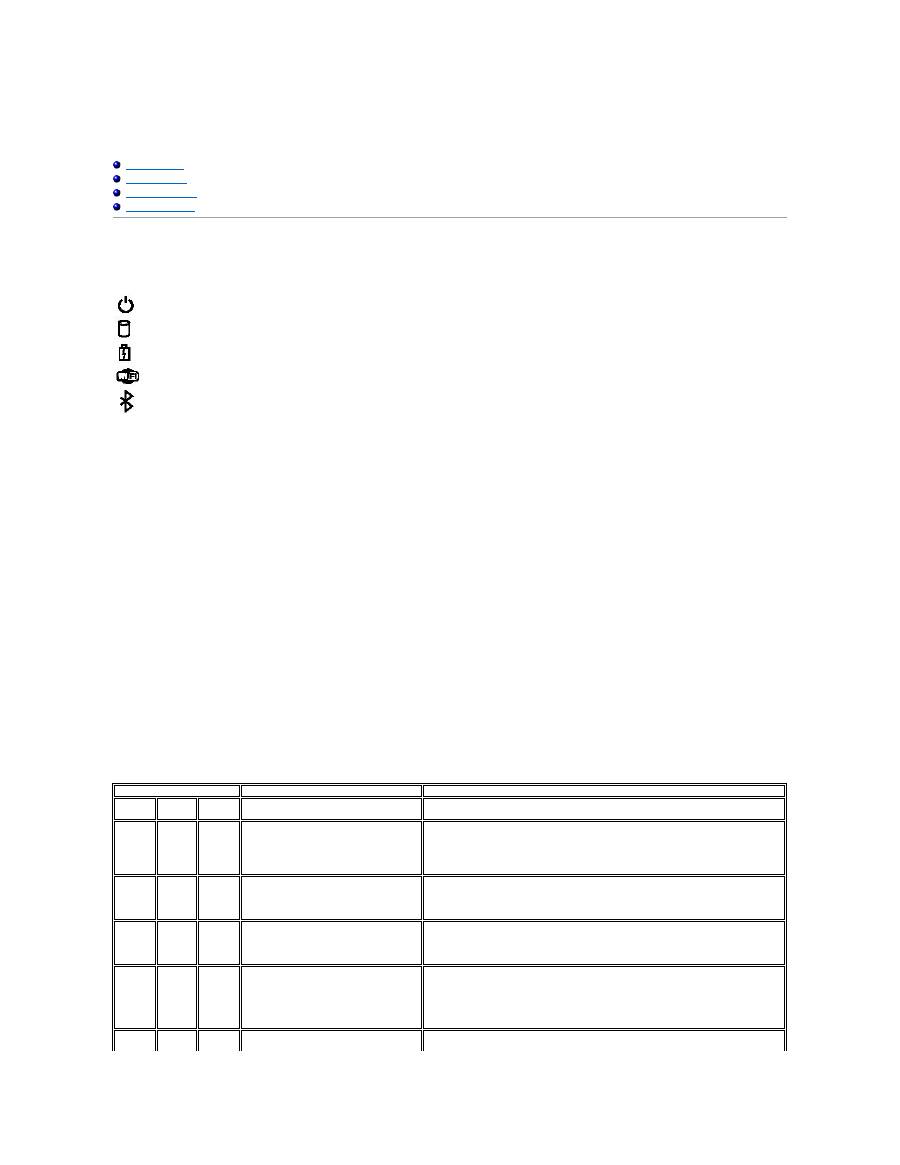
Turns on when you turn on the Tablet-PC and blinks when the Tablet-PC is in a power management mode.
Turns on when the Tablet-PC reads or writes data.
Turns on steadily or blinks to indicate battery charge status.
Turns on when wireless networking is enabled.
Turns on when a card with Bluetooth
®
wireless technology is enabled. To turn off only the Bluetooth
wireless technology function, right-click the icon in the system tray and select
Disable Bluetooth Radio
.
Error Code Appearance
Description
Next Step
Caps
Lock
Numeric
Lock
Scroll
Lock
ON
FLASH
FLASH
No SODIMMs are installed
1.
Install supported memory modules.
2.
If memory is already present, reseat the module(s) one at time in each slot.
3.
Try known good memory from another computer or replace the memory.
4.
Replace the system board.
FLASH
ON
ON
System board error
1.
Reseat the processor.
2.
Replace the system board.
3.
Replace the processor.
FLASH
ON
FLASH
LCD Panel Error
1.
Reseat the LCD cable.
2.
Replace the LCD panel.
3.
Replace the video card / system board.
OFF
FLASH
OFF
Memory compatibility error
1.
Install compatible memory modules.
2.
If two modules are installed remove one and test. Try the other module in the
same slot and test. Test the other slot with both modules.
3.
Replace the memory.
4.
Replace the system board.
1.
Reseat the memory.
2.
If two modules are installed remove one and test. Try the other module in the

ON
FLASH
ON
Memory is detected but has errors
same slot and test. Test the other slot with both modules.
3.
Replace the memory
4.
Replace the system board.
OFF
FLASH
FLASH
Modem Error
1.
Reseat the modem.
2.
Replace the modem.
3.
Replace the system board.
FLASH
FLASH
OFF
Option ROM Error
1.
Reseat the device.
2.
Replace the device.
3.
Replace the system board.
OFF
ON
OFF
Storage device error
1.
Reseat the hard drive and optical drive.
2.
Test the computer with just the hard drive and just the optical drive.
3.
Replace the device that is causing the failure.
4.
Replace the system board.
FLASH
FLASH
ON
Video card error
1.
Replace the system board.
Оглавление
- System BIOS
- Diagnostics
- Digitizer Options Tab
- Tablet-PC Features
- Interaction Options Tab
- Application Matrix
- Multi-Touch Gestures Feature
- About Tab
- Adding and Replacing Parts
- Tablet-PC Pen
- Specifications
- Tablet-PC Buttons
- Tablet-PC Interface
- Table-PC User Modes
- Tablet-PC Settings
- Memory and Mini-Card Cover
- Main Battery
- Battery Latch
- BIOS Chip
- Internal Card With Bluetooth ® Wireless Technology
- Coin-Cell Battery
- Grip Cover
- Hard Drive
- Heat Sink and Fan Assembly
- Keyboard
- Display Assembly
- Hinge Cover
- Memory
- Palm Rest
- Speaker
- System Board
- Mini-Card
- Tablet-PC Modes
- Working on Your Tablet-PC
