Pioneer SC-LX57-S: English Connection and initial setup
English Connection and initial setup: Pioneer SC-LX57-S
Table of contents
- Quick Start Guide What’s in the box
- English Connection and initial setup
- Connecting up Connecting the speakers
- Connecting a TV and playback Connecting antennas components Connecting to the network through LAN interface
- Before you start Automatically setting up for surround sound (MCACC)
- Multichannel playback Listening to the radio
- Playing an iPod Listening to Internet radio stations
English
Enjoy easy multichannel playback with this unit in 3 steps:
Connecting up
→
Initial setup
→
Basic playback
.
Convenient with easy connection and initial setup upon following the instructions displayed on-screen by installing AVNavigator.
•The Mac OS version of AVNavigator can be downloaded from http://www.pioneer.eu.
•The iPad version of AVNavigator can be downloaded from the App Store.
•The provided CD-ROM includes the Windows version of AVNavigator.
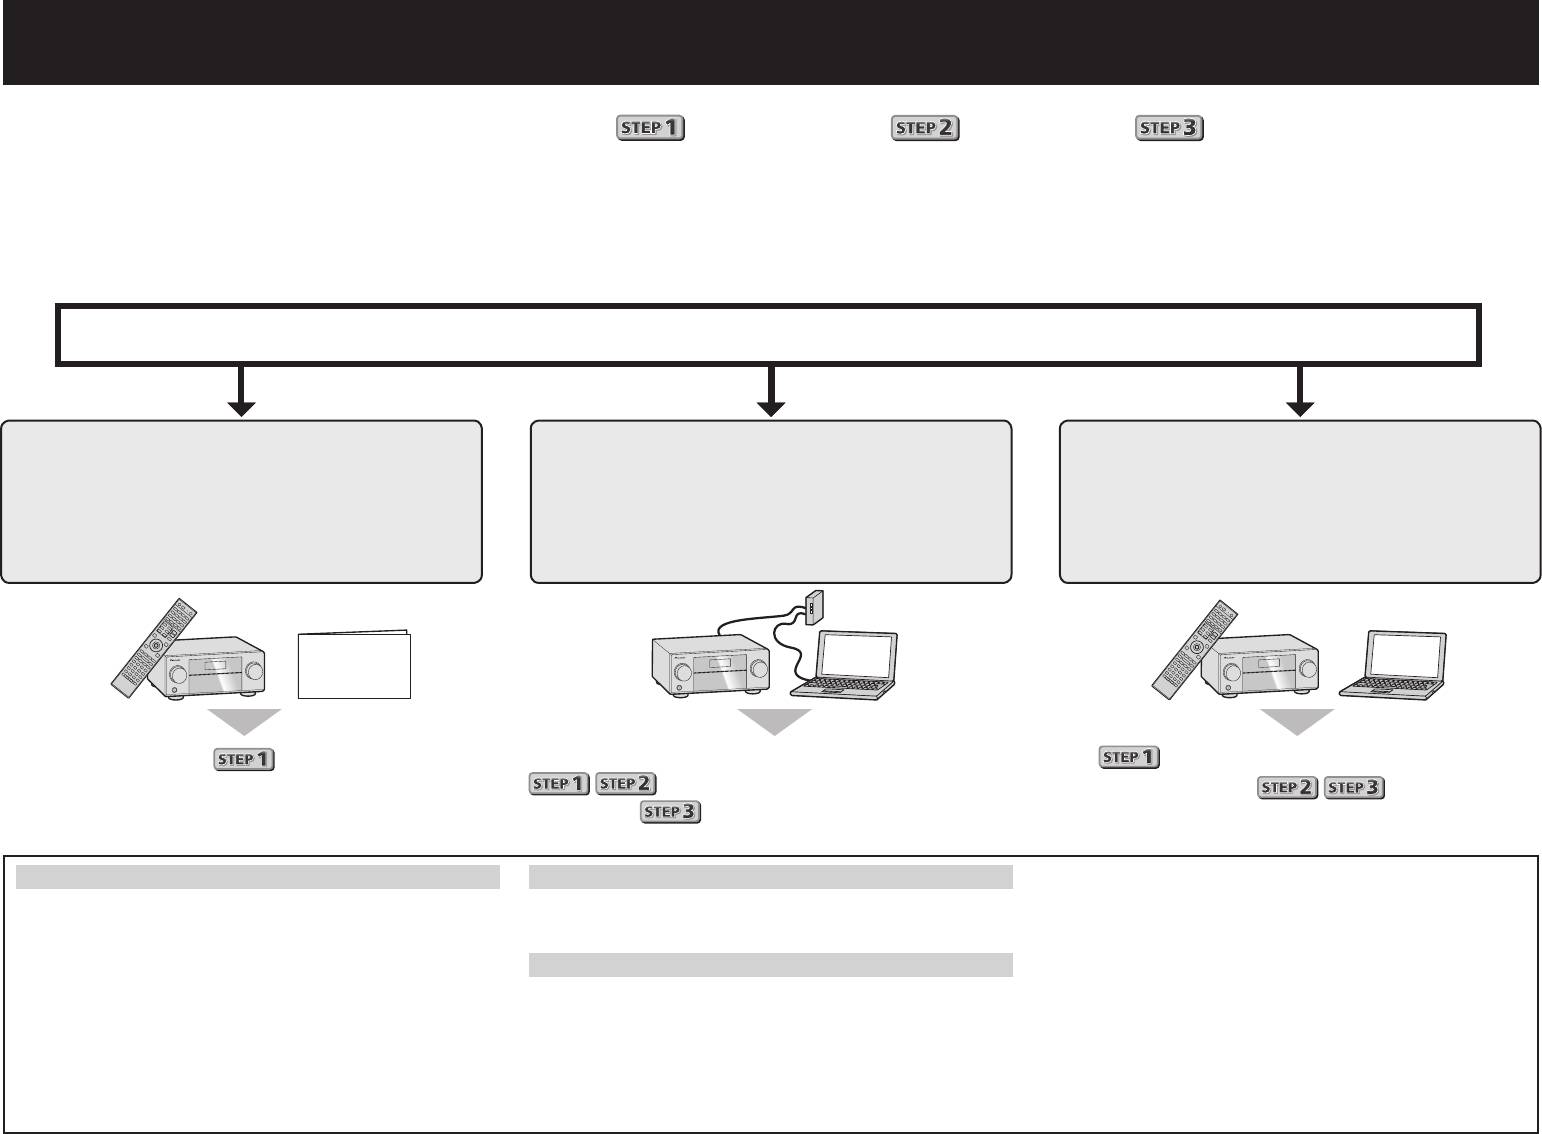
Start connecting by choosing one method from among the following in accordance with your play environment.
Connection and initial setup
Connection and initial setup following
Connect by following the instructions
the instructions in the
Connection and initial setup by
in the “Wiring Navi” in AVNavigator
“Wiring Navi” in AVNavigator
referring to this Quick Start Guide
(For when the receiver is not to be
(Connection to the network is required
connected to a network.)
for the initial setup.)
Quick Start
Guide
Move on to
in this guide.
It is unnecessary to read this guide for explanations;
will be conducted in the “Wiring Navi”,
will be explained in the “Wiring Navi”
so move on to
in this guide’
and
in the “Operation Guide”.
after “Wiring Navi” is completed.
Using AVNavigator
®
®
®
AVNavigator for Mac
AVNavigator for iPad
XP/Windows Vista
/Windows
7/Windows
8.
®
1
Download “AVNavigator 2013.pkg” from
Download AVNavigator from the App Store.
• The supported browser is Microsoft Internet Explorer
8, 9 or 10.
1
http://www.pioneer.eu.
2
Launch AVNavigator.
2
Click “AVNavigator” on the “Installing Software” menu.
2
Launch “AVNavigator 2013.pkg” from the “Downloads”
Follow the instructions on the screen to install.
AVNavigator for Windows
3
folder.
Launch the desktop from the start screen (for Windows 8 only).
4
Click [AVNavigator 2013.IV] on the desktop to launch
3
Follow the instructions on the screen to install.
AVNavigator.
Launch “AVNavigator 2013”.
1
Load the included CD-ROM into your computer’s CD drive.
• AVNavigator is launched and Wiring Navi starts up.
4
• If the CD-ROM’s top menu screen is not displayed,
• The file is located in the “Applications” folder just under
• Depending on the network or security settings on the
double-click “MAIN_MENU.exe” on the CD-ROM.
the hard disk (Macintosh HD).
computer on which AVNavigator is to be installed,
• The CD-ROM’s top menu screen appears.
AVNavigator’s functions may not work properly.
• AVNavigator for Mac can be used with Mac OS X (10.7 or
®
®
10.8) .
• This CD-ROM can be used with Microsoft
Windows
2
