Dell Precision M70: Using the Display
Using the Display : Dell Precision M70
Back to Contents Page
Using the Display
DellPrecision™MobileWorkstationM70User'sGuide
Adjusting Brightness
Switching the Video Image
Setting Display Resolution
Dual Independent Display Mode
Large Desktop Display Mode
Swapping Primary and Secondary Displays
Adjusting Brightness
WhentheDell™computerisrunningonbatterypower,youcanconservepowerbysettingthebrightnesstothelowestcomfortablesettingbypressing<Fn>
and the up- or down-arrow on the keyboard.
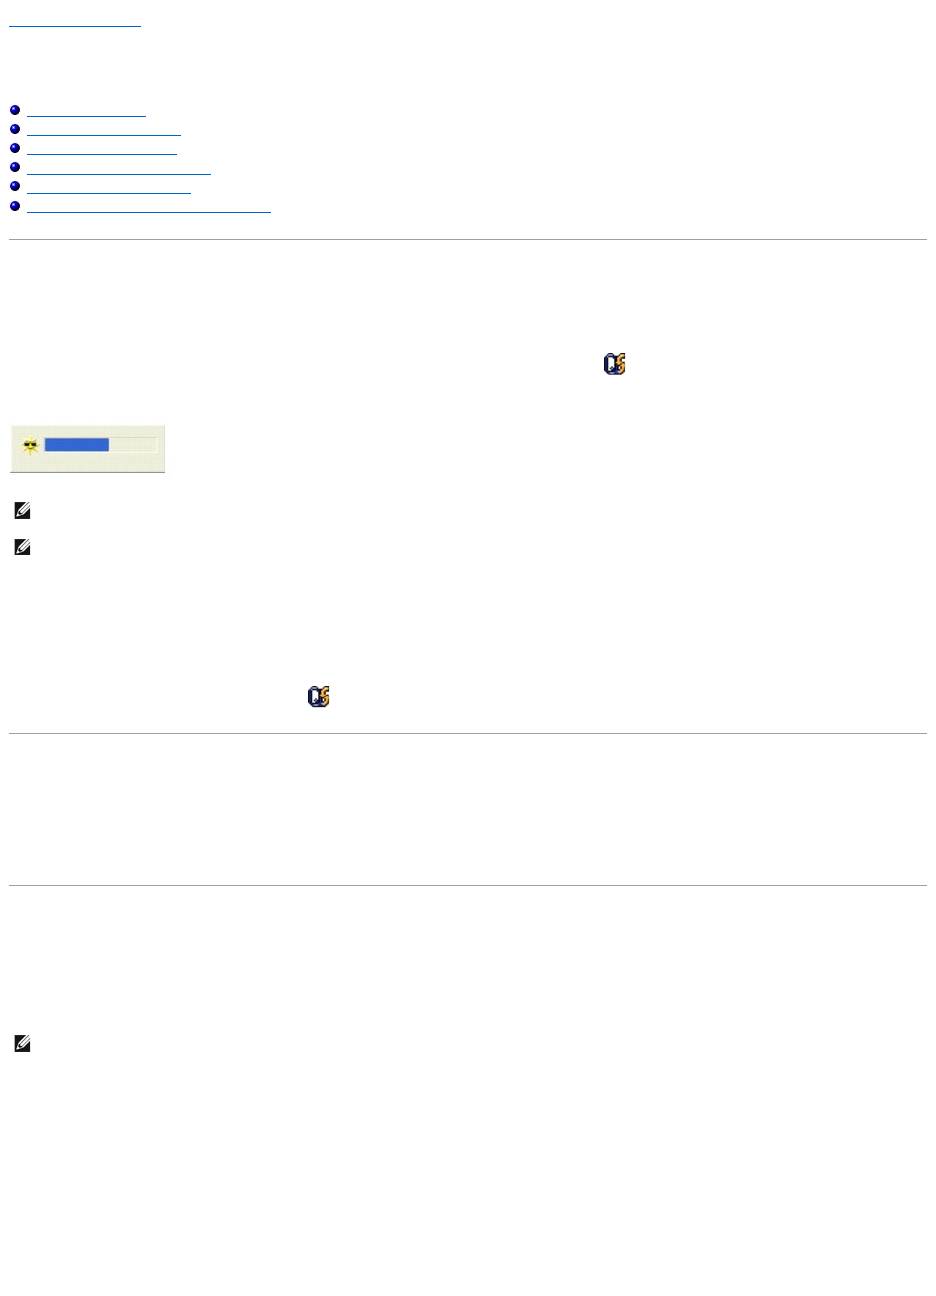
The Dell QuickSet Brightness Meter shows the current brightness setting for the display. Right-click the icon in the taskbar to enable or disable the
Brightness Meter on the screen.
You can enable or disable the Brightness Meter from the QuickSet taskbar menu. When the meter is enabled, press the following keys to adjust brightness:
l Press <Fn> and the up-arrow key to increase brightness on the integrated display only (not on an external monitor).
l Press <Fn> and the down-arrow key to decrease brightness on the integrated display only (not on an external monitor).
For more information about QuickSet, right-click the icon in the taskbar and click Help.
Switching the Video Image
When you start the computer with an external device (such as an external monitor or projector) attached and turned on, the image may appear on either the
computer display or the external device.
Press <Fn><F8> to switch the video image to the display only, the external device only, or the display and the external device simultaneously.
Setting Display Resolution
To display a program at a specific resolution, both the graphics card and the display must support the program, and the necessary video drivers must be
installed.
Before you change any of the default display settings, make a note of the default settings for future reference.
If you choose a resolution or color palette that is higher than the display supports, the settings adjust automatically to the closest possible setting.
Microsoft®Windows®XP
1. Click the Start button and click Control Panel.
2. Under Pick a category, click Appearance and Themes.
3. Under Pick a task..., click the area you want to change, or under or pick a Control Panel icon, click Display.
NOTE: By default, the Brightness Meter appears in the lower-right corner of the display. You can click and drag the meter to a new location, and the
meter subsequently always appears at the new location.
NOTE: Brightness key combinations only affect the display on your portable computer, not monitors that you attach to your portable computer or
docking device. If your computer is connected to an external monitor and you try to change the brightness level, the Brightness Meter appears, but the
brightness level on the monitor does not change.
NOTE: Use only the Dell-installed video drivers, which are designed to offer the best performance with your Dell-installed operating system.

4. Try different settings for Color quality and Screen resolution.
Microsoft Windows 2000
1. Click the Start button, point to Settings, and then click Control Panel.
2. Double-click the Display icon and click the Settings tab.
3. Try different settings for Colors and Screen area.
If the video resolution setting is higher than that supported by the display, the computer enters pan mode. In pan mode, the screen cannot be completely
displayed. For example, the taskbar that usually appears at the bottom of the desktop may no longer be visible. To view the rest of the screen, use the touch
pad or track stick to pan up, down, left, and right.
Dual Independent Display Mode
You can attach an external monitor or projector to your computer and use it as an extension of your display (known as "dual independent display" or
"extended desktop" mode). This mode allows you to use both screens independently and drag objects from one screen to the other, effectively doubling the
amount of viewable work space.
Microsoft Windows XP
1. Connect the external monitor, TV, or projector to the computer.
2. Open the Control Panel and double-click the Display icon.
3. In the Display Properties window, click the Settings tab.
4. Click the monitor 2 icon, click the Extend my Windows desktop... check box, then and click Apply.
5. Change Screen Area to the appropriate sizes for both displays and click Apply.
6. If prompted to restart the computer, click Apply the new color setting without restarting and click OK.
7. If prompted, click OK to resize your desktop.
8. If prompted, click Yes to keep the settings.
9. Click OK to close the Display Properties window.
To disable dual independent display mode:
1. Click the Settings tab in the Display Properties window.
2. Click the monitor 2 icon, uncheck the Extend my Windows desktop... option, and then click Apply.
If necessary, press <Fn><F8> to bring the screen image back to the computer display.
Microsoft Windows 2000
The Windows 2000 operating system does not natively support dual independent display (extended desktop) mode on your computer.
NOTE: As the resolution increases, icons and text appear smaller on the screen.
NOTICE: You can damage an external monitor by using an unsupported refresh rate. Before adjusting the refresh rate on an external monitor, see the
monitor user's guide.
NOTE: If you choose a resolution or color palette that is higher than the display supports, the settings adjust automatically to the closest possible
values. For more information, see your operating system documentation.
NOTE: This software may not be available in certain countries.

Large Desktop Display Mode
With some operating systems, you can connect an external monitor or projector to your computer to enlarge your work space (large desktop display mode). This
mode allows you to view a large document over two displays as if they were one large display. The taskbar runs uninterrupted across the two displays. You
can set up your two monitors either vertically or horizontally.
Windows 2000
To activate large desktop mode on two external displays that are attached to the VGA or DVI connectors on the docking device, your computer must be
connected to the docking device and the portable computer display closed. To activate large desktop mode on the portable computer display and a single
external display, connect the external display either to your portable computer or the docking device, and keep the portable computer display open.
1. Connect the external monitor, TV, or projector to the computer or docking device.
2. Open the Control Panel and double-click the Display icon.
3. In the Display Properties window, click the Settings tab.
4. Press <Fn><F8> until the display that you want to use as primary (left-most or top-most) display is set as the primary display.
5. Click the Advanced tab.
6. On the next screen, click the ATI Displays tab which shows several different display options.
7. Click the red (off) and green (on) indicators in the upper left corners until the two displays that you want to use show green. Both displays should now
be active in clone (or simulscan) mode.
8. Press the right-arrow or the down-arrow button on your keyboard to specify a horizontal or vertical display setup, and click Apply.
Swapping Primary and Secondary Displays
Microsoft Windows XP
To swap your primary and secondary display designations (for example, to use your external monitor as your primary display after docking):
1. Click the Start button and click Settings.
2. Select Control Panel and click Display.
3. Under Pick a category, click Appearance and Themes.
4. Under Pick a task..., click the area you want to change, or under or pick a Control Panel icon, click Display.
5. Click Settings tab® Advanced® Displays tab.
See the documentation that came with your video card for additional information.
Microsoft Windows 2000
To swap your primary and secondary display designations (for example, to use your external monitor as your primary display after docking), open the Control
Panel, click the Display icon® Settings tab® Advanced® Displays tab. See the documentation that came with your video card for additional information.
Back to Contents Page
NOTE: The Windows XP operating system and some Windows 2000 operating systems do not support large desktop display mode. See the
documentation that came with your video card for more information.
NOTE: You may need to try different settings depending on your display setup.
Оглавление
- DellPrecision™MobileWorkstationM70User'sGuide
- About Your Computer
- Appendix
- Alert Standard Format (ASF)
- Using a Battery
- Using the Module Bay
- Using CDs, DVDs, and Other Module Bay Devices
- Cleaning Your Computer
- Using the Dell Diagnostics
- Using the Display
- Reinstalling Software
- Finding Information
- Getting Help
- Glossary
- Using the Keyboard and Touch Pad
- Passwords
- Using PC Cards
- Power Management
- Solving Problems
- Dell™QuickSetFeatures
- Adding and Replacing Parts
- Using the System Setup Program
- Using Smart Cards
- Specifications
- Traveling With Your Computer
- Connecting to a Wireless Local Area Network
- Using Microsoft®Windows®XP
")