Dell Precision M70: Using PC Cards
Using PC Cards : Dell Precision M70
Back to Contents Page
Using PC Cards
DellPrecision™MobileWorkstationM70User'sGuide
PC Card Types
PC Card Blanks
Extended PC Cards
Removing a PC Card or Blank
Installing a PC Card
PC Card Types
See "Specifications" for information on supported PC Cards.
The PC Card slot has one connector that supports a single Type I or Type II card. The PC Card slot supports CardBus technology and extended PC Cards.
"Type" of card refers to its thickness, not its functionality.
PC Card Blanks
Your computer shipped with a plastic blank installed in the PC Card slot. Blanks protect unused slots from dust and other particles. Save the blank for use
when no PC Card is installed in the slot; blanks from other computers may not fit your computer.
To remove the blank, see "Removing a PC Card or Blank."
Extended PC Cards
An extended PC Card (for example, a wireless network adapter) is longer than a standard PC Card and extends outside the computer. Follow these
precautions when using extended PC Cards:
l Protect the exposed end of an installed card. Striking the end of the card can damage the system board.
l Always remove an extended PC Card before you pack the computer in its carrying case.
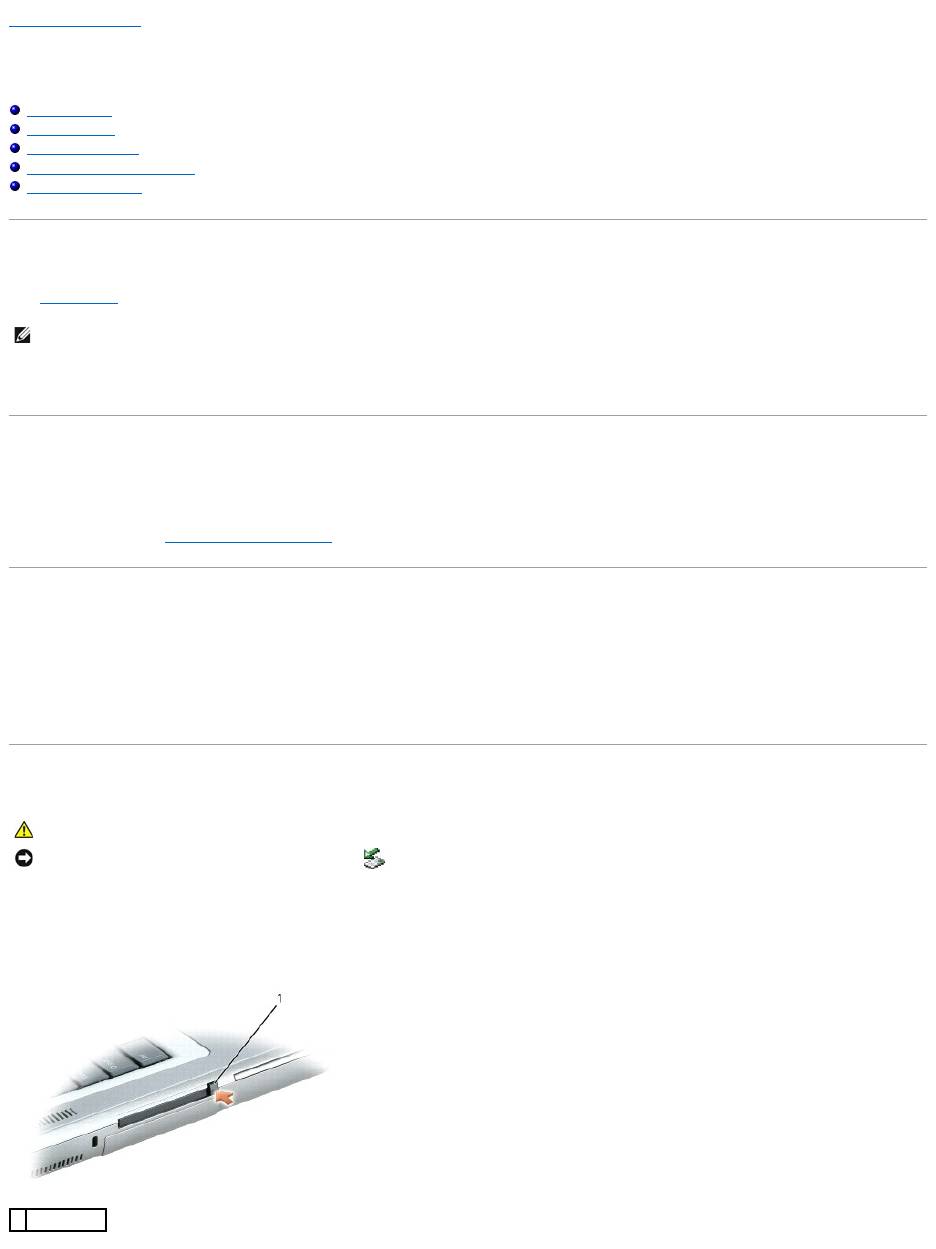
Removing a PC Card or Blank
Press the latch and remove the card or blank. For some latches, you must press the latch twice: once to pop the latch out, and then a second time to pop the
card out.
Save a blank to use when no PC Card is installed in a slot. Blanks protect unused slots from dust and other particles.
NOTE: A PC Card is not a bootable device.
CAUTION: Before you begin any of the procedures in this section, follow the safety instructions located in the Product Information Guide.
NOTICE: Use the PC Card configuration utility (click the icon in the taskbar) to select a card and stop it from functioning before you remove it from
the computer. If you do not stop the card in the configuration utility, you could lose data. Do not attempt to eject a card by pulling its cable, if one is
attached.
1
eject button
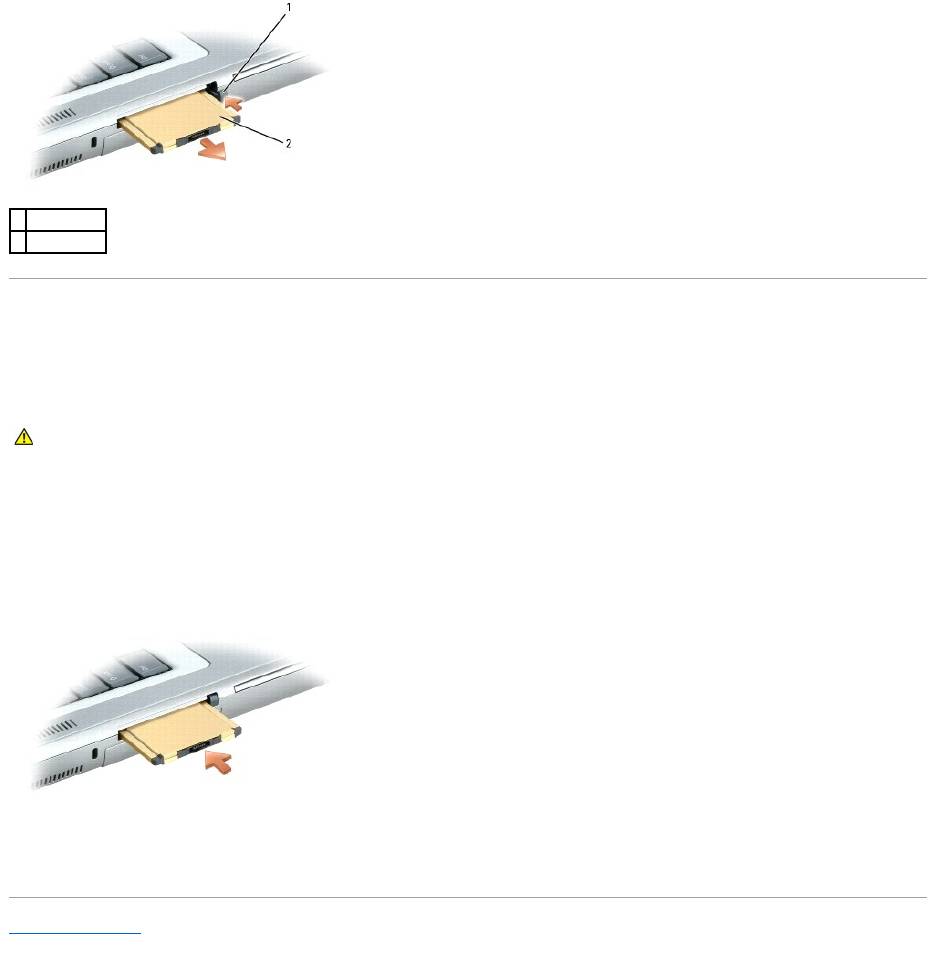
Installing a PC Card
You can install a PC Card in the computer while the computer is running. The computer automatically detects the card.
PC Cards are generally marked with a symbol (such as a triangle or an arrow) to indicate which end to insert into the slot. The cards are keyed to prevent
incorrect insertion. If card orientation is not clear, see the documentation that came with the card.
To install a PC Card:
1. Hold the card with its orientation symbol pointing into the slot and the top side of the card facing up. The latch may need to be in the "in" position
before you insert the card.
2. Slide the card into the slot until the card is completely seated in its connector.
If you encounter too much resistance, do not force the card. Check the card orientation and try again.
The computer recognizes most PC Cards and automatically loads the appropriate device driver. If the configuration program tells you to load the
manufacturer's drivers, use the floppy disk or CD that came with the PC Card.
Back to Contents Page
1
eject button
2
PC Card
CAUTION: Before you begin any of the procedures in this section, follow the safety instructions located in the Product Information Guide.
Оглавление
- DellPrecision™MobileWorkstationM70User'sGuide
- About Your Computer
- Appendix
- Alert Standard Format (ASF)
- Using a Battery
- Using the Module Bay
- Using CDs, DVDs, and Other Module Bay Devices
- Cleaning Your Computer
- Using the Dell Diagnostics
- Using the Display
- Reinstalling Software
- Finding Information
- Getting Help
- Glossary
- Using the Keyboard and Touch Pad
- Passwords
- Using PC Cards
- Power Management
- Solving Problems
- Dell™QuickSetFeatures
- Adding and Replacing Parts
- Using the System Setup Program
- Using Smart Cards
- Specifications
- Traveling With Your Computer
- Connecting to a Wireless Local Area Network
- Using Microsoft®Windows®XP
")