Dell Precision M70: Using the Dell Diagnostics
Using the Dell Diagnostics : Dell Precision M70

Back to Contents Page
Using the Dell Diagnostics
DellPrecision™MobileWorkstationM70User'sGuide
Dell Diagnostics
When to Use the Dell Diagnostics
If you experience a problem with your computer, perform the checks in "Lockups and Software Problems" and run the Dell Diagnostics before you contact Dell
for technical assistance.
It is recommended that you print these procedures before you begin.
Start the Dell Diagnostics from either your hard drive or from the Drivers and Utilities CD (also known as the ResourceCD).
Starting the Dell Diagnostics From Your Hard Drive
The Dell Diagnostics is located on a hidden diagnostic utility partition on your hard drive.
1. Shut down the computer.
2. If the computer is connected to a docking device (docked), undock it. See the documentation that came with your docking device for instructions.
3. Connect the computer to an electrical outlet.
4. Diagnostics can be invoked one of two ways:
a. Turnonthecomputer.WhentheDELL™logoappears,press<F12>immediately.SelectDiagnosticsfromthebootmenuandpress<Enter>.
b. Press and hold the <Fn> key while powering the system on.
The computer runs the Pre-boot System Assessment, a series of initial tests of your system board, keyboard, hard drive, and display.
l During the assessment, answer any questions that appear.
l If a failure is detected, the computer stops and beeps. To stop the assessment and restart the computer, press <n>; to continue to the next
test, press <y>; to retest the component that failed, press <r>.
l If failures are detected during the Pre-boot System Assessment, write down the error code(s) and contact Dell.
If the Pre-boot System Assessment completes successfully, you receive the message Booting Dell Diagnostic Utility Partition. Press any key to
continue.
5. PressanykeytostarttheDellDiagnosticsfromthediagnosticsutilitypartitiononyourharddrive.
Starting the Dell Diagnostics From the Drivers and Utilities CD
1. Insert the Drivers and Utilities CD.
2. Shut down and restart the computer.
When the DELL logo appears, press <F12> immediately.
If you wait too long and the Windows logo appears, continue to wait until you see the Windows desktop. Then shut down your computer and try again.
CAUTION: Before you begin any of the procedures in this section, follow the safety instructions in the Product Information Guide.
NOTICE: The Dell Diagnostics works only on Dell computers.
NOTE: The Drivers and Utilities CD is optional and may not ship with your computer.
NOTE: If your computer cannot display a screen image, contact Dell.
NOTE: If you wait too long and the operating system logo appears, continue to wait until you see the Microsoft®Windows®desktop. Then shut down
your computer and try again.
NOTE: If you see a message stating that no diagnostics utility partition has been found, run the Dell Diagnostics from the Drivers and Utilities CD.
3. When the boot device list appears, highlight CD/DVD/CD-RW Drive and press <Enter>.
4. Select the CD/DVD/CD-RW Drive option from the CD boot menu.
5. Select the Boot from CD-ROM option from the menu that appears.
6. Type 1 to start the ResourceCD menu.
7. Type 2 to start the Dell Diagnostics.
8. Select Run the 32 Bit Dell Diagnostics from the numbered list. If multiple versions are listed, select the version appropriate for your computer.
9. When the Dell Diagnostics Main Menu appears, select the test you want to run.
Dell Diagnostics Main Menu
1. After the Dell Diagnostics loads and the Main Menu screen appears, click the button for the option you want.
2. If a problem is encountered during a test, a message appears with an error code and a description of the problem. Write down the error code and
problem description and follow the instructions on the screen.
If you cannot resolve the error condition, contact Dell.
3. If you run a test from the Custom Test or Symptom Tree option, click the applicable tab described in the following table for more information.
4. When the tests are completed, if you are running the Dell Diagnostics from the Drivers and Utilities CD, remove the CD.
5. When the tests are complete, close the test screen to return to the Main Menu screen. To exit the Dell Diagnostics and restart the computer, close the
Main Menu screen.
Back to Contents Page
NOTE: The next steps change the boot sequence for one time only. On the next start-up, the computer boots according to the devices specified in
system setup.
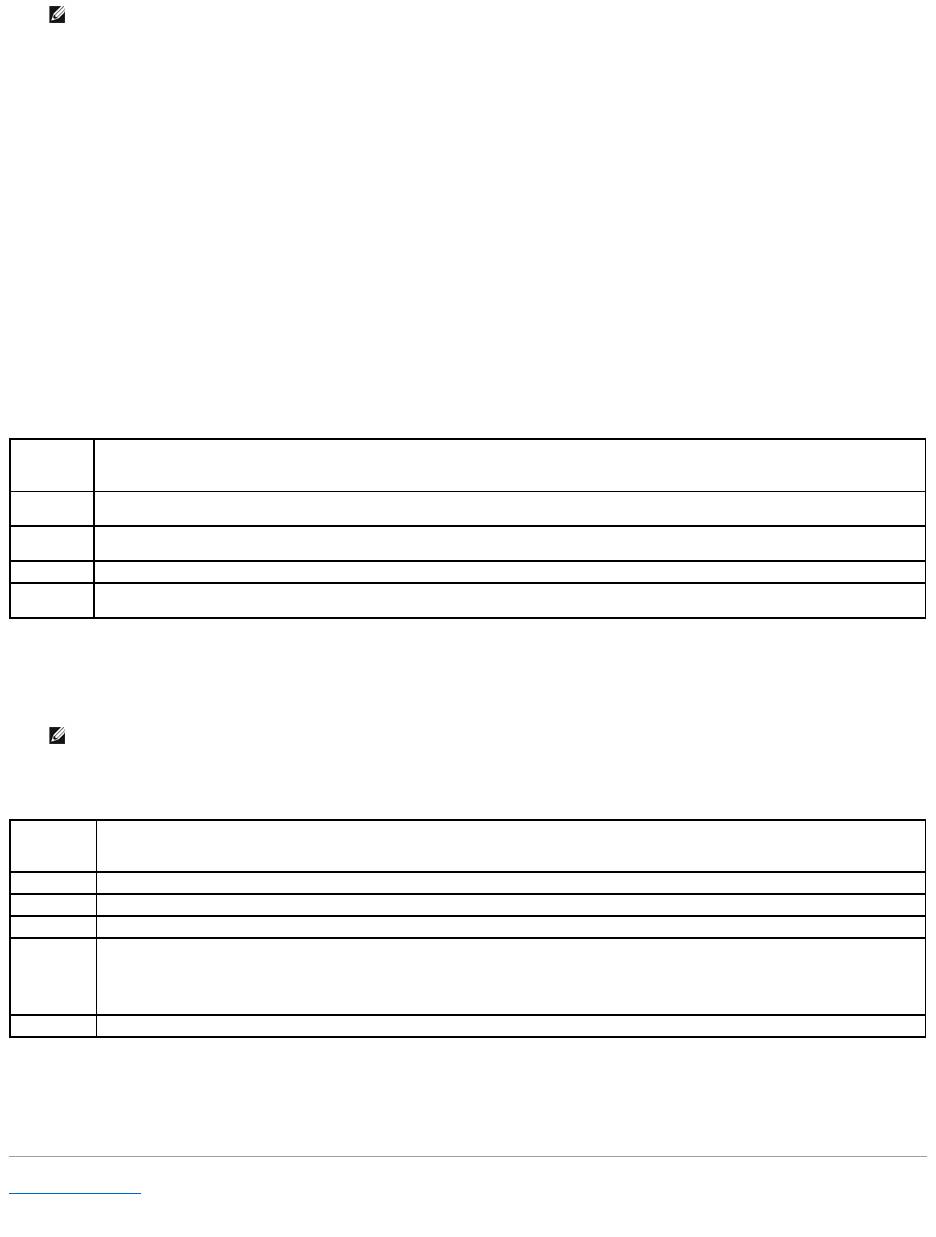
Option
Function
Express Test
Performs a quick test of devices. This test typically takes 10 to 20 minutes and requires no interaction on your part. Run Express Test first to
increase the possibility of tracing the problem quickly.
Extended
Test
Performs a thorough check of devices. This test typically takes 1 hour or more and requires you to answer questions periodically.
Custom Test
Tests a specific device. You can customize the tests you want to run.
Symptom
Tree
Lists the most common symptoms encountered and allows you to select a test based on the symptom of the problem you are having.
NOTE: The Service Tag for your computer is located at the top of each test screen. If you contact Dell, technical support will ask for your Service
Tag.
Tab
Function
Results
Displays the results of the test and any error conditions encountered.
Errors
Displays error conditions encountered, error codes, and the problem description.
Help
Describes the test and may indicate requirements for running the test.
Configuration
Displays your hardware configuration for the selected device.
The Dell Diagnostics obtains configuration information for all devices from system setup, memory, and various internal tests, and it displays
the information in the device list in the left pane of the screen. The device list may not display the names of all the components installed on
your computer or all devices attached to your computer.
Parameters
Allows you to customize the test by changing the test settings.
Оглавление
- DellPrecision™MobileWorkstationM70User'sGuide
- About Your Computer
- Appendix
- Alert Standard Format (ASF)
- Using a Battery
- Using the Module Bay
- Using CDs, DVDs, and Other Module Bay Devices
- Cleaning Your Computer
- Using the Dell Diagnostics
- Using the Display
- Reinstalling Software
- Finding Information
- Getting Help
- Glossary
- Using the Keyboard and Touch Pad
- Passwords
- Using PC Cards
- Power Management
- Solving Problems
- Dell™QuickSetFeatures
- Adding and Replacing Parts
- Using the System Setup Program
- Using Smart Cards
- Specifications
- Traveling With Your Computer
- Connecting to a Wireless Local Area Network
- Using Microsoft®Windows®XP
")