Dell Precision 350: Power Supply
Power Supply : Dell Precision 350
Back to Contents Page
Power Supply
DellPrecision™Workstation350ServiceManual
Removing the Power Supply
1. Disconnect the AC power cable from the back of the power supply.
2. Disconnect the DC power cables from the system board and the drives.
Note the routing of the DC power cables underneath the clips in the computer as you remove them from the system board and drives. You must route
these cables properly when you replace them to prevent them from being pinched or crimped.
3. Remove the two screws that attach the power supply to the rear wall.
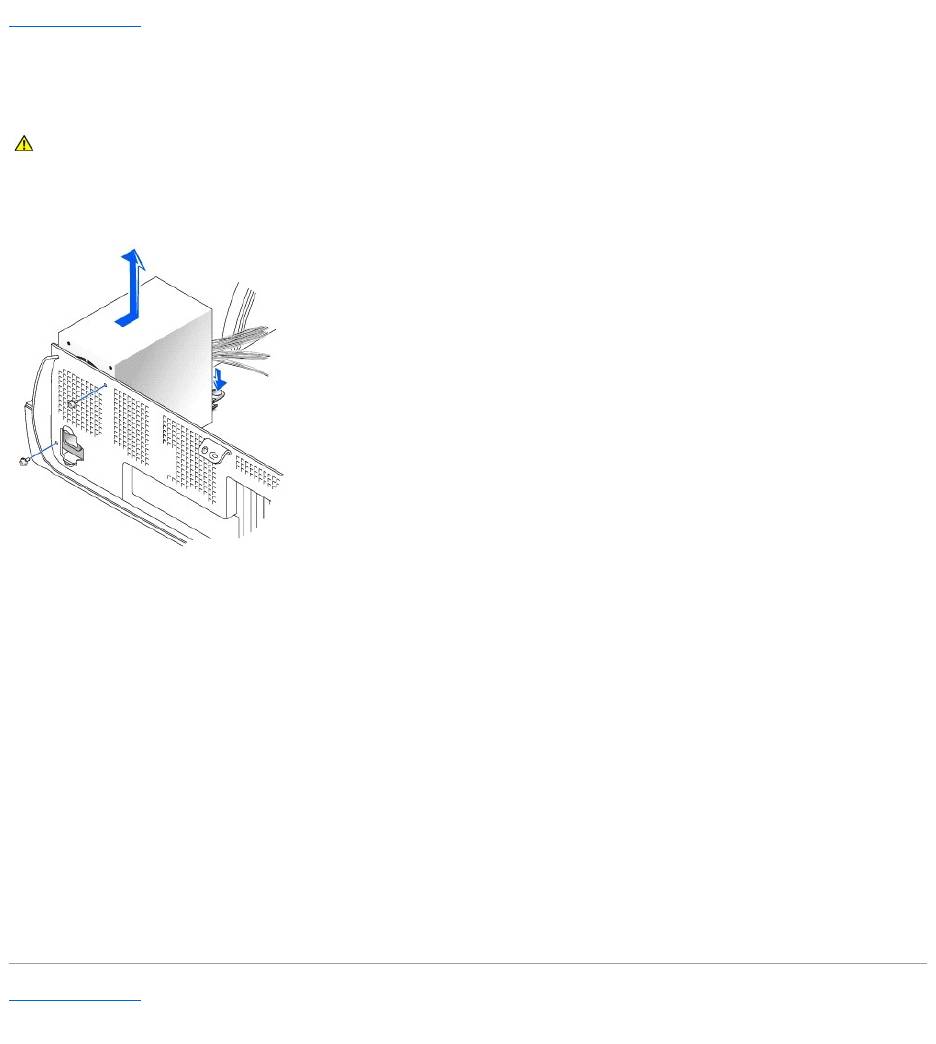
4. Press the release button.
5. Slide the power supply toward the front of the computer approximately 1 inch.
6. Lift the power supply up and out of the computer.
Replacing the Power Supply
1. Slide the power supply into place.
2. Reconnect the DC power cables.
3. Connect the AC power cable to the connector.
4. Run the cables underneath the clips.
5. Press the clips to close them over the cables.
Back to Contents Page
CAUTION: Before you begin any of the procedures in this section, follow the safety instructions in the System Information Guide.
